DIY: Outdoor cushion storage box

If you want to keep your garden cushions clean and dry, we’ve got just the solution for you! With this homemade garden cushion storage box, you’ll have a dedicated place for your garden cushions that will help keep them dry, clean and tidy so they’re always ready to use. You can also use this sturdy plastic garden storage box as a bench. In this blog, we give you step by step instructions on how to make an HPL waterproof outdoor cushion storage box.
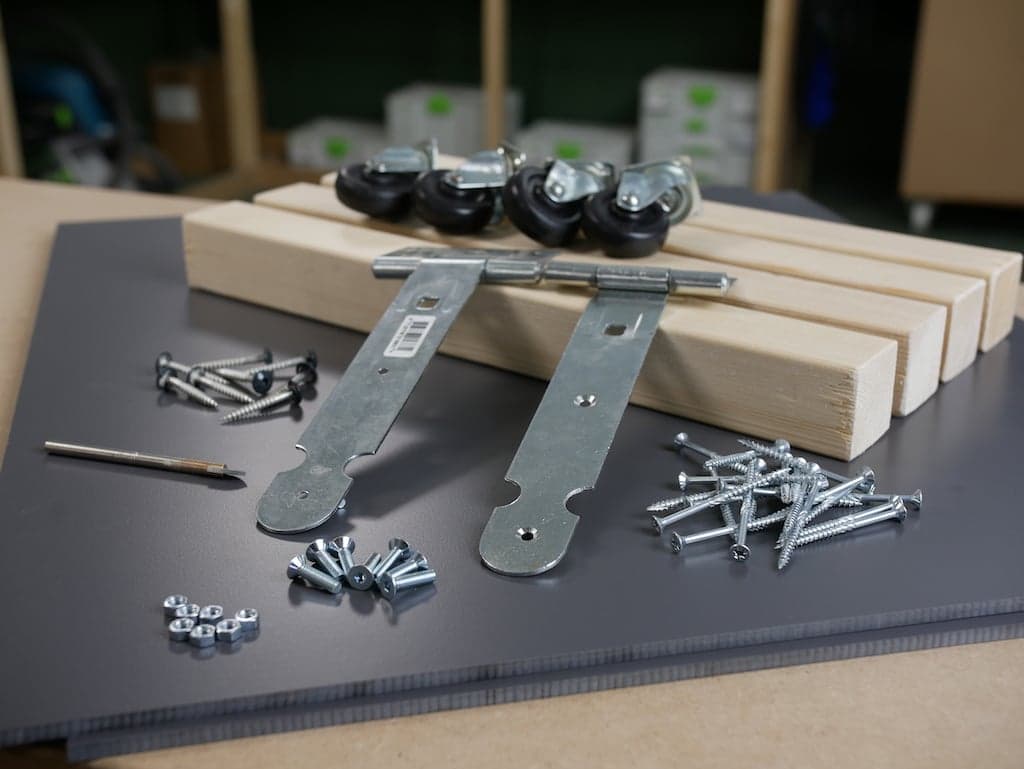
Requirements for the outdoor cushion storage box
- 6x HPL panels 6 mm thick (in the colour of your choice)
- 12 timber battens 50mm x 50 mm
- Drilling machine
- Chipboard
- HPL drill for High Pressure Laminate
- HPL screws (in the colour of your choice)
- 2 hinges + 6 bolts
- Casters (optional)
The base of your garden cushion storage
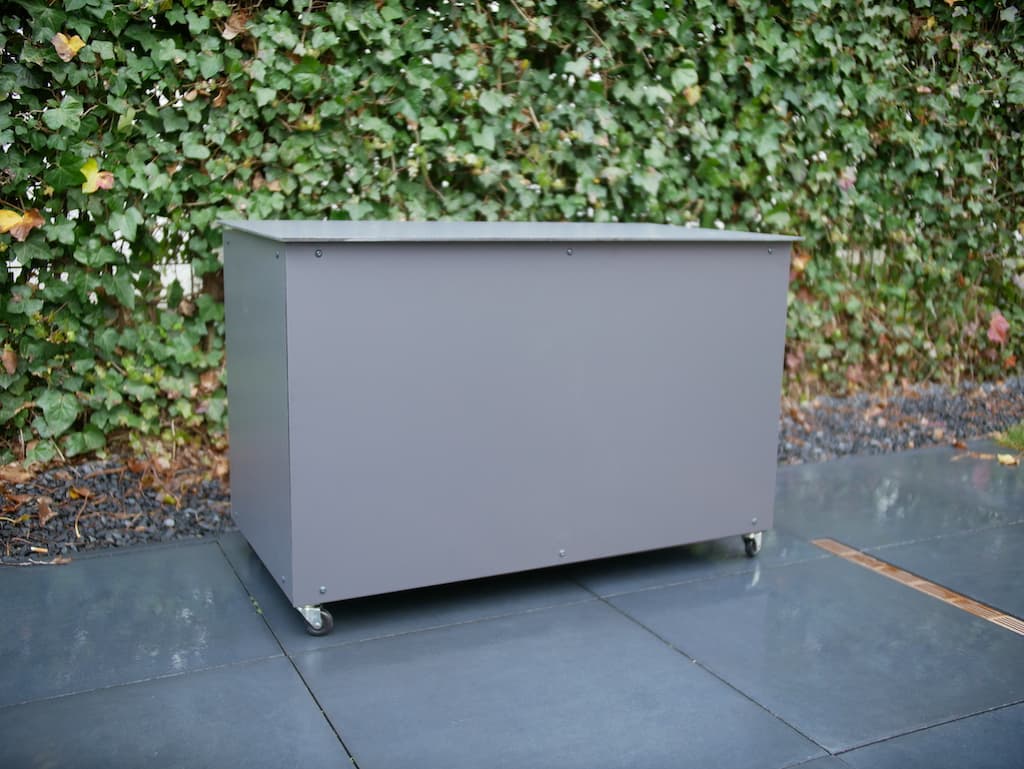
In this DIY, we’re going to show you how to make a storage box for garden cushions with measurements of 100 cm wide, 50 cm deep and 60 cm high. For the frame, we use 50 x 50 mm timber battens. We’re using 6 mm thick anthracite HPL panels for the front and back, bottom and top and the sides. Of course, you can adjust the dimensions and colour of the HPL to suit your requirements. Also good to know: we saw the panels to size for free, so all you have to saw is the frame.
The dimensions of the HPL panels are as follows:
- Top: 1 HPL panel anthracite 6 mm 104 x 54 cm
- Bottom: 1 HPL panel anthracite 6 mm 50 x 100 cm
- Sides: 2 x HPL panels anthracite 6 mm 50 x 60 cm
- Front and back: 2 x HPL panels anthracite 6 mm 101.2 x 60 cm
Step 1: Determine the size of your waterproof outdoor cushion box
Before you start with the framework, it is important to first decide how many cushions you want to store in your waterproof cushion box. Calculate the size of your garden cushion box, bearing in mind that your front and back HPL panels must be 12 mm longer (2 x the side thickness). You can also make the top of the cushion storage box 2 cm longer on 4 sides. This prevents water from getting into your outdoor cushions storage.
Step 2: Make the base frame
For the base frame of your garden cushion box, use timber battens (50 x 50 mm). First saw 4 x 100 cm side pieces. Next saw 4 x 40 cm cross pieces and 4 x 50 cm uprights. Now it’s time to make the bottom and top frame and screw it together with chipboard screws. Grab your uprights and attach the joists between your bottom and top frames. This makes the basis for your garden cushion box!
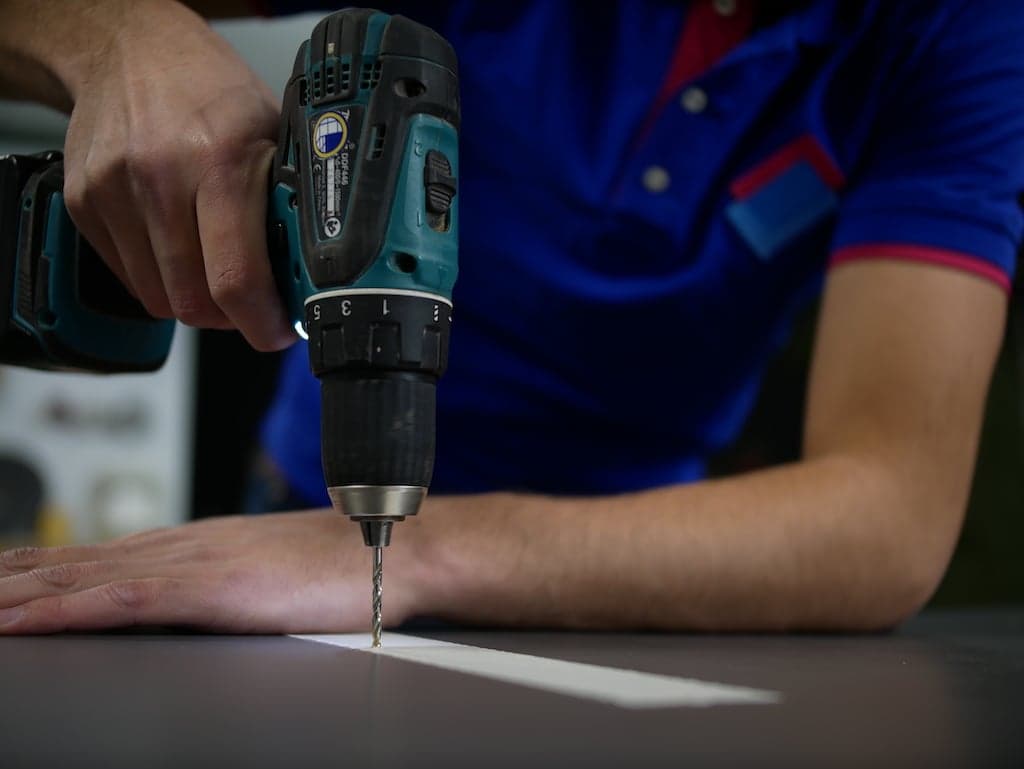
Step 3: Mark the drill holes and fix the HPL screws
Before you can start fixing the HPL panels, you must first mark out your drill holes. Next, use an HPL drill to drill your holes. Make a hole every 25-30 cm and screw your HPL panels using HPL screws. Since we used HPL in the colour anthracite, we’re using HPL screws in the same colour.
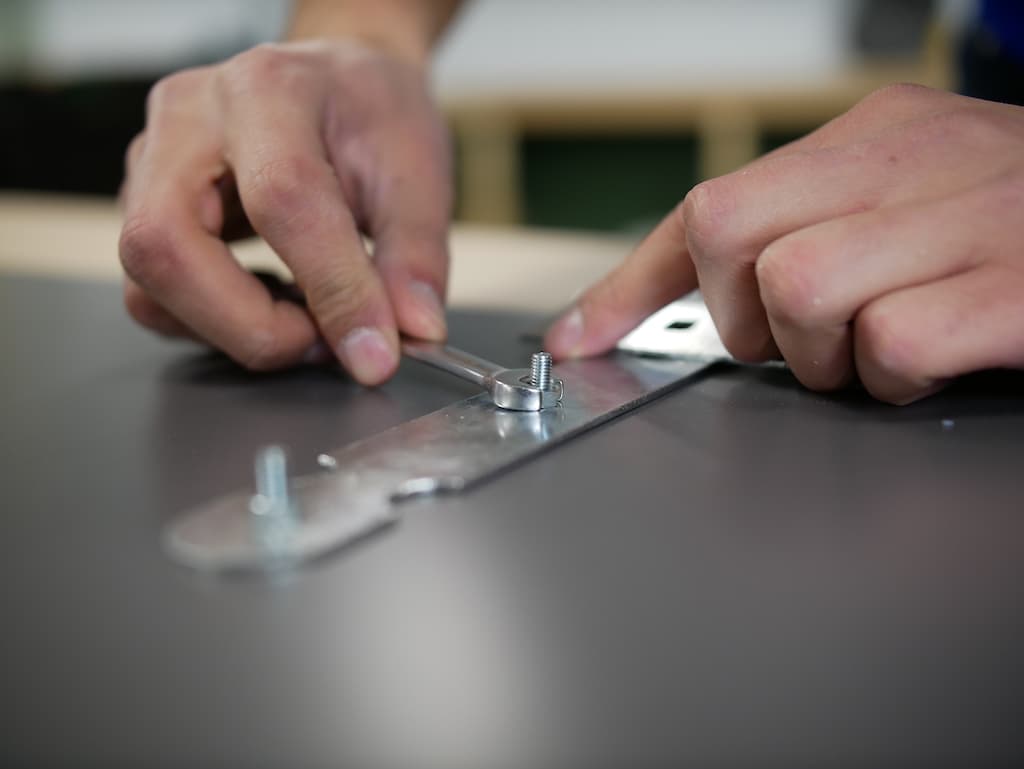
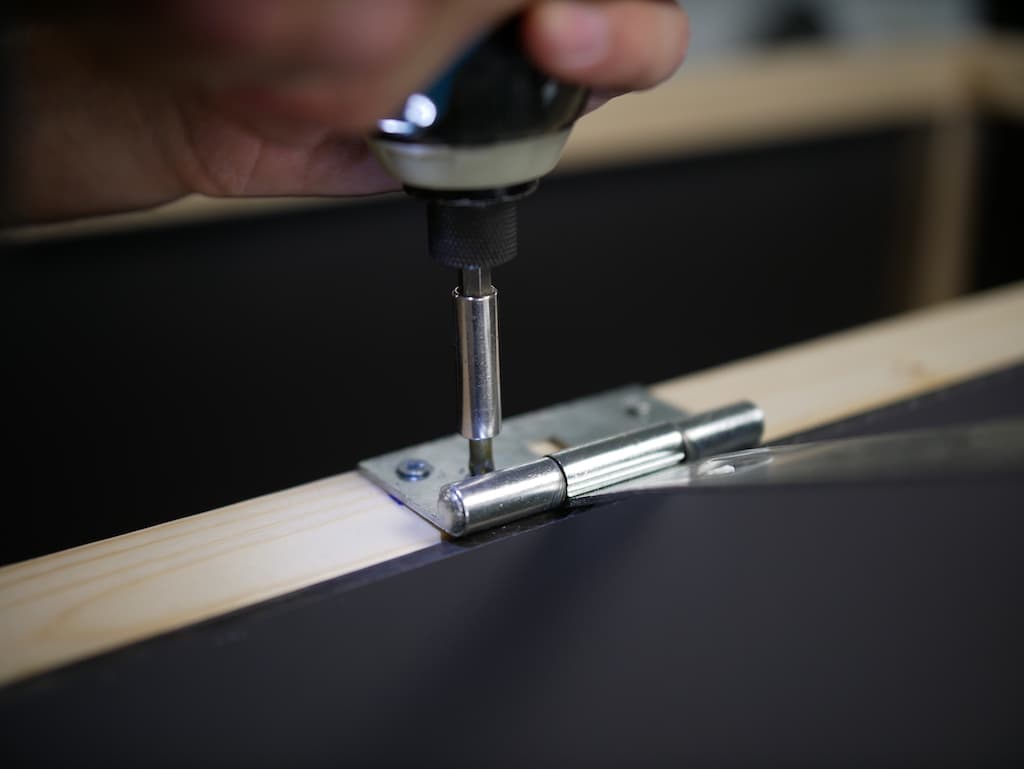
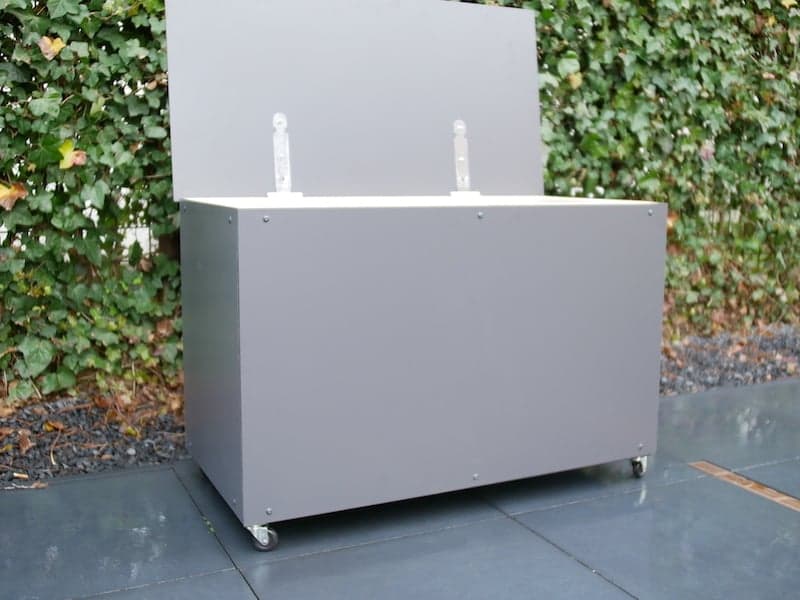
Step 4: Attach your hinges
Use a ruler to mark the location of the hinges accurately. Now fix your hinges to your frame. Measure the holes of your hinges so that you’ll know exactly where you have to drill holes in your top panel to attach your hinges to the top.
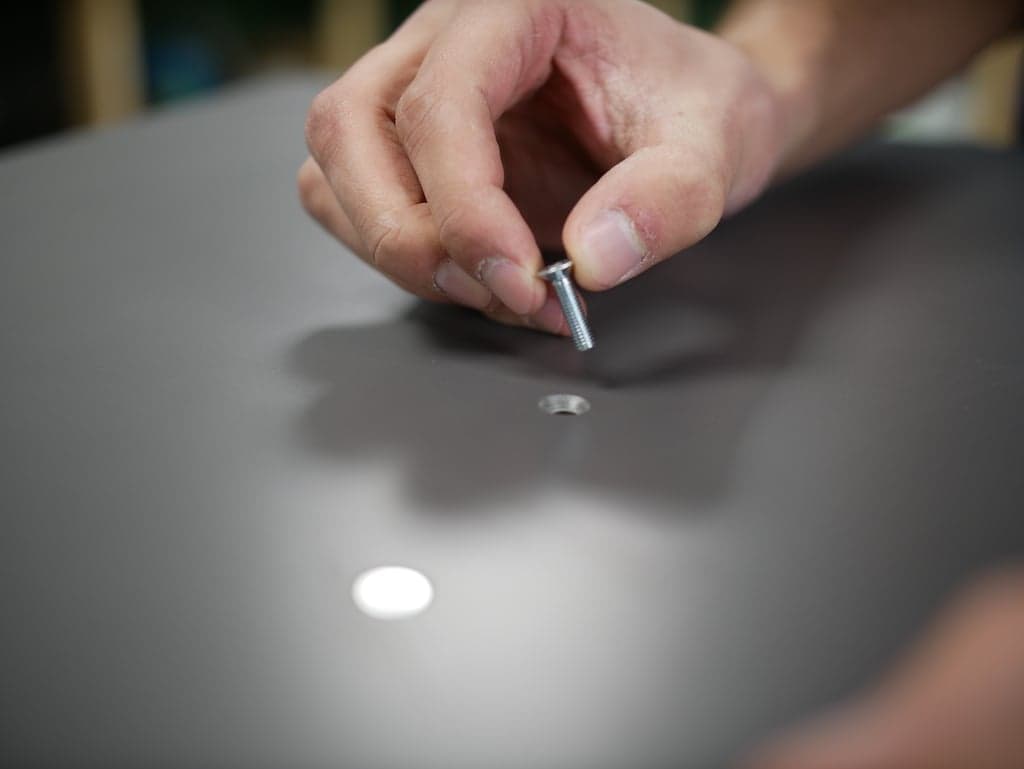
Optional: Take a countersink bit to countersink the screws in your top plate. This will prevent the screws from sticking out and gives you a better finish.
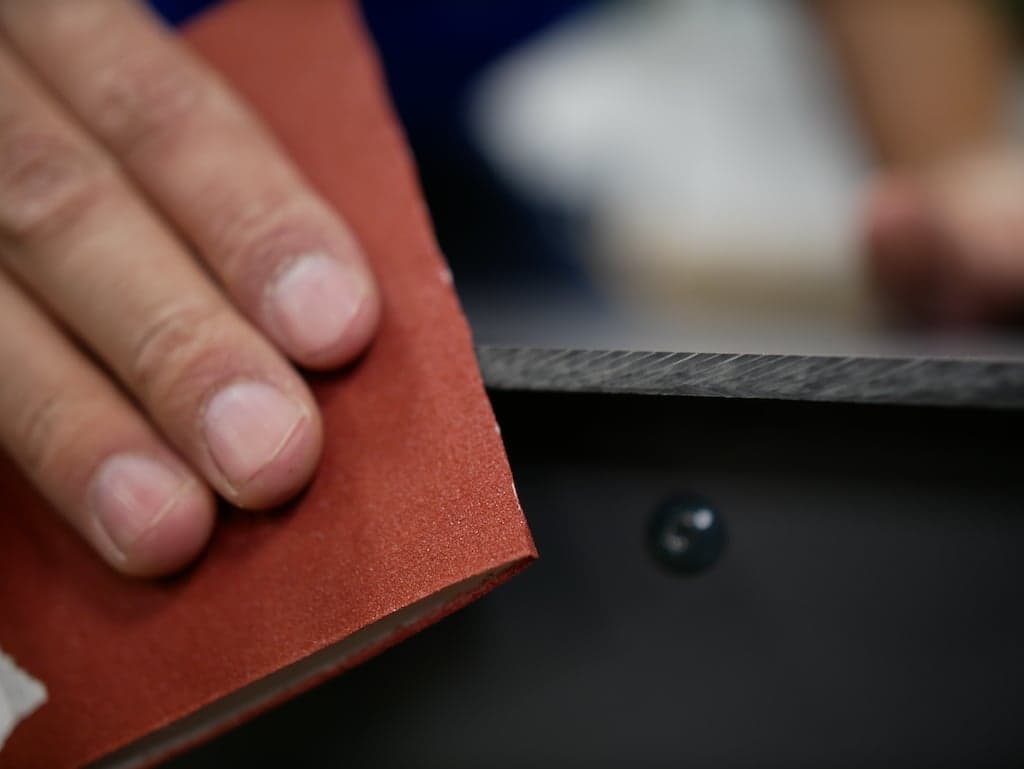
Step 5: Finishing your plastic storage box for garden cushions
To prevent someone from hurting themselves on your waterproof cushion box or snagging your cushions on it, we recommend finishing the edges with sandpaper. If you have a router, you can use it for this job if you like.
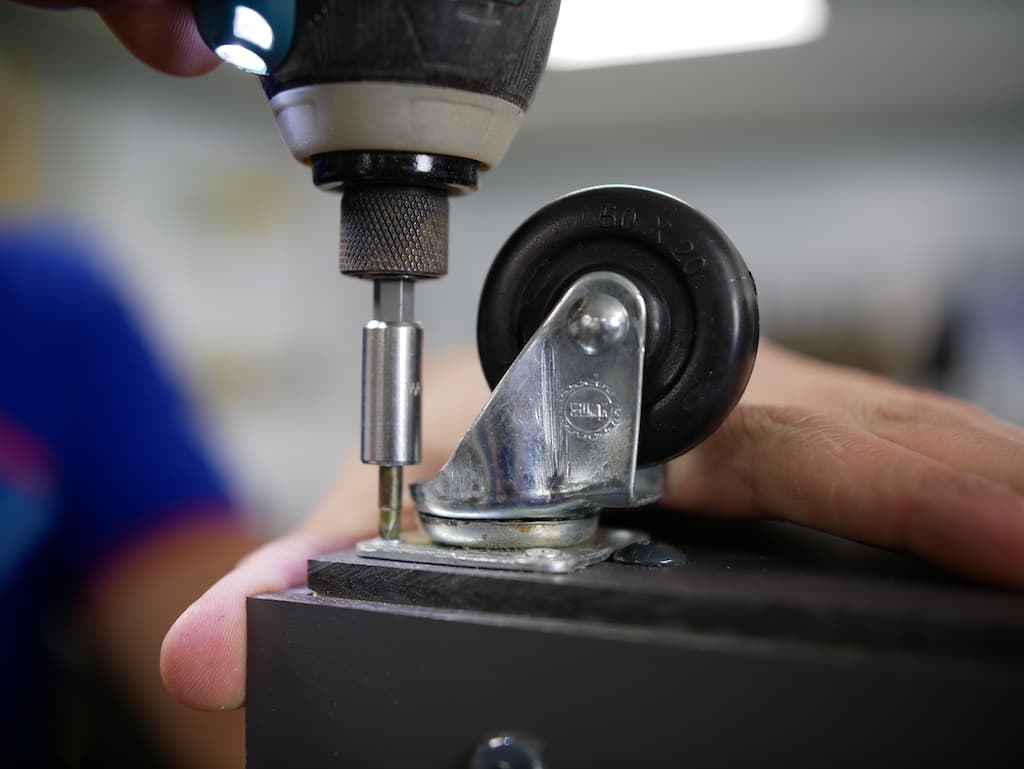
Step 6: Mount casters (optional)
Are you going to position your garden cushion box in a fixed place? If so, this step may not be necessary. But if you think it will be handy to be able to move your cushion storage box easily, for example, if you want to use it as a bench, we recommend castors. In this example, we’re using casters with a rectangular base plate and fixing holes. You only have to fix the base panel with four screws to the bottom of your garden cushion box.
Why choose HPL for your garden cushions storage box?
HPL does not rot and the material is more rigid than wood. The top layers are so hard and dense that sunlight and moisture cannot penetrate the panel. Perfect if you want an outdoor storage box for your garden cushions.
Ordering HPL panels for your garden cushion storage box
Has our DIY inspired you to make a storage box for your garden cushions yourself? Take a look at our webshop, where you can order HPL panels in a range of attractive colours. We saw the panels to size for you free of charge.


More DIY ideas and inspiration?
Check out our blog for more fun DIYs with HPL. If you have any questions about this project or our products, please feel free to contact us at 01223 976701 or send us an email.
Other blogs you may be interested in