DIY parcel drop box for your home

It’s so frustrating when you miss a parcel delivery! Solve the problem by making our DIY parcel drop box and you’ll never miss a delivery again. Of course, an outdoor parcel box needs to be waterproof so this is why we’re using HPL to construct ours. This material is hard-wearing, moisture-resistant and is weighty enough so your parcel delivery box won’t be blown open by the wind. In this blog, we’re going to give you step by step instructions for making a DIY parcel drop box using HPL sheets.
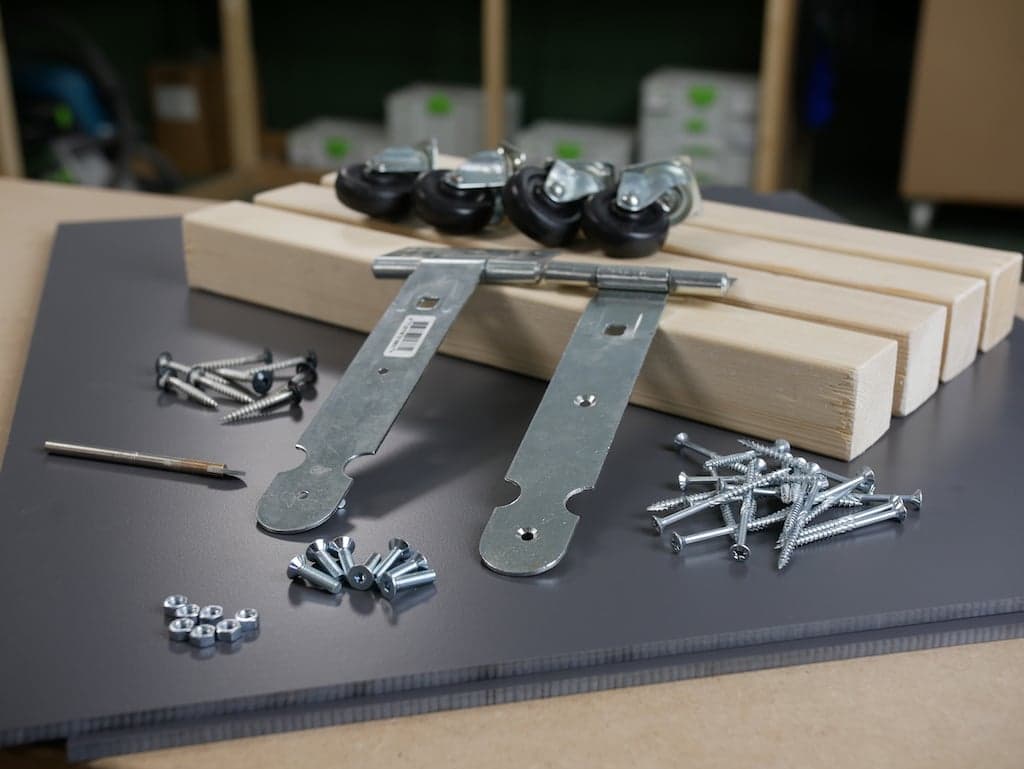
You’ll need:
- 6 x HPL sheets, 6 mm thick in the colour of your choice
- 12 timber beams (4 uprights, 4 longitudinal beams, 4 crossbeams)
- Drilling machine
- Chipboard
- HPL screws
- HPL drill for High Pressure Laminate
- Torx bit (per piece)
- 2 hinges and 6 bolts
- Standard transfer closure for padlock (or another locking system of your choice)
- Padlock
- Swivel castors (optional)
The basis of your outdoor parcel box
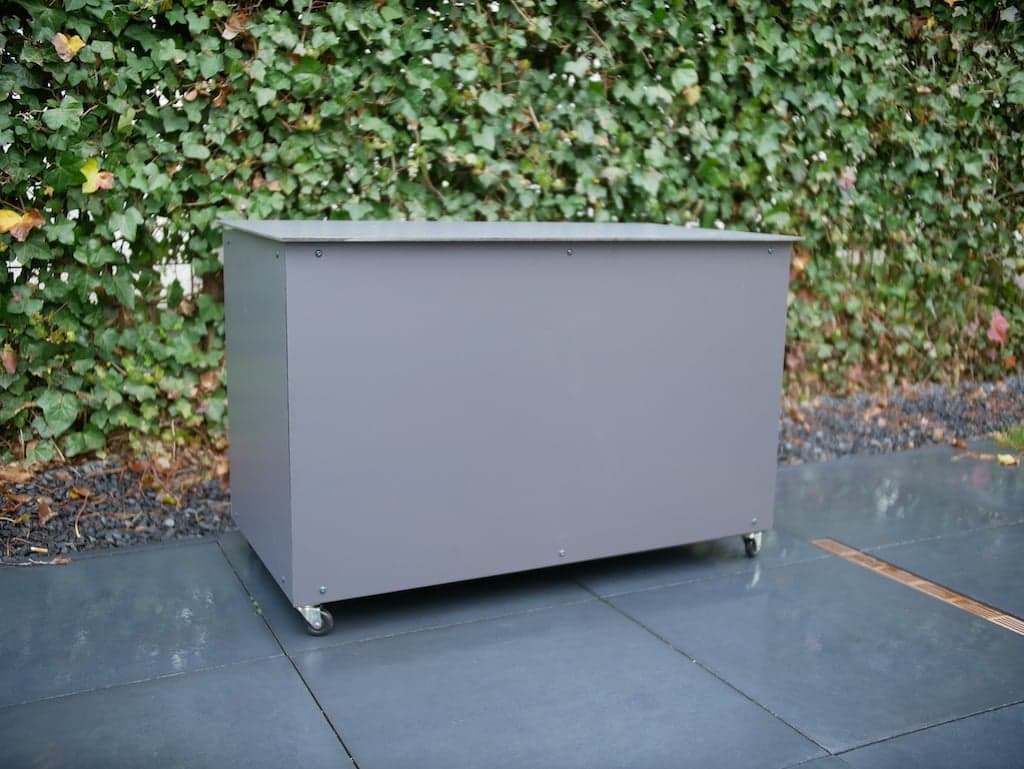
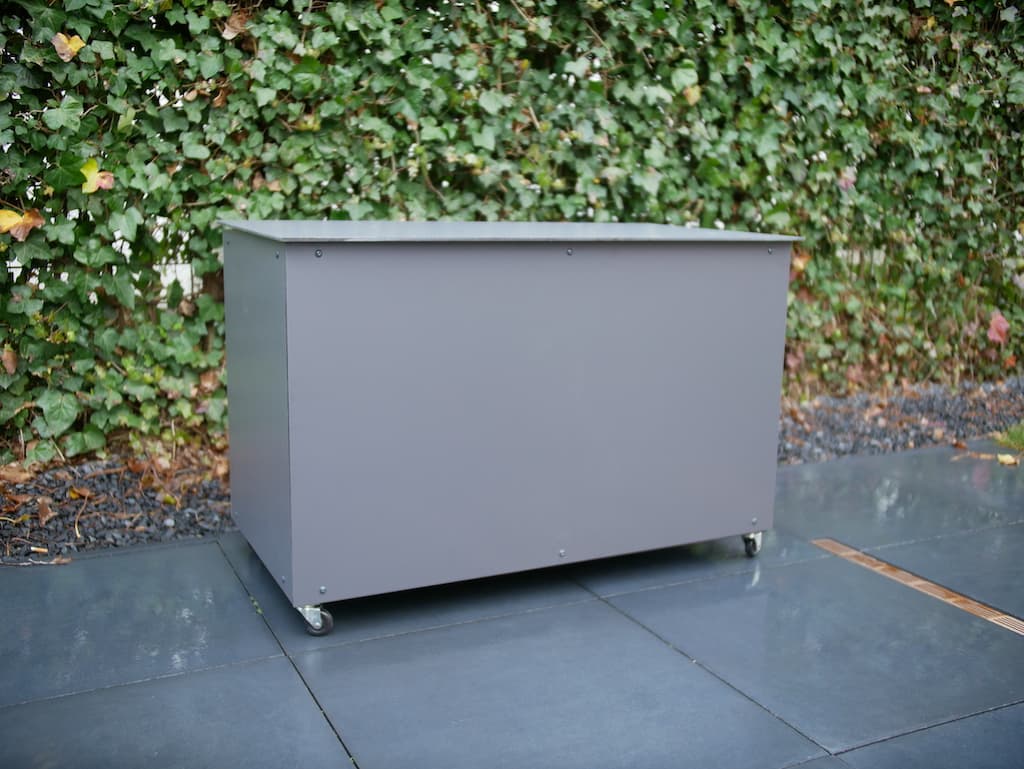
In this DIY blog, we’re going to make a parcel delivery box measuring 100 cm wide x 50 cm deep x 60 cm high. For the frame, we’re using 50 x 50 mm timber beams and for the front, back, sides, bottom and top we’re opting for 6mm thick HPL sheets in anthracite colour. Naturally, you can change the measurements and the colour of the HPL to suit your requirements. We’ll saw the sheets to the exact size for you for free.
The measurements of the HPL sheets:
- Top: 1 HPL sheet 6mm thick, anthracite, 104 x 54 cm
- Bottom: 1 HPL sheet 6 mm thick, anthracite, 50 x 100 cm
- Sides: 2 x HPL sheets, 6mm thick, anthracite, 50 x 60 cm
- Front and back: 2 x HPL sheets, 6mm thick, anthracite, 101.2 x 60 cm
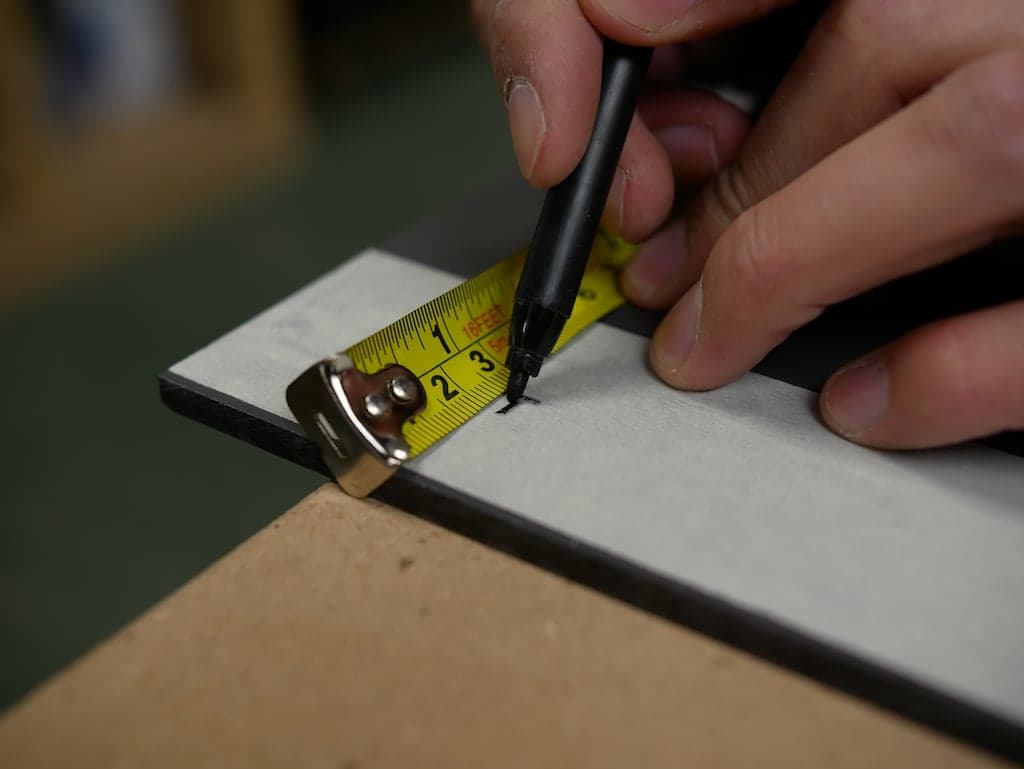
Step 1: Decide how large you want your DIY parcel drop box to be
First, decide how large your parcel drop box will be. Bear in mind that the front and back HPL sheets must be 12 mm longer (2 x the side thickness). The top of the parcel drop box must also be 2 cm longer on all 4 sides to prevent water from getting in.
Step 2: Construct the frame
Use 50 x 50 mm timber beams for the frame of your outdoor parcel box. First, saw 4 longitudinal beams measuring 100 cm. Then saw 4 crossbars of 40 cm and 4 uprights of 50 cm. Now you can start making the lower and upper framework and screw it together using chipboard screws. Then attach the uprights to the lower and upper frames. You now have the basis for your parcel drop box.
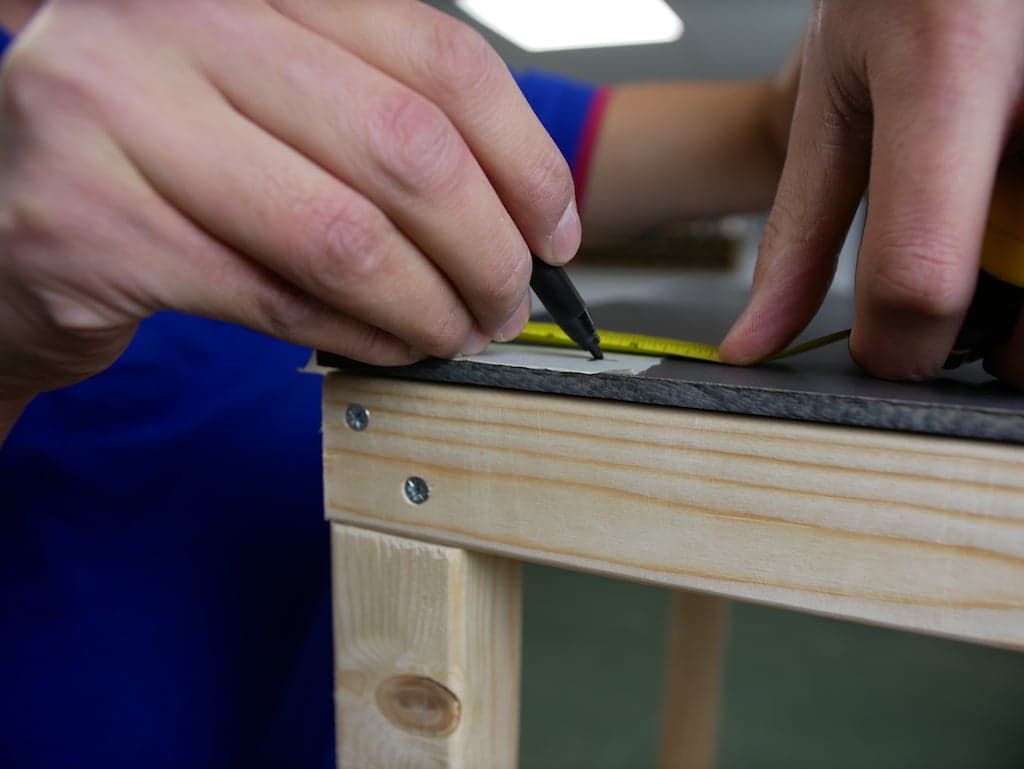
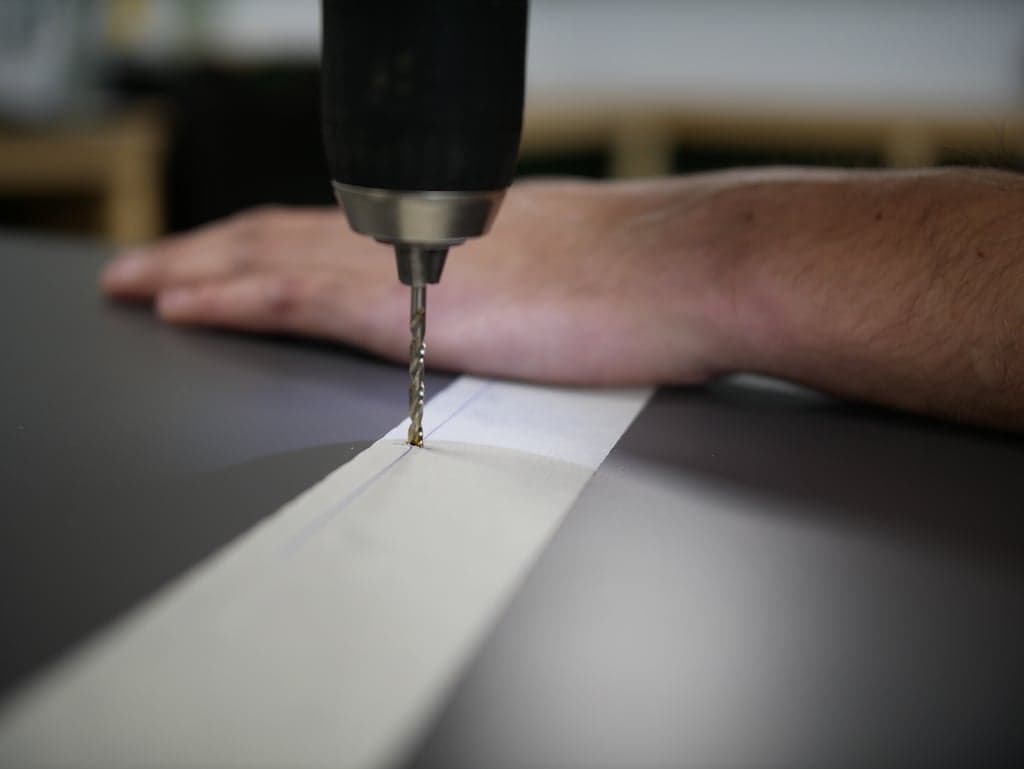
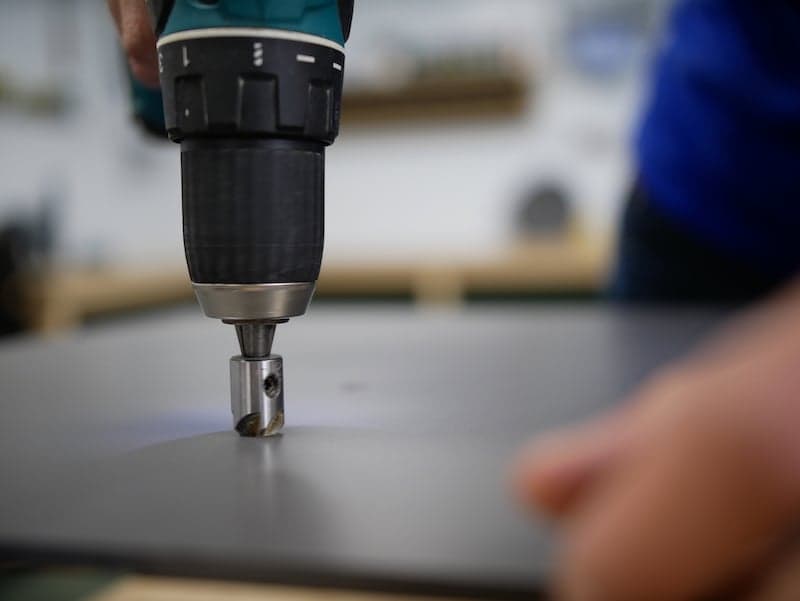
Step 3: Mark where the drill holes will be and fix the HPL sheets
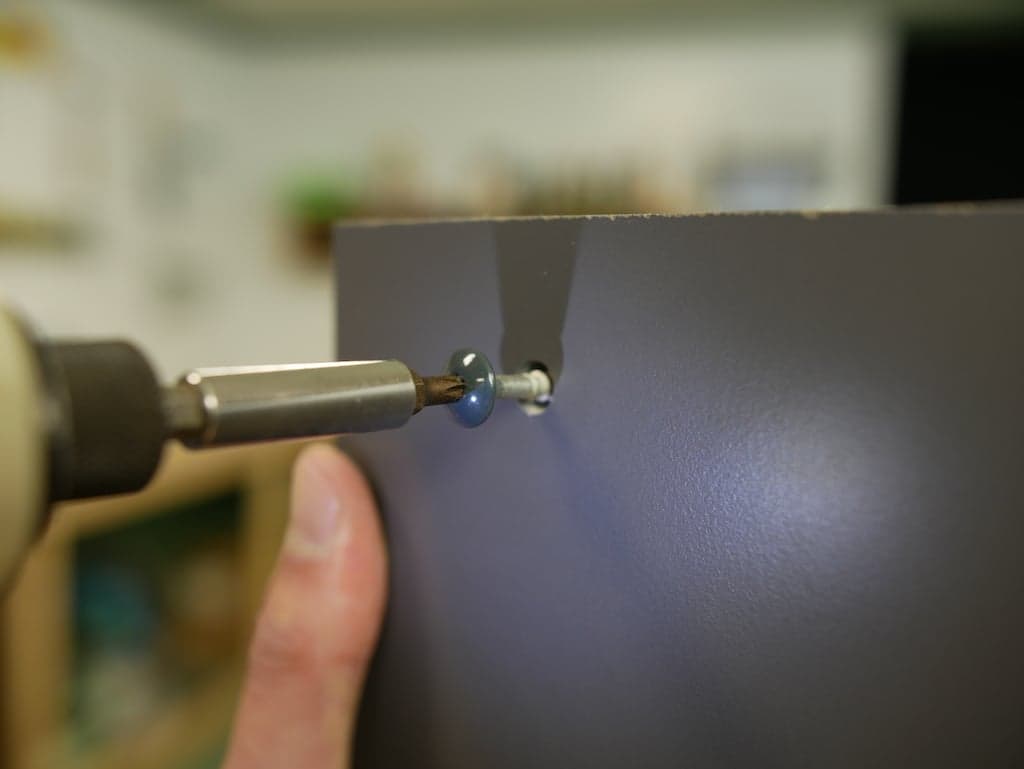
Before assembling the HPL panels, mark out the holes. Use an HPL drill and drill the holes every 25-30 cm. Secure the HPL sheets with special HPL screws. Since our HPL is anthracite in colour, we’re going to assemble the HPL using screws in the matching shade.


Step 4: Fix the hinges
Use a rule to mark the position of the hinges. Next, fix the hinges to the frame. Measure the distance between the holes on the hinges so you know precisely where to drill the holes in your top panel to be able to attach the hinges.
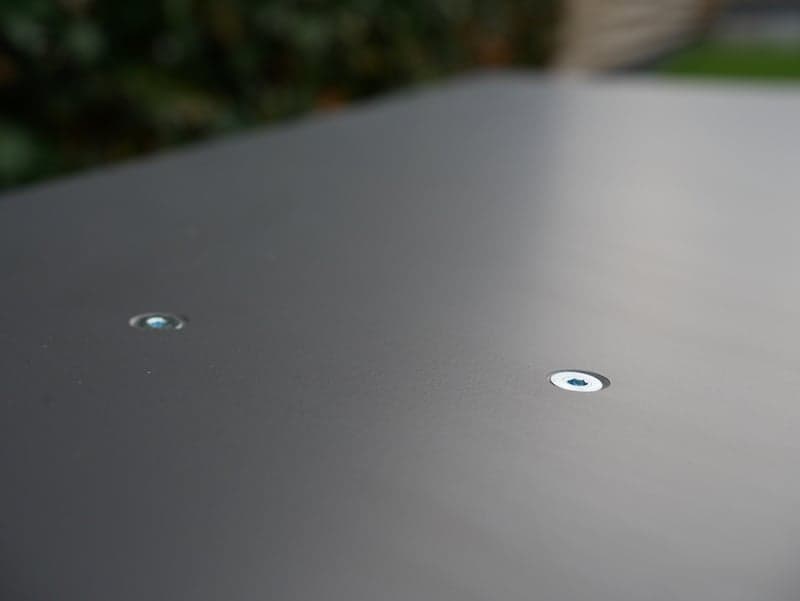
Optional: Use a countersink to countersink the screws in your top plate. This way you prevent the screws from sticking out and you get a nicer finish.
Step 5: Finish your parcel delivery box
You’ve finished your parcel drop box but the edges of the HPL might still be a bit rough. Smooth them lightly with sandpaper or a router so that no one gets scratched.
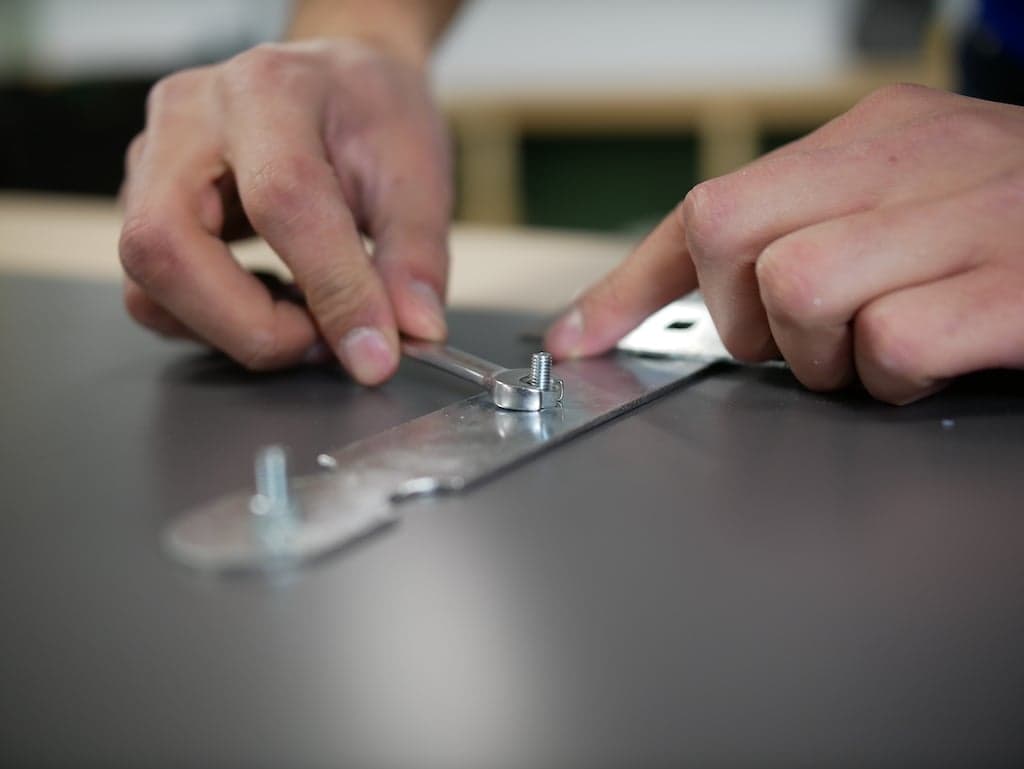
Step 6: Fix your locking system
Naturally, your parcel delivery box will need a secure closure. We recommend using a wrap-around closure for a padlock as it’s the simplest locking system. Mark the holes for fixing the transfer closure, then drill the holes and attach the bolts. Your package delivery box is now ready to use. Hang an open padlock on it so that it can be clicked it shut after a parcel has been delivered. Then it will be safe until you get home and unlock it.
Tip: Stick a note with instructions for the delivery person to the top of the parcel delivery box. You can also often include delivery instructions when you place your order.
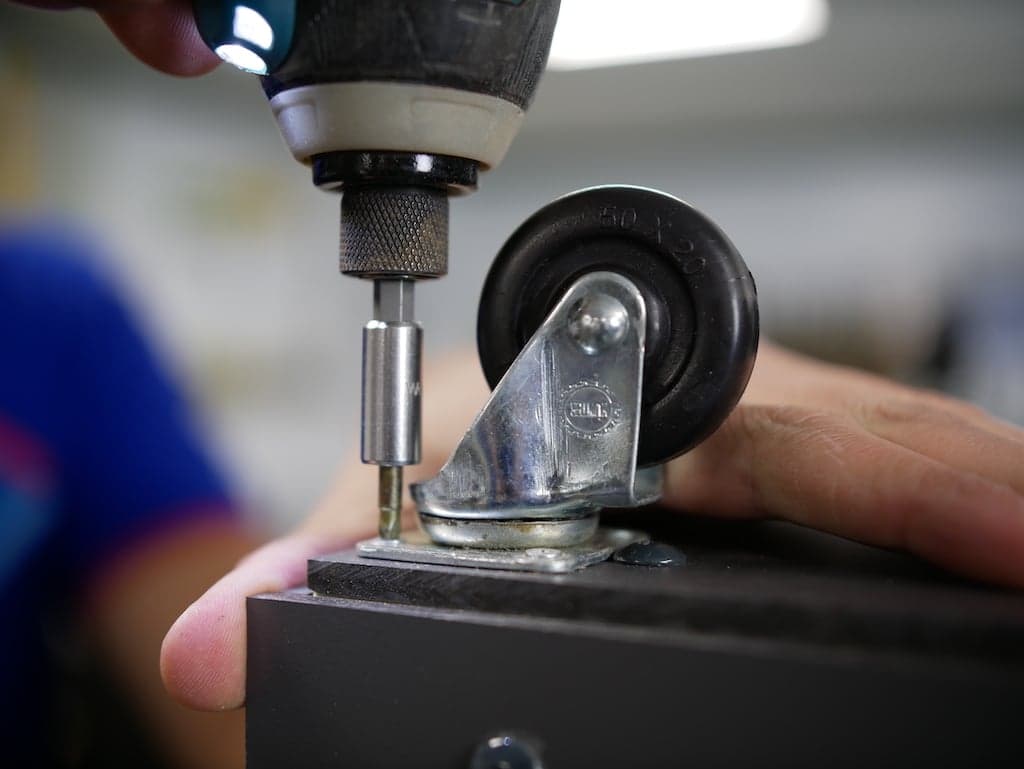
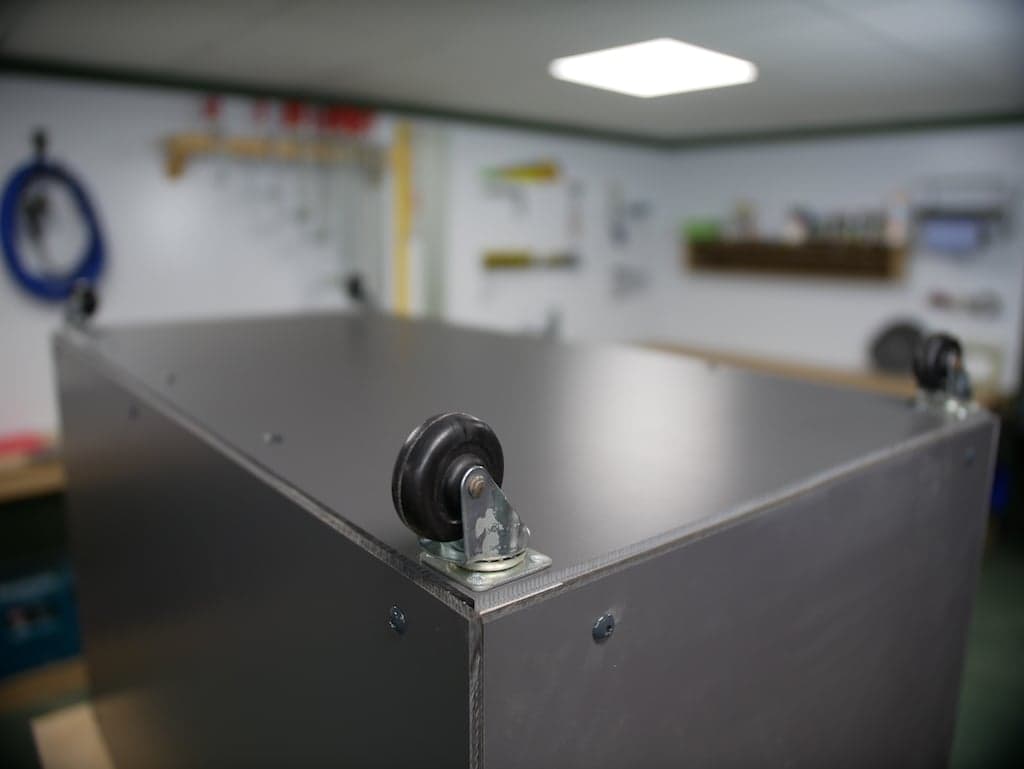
Step 7: Optional: adding castors
To be able to move your parcel delivery box easily, add casters to the base. In our example, we’re using castors with mounting holes and a base plate. All you have to do is screw them to the bottom of the delivery box. This can be quite handy if you have a heavy package to move and don’t want to carry it.
Buy HPL sheets online
Have we inspired you to make a DIY parcel drop box yourself? You’ll find everything you need in our webshop, where you can order HPL sheets in a wide range of colours. We’ll saw the sheets for you for free.


More DIY ideas
View our blog where you’ll find lots more fun DIYs using HPL. If you have any questions about this project or our products, please call us on 01223 976701 or send us an email, we’re always happy to help.