5 DIY clock ideas
The ticking of a clock is the sound of home, especially when it’s a clock you’ve made yourself! This blog will explain how to make a DIY acrylic clock and bring you five inspirational ideas for beginners and experts alike. From a wall clock with separate numbers to a digital clock, there’s a clock to suit every taste.
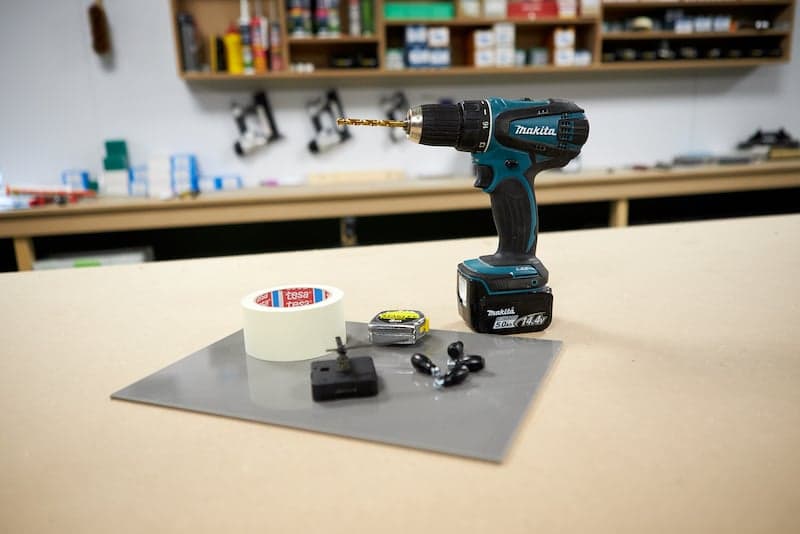
Requirements for making a DIY clock:
- Acrylic sheet of your choice
- Drill
- Clockwork
The basics of constructing a DIY clock
Before you begin to make your own clock, the first step is to decide what kind of clock it will be. Do you want to make a wall clock with individual numbers, or would you prefer to make a round or square clock? And of course, you also have to decide whether you want to make a digital or analogue clock. In our demonstration, we’re going to explain the steps in making a basic analogue clock. If you wish, you can also extend it to make a rack.
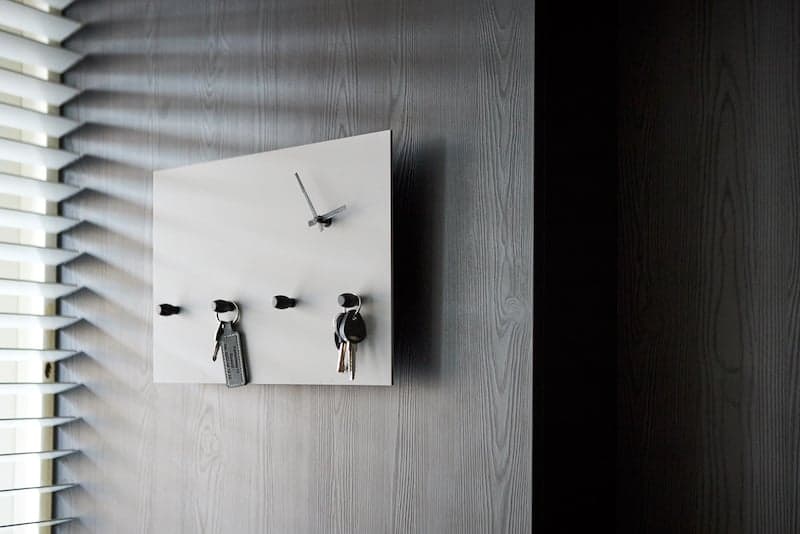
Step 1: Order the acrylic sheet for your wall clock
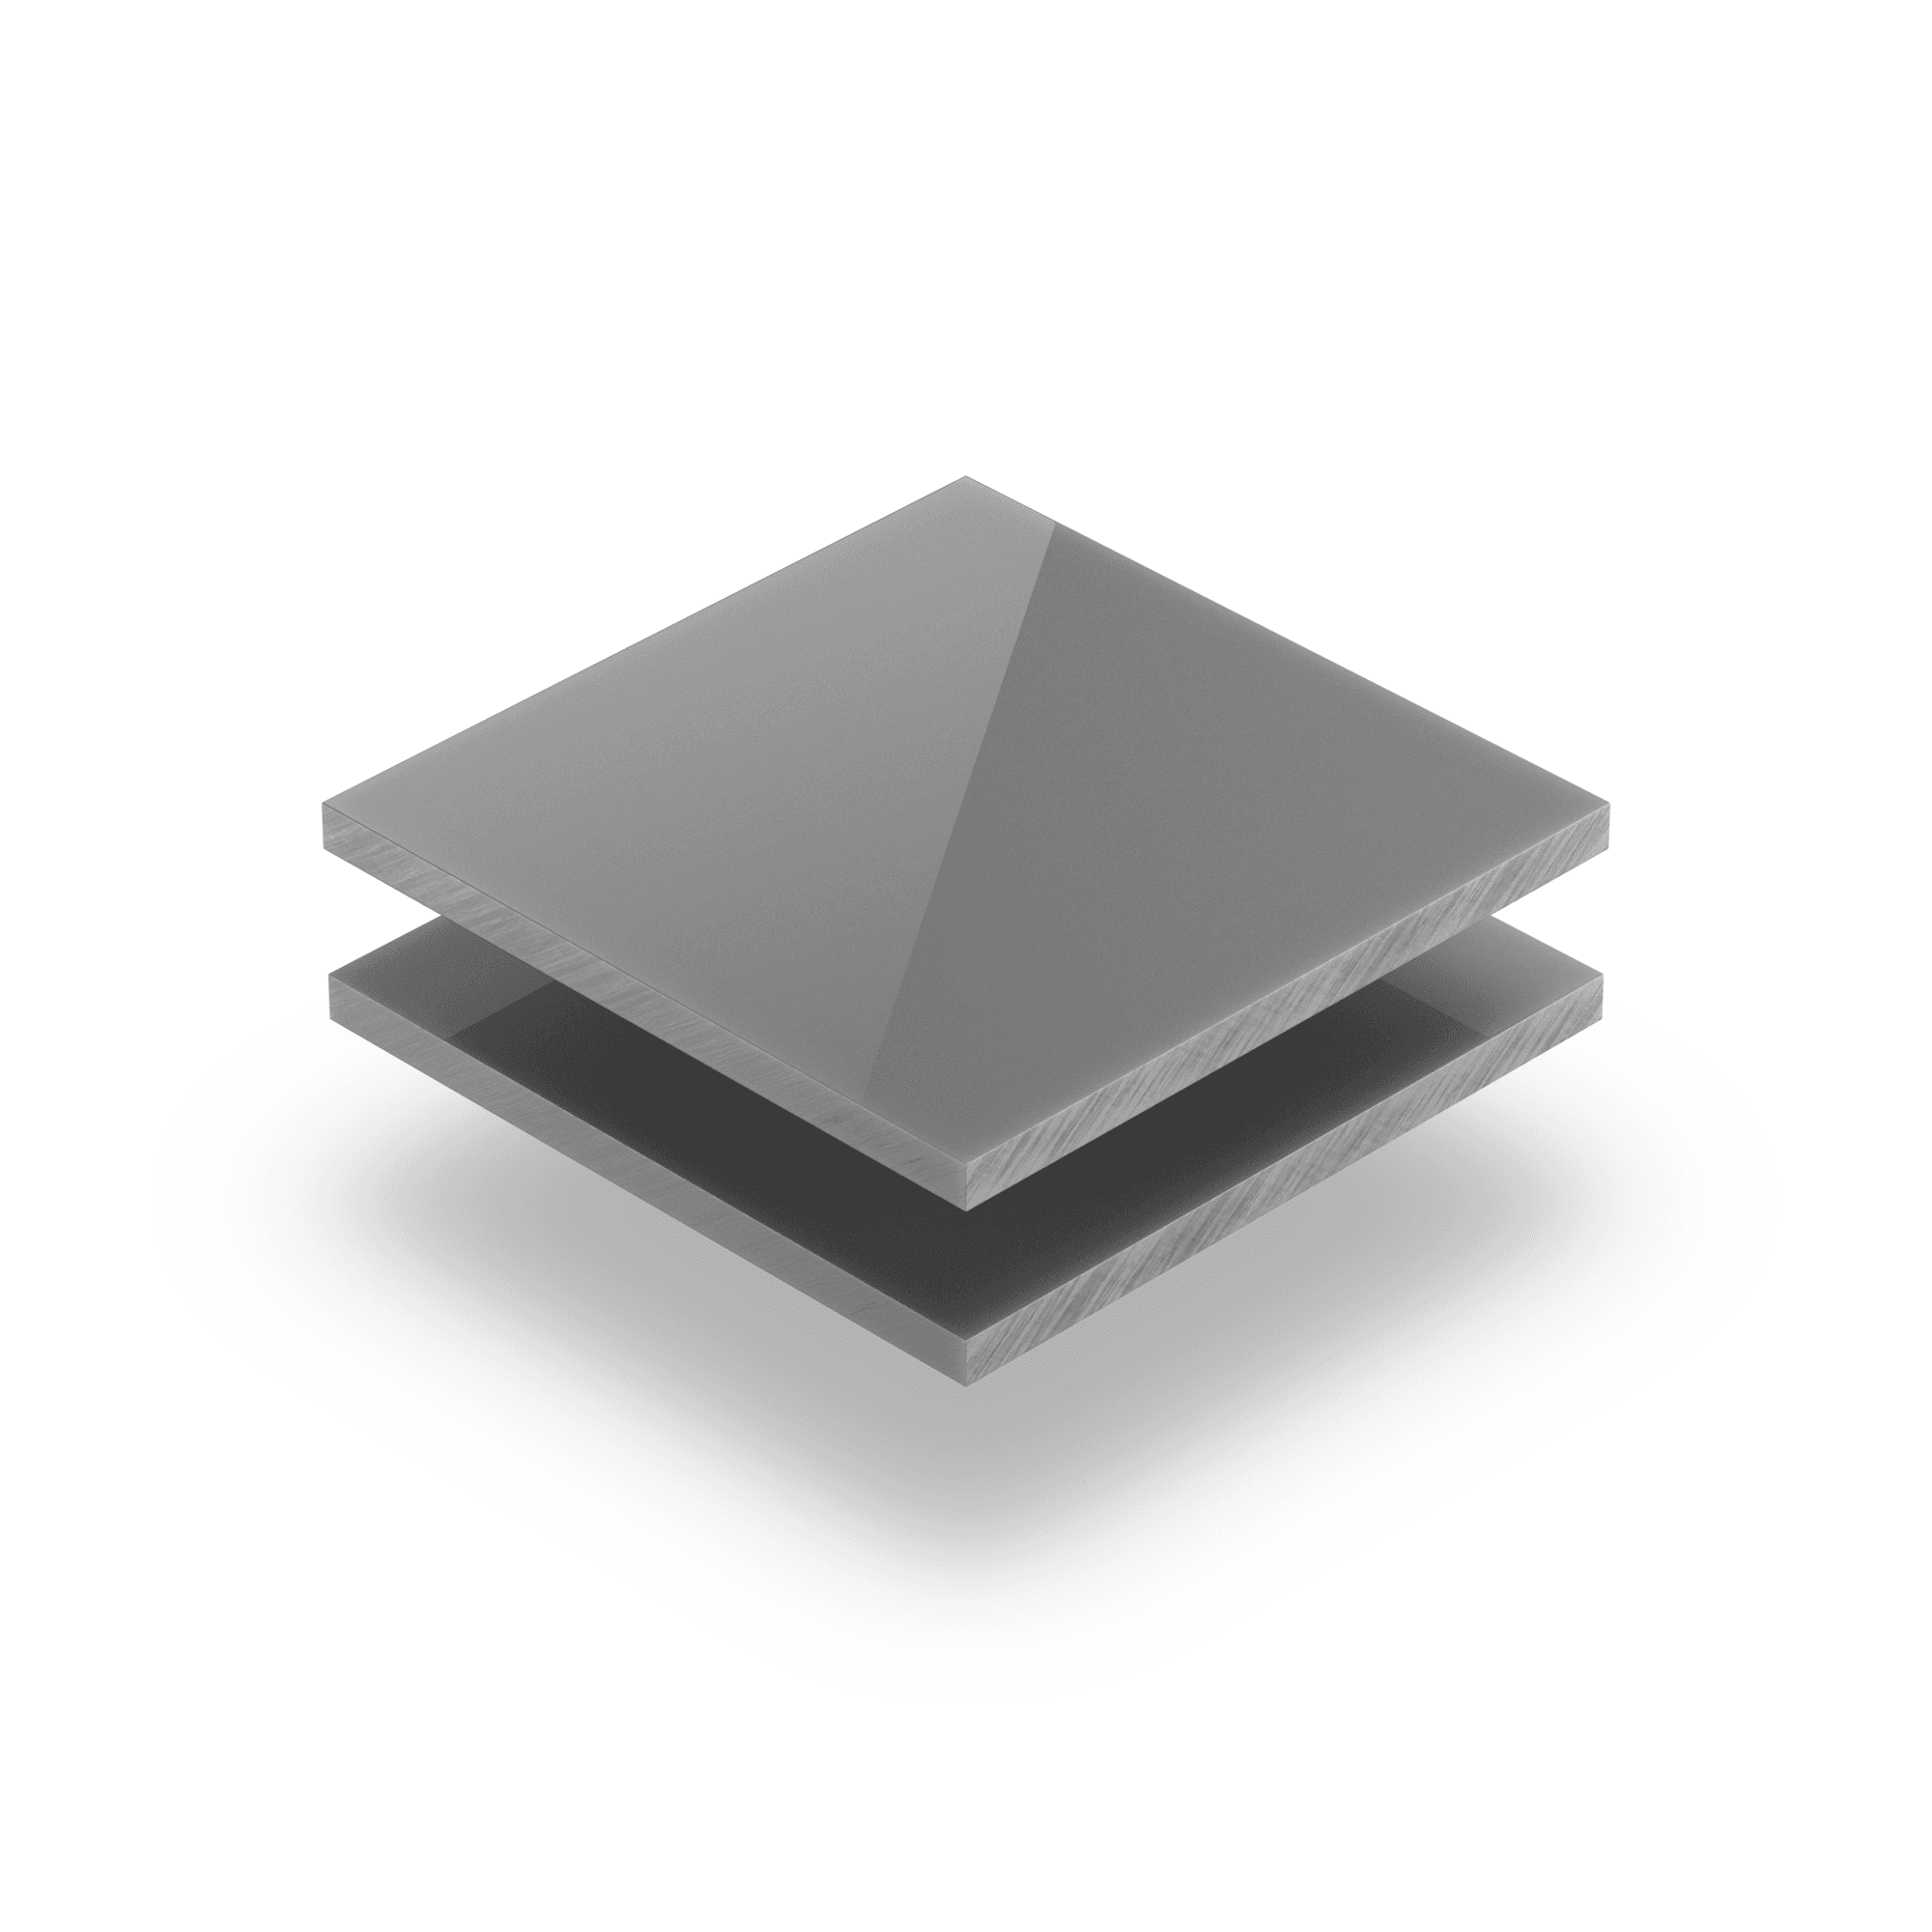
There are endless ways of making a DIY wall clock, from a minimalist wooden clock to a clock wall sign. We’re making ours from matt acrylic to give it a sleek look, and we’re going to make it longer as a practical key holder. Ideal for the hallway! The first thing to do is choosing a colour that suits your decor from our range of beautiful shades. Then, we’ll cut the sheet for you in any shape you require, so all you have to do is drill holes and fix the clock mechanism.
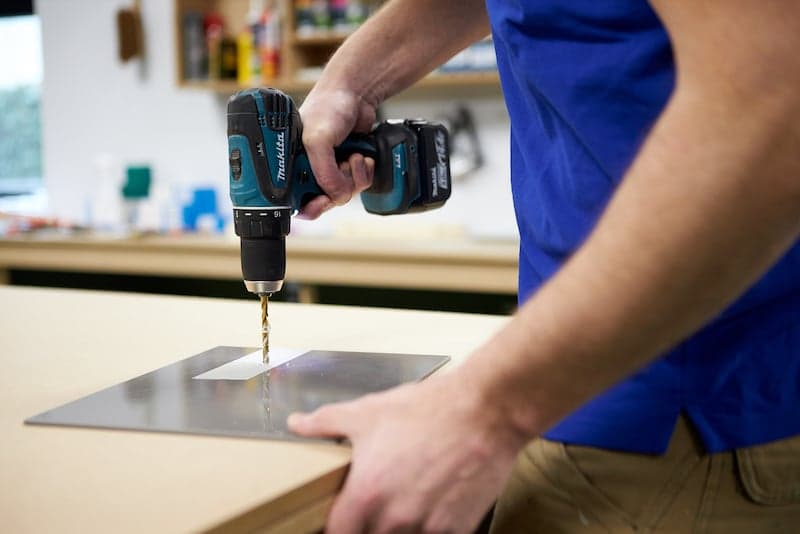
Step 2: Drill your holes
Before you begin drilling, you need to have a clear idea about what you’re going to make. For example, if you’re going to make a clock key rack, you’ll need to think about how many brackets you’ll need to attach it to the wall. And think about where you’re going to mount your clock and stick scraps of masking tape on the places where you’re going to drill screw holes.
Expert tip:
Because you’re going to drill your acrylic sheet, it’s essential to use cast acrylic (GS) and not the extruded version (also called budget acrylic or acrylic XT). The way in which the extruded version is manufactured creates more tension on the sheet, so it’s more difficult to machine as there’s a high risk of it cracking.
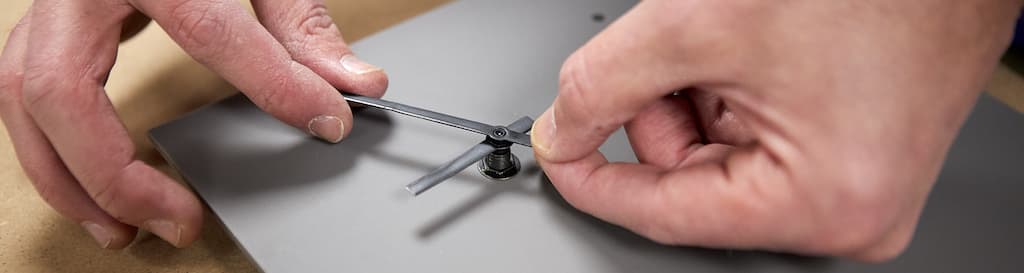
Step 3: Attach your clock mechanism
Now, insert the clock through the acrylic sheet and tighten the hands. Then attach the hooks for your key rack. We’re going for an industrial look, so we’re using matte black brackets, but of course, you can use whatever brackets suit your taste.
Step 4: Hang your wall clock
Now, all you have to do is to hang your lovely new clock on the wall. We don’t want to have to drill any more holes, so we’re using self-adhesive strips. You could also use spacers.
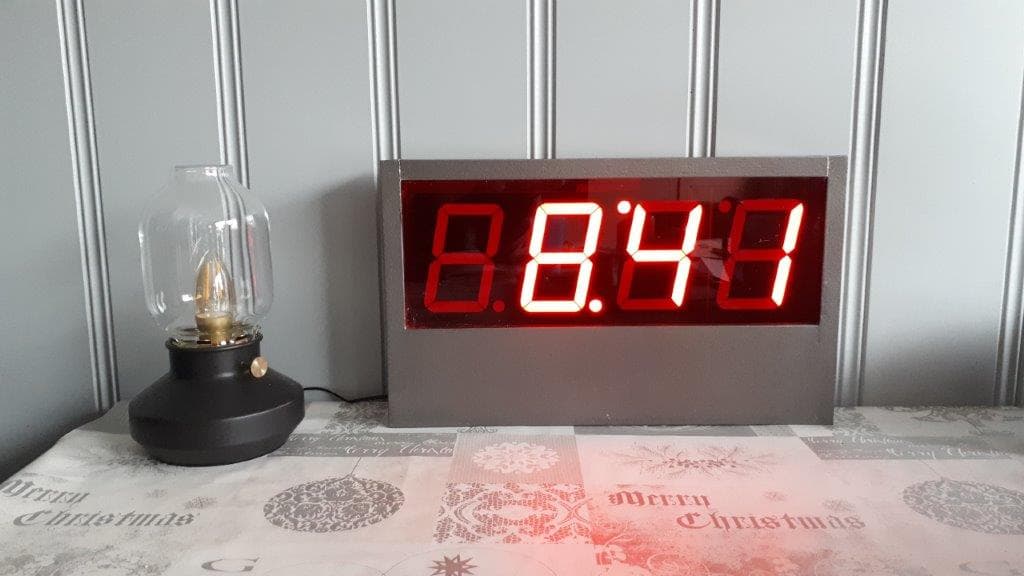
Making a digital clock
If you’d like to make a digital clock, it’s essential to have some electronics and woodworking skills. For example, one of our customers constructed the digital wall clock seen in the images below. He used an Arduino controller (for those in the know, an ESP8266 NodeMCU module) to obtain the correct time online and show it on a screen. He chose 5 mm thick red-tinted acrylic for the clock screen.
Making a wall clock with individual numbers
Does a minimalist wall clock with separate numbers sound more to your liking? You can order acrylic or Dibond / Alupanel numbers in the colour, size, and thickness that you prefer in our webshop. You can also choose the font, so it’s easy to design a clock yourself. You can either create a 3D effect by attaching the numbers with special spacers or glue them directly to the wall. By working with individual numbers, you decide on the diameter of your DIY clock.
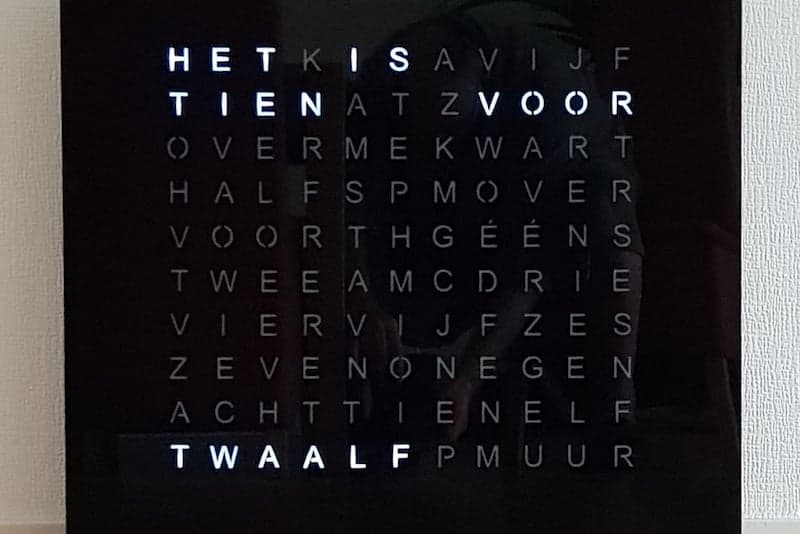
Make a black word clock
Fancy making a clock with a unique look? We recommend this black word clock. But just a word of warning: you do need to be skilled in wood and plastic processing, soldering, electronics and programming. One of our customers who has these skills made the clock seen in the pictures below. He used acrylic, PVC sheet material and LED lights, amongst other things.
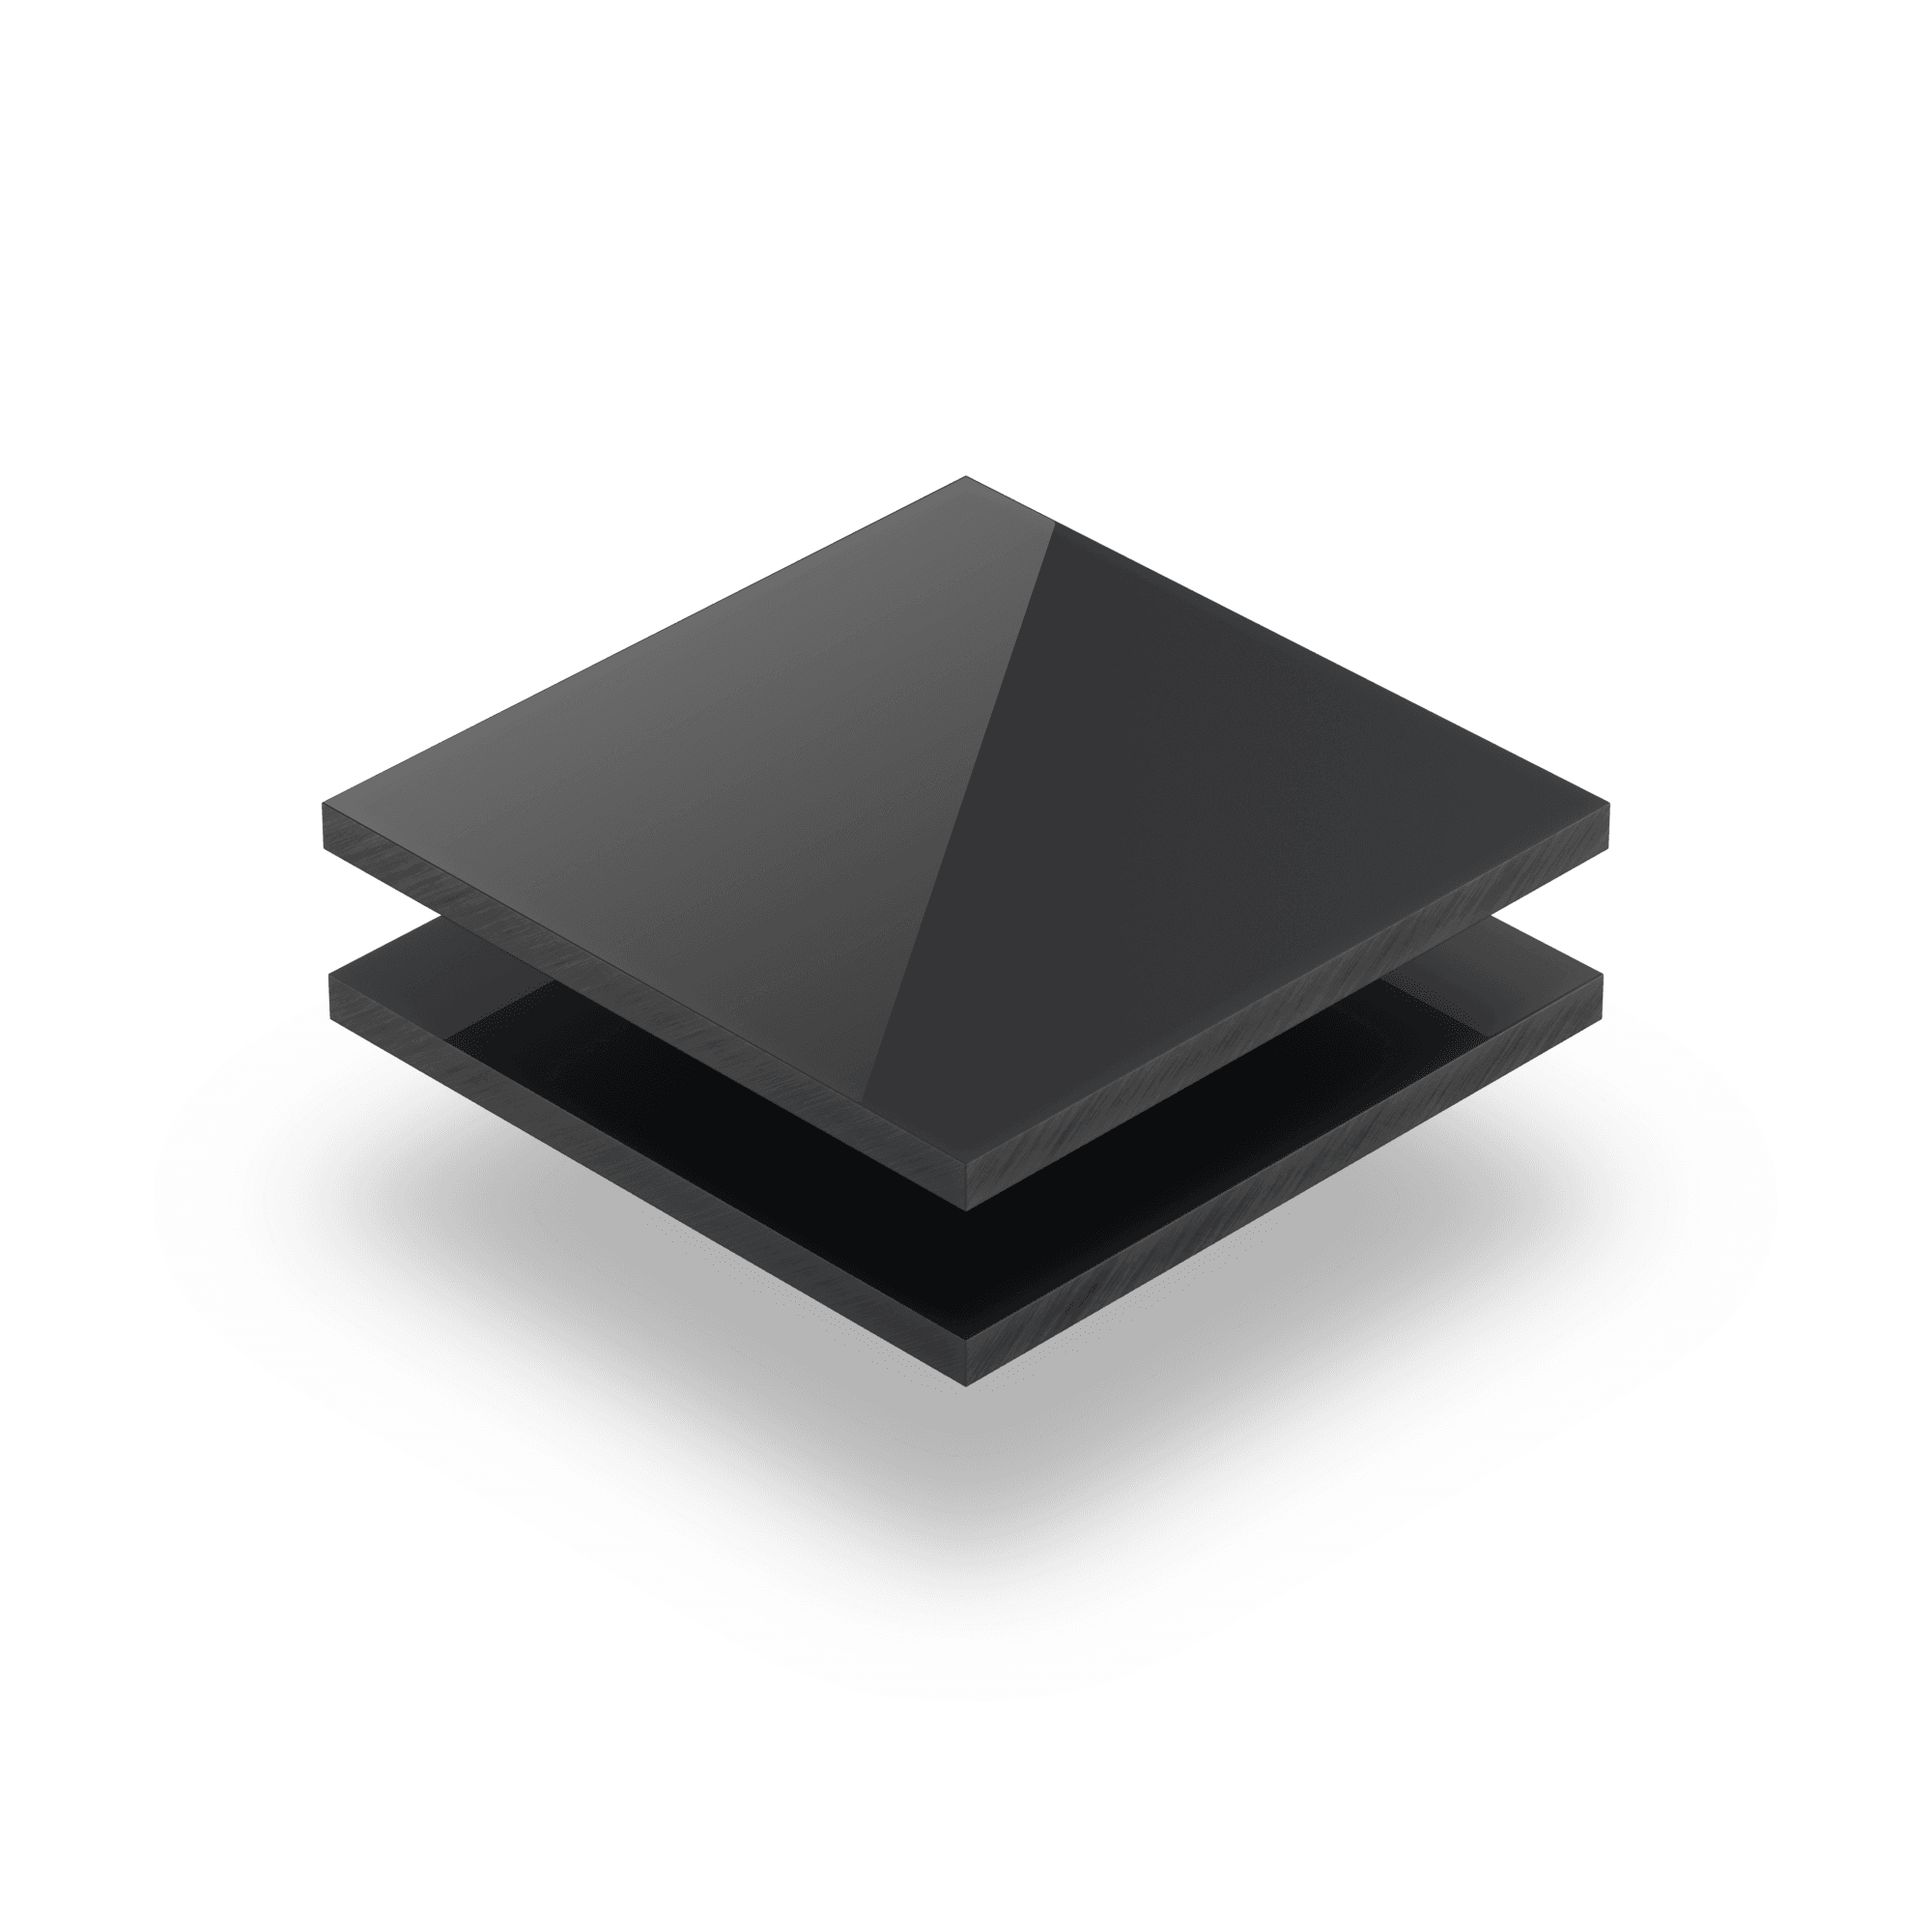
Making a circular wall clock
A large circular clock is a real eye-catcher, and making a circular clock is very simple. Order your acrylic circle in the colour, thickness and diameter of your choice, and we’ll ensure that you receive the basis of your new clock as soon as possible. For example, to make a matte black circular clock, go to the product page, select your diameter, and we’ll cut it to size for you.

Ordering custom acrylic sheet
In our webshop, you will find moulded acrylic in a range of thicknesses, colours and finishes. We’ll cut the sheets for you in any shape you require. If you’re unsure about the thickness you need, please consult our free thickness calculator or contact us for more advice.

Other blogs you may be interested in


