DIY key holder

Are you always hunting around for your keys? With a homemade key holder, you can create a place to store your keys safely and you’ll always know exactly where they are! In this easy DIY, we’re going to show you how to make a key holder using acrylic sheet. You can also make it an even more attractive and practical feature by expanding it to include a simple wall clock.
You’ll need:

- Satin acrylic sheet cement grey 4 mm
- 4 matt black hooks
- Drilling machine
- Clock mechanism (optional)
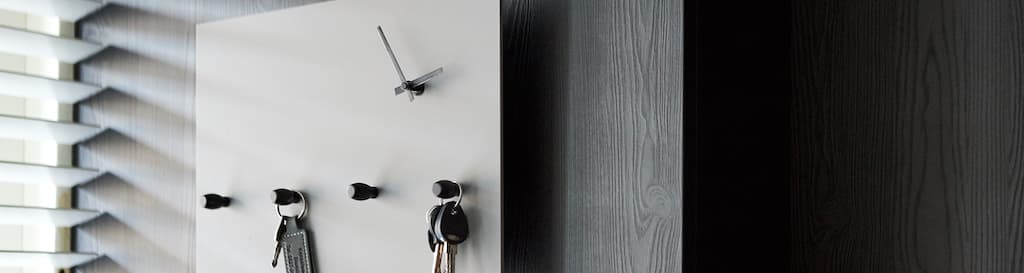
The basis for the easy DIY key holder
For our key holder, we’re using 4mm thick acrylic sheet in the satin cement shade. Our key rack measures 35 cm x 25 cm. Naturally, you can adjust the dimensions and the colour of the acrylic to suit your taste and decor. You can also decide on the number of brackets. In our example, we’re going to have 4. If you’re going to extend your key rack with a clock, take a small clock movement from an existing clock or buy one at the hardware store.
Step 1: Order the acrylic sheet for your plastic key holder
What’s nice about making a DIY key holder is that you can make it completely to your taste. And you can also ensure that the colour matches your interior decor perfectly. First of all, think about the best place to hang your key holder. In most cases, this will be by the entrance door. Choose the acrylic in a beautiful colour that matches it and decide on the dimensions. We’ll saw the panel to size for you free of charge, so you all you have to do is to drill the holes.
Step 2: Decide how many holes you’re going to drill
Once you have everything you need, it’s time to start drilling the holes. In this DIY, we’re assuming that you’ve opted to extend your key holder with a clock. Decide where you want to place your clock and how many brackets you want to attach to hang your keys on. Mark the drill holes on a piece of masking tape. This will prevent the drill bit from slipping. Leave the protective film on the acrylic sheet until you have drilled all the holes. This will prevent any unnecessary scratches on the plastic.
Please note: as you’re going to be drilling holes in the acrylic sheet, it is important to order cast acrylic, not the cheaper extruded type. The production process of extruded acrylic creates more tension on the sheet. This means that this type of acrylic is more difficult to process because it’s more likely to crack.

Step 3: Attach the hooks for your keys
Attach the key hooks of your key coat rack with screws. Attaching your clock mechanism is done as follows: just place the screw in the hole you have drilled for the clock and tighten the hands.
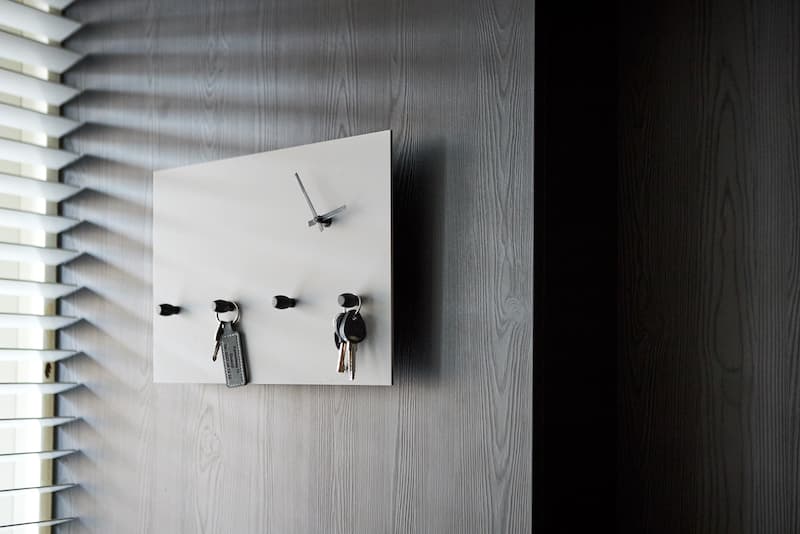
Step 4: Hang up your key holder without drilling any holes
To attach your key holder to the wall without drilling any more holes, we’re using self-adhesive strips. Et voilà! Your key holder is ready to use.
Ordering acrylic for the key holder
Did this DIY inspire you to make a plastic key holder yourself? In our webshop, you’ll discover acrylic sheet in a wide range of different colours, sizes and thicknesses. We cut the sheets to size for you free of charge and deliver your order as soon as possible. Do you have any questions about making a key holder or about any other DIY? Please don’t hesitate to contact us.
Other blogs you may be interested in

