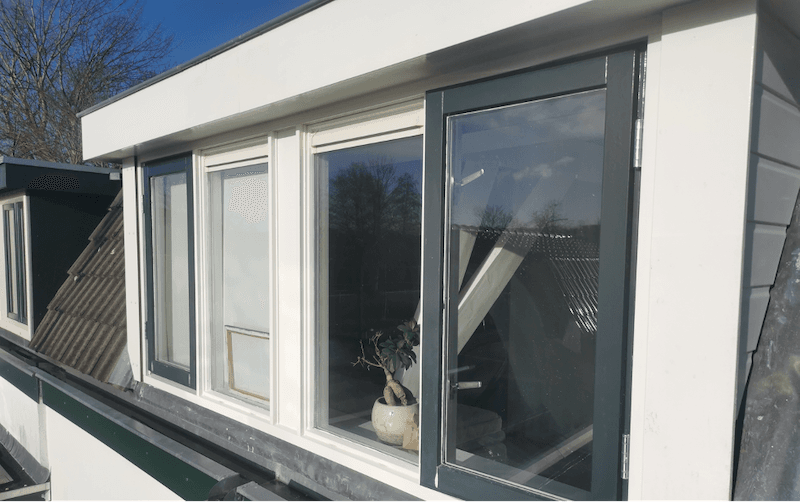
Replace fascia boards with plastic sheets

In the UK, we regularly have to deal with heavy thunderstorms, rain and high winds. As a result, eaves and fascias have to stand up to a lot and must, therefore, be regularly cleaned and repaired – a time-consuming job that costs a lot of money. To save time and expense, more and more people are choosing to replace their wooden fascia boards with plastic sheets: materials such as HPL or Trespa® are very suitable for this. We explain the advantages of these two materials and tell you step by step how you can replace a wooden fascia with a plastic version.
Requirements:
- Glue for the plastic sheets
- Trespa sheets
- Bostik Paneltack adhesive
- Fixxerss Multi-Primer Professional
- Fixxerss Wood-Primer Professional
- Fixxerss Foamtape – Insulation Tape
- Screws for the fascias
- Trespa® screws
- HPL drill
- Drill with variable speed
- Base plate in which the drill can run out
The advantages of plastic sheet for fascia replacement
One of the reasons that many people opt for plastic for fascia replacement is because they require less maintenance than roof edge finishes made of wood. Wooden fascias have to be painted every five to six years. In contrast, plastic sheets do not have to be painted. In the long term, the wood will rot due to weather influences and will need to be replaced. A wooden fascia will last for a maximum of twenty years. Trespa® fascias remain good for up to 40 years and with almost no maintenance. Cleaning once a year with a wet cloth is sufficient. Do you still have wooden fascias and do you want to replace them with plastic ones? We explain how you can do this yourself.
Step 1: remove the old fascia boards
Of course, we start by removing the existing fascia boards. Before removing the boards, check that the flashing is not attached to the fascia section. If this is the case, the flashing must be professionally disassembled and replaced. This is a pretty complicated job and it is wise not to start it yourself. We therefore advise you to hire a professional for this.
Step 2: filling in the cavity
Because Trespa® fascias are much thinner than wooden fascia boards, it is important to fill in the space that remains. In this way, it is possible to fit the new fascia boards in the same place without leaving any space. For example, you can use waterproof plywood as a wood filler. Tip: make sure that there is sufficient ventilation behind the new fascias, otherwise damp spots may occur.
Step 3: fixing the fascias
There are two ways to fix the new Trespa® fascias: with glue or screws. The advantage of glueing is that no screws can be seen, so the result looks nicely finished. By screwing the plates, however, you achieve a firmer end result. We have highlighted both options for you:
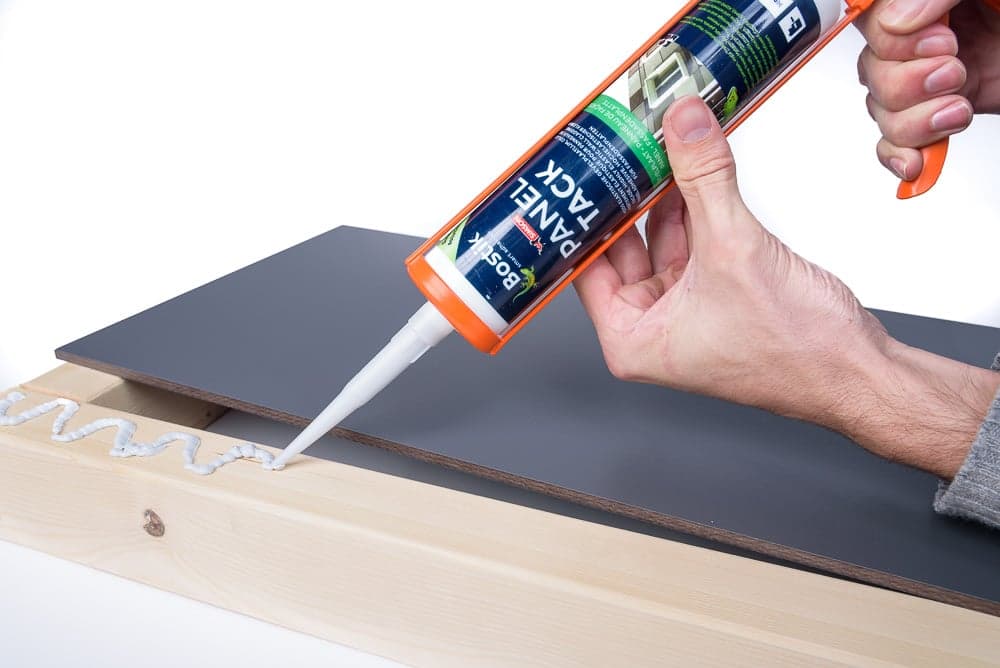

Glueing the fascias
When you are going to bond the fascias, you need to prepare both the wood on which you are going to glue the plastic sheets and the plastic sheets themselves with a primer, so that the glue sticks well. For the plastic sheets. we recommend Bostik Paneltack primer and for the wood, Bostik Primer SX Black. Once you have applied the primers, you can glue the Trespa® using Bostik PanelTack mounting glue. It is also important to use double-sided tape. Stick the tape between the plastic sheets and the wood, keeping the plastic sheets in place while the glue is still drying.


Screwing the fascias
Have you chosen to use screws instead of glue? Do not forget to pre-drill the plastic sheets. The drilling of Trespa® is comparable to the drilling of hardwood: good tools are half the work. Read our blog about Trespa® drills to find out how to do this best. Bear in mind that the screw holes must be drilled at least 20 millimetres from the edge of the plastic sheet, then use special screws for plastic to screw the plates. The screws are available to match all sheet colours and in different screw sizes.
Get straight to work: order the plastic sheet that suits your home best
Trespa® sheets come in many colours and finishes. View our extensive range and order the plate that best suits your home. Do you want more information about our products or can you use some handy tips? Feel free to contact us. We are happy to advise you.