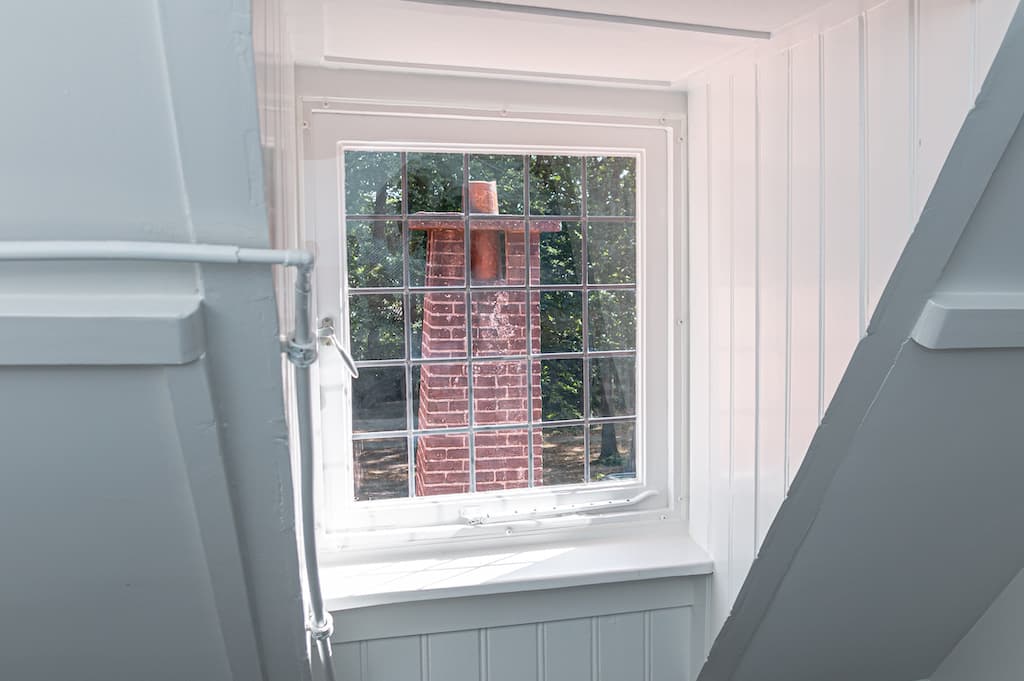
Installing your own secondary glazing in a few simple steps (DIY)

Installing your own secondary glazing can seem like a daunting task. Fortunately, we have developed several tools to help get you started. So in this step-by-step guide, we describe, step-by-step, two different installation methods for fixing secondary glazing.
Of these two methods, we recommend the installation method with glazing clips. This is because secondary glazing with glazing clips is easy to open and easy to install. If the installation with glazing clips is not possible due to the structural situation, we recommend the fixed installation with screws.
In this step-by-step guide, you will find a handy video where we show you how to tackle both methods.
Task time: +/- 1.5 hours
Difficulty level: Easy
Task time: +/- 1.5 hours
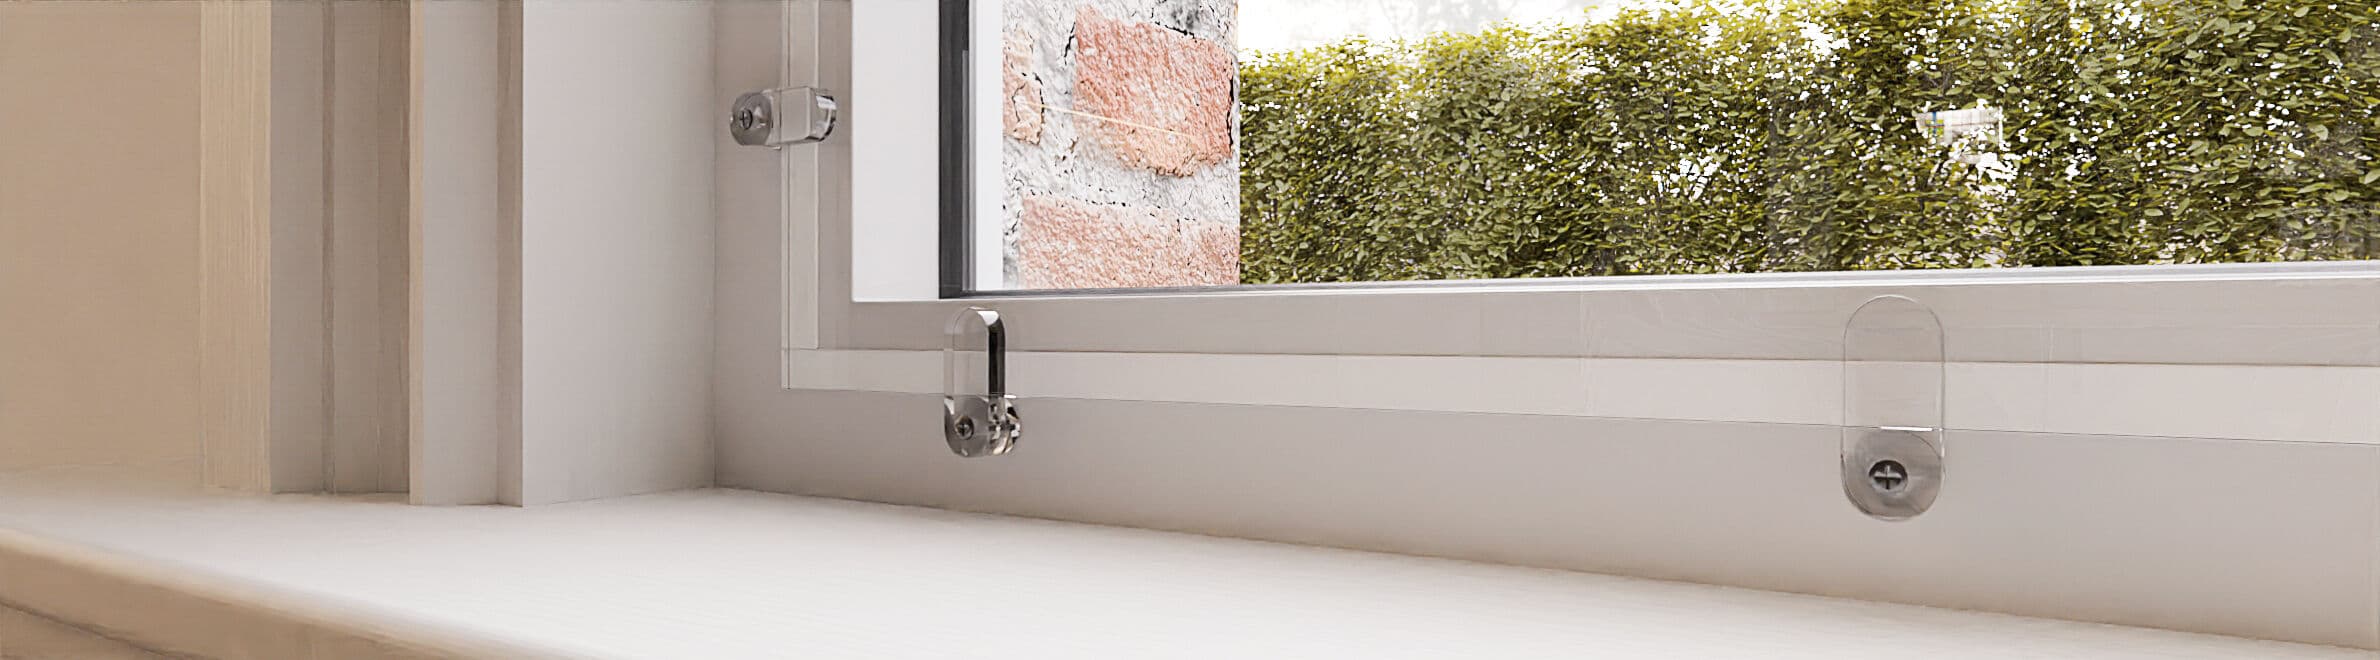
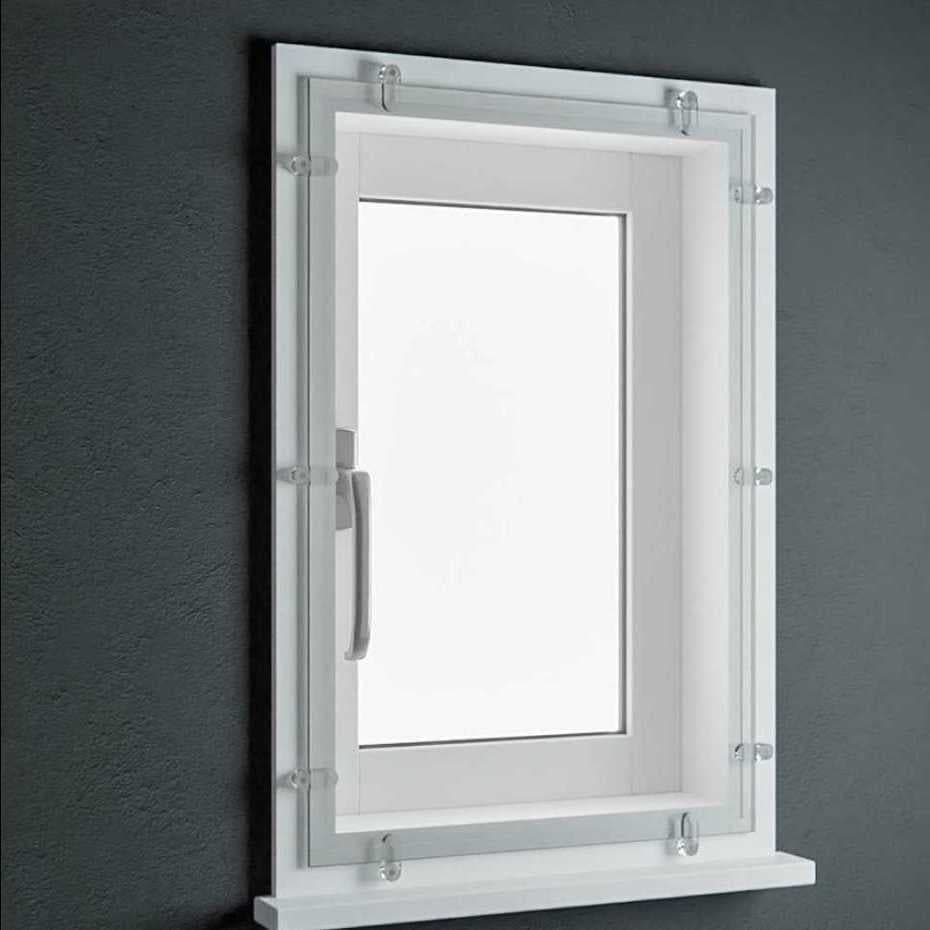
Step-by-step guide for installation of secondary glazing with glazing clips
Firstly, it is important to check whether the structural situation allows you to go for the installation method with glazing clips. Conditions for installation with glazing clips:
- Frame thickness at least 3.5 cm
- Frame that you can screw into
- No protruding hinges or handles
- Longest side of window maximum 2 metres
What do you need?
- Secondary glazing for installation (without mounting clips/Velcro tape)
- Glazing clips
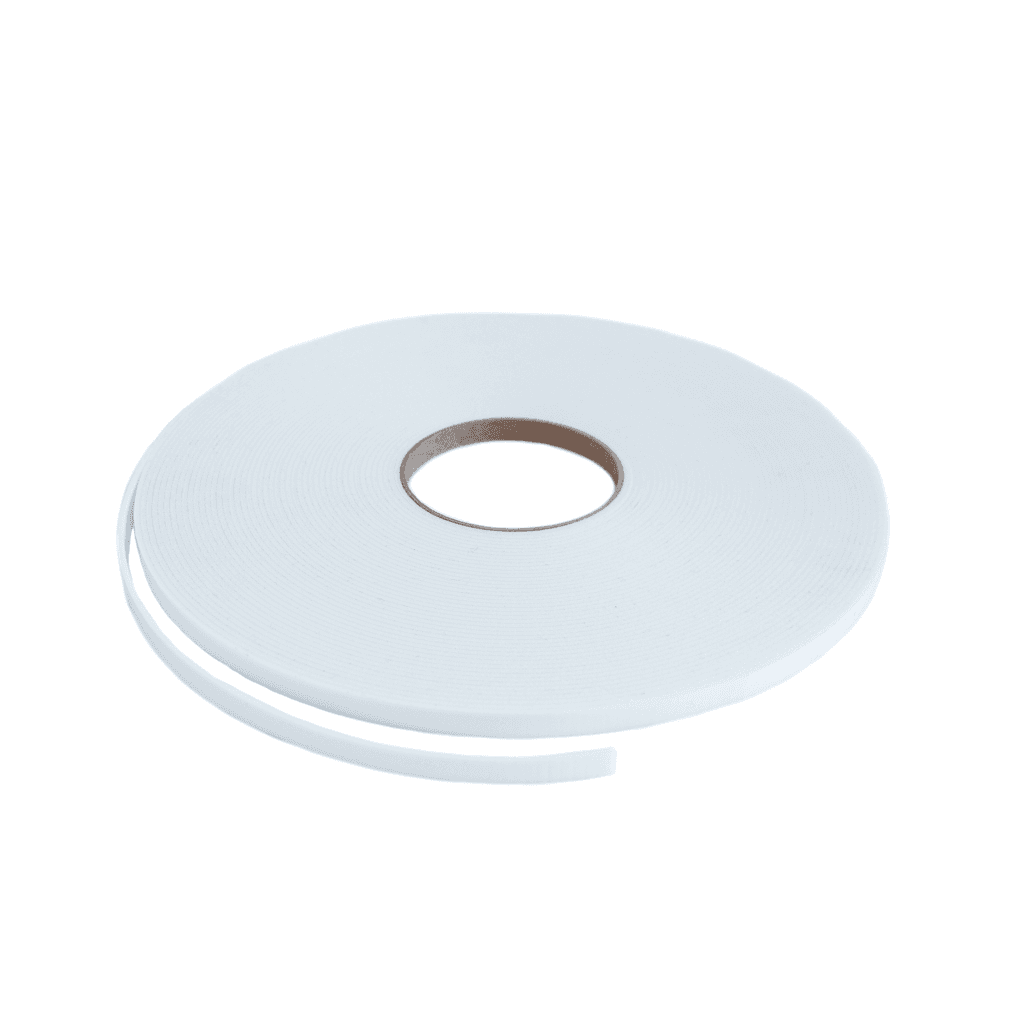
- Insulation tape (25 metres)
- Duct tape
- Scissors
- Screwdriver with Phillips bit
- Pencil
- Ruler or tape measure
- Polishing cloths (package of 5)
- Vuplex plastic cleaner 235 ml
- Long wooden slat
- G-clamps

Loading...
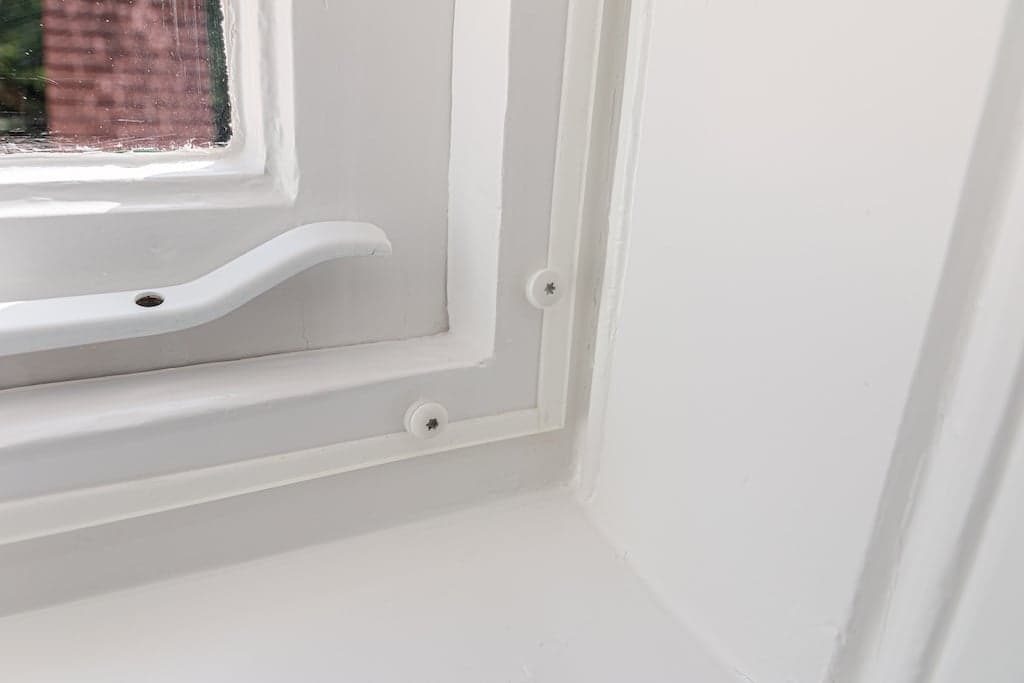
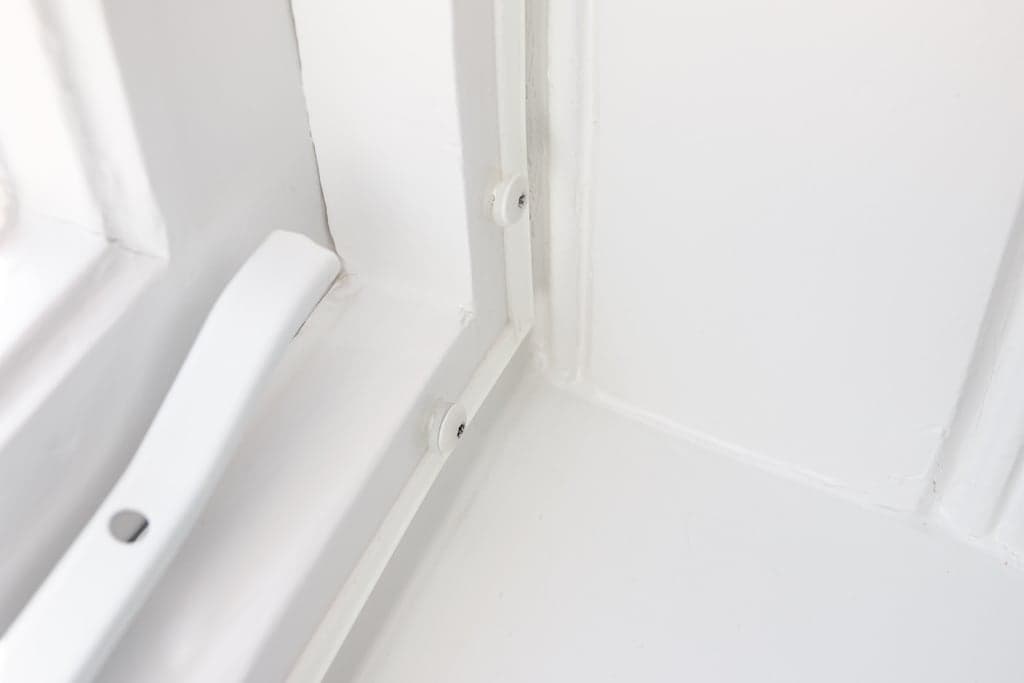
Step-by-step guide for fixed installation of secondary glazing with screws Is your frame not suitable for installation with glazing clips? Then fixed installation may be an option. Conditions for fixed installation with screws:
- Frame thickness at least 3 cm
- Frame suitable for drilling and screwing
- No protruding handles or hinges
- Longest side of window maximum 3 metres
What do you need?
- Secondary glazing for installation (without screws)
- Insulation tape (25 metres)
- Screw white with nylon washer
- Pencil
- Ruler or tape measure
- Screwdriver
- 3 mm diameter wood drill bit
- Torx bit (per piece)
- Duct tape
- Polishing cloths (package of 5)
- Vuplex plastic cleaner 235 ml
- Long slat of wood
- G-clamps

Loading...
How do you order a secondary glazing kit?
First of all, measure your frame using our measuring instructions. Have you opted for the installation method with glazing clips? Then first place a standard sheet of secondary glazing with your desired dimensions in the shopping basket. If you have opted for the installation method with screws, choose a sheet of secondary glazing with pre-drilled holes in your desired dimensions. Next, add the insulation tape and the required quantity of glazing clips or screws to your shopping basket. Check below how many glazing clips or screws you need per side. You will find a list of all products at the bottom of this page.
| Side in cm | Glazing clips or screws per side |
|---|---|
| 20 - 49 cm | 2 |
| 50 - 89 cm | 3 |
| 90 - 129 cm | 4 |
| 130 - 169 cm | 5 |
| 170 - 200 cm | 6 |
Arjen de VosArjen de Vos, a product expert and seasoned DIY specialist, brings a wealth of experience in interior construction to his role at Plasticsheetsshop. With over a decade of expertise in interior design and furniture making, he stands out as a versatile and knowledgeable professional in his field.
Share this article
Updated:
Published: