Plexiglass, also known as acrylic, is a plastic with many advantages. Unfortunately, it also has a disadvantage compared to glass: it is scratch-sensitive. Removing scratches from acrylic sheet is relatively easy, and with proper maintenance, acrylic also stays beautiful for a long time. In this blog, we explain in detail how you remove scratches from acrylic sheet and how you can best maintain this plastic.
Requirements for removing scratches:
Different types of acrylic – different polishing methods
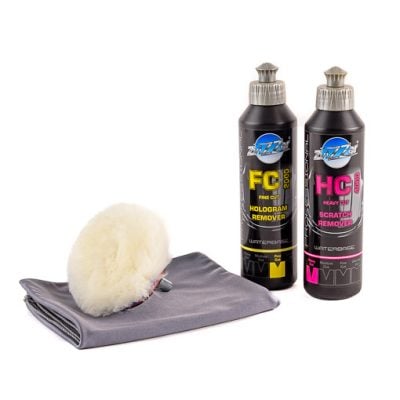
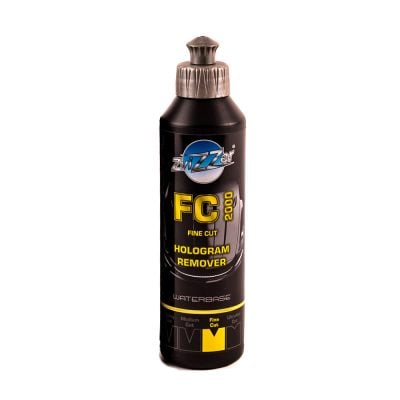
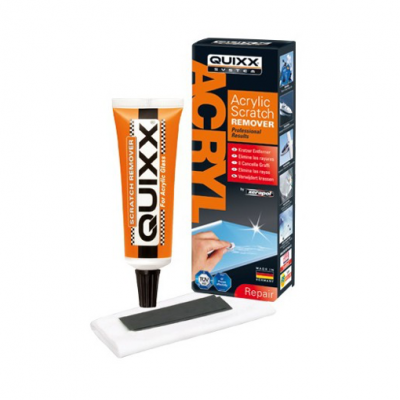
Acrylic sheet comes in two types: cast and extruded acrylic. This latter version is also referred to as cheap acrylic or acrylic XT and is more difficult to process than cast acrylic. This also means that it is more difficult to polish, at least if you want to polish by machine. We recommend that you polish extruded acrylic manually. The best way to do this is to use a microfibre cloth and a special polish from Zvizzer or Xerapol/Quixx. You can also use these polishes for a machine polisher. For machine polishing, we recommend a backing pad with polishing wool or lamb’s wool for the drill.

Step 1 – Clean the surface
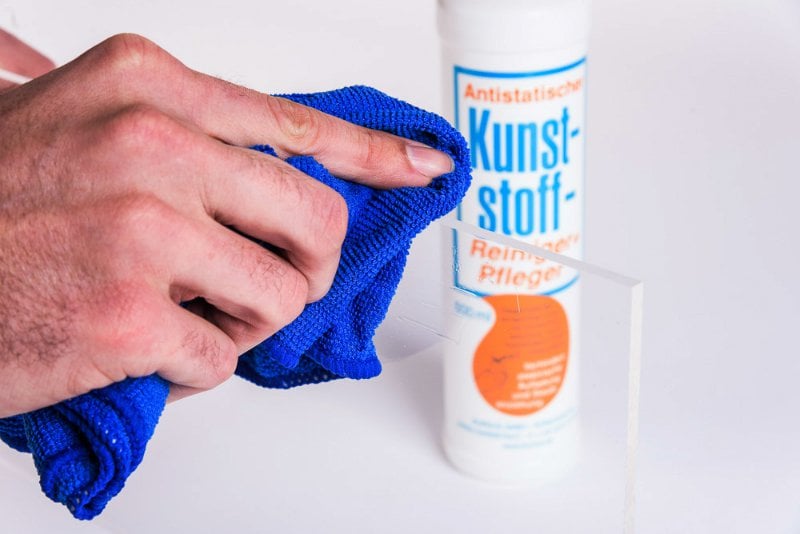
The surface must be thoroughly clean before you repair the scratches. Make a solution of lukewarm soapy water with household soap (green soap) and use a microfibre cloth to clean the entire surface of the acrylic sheet. Any dirt and dust residues can cause new scratches during polishing. Save the soap for later!
Step 2 – Assess the depth of the scratch
Very carefully, run a fingernail across the scratch (es) that you want to repair. If your nail catches, even if it is only slightly, it is necessary to sand away the scratches. If your nail does not get caught, you can immediately go on to step 5.
Step 3 – Sand away the scratches
To sand the scratch, we use waterproof sandpaper. This is sandpaper with a fine grain, the sandpaper or the surface must be wet during sanding. Start with a 1000 grit and sand away the scratch (es) from the acrylic sheet. Repeat the test with your fingernail to feel if the scratch actually disappears. When the scratch has disappeared, sand a slightly larger area with an even finer grain, preferably grain 2500. Keep the surface moist while sanding!
Step 4 – Clean the surface thoroughly
Rinse away all abrasive scraps with the soapy water that you prepared previously. Do not wipe the surface dry with the same cloth, but pat it dry with a clean, dry cloth.
Step 5 – Polish the scratch and the surface
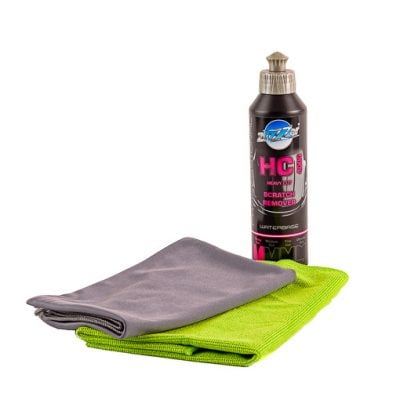
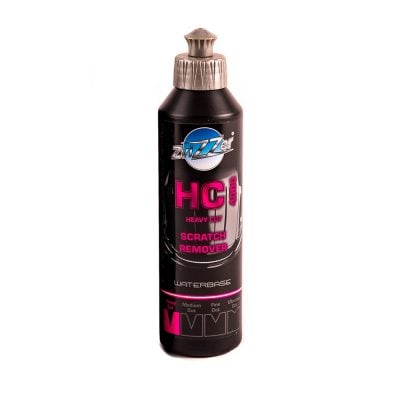
Spread a small amount of Xerapol / Quixx or Zvizzer Heavy cut polish on the surface of the acrylic sheet and start polishing it by hand from side to side with the patchwork. Assess the result continuously and do not stay too long in one place with the polishing cloth/polishing machine. Wipe the polished part occasionally with the damp cloth and assess the shine. If the scratch is no longer visible, you can start polishing.
Step 6 – Post-polishing
Post-polishing means that you give the entire surface a uniform shine again. You can do this with Zvizzer Fine cut polish. Thoroughly clean the surface again with the damp cloth and pat it dry with the dry cloth. Spread the polishing agent on the surface (a small dot about the size of a cent everywhere) and start polishing. If you do this by hand, use a different cloth than you used for polishing. If you do this with the machine, use the post-polishing disc! Be careful with the machine post-polishing, keep the machine moving continuously. Acrylic is very sensitive to heat development!
Step 7 – Preservation
If the surface of the acrylic is shining beautifully again, you naturally want to keep it beautiful for as long as possible. We recommend that you use Burnus for this. After treatment with this cleaning and preserving agent, the surface remains beautiful for longer and remains antistatic. Because what is beautiful must stay beautiful.