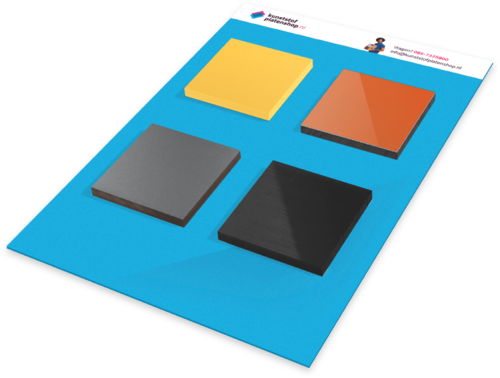
Want to order your cut-to-size kitchen splashback and assemble it easily yourself? In our assortment you will find more than 10 different types of kitchen splashbacks in more than 50 different colours and variations. Stressed about the choice? No worries. First order samples of the plates you are unsure about so you can be sure you are making the right choice.
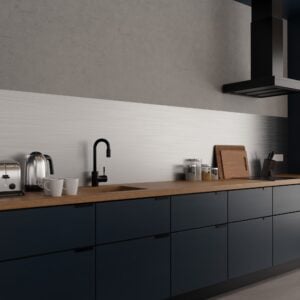
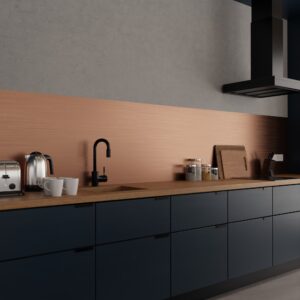
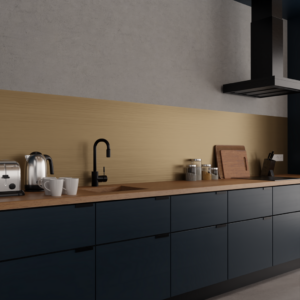
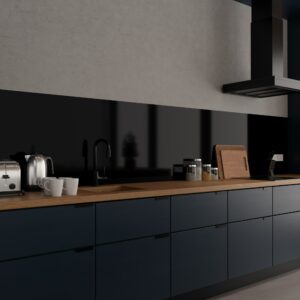
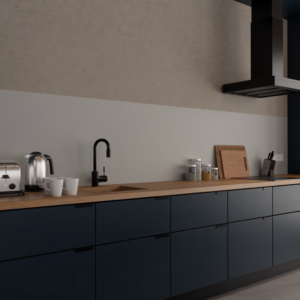
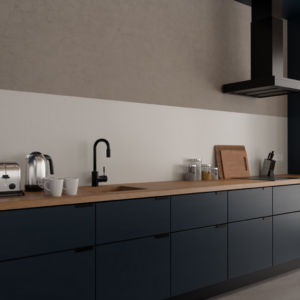
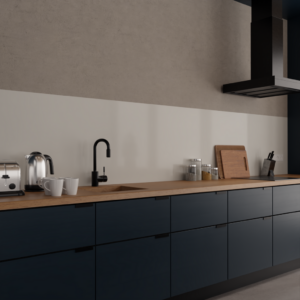
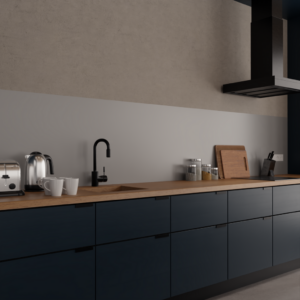
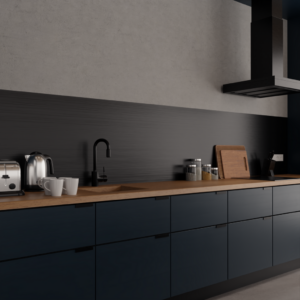
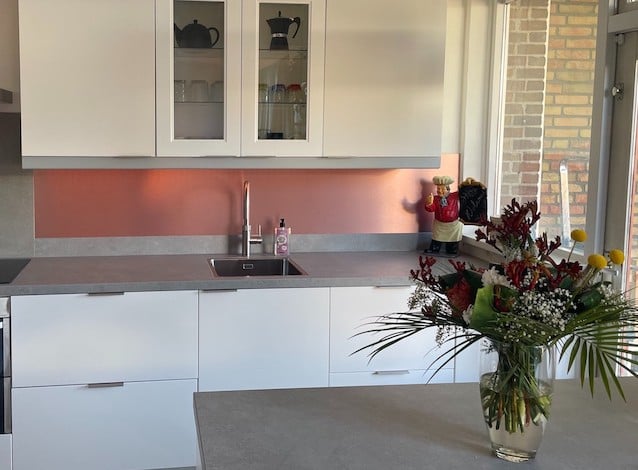
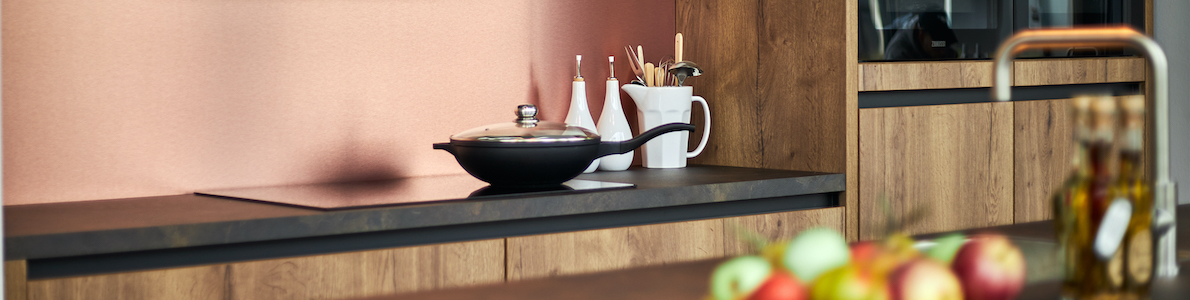
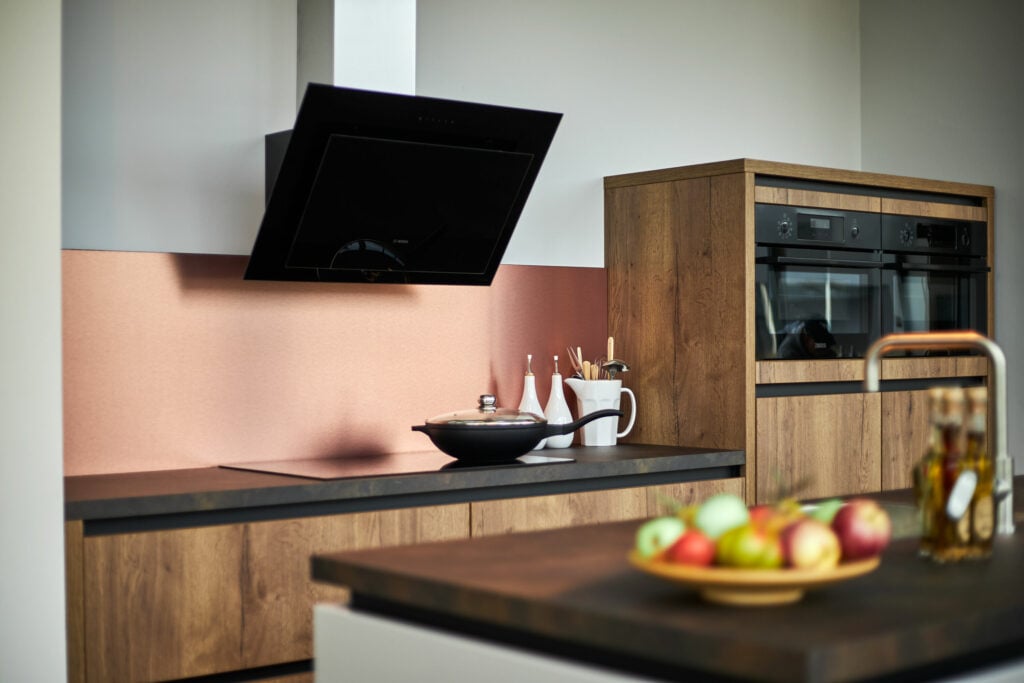
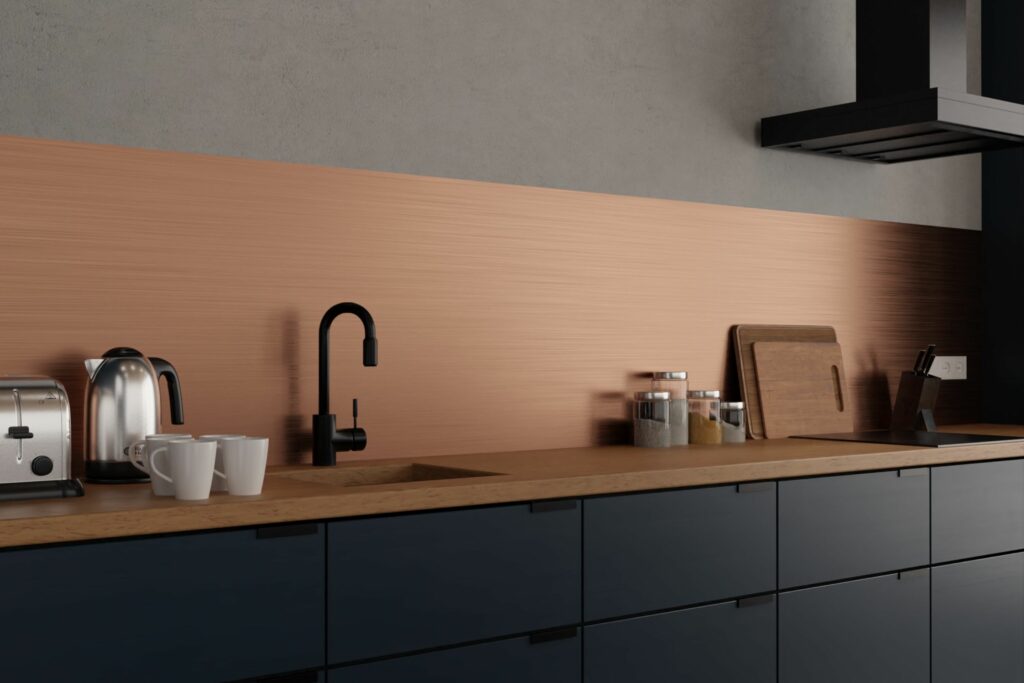
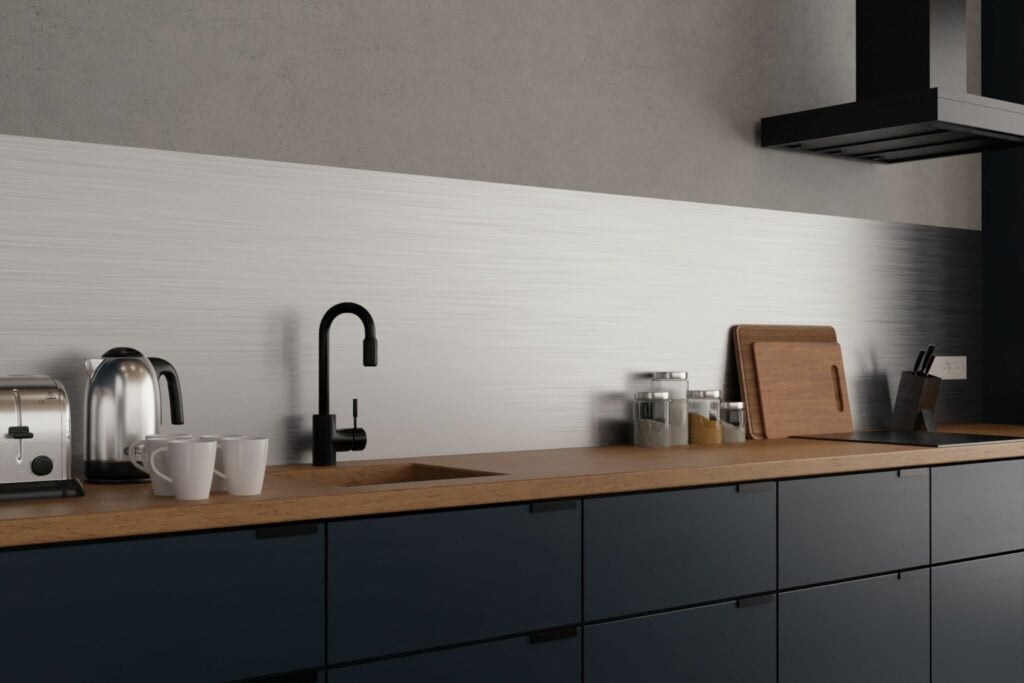
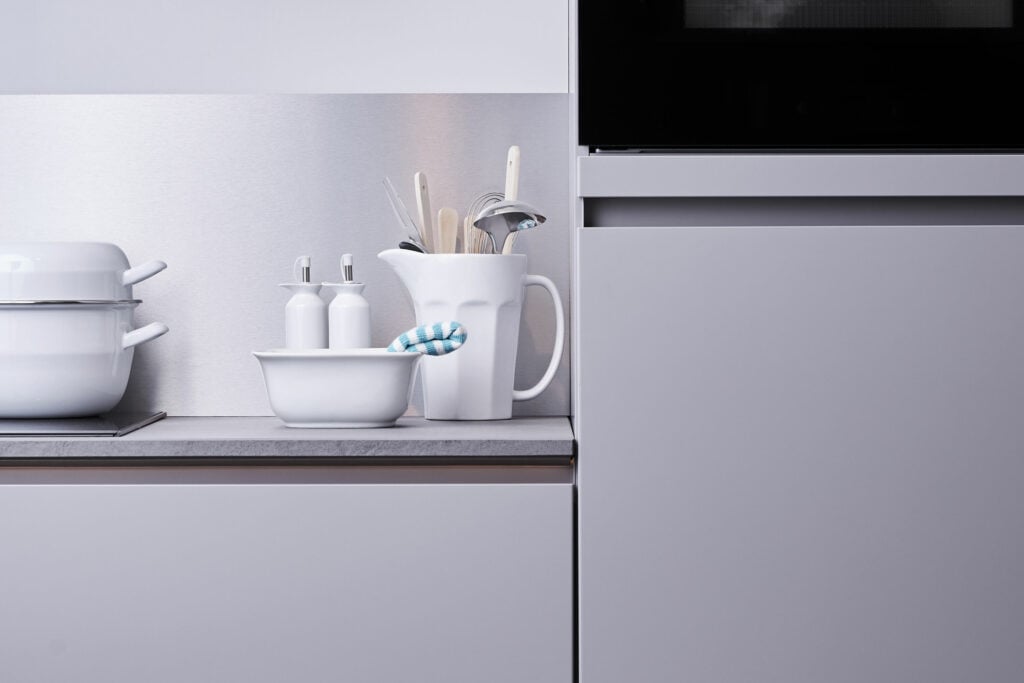
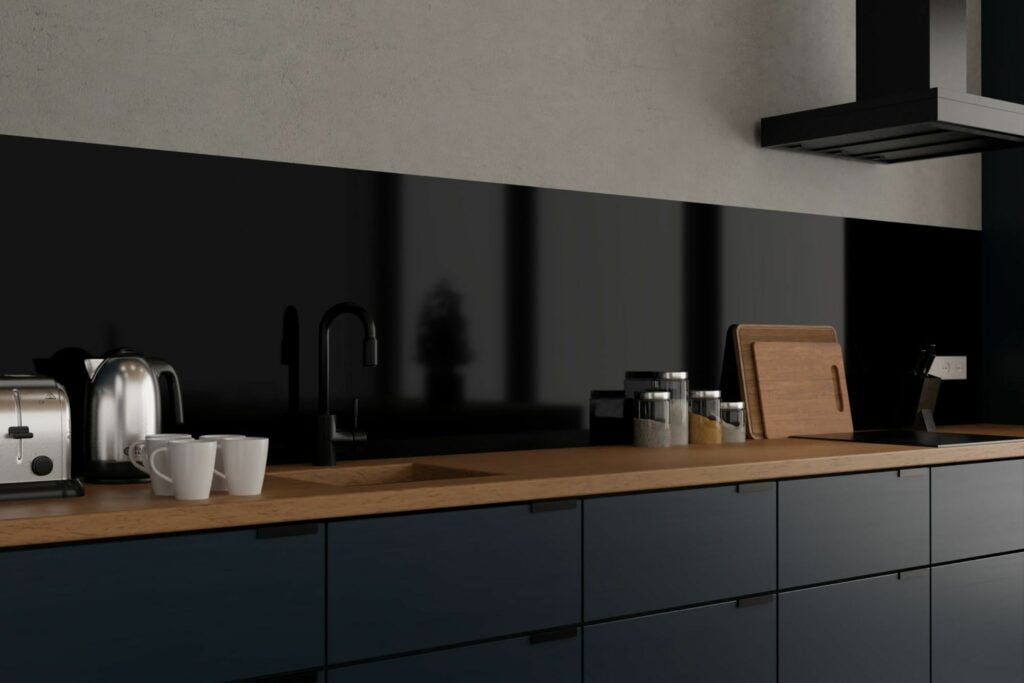
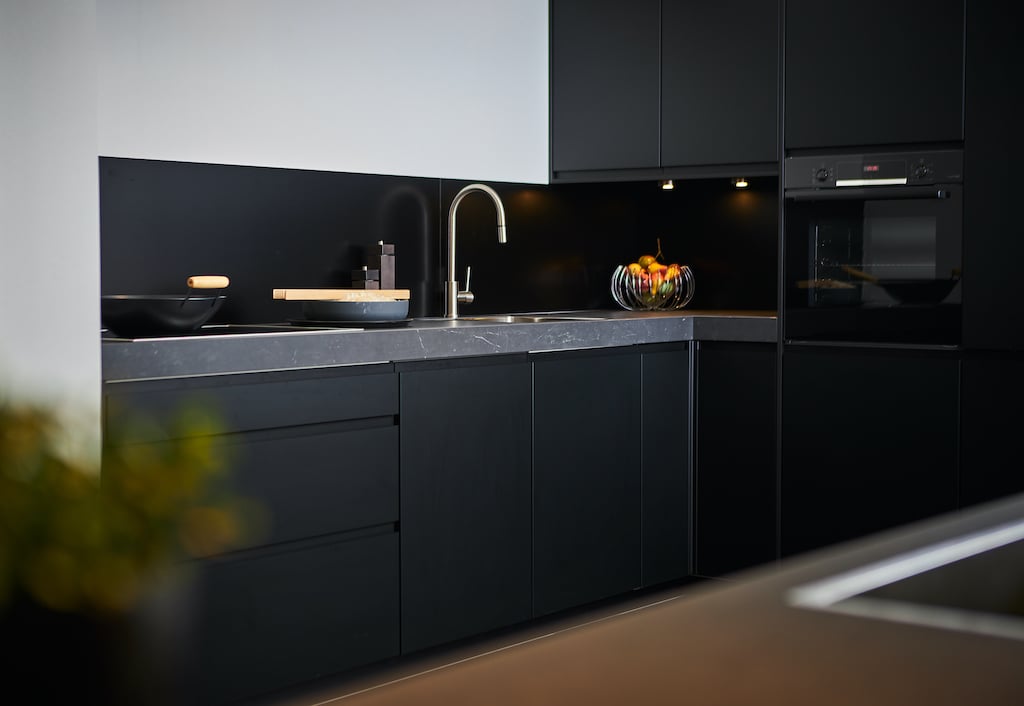
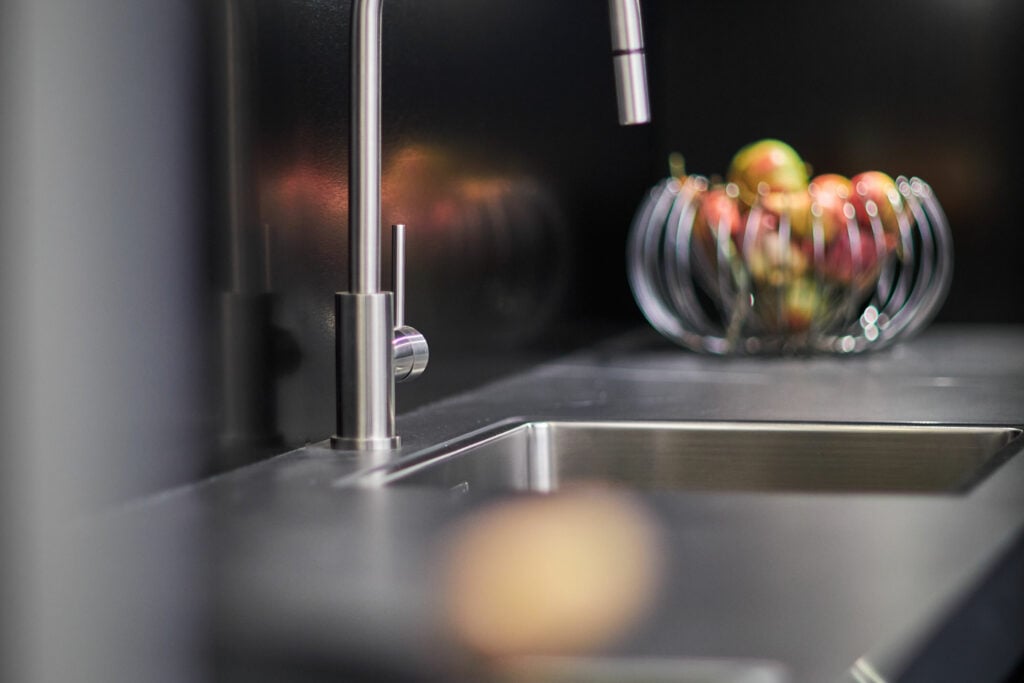
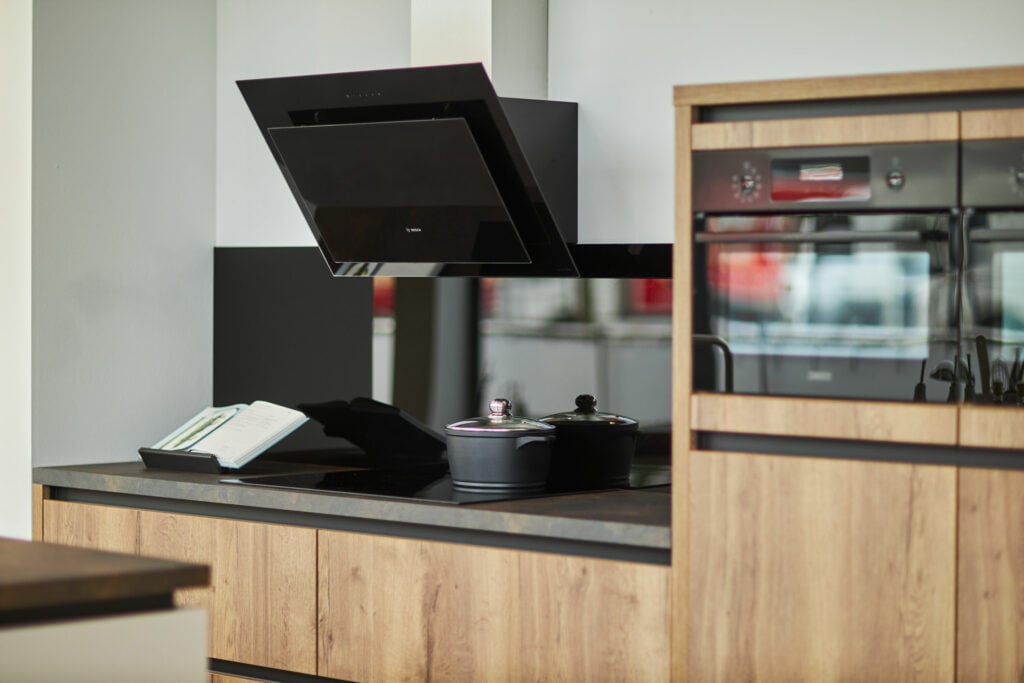
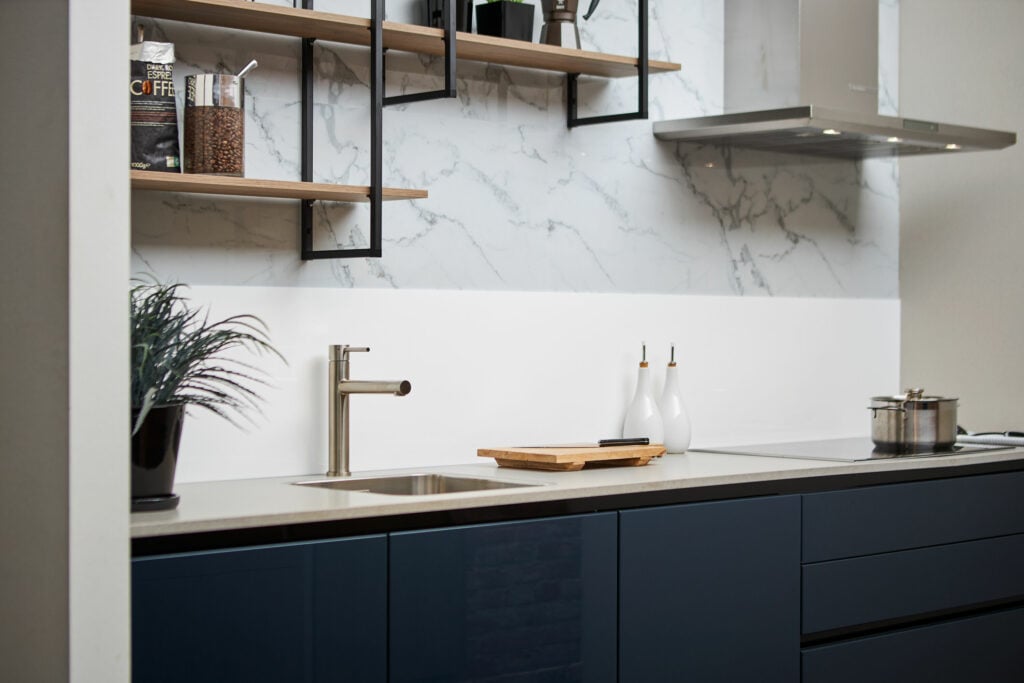
Give your kitchen a fresh look in no time with a new plastic kitchen back wall. Choose a sleek black back wall for a timeless and stylish look, or go for a nice colour like copper for a warm look. Below you will find a number of beautiful examples of our plastics as kitchen back panels.
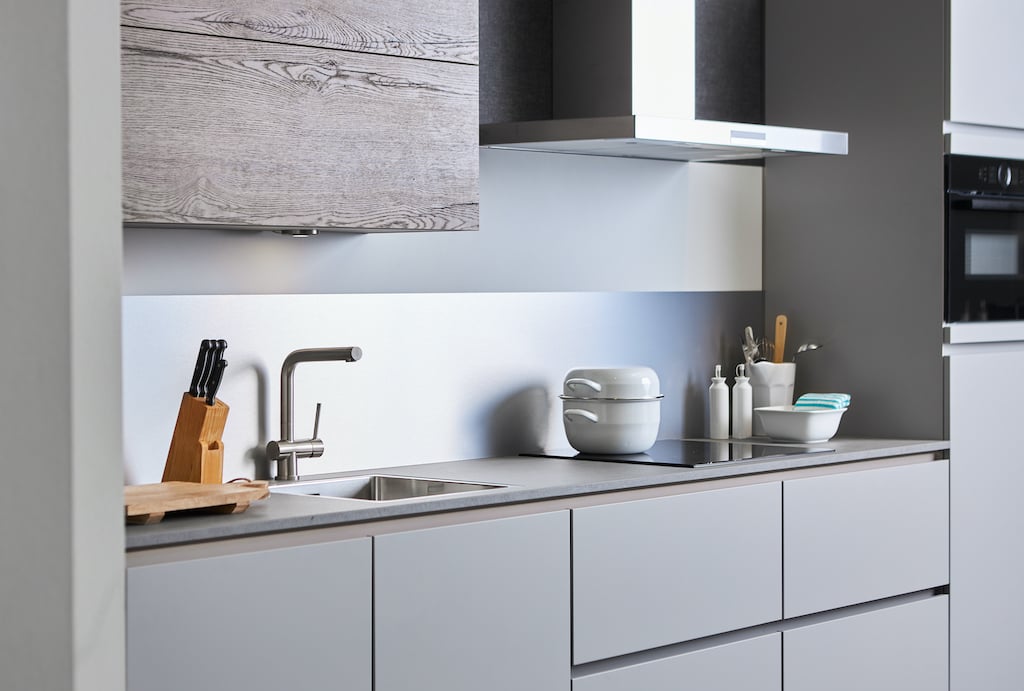
The materials alupanel, plexiglass and HPL are the most suitable for use as a kitchen splashback. All three of these materials are beautiful to look at, and also easy to keep hygienically clean. Another great advantage of plastic kitchen splashbacks is their ease of installation. You simply glue them in place, and that’s it! This saves you a lot of time and money on a handyman.
Please note: plastic may deform or discolour when exposed to high temperatures. So make sure that no steam or heat from, for example, a kettle or pan comes into contact with the plastic kitchen splashback.

When choosing a kitchen splashback, please follow these guidelines. For wall panels near ceramic cooktops, maintain a minimum distance of 10 cm. No minimum distance is required for induction cooktops. Do not use plastic panels near a gas stove.
High temperatures can deform or discolor plastic. This means that steam or heat from appliances such as a kettle, pot, or cooktop should not come into contact with the plastic kitchen splashback.
These tips are provided to ensure that your kitchen splashback remains attractive and lasts a long time. Follow these recommendations to prevent damage.
Plastic kitchen splashbacks also have many advantages – especially compared to other materials. From quick delivery to ease of installation, to long life. The process from ordering to assembly is also much simpler than with other materials. And, on top of that, plastic is also much more affordable at the end of the day!
If you want quick and easy installation, affordability and a long life span, you should choose plastic as a kitchen splashback. The combination of these advantages is unique to its kind.
Other materials that are used as kitchen splashbacks are, for example:
In the table below you will find all the advantages and disadvantages of plastic in comparison with these materials.
| Plastic | Glass | Tiles | RVS | Laminate | |
|---|---|---|---|---|---|
| Costs | + + | - - | - - | + | + + |
| Long life | + + | + + | + | + + | - |
| Ease of installation | + + | - - | - - | + | + + |
| Speed | + + | - - | - - | + + | + + |
| Heat resistant | - | + | + | + + | - - |
What you can save by choosing plastic makes everyone happy. That’s because of these 3 major advantages.
Quick and easy assembly
You can quickly and easily assemble the splashback yourself. Moreover, we provide you with several tools to help you on your way. In the chapter “How do I mount a new kitchen back panel?” you will find both a step-by-step plan and a handy explanatory video.
Low maintenance
A synthetic kitchen splashback is very low maintenance. All you have to do is clean it every now and then with a mild detergent. This will save you a lot of time and money!
Long lifespan
The lifespan of synthetic materials as a kitchen splashback can easily be decades. This long life means you can be sure of saving yourself a lot of time and money in the long run.
Besides plastic, glass is also regularly used as a kitchen splashback. The table above shows the relationship between glass and plastic. As you can see in the table, glass is less suitable than plastic as a kitchen splashback for several reasons. Glass is more expensive than plastic and there are also a number of hurdles to overcome when fitting a glass plate in the kitchen.
Processing glass is a lot less straightforward than processing plastic. For example, glass breaks a lot faster than plastic. But even in daily use, a crack quickly appears. It only takes one pan to slide against it, and before you know it you are looking for a replacement kitchen splashback. A glass kitchen splashback, on the other hand, is long-lasting, heat-resistant to a certain degree and offers the possibility of printing an image on it. But for a real durable choice, plastic is by far the best choice because of its hygiene, low costs, great ease of installation, aesthetic looks and long life!
Anyone can install a kitchen splashback themselves. We provide you with useful tools to make the process a little easier. For example, watch our video below to see how best to mount a plastic kitchen splashback panel. Or take a look at the step-by-step plan, which explains how to install a plastic kitchen splashback panel. You can also download the handy measuring instructions below to record the dimensions of your desired panel. This way you can order the perfect made-to-measure splashback panel. It’s foolproof.


You can easily and quickly order your custom-made kitchen back panel via the configurator at the top of our product pages. Here you have the possibility to order the plate in any desired size, or to upload a DXF-file yourself. When making a DXF-file, take the drawing rules into account. After you have placed your order, we will immediately start working for you. We will keep you informed of the process by e-mail.
Get inspired by other people's DIY Awards entries. Or enter too and stand a chance to win fantastic prizes!
Great company to deal with. Good selection of quality materials, flexible made-to-measure options, and prompt delivery. Would definately use again.
Brilliant from designing on the built in ability on the web site, ordering, delivery and exactly as wanted and expected.
Very professional and great service.
Plenty of advice (which was gratefully received) and support.
A first class company to deal with.
Highly recommended.