Making a windshield from acrylic sheet

A windshield makes a sitting area in the garden or a terrace much more useful. When the sun first shows itself in the spring, but it is still too cool to sit outside, a windshield provides a pleasant shelter for sitting outdoors. It is not difficult to make a windshield, but you must take the foundation and mounting of your windshield into account. In this blog, we explain how you make a windshield form acrylic sheet and perspex sheets.
Make a windshield from acrylic sheet
Acrylic is an ideal material for a windshield, it is 30 times stronger than glass and also much lighter. Acrylic is available in a clear version, in a range of colours and also in opal white. The latter version is not transparent, but it does let light through. Acrylic is UV-resistant, but make sure you opt for cast acrylic. The extruded version has more internal stresses and will break more easily during machining. Of course, you can also combine different colours, this gives a quirky and playful effect. Before you start building a windshield, you must take the wind strength into account, which is largely determined by the location where you want to build the windshield. If this is in an open space, then the frame and the foundation must be strong. If your windshield comes close to an existing building, the foundation does not have to be as solid. We always advise you to err on the side of caution and make the foundation strong in any case.


Step 1: Create the foundation
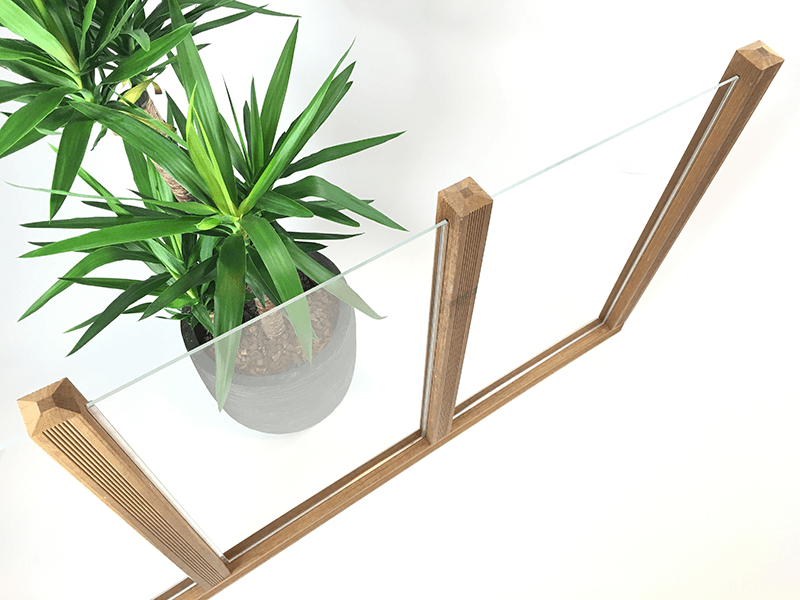
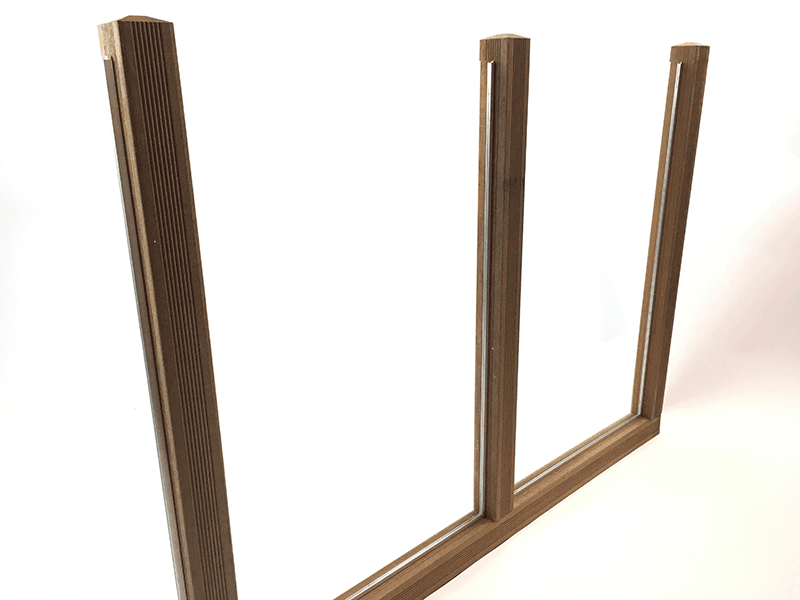
In this example, we assume a windshield with upright wooden posts with acrylic panels in between. If you have the option to place the windshield with one side against a wall, then you should definitely do this. For the foundation/frame, we use hardwood posts of at least 10 by 10 centimetres. These posts must be driven at least 50 centimetres into the ground. Turn the posts off and ask someone to help you hammer them in. Always check whether the post is level with the ground. The post that comes up against the wall/facade is attached with impact plugs.
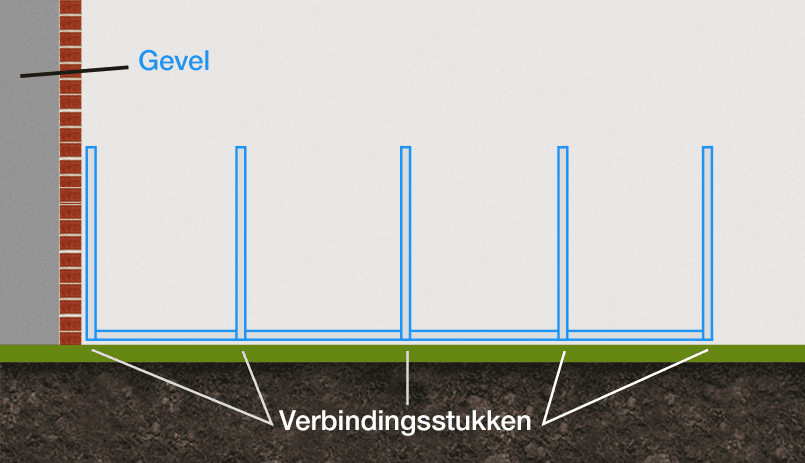
At the bottom, fix connecting pieces between the uprights, these stabilise the bonds between the posts themselves. Make the connecting pieces from the same material as the posts and secure them between the posts using furniture corners.
Step 2: Order the acrylic sheets and profiles
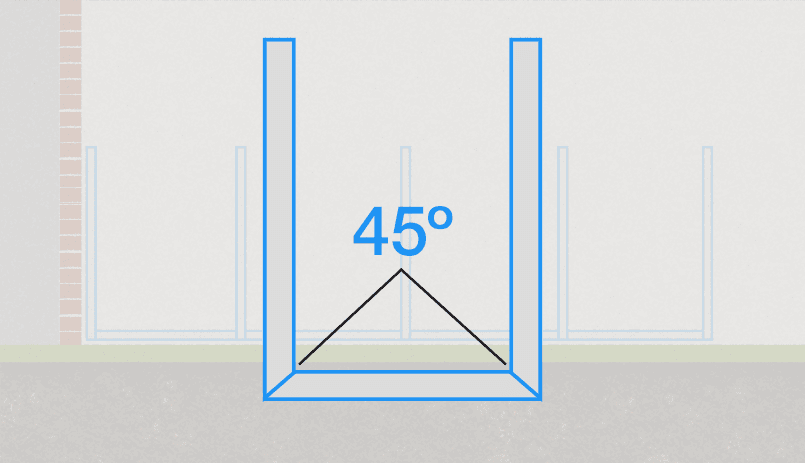
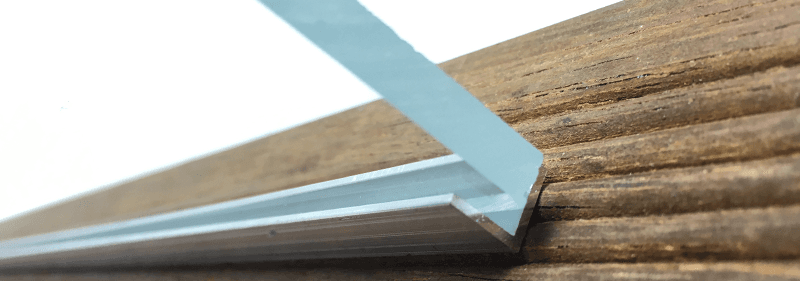
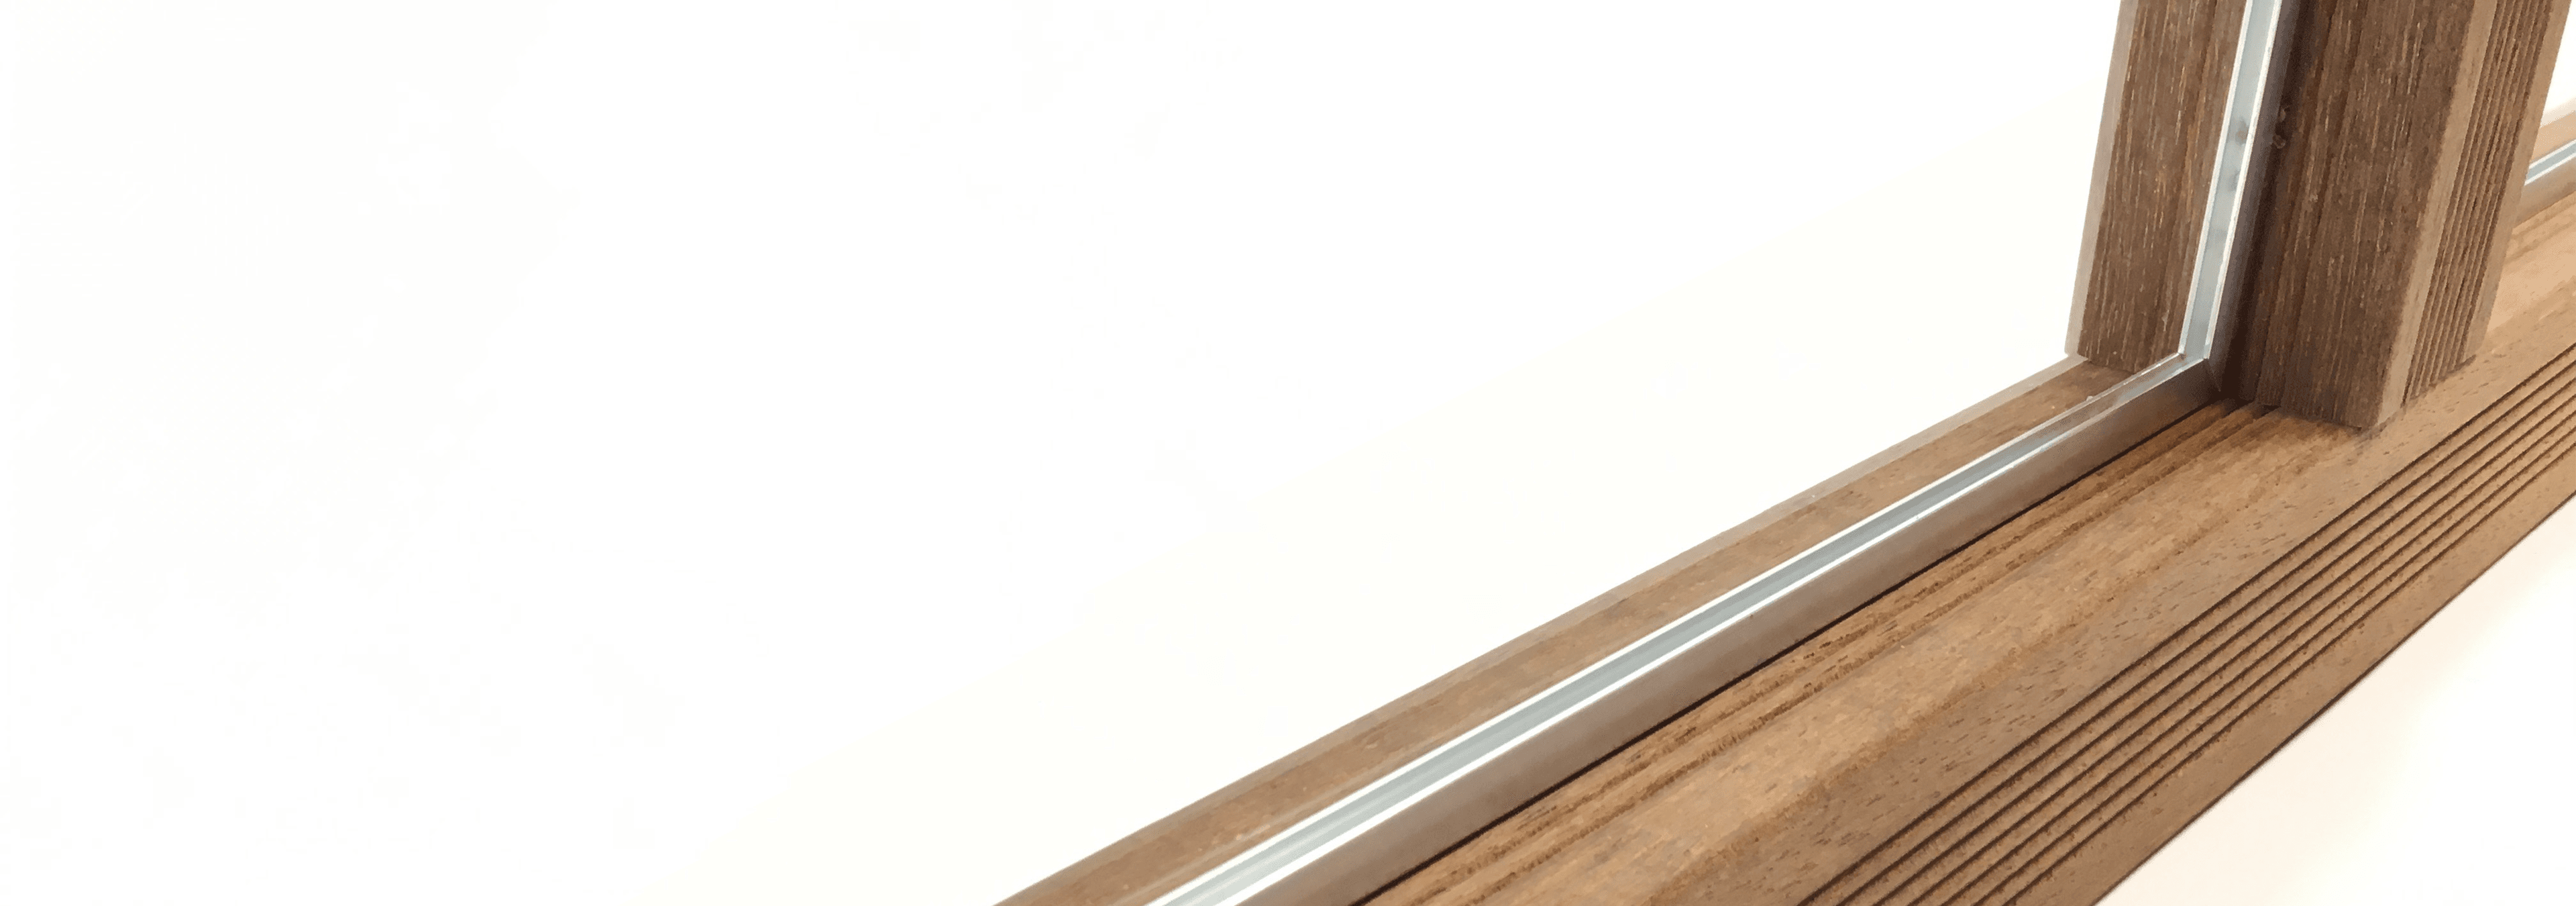
We will fix the acrylic sheets in the windshield with the help of U-profiles. Screw these U-profiles against the posts and on the connecting pieces, cut the corners under a 45° mitre.
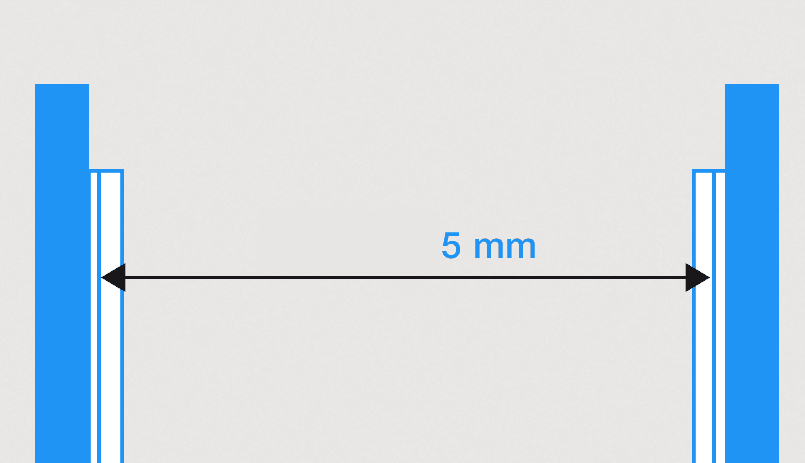
When the U-profiles are mounted, the acrylic sheets can be placed in position. When ordering, take into account the thickness of the U-profiles and the expansion of the acrylic. Measure between the U-profiles and subtract 5 millimetres from the width, due to the expansion of the panels.
To prevent the glazing from rattling, we recommend using foam pads between the acrylic and the U-profile.
What thickness of acrylic sheet do you need? For a width of 60 centimetres, a sheet thickness of 6 millimetres is sufficient. We recommend a sheet thickness of 8 millimetres from a width of 1 metre. Match the dimensions of the U-profiles to this: use U-profiles 2 millimetres wider than the sheet thickness. With a sheet thickness of 6 millimetres, go for a U-profile of 8 millimetres, so that you can be sure that the acrylic sheet, including the foam tape, fits well.
Step 3: Installing the acrylic sheets
Screw the U-profiles against the posts and the connecting pieces, making sure that the three separate parts of the U-profiles fit together well and are properly aligned. The acrylic can now be prepared for assembly. Place the first sheet on a soft surface, such as a towel, to prevent scratches on the surface. Remove the protective film and stick a strip of foam tape along the edges of the acrylic, on both sides of the sheet. Now you can lower the acrylic sheet into the U-profiles from above.
Install the remaining acrylic panels in your windshield in the same way.
Step 4: Finishing off the construction
After the panels have been installed, you can finish the windshield. By mounting a wooden beam on top, the panels are nicely held in position and your windshield gets extra strength. You might also consider supporting the screen in the middle and at the end for even more strength.
Step 5: Preserving acrylic sheet
We strongly recommend preserving the acrylic so that it stays beautiful for longer and is easier to clean. The best thing to use for this is Burnus antistatic cleaner. This agent cleans the surface and makes the acrylic antistatic, this keeps your windshield clean for longer and makes it easier to clean.