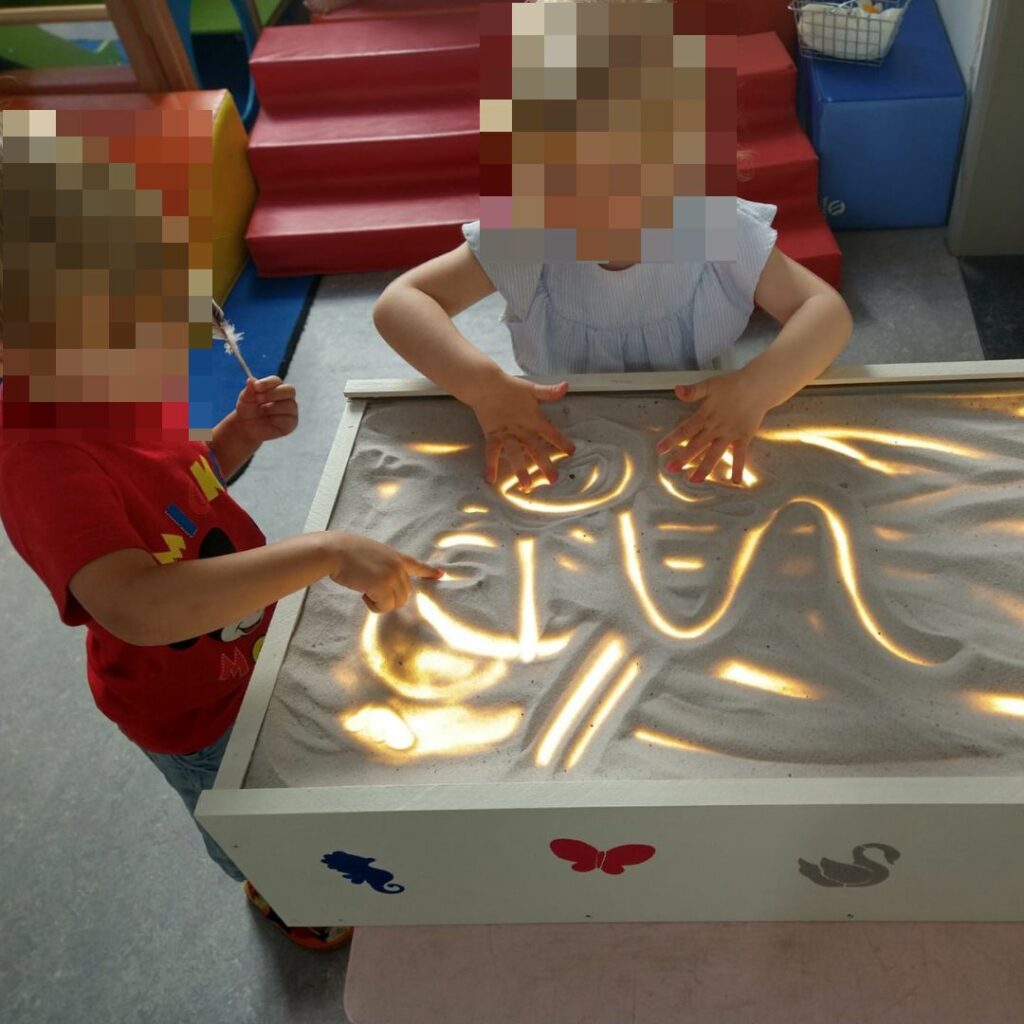
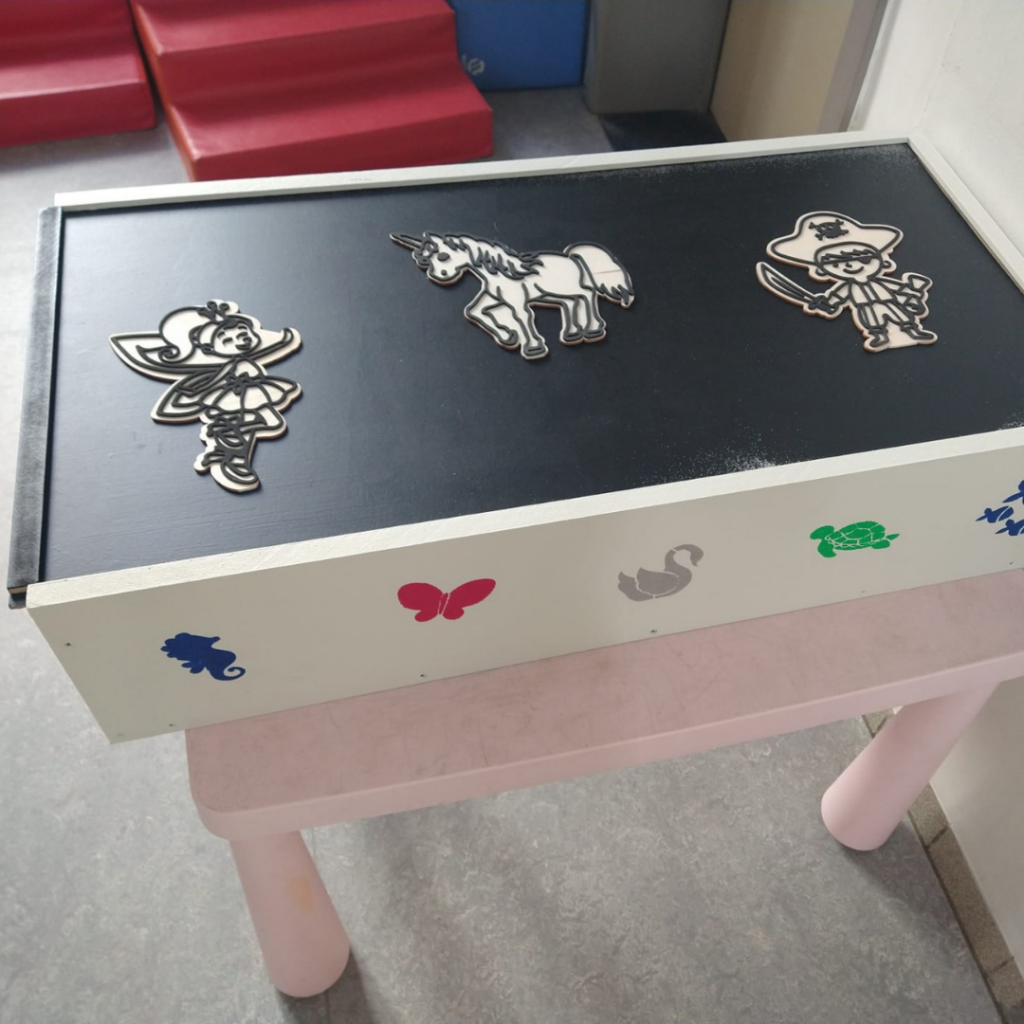
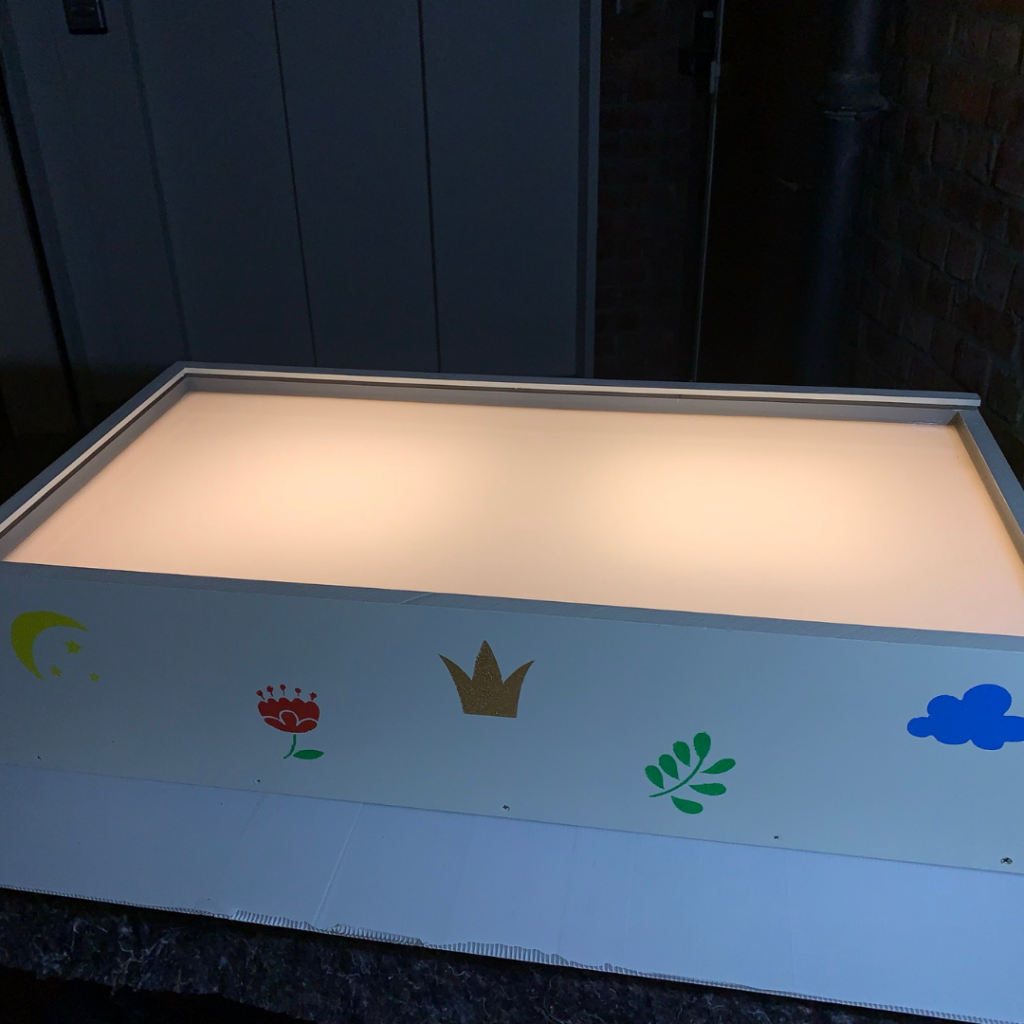
Claude has crafted a fantastic light box that provides hours of enjoyment for little ones as they play with sand. By using opal white acrylic, the light spreads beautifully. This project offers children a playful and visual experience with both light and sand.
The Project
Claude: “I began by cutting the base and the side panels. I routed a 7 mm groove into the side panels, allowing the 6 mm acrylic sheet to fit perfectly. Above this groove, I created a narrow 5 mm groove in three of the side panels to slide in the lid. Additionally, I trimmed one of the short sides a little shorter, enabling the lid to fit snugly.
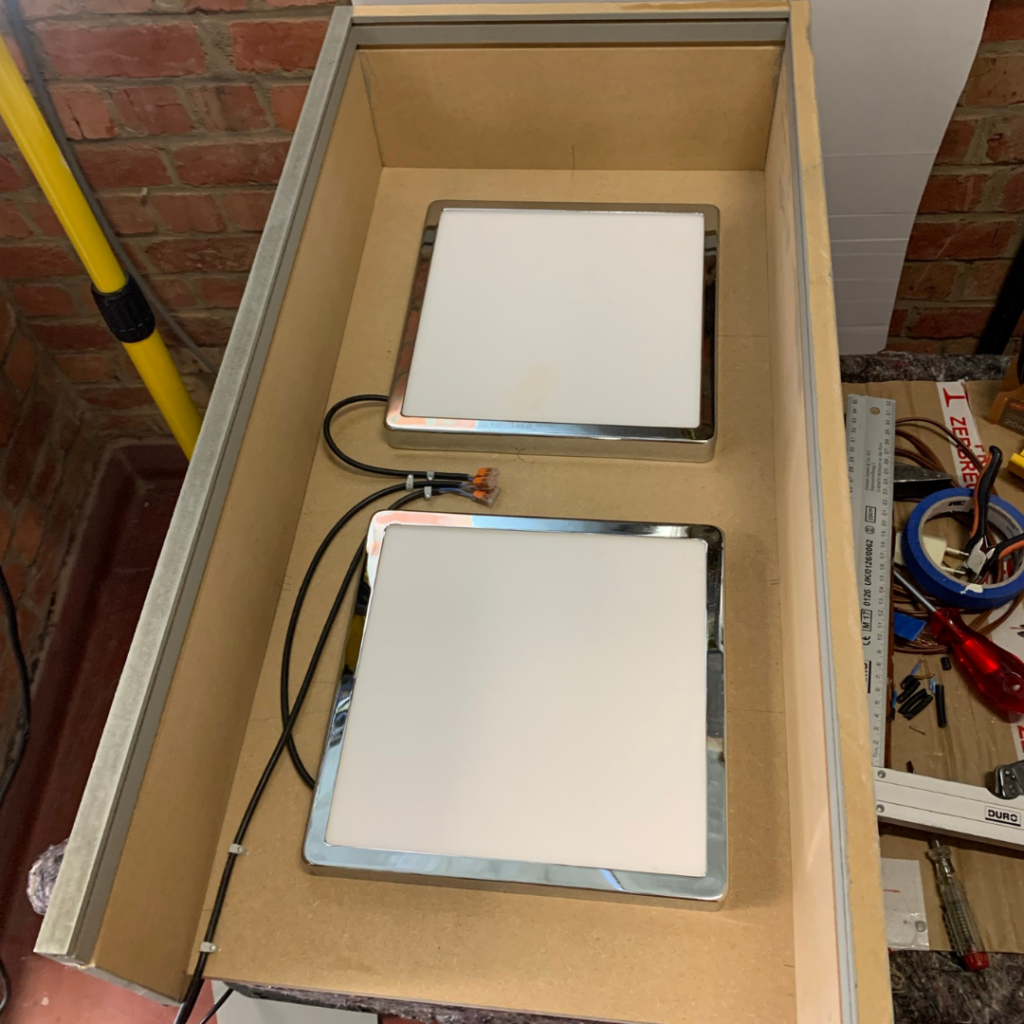
I then attached the two long sides and one short side to the base. Afterwards, I secured the LED fixtures onto the base plate and slid the acrylic sheet into the designated groove. Lastly, I mounted the final (and shortest) side panel. To finish, I sealed the edges around the acrylic sheet with resin.”
Step-by-Step Guide to Make Your Own
steps
-
Cut
Cut the base and side panels to size. Create a 7 mm groove in the side panels for the acrylic sheet.
-
Groove
Fashion a narrow 5 mm groove above the previous groove in three side panels for the lid and trim one short side slightly.
-
Assemble
Assemble the two long sides and one short side onto the base and secure the LED fixtures onto the base plate.
-
Insert
Insert the acrylic sheet into the groove and attach the last side panel.
-
Seal
Seal the edges around the acrylic sheet with resin.
Supplies

Additional materials

Claude’s Tips for Others
Make sure the box has enough light to illuminate the entire sheet, and don’t opt for an acrylic sheet that is too thin (I used 6 mm for a light box measuring 80 cm by 40 cm).
Other DIY Awards
Discover more similar DIYs!