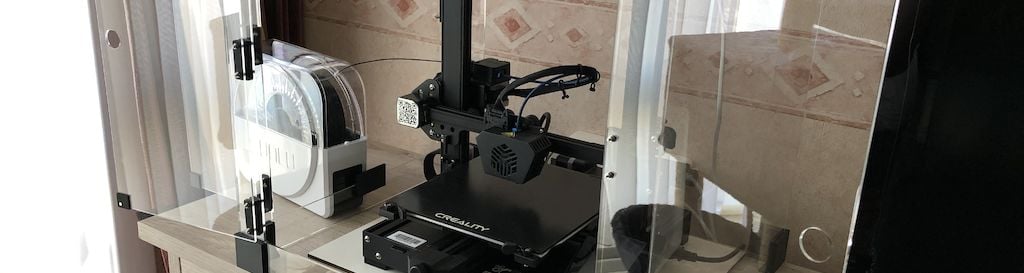
Have you got a 3D printer without an enclosure? Make your own DIY printer enclosure with acrylic sheets to protect your printer from dust, small children, and pets. An enclosure for your 3D printer also ensures that the heat released during printing remains within the enclosure, guaranteeing an excellent final result.
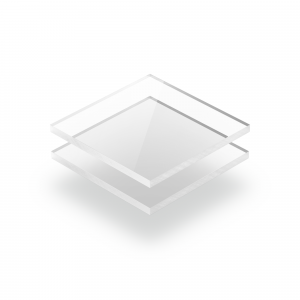
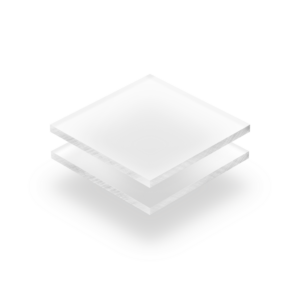
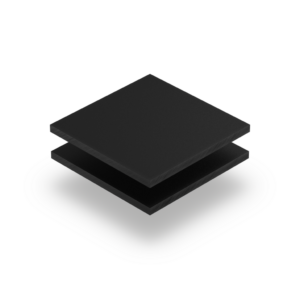
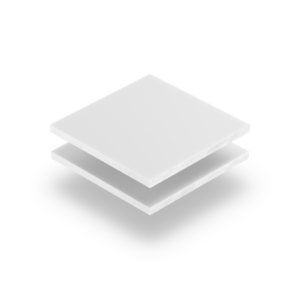
We recommend the following materials for a 3D printer enclosure:
It’s durable and lightweight, making it easy to handle.
It has excellent insulating properties, essential for stable temperatures.
You can adapt it entirely to your liking with fully customised designs.
It’s easy to keep clean, ensuring your printer stays in top condition.
It offers various processing options, such as cutting and drilling, for maximum flexibility in construction.
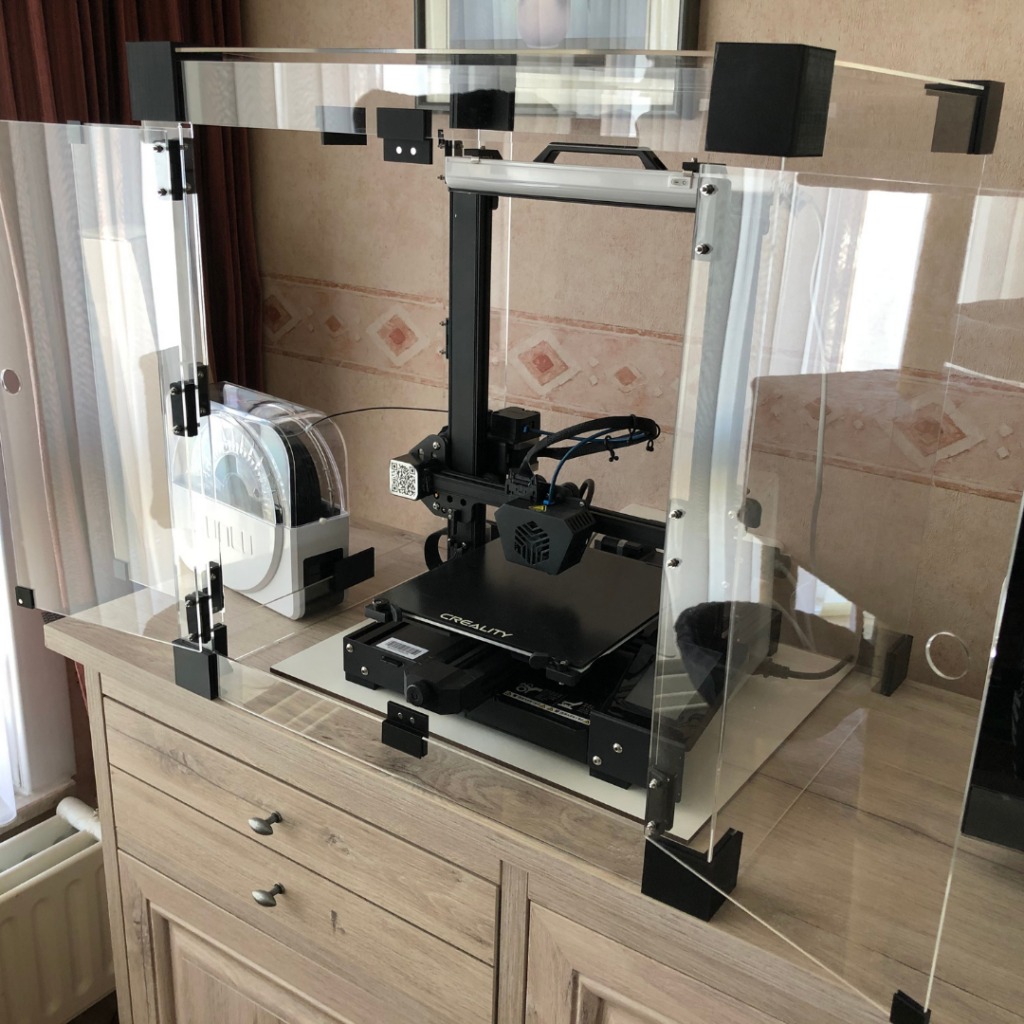
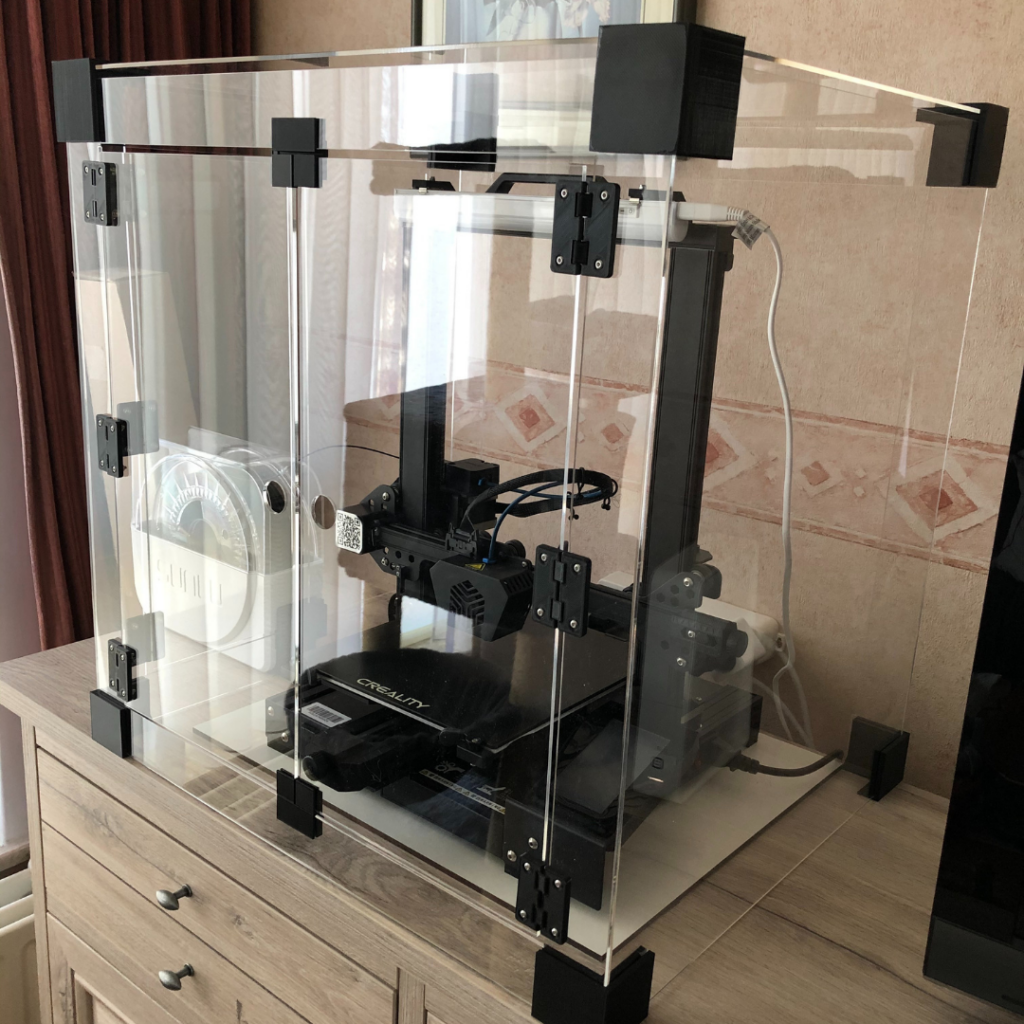
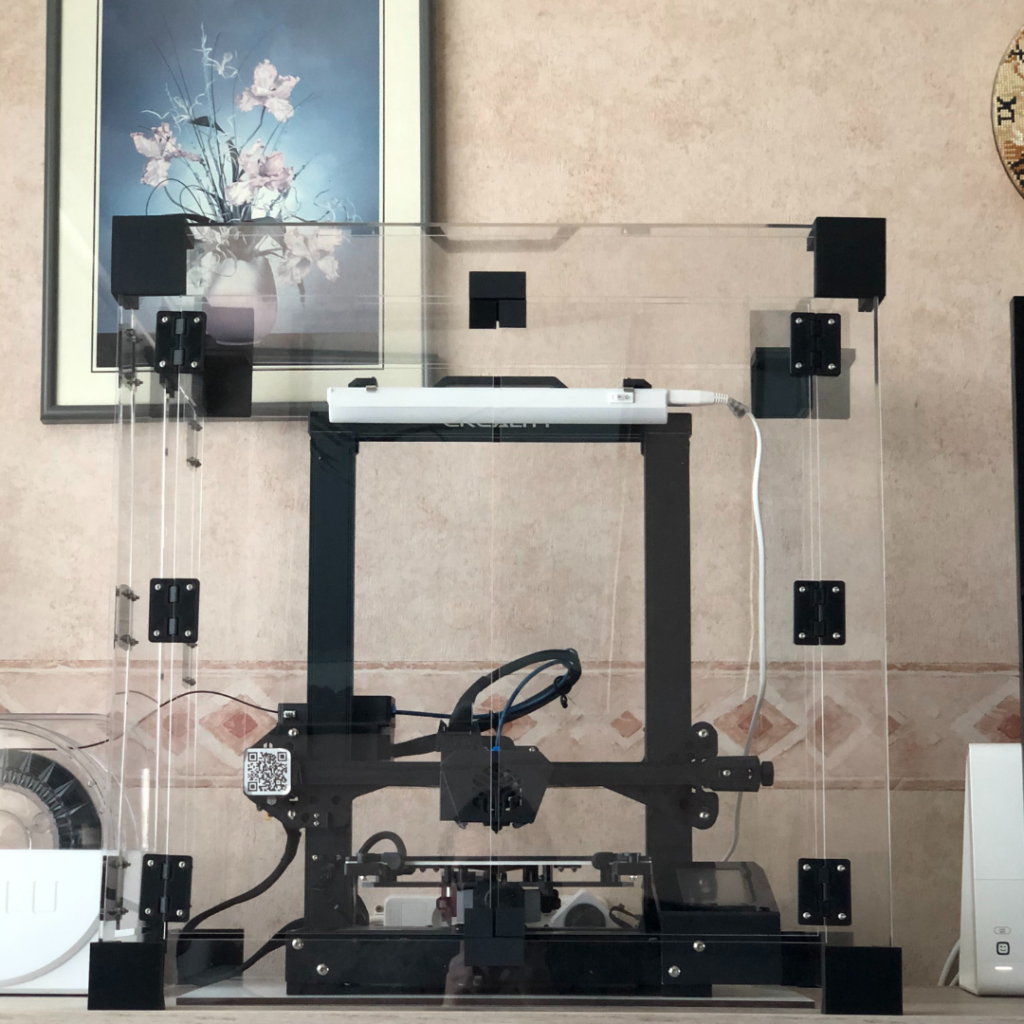
When putting together your 3D printer housing, it’s important to consider air circulation and printer accessibility. Make sure to secure the panels firmly without obstructing the printer’s operation. Remember to think about mounting screws and ventilation channels.
As soon as we receive your order, we will get straight to work. You will immediately receive an order confirmation, and once your order has been shipped, you will also receive a Track & Trace link to follow your package.