Greenhouse replacement glass
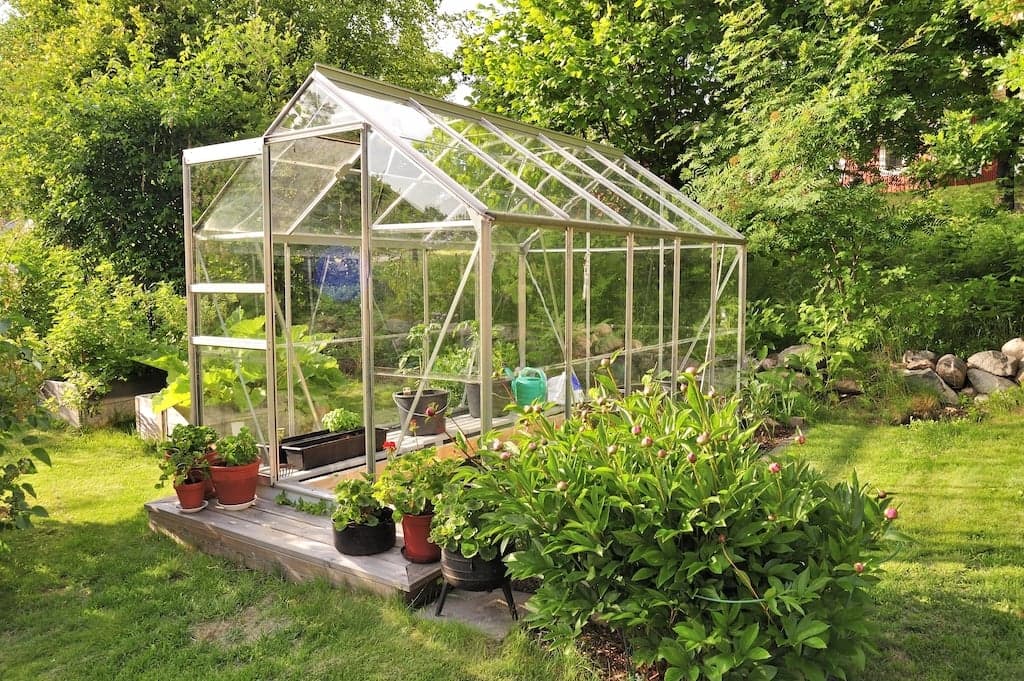
Did you know that acrylic and polycarbonate have many advantages over regular glass for greenhouse glass? With this clear plastic, you are not only assured of optimum light, but the impact resistance is also many times better than that of regular glass. It is also very easy to replace your current greenhouse glass with plastic, because you can easily order the plastic sheets in any desired shape and size. Curious about plastic greenhouse sheet? Order your greenhouse plastic sheets cut to size!


Acrylic greenhouse glass
When using acrylic as greenhouse glass, a clear glass option is of course the most logical choice. The thickness is also important to keep the acrylic glass panes manageable and lightweight. Depending on the size of your desired acrylic glass panes and the amount of wind force that will hit your greenhouse glass, a thickness of 4 to 8 mm is recommended. 4 mm is still reasonably flexible, but more suitable as a wall pane, rather than as a roof pane. A roof pane, with a sheet thickness of 4 mm may sag.
Polycarbonate greenhouse glass
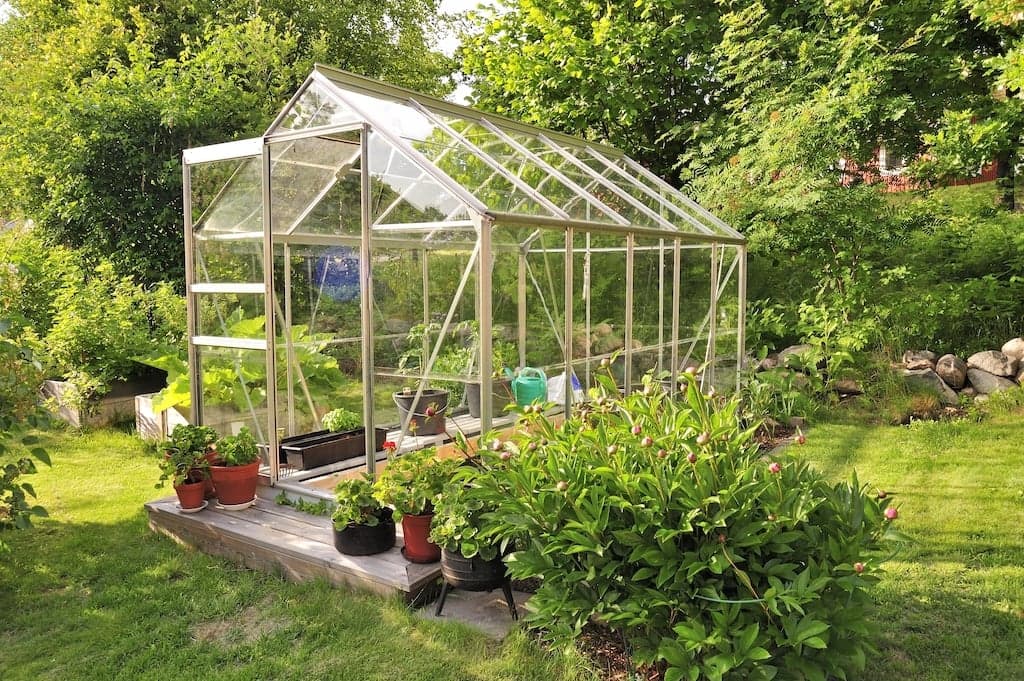
Besides acrylic, another material available is clear polycarbonate. These sheets are extremely impact-resistant and do not yellow under UV light. This makes them ideal for a greenhouse that can take a beating. Hail or even vandals (e.g. for a greenhouse in a public area) are therefore no match for polycarbonate!
Advantages and disadvantages of polycarbonate as greenhouse glass:
- Extremely impact-resistant
- UV-resistant
- Lightweight
- Not scratch-resistant
Glass or polycarbonate
Glass and polycarbonate are both clear sheets, only there are many differences that cannot be seen with the naked eye. Glass, for instance, is much more vulnerable to impact, whereas polycarbonate is extremely impact-resistant. Polycarbonate is also much lighter than regular glass. Whereas glass has the advantage of not being easily scratched.
Replacing glass in greenhouses
Glass panes can be replaced for plastic ones, without having to modify the greenhouse. Make sure you measure and choose the right thickness. Take into account the possible expansion of the plastic due to heat. You can do this by leaving a margin of 0.6 mm per metre for every 10 degrees of expected temperature variation.
How to Replace Greenhouse Glass with Acrylic or Polycarbonate Panels
Replacing broken or old greenhouse glass with acrylic or polycarbonate sheets is straightforward and can usually be done without modifying your existing frame. Here’s a step-by-step guide to help you complete the job safely and efficiently.
Summary of Tools You’ll Need:
- Tape measure
- Safety gloves and glasses
- Screwdriver or glazing clip tool
- Rubber gasket or silicone sealant
- Soft cloth and mild detergent
Measure your existing glass panels
Start by carefully measuring each glass pane you plan to replace. Use a steel tape measure and record the height, width, and thickness of every panel, greenhouses often vary slightly between sections.
Tip:
Measure twice to ensure accuracy, and label each pane’s location to make reinstallation easier.
Choose your replacement material
Both acrylic (Perspex®) and polycarbonate are excellent alternatives to traditional glass:
- Acrylic: Crystal-clear, lightweight, and easy to cut. Perfect for small or decorative greenhouses.
- Polycarbonate: Stronger and virtually unbreakable. Ideal for larger greenhouses or exposed locations.
Recommended thickness:
For the walls we recommend 4 mm or 5 mm. For roof sections we recommend 6 mm or 8 mm for better rigidity.
Remove the old glass panels
Wearing safety gloves and eye protection, remove the existing glass panes carefully.
- Slide the glass out of its clips or glazing bars.
Remove any broken pieces or old putty. - Check that the frame is clean and free from debris before refitting.
- If you find corrosion or damage on the frame, repair it before installing new panels.
Prepare the frame
Plastic expands slightly with changes in temperature. To allow for this, leave a small expansion gap (approx. 0.6 mm per metre per 10°C) around the edges when placing your new panels.
You can also apply a thin rubber glazing strip or silicone gasket to cushion and seal the panels.
Fit the new panels
Slide the acrylic or polycarbonate sheets into the existing glazing bars or clips. If your greenhouse uses spring clips, gently secure each corner, ensuring the panel is held firmly but not under tension.
Avoid overtightening, as plastic sheets can flex under pressure.
Check and seal
Inspect every panel for alignment and gaps. Apply a UV-stable silicone sealant around the edges if needed to prevent water ingress.
Finally, wipe the panels clean with a soft cloth and mild soapy water to remove fingerprints or dust.
Maintenance
Plastic greenhouse sheets are easy to maintain. Wash them occasionally with mild soap and water, and avoid abrasive cleaners that can scratch the surface.
Polycarbonate and acrylic are UV-resistant and won’t discolour over time, so they’ll keep your greenhouse bright for years.
Thickness of greenhouse glass
The most suitable thicknesses for greenhouse glass are 4 to 8 mm. This depends on the desired strength and flexibility of the material. A 4 mm sheet for example, is more flexible than the 8 mm sheet, and therefore better to use as a wall pane, than as a roof pane.
Cut to size greenhouse glass
Ordering your greenhouse glass is very easy. Go to the product page of the sheet of your choice and calculate your desired sheet in the sheet calculator.