How to cut Trespa®
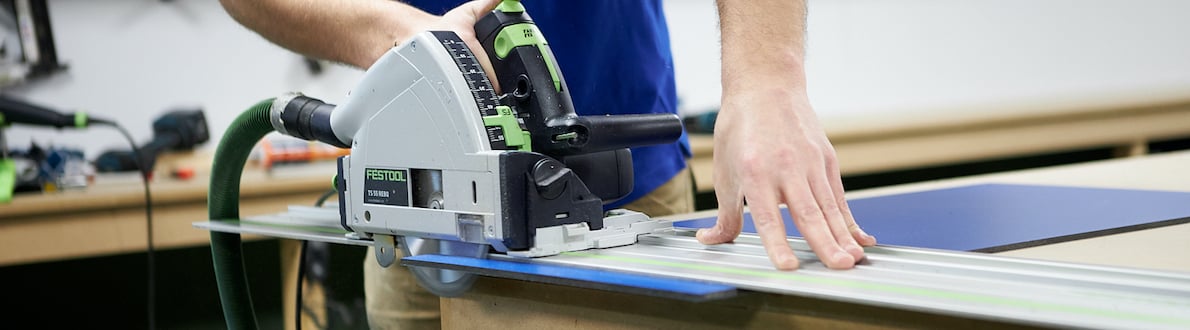
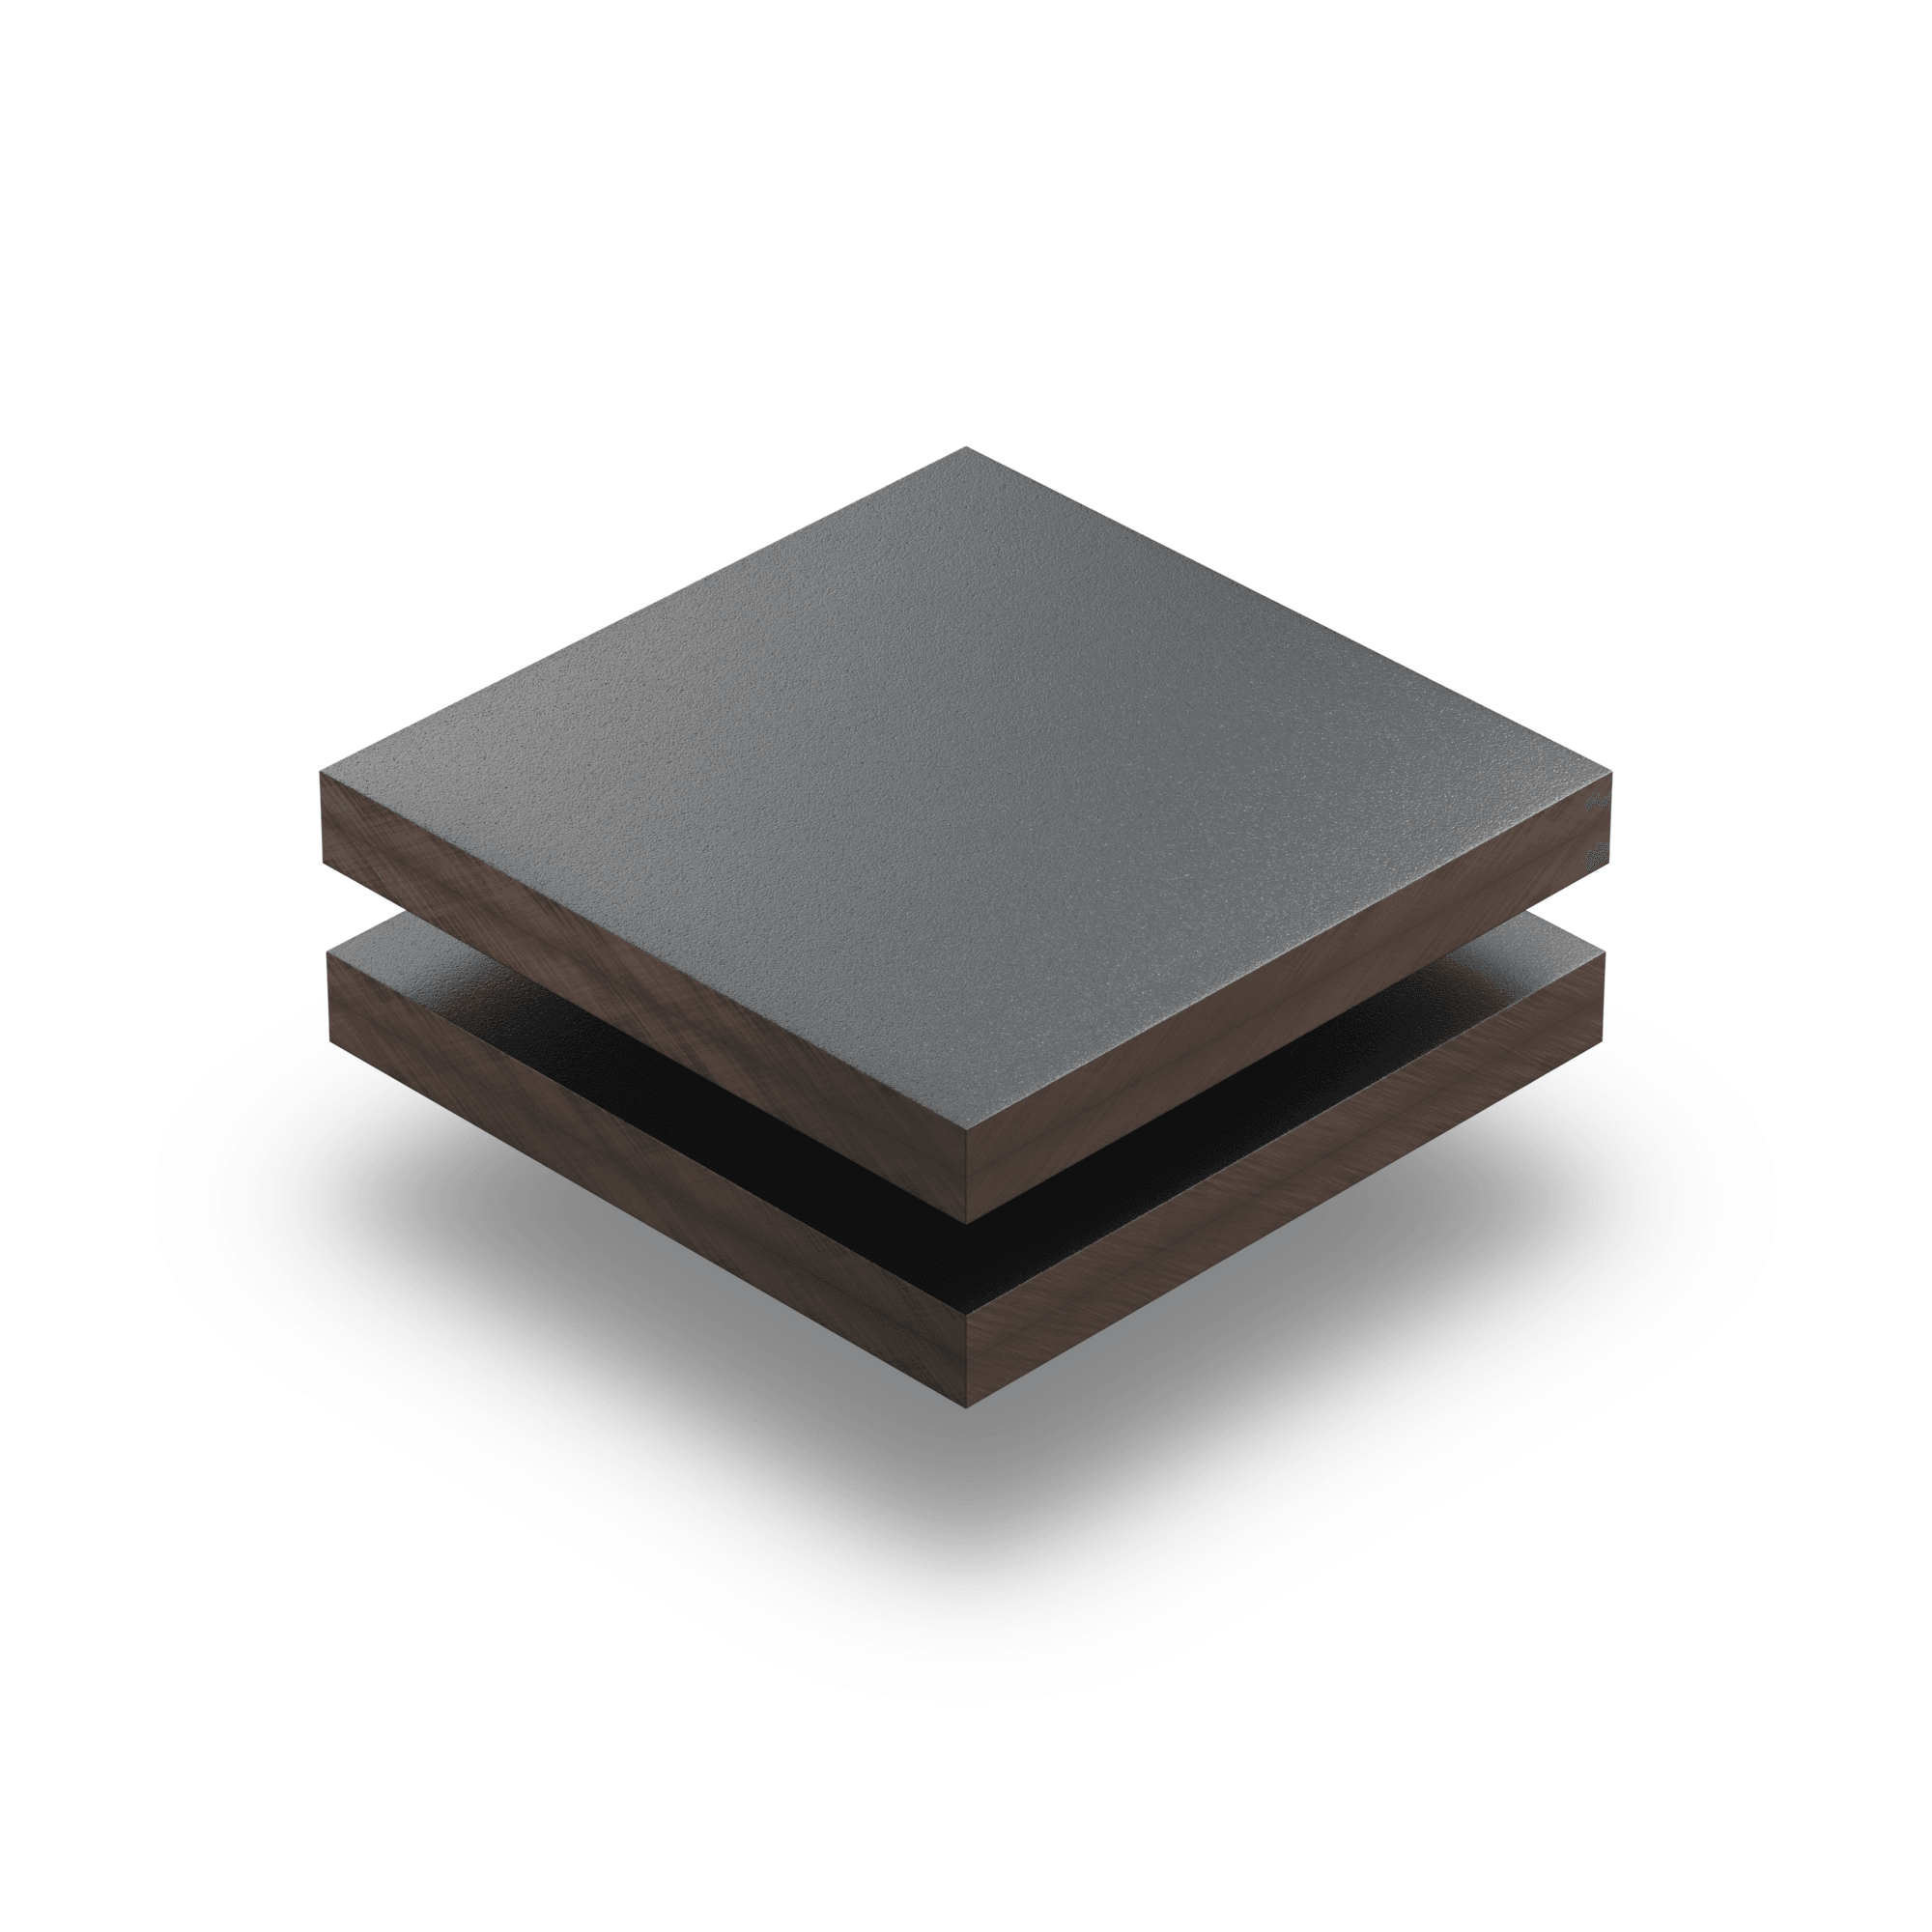
Thinking about cutting Trespa® sheets? You can definitely do it yourself. We'll guide you through exactly what you'll need and how to approach it. We'll help you through the process - Step-by-step. This way, you'll be sure you're doing it right.
Tools
- Jigsaw or circular saw
Additional materials
- Sharp saw blade (fine teeth)
- Masking tape
- Safety goggles and ear protection
- Baseboard
- Screw clamps or grip pliers
Getting started
Proper preparation is half the work, especially when it comes to cutting Trespa®. Start by measuring your cut lines accurately. Once you've got the measurements right, put on some masking tape over the cut lines. This will help you clearly see where you need to cut.
How to cut Trespa® by yourself
Follow these steps for a clean result:
Choose the right saw
Mark your cutting line
Secure your Trespa®
Set the correct cutting speed
Time for the real cutting
Tidy up
By carefully following these steps, you'll cut like a true professional. With the right preparation, attention to detail, and safety, you'll be able to cut Trespa® perfectly too. Take your time and work calmly; you’ll be proud of the result!
Cutting Trespa® with a circular saw
A circular saw is a powerful electric tool. It has a round blade that spins rapidly. You can easily adjust how deep and at what angle you cut. This makes it handy for various tasks. With a circular saw, you can quickly and accurately cut large pieces and long straight lines.
Note: Always use safety goggles and ear protection. A circular saw is noisy, and there might be flying shards.
Cutting Trespa® with a Jigsaw
A jigsaw is great for making curved cuts and intricate patterns in Trespa®. The saw blade moves up and down, allowing precise control of the cut. Perfect for creative projects, such as cutting circles. Stay safe: use the right blade and secure the material properly.
Extra tips:
✓ Want to saw inner corners neatly with a jigsaw? Drill holes of 8 to 10 millimetres first.
✓ Use setting 1 of the pendulum action on your jigsaw. This helps prevent stress and cracks.
Ordering Trespa® pre-cut?
Not keen on cutting it yourself? No problem. You can order Trespa® sheets fully customised from us. We'll deliver them exactly how you need them. We can even create cut-outs in the panels for you. This saves you time and effort, ensuring your panels are perfectly sized.
Frequently Asked Questions