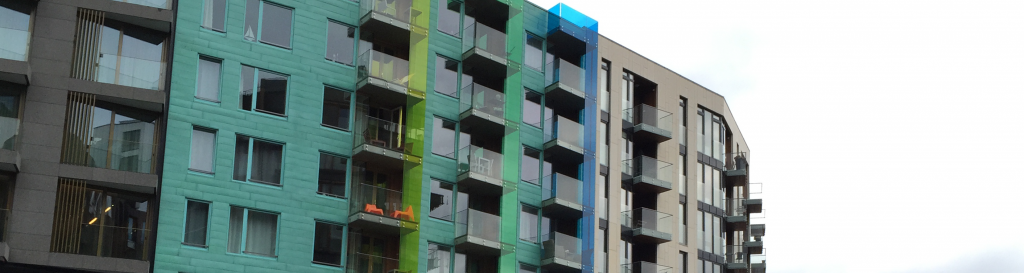
When you decide to refurbish your balcony, glazing is one of the most important considerations. After all, balcony glazing not only looks nice, but also offers a number of practical benefits. There are several plastic sheets suitable to use as balcony glazing, we will tell you all about them on this page.
The following products are suitable for use as balcony glazing:
Balcony glazing is the glazing around the balcony of a building or house. These glazing sheets are installed for a number of reasons, including aesthetics, insulation, noise reduction, balcony privacy screen protection, and blocking the wind. Balcony glazing can essentially turn a balcony into an extra indoor space that can be used in all weather conditions, while still allowing you to enjoy the view and fresh air when desired.
Balcony glazing offers a number of benefits. We highlight the most important ones for you.
By adding balcony glazing, you not only increase the living space, but also the potential value of your home. It’s like adding an extra room with a beautiful view. Who wouldn’t want that?
Have you ever thought about how much heat from the sun you lose in the windows of your balcony? With the right glazing, you can reduce heat loss and thus improve the energy efficiency of your home.
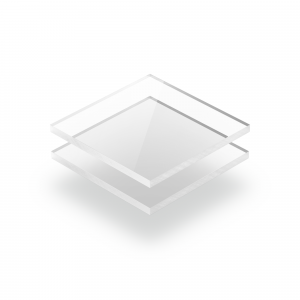
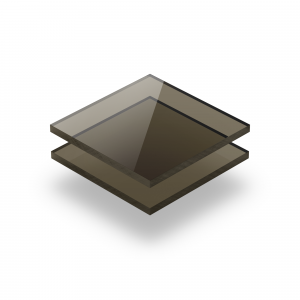
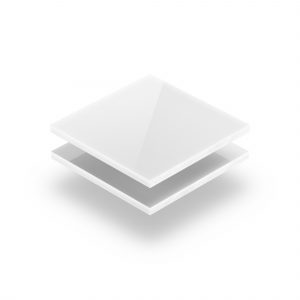
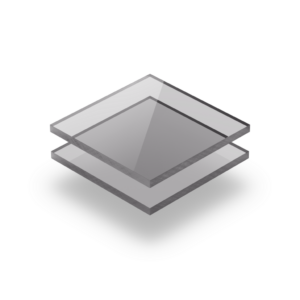
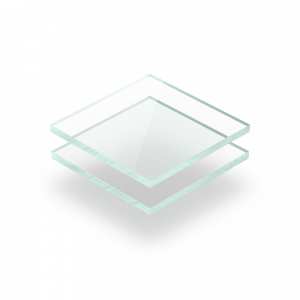
Acrylic, also known as acrylic glass, is a popular choice for balcony glazing because of its light weight, high transparency and impact resistance. Acrylic is also UV resistant, meaning it retains its brightness even after prolonged exposure to the sun. Moreover, it has excellent weather resistance, making it an ideal choice for outdoor installations such as balcony glazing.
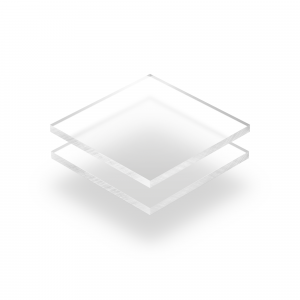
Polycarbonate is another highly suitable material for balcony glazing. It is extremely robust and impact resistant, which makes it perform particularly well in environments where severe weather or potential vandalism could be an issue. In addition, polycarbonate has good thermal properties, contributing to the energy efficiency of the home.
| Acrylic | Polycarbonate | Normal glass | |
|---|---|---|---|
| Advantages | Lightweight, high transparency, UV resistant, weather resistant, available in various shades and finishes | Extremely strong, impact resistant, lightweight, high transparency, UV resistant, weather resistant, good thermal properties, available in various shades and finishes | High transparency, available in different styles and finishes, scratch resistant |
| Disadvantages | Not scratch resistant | Less budget-friendly than acrylic, not scratch resistant | Heavier, may break on strong impact, more expensive than acrylic |
You order your new balcony glazing easily and quickly to size in the order module on our product pages. First, measure your balcony properly and determine how big the glazing should be. Then enter these dimensions on the product page of the product of your choice, and off you go!
It is also possible to indicate in the order module where you want to have cut-outs or drill holes milled or lasered. It is also possible to order your sheet in a specific shape. If you want to order a very special shape, you can even upload your own DXF file drawing for your desired sheet. Please take the drawing rules into account.
It is important to clean your balcony glazing regularly to ensure that you can always enjoy the view. An annual glazing check can help detect and fix problems early. You can read all about cleaning plastic materials in our blogs.
Cleaning polycarbonate
Cleaning acrylic