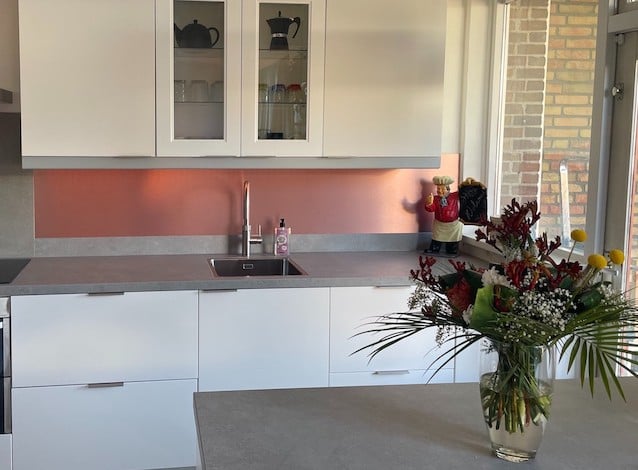
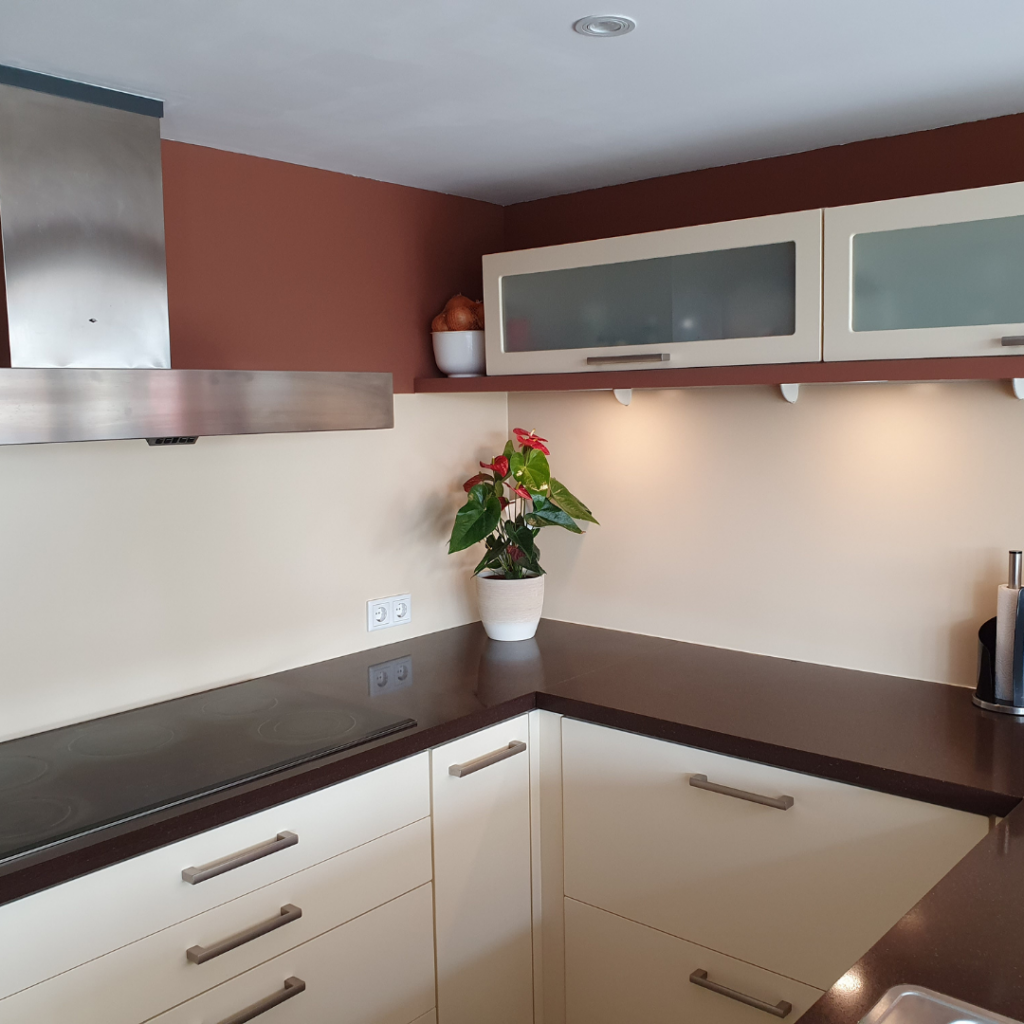
Danny has crafted something wonderful for his kitchen! He was on the lookout for a sleek and modern kitchen splashback and opted for an ACP (Aluminium Composite Panel) splashback in an ivory colour. This material perfectly complements his kitchen and is easy to clean. A truly wise choice for those looking to make everyday life in the kitchen a little easier.


The Project
Danny took on quite the project in his kitchen, using an ACP splashback and working meticulously to make cut-outs for power sockets. For the extractor hood and shelf brackets, he even created a template, allowing him to saw neatly. The panels are securely fixed using Bostik high tack premium adhesive and finished with a silicone sealant in the same colour as the splashback, namely RAL1015. Everything is firmly in place and looking perfect!
Here’s a step-by-step guide to help you through the process
steps
-
Write down
Write down where the holes for plugs and other cut-outs need to be. Make a good template for precision.
-
Use a jigsaw
Use a jigsaw and angle grinder to cut the ACP panel to size.
-
Fix the panels
Fix the panels to the wall with Bostik high tack premium adhesive.
-
Finish the edges
Finish the edges with Soudal silicone sealant in the desired colour to ensure a neat finish.
Supplies

Additional materials

Danny’s tips for others
“At Plasticsheetsshop, you have the option to order a few samples in different colours and/or materials. This is useful to see if it’s what you’re after, then when you place the final order, the sample costs are refunded. Take your time to measure and saw. Tape over the holes you need to saw with good painter’s tape; this prevents damage. Stick the panels to the wall with the protective film facing out. This avoids damage during installation.”
Other DIY Awards
Get inspired by other people’s DIY Awards entries. Or enter too and stand a chance to win fantastic prizes!