Walter has seamlessly transformed his carport into a stylish shed, featuring a stunning acrylic skylight. This brilliant addition brings natural daylight inside without stepping a foot outdoors. Walter shares his clever approach with us, showing how to handle acrylic safely. His project not only serves a functional purpose, but also gives his shed a bright, open feel.
The Project
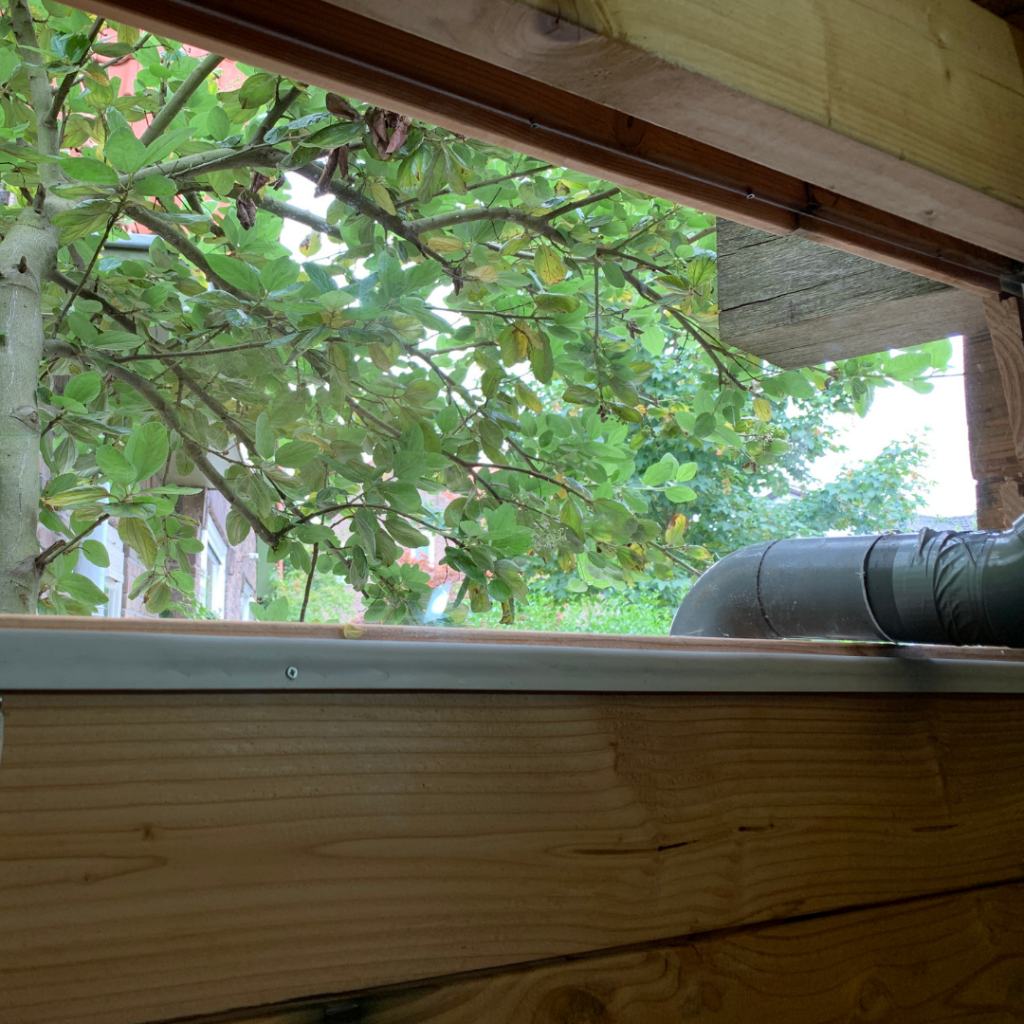
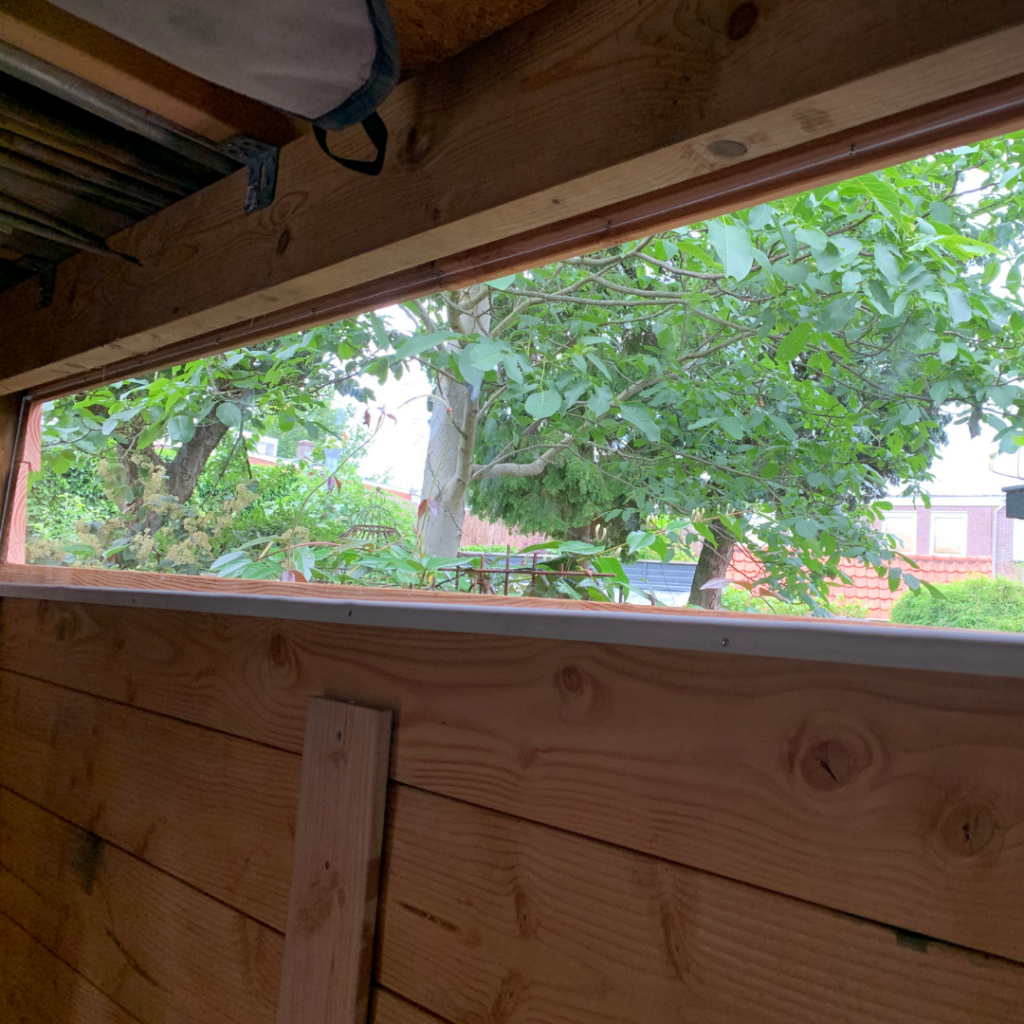
Walter took on the task of converting his carport by enclosing the sides, creating a genuine shed. To ensure a beautifully lit interior, he installed an acrylic skylight on top. “I made an opening in the skylight so that the drainpipe can pass through it, using a large hole saw and a milling machine,” Walter explains.
Step-by-step guide
steps
-
Place
Place the first acrylic sheet on the roof and secure it with spacers. Make sure everything is held firmly in place.
-
Repeat
Repeat the process with the second and third sheets to form one continuous skylight that fits seamlessly.
-
Drill
Use a large hole saw and a milling machine to create an aperture where the drainpipe can pass through.
-
Finish
Tidy up all edges and ensure everything is secured firmly.
Materials & Tools
Additional materials

Walter’s tip
“When processing acrylic with a saw, drill, or milling machine, use a low speed. Otherwise, the material might melt.”
DIY-Awards
Discover more DIY-Awards