
Want a stylish mirrored table in your home, but not keen on spending too much money? With this step-by-step guide, you can create your own luxurious mirrored table in just 30 minutes. All you need is an IKEA LACK side table, mirror sheets, and double-sided tape. This project is perfect for beginners and offers a simple, affordable way to personalise your interior.
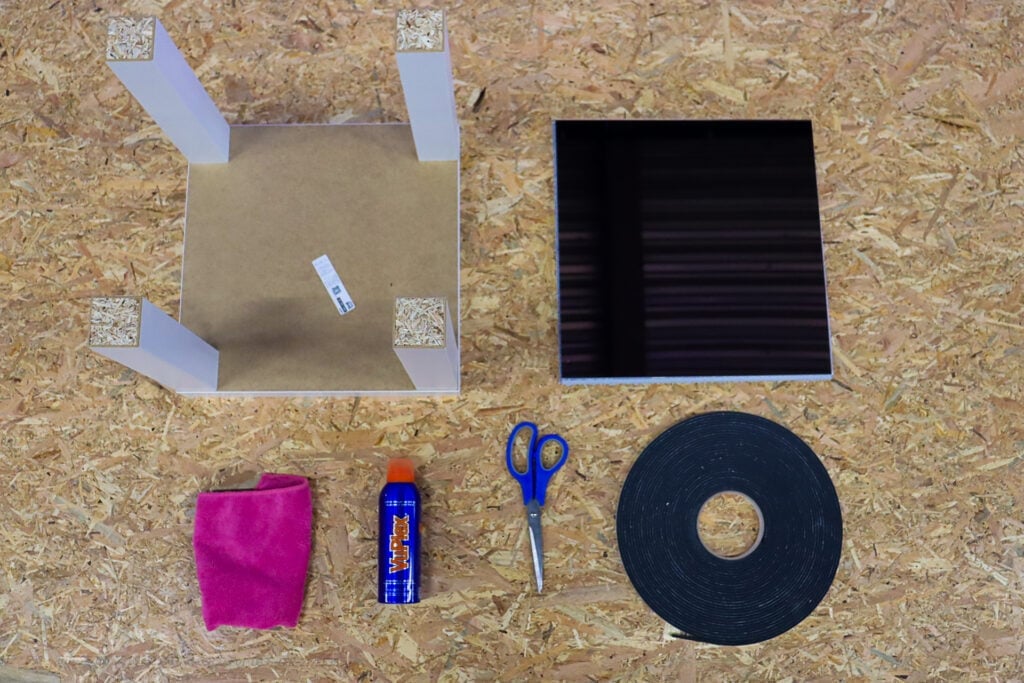
What do you need?
Materials (from IKEA and other shops)
Tools
Get started: creating your mirrored table
1Have the mirror sheets cut to size
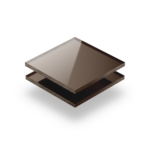
The base of this project is the IKEA LACK side table (35 × 35 cm) combined with perfectly cut mirror sheets. Have these sheets custom-made at PlasticSheetsShop. We opted for 3 mm thick bronze mirror sheets, as they’re lightweight, durable, and easy to work with.
You can customise your mirror sheets with ease using our sheet calculator. Simply input your measurements, and we’ll ensure precise cutting.
For this project, you’ll need the following five mirror sheets:
1× top piece: 35.6 × 35.6 cm2× long sides: 35.6 × 35 cm2× short sides: 35 × 35 cm
Before placing your order, double-check that the measurements of your IKEA LACK table are correct. This step ensures everything fits perfectly.
2Clean
To attach the mirror sheets securely, it’s essential to start with a clean, grease-free surface. This requires some simple preparation.
Clean the table:
- Use a damp cloth with a gentle all-purpose cleaner to clean the entire surface of the table, including the legs and top.
- Make sure the table is completely dry, with no dust, dirt, or grease remaining.
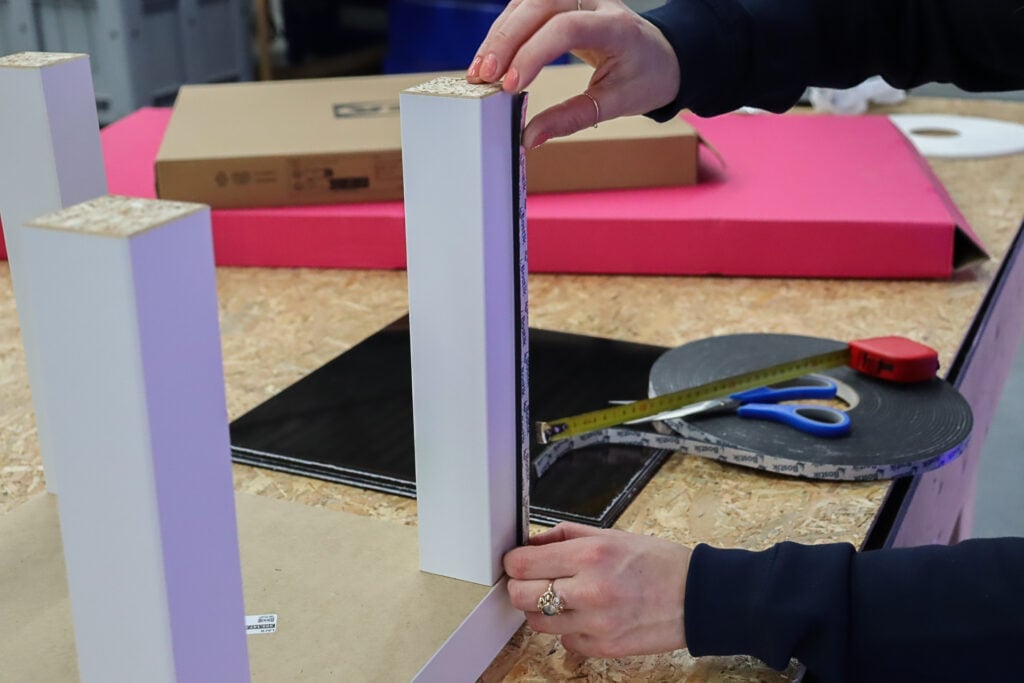
3Apply the double-sided tape
Cut 8 pieces of double-sided tape, each approximately 33 cm long.
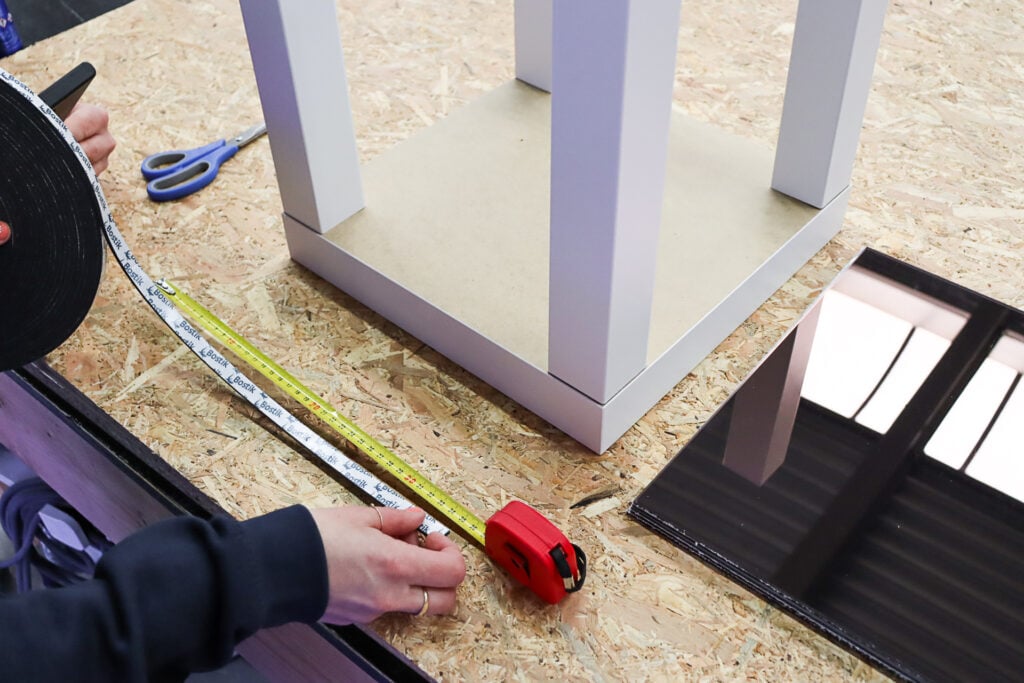
Attach these pieces along the edges of the table legs, running from the top down to just above the bottom. This ensures strong adhesion without the tape being visible. For the tabletop, apply tape along the outer edges to secure the top mirror sheet firmly. Taking care during this step will prevent loose mirrors and uneven results.
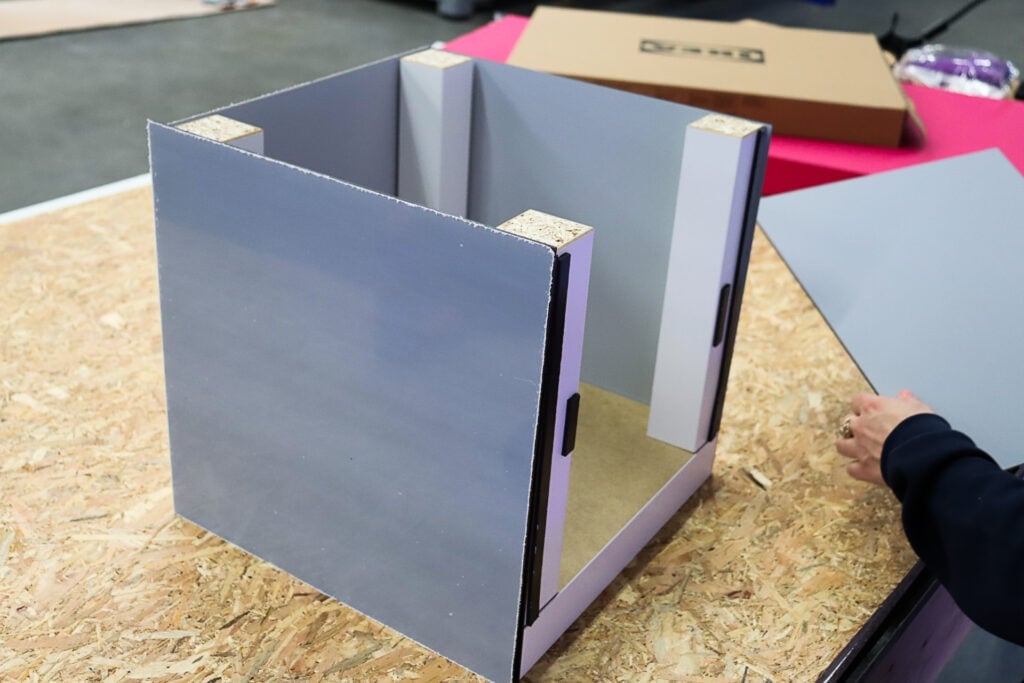
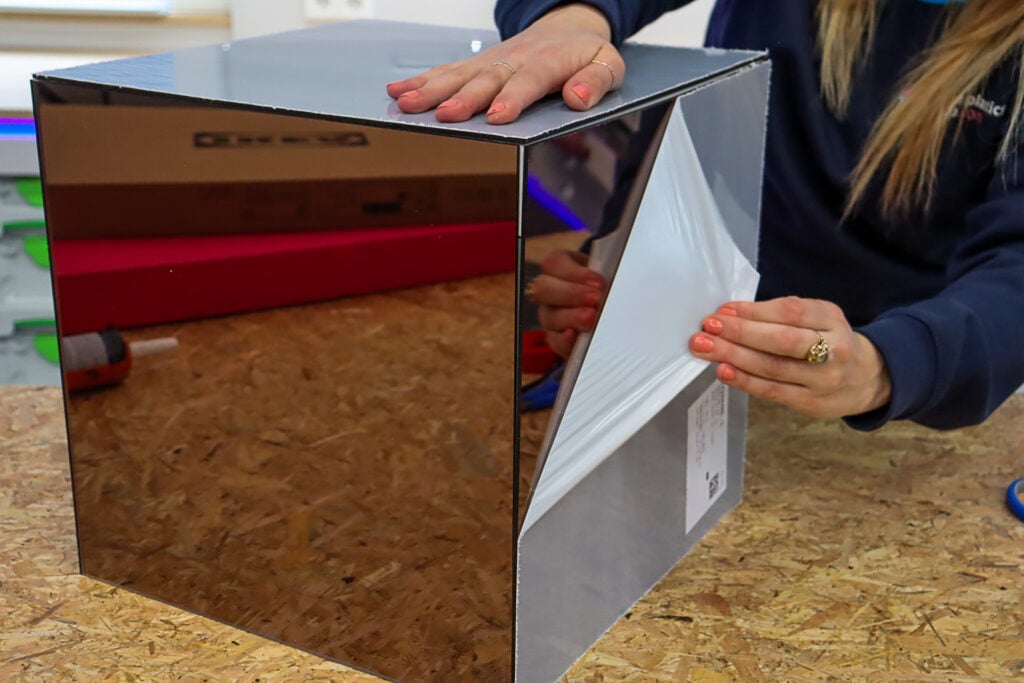
4Attach the mirror sheets
Now it’s time to bring everything together by attaching the mirror sheets to the table. This is where your project truly comes to life.
Place the mirrors on the legs:
- Start with the short sides of the legs using the 35 × 35 cm mirror sheets.
- Align the sheets carefully and press them firmly onto the double-sided tape. Take your time to ensure they’re positioned correctly. Using a spirit level can help.
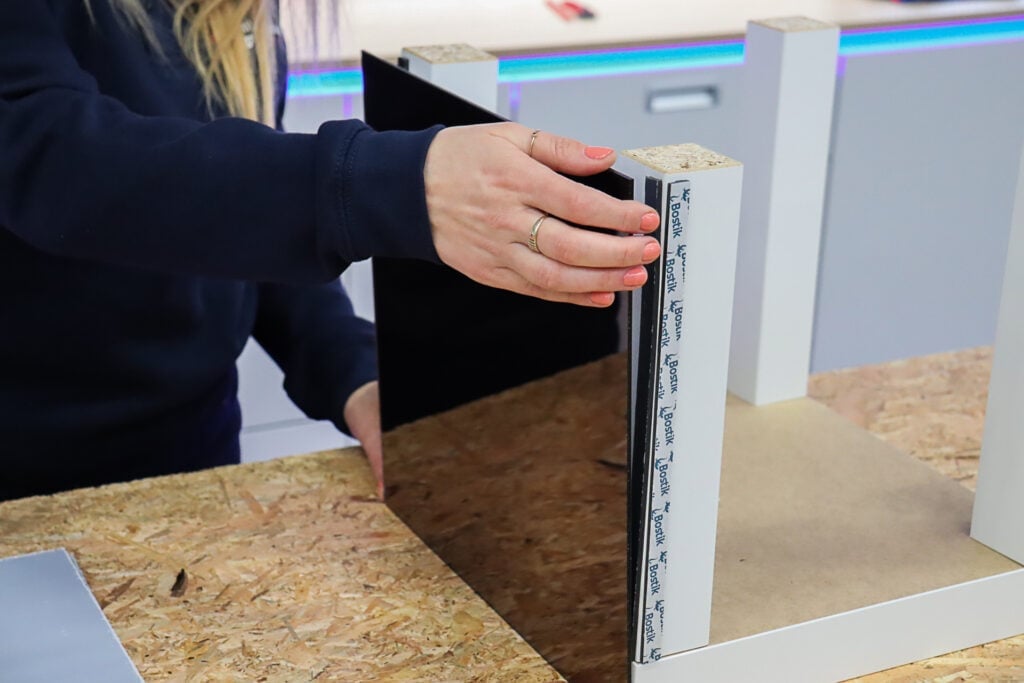
Next, attach the long sides of the legs with the 35.6 × 35 cm sheets, making sure the edges meet neatly and snugly.
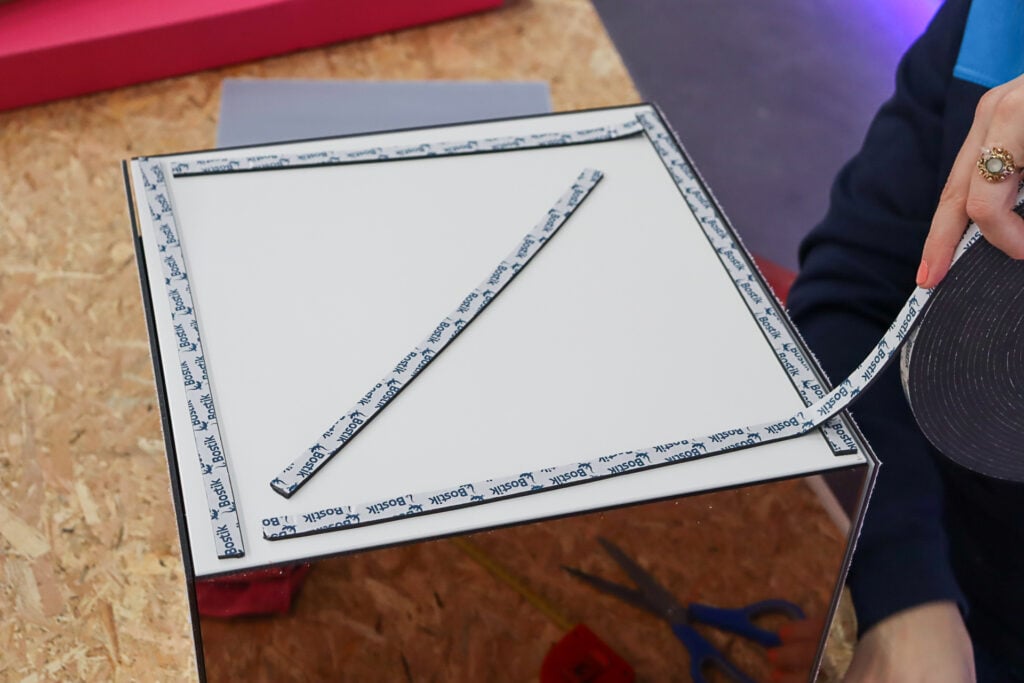
Attach the top piece:
- Add an extra layer of tape to the edges of the tabletop for extra stability.
- Place the 35.6 × 35.6 cm mirror sheet precisely in the centre of the table. Ensure the edges line up evenly and press it firmly into place.
5Remove the protective film and polish
The finishing touches are all about perfecting your mirrored table. These steps ensure a flawless final result.
Remove the protective film:
- Carefully peel off the protective film from all the mirror sheets. Take your time to avoid leaving adhesive residue or causing damage.
- Check that no tape is showing and that the mirrors haven’t shifted during application.
Polish the table:
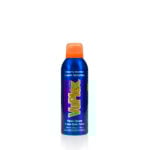
- Use Vuplex or another high-quality anti-static cleaner to clean the mirrors. Work with a soft cloth to avoid creating scratches.
- Buff the table until it’s completely streak-free, and admire your finished creation—a stunning mirrored table made by you.
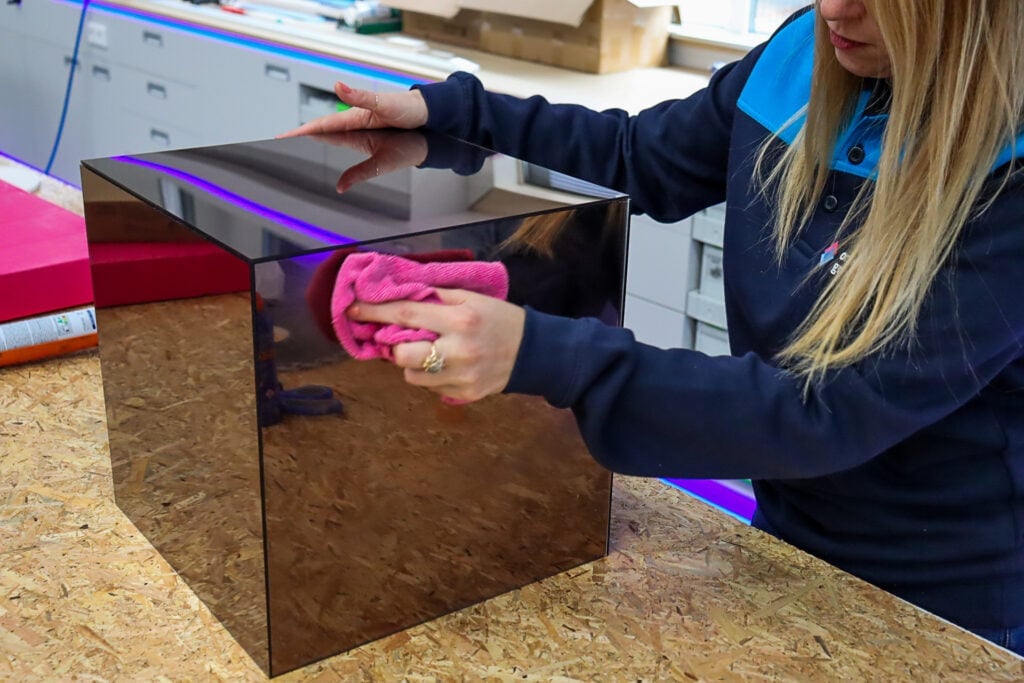
Polishing with Vuplex:
Use Vuplex anti-static cleaner to give the mirror sheets a perfect shine. Spray a small amount onto a soft cloth and clean the surfaces with circular motions. This will remove dust and fingerprints, leaving a gleaming, scratch-free finish.
With this final touch, your mirrored table is ready to take centre stage in your interior!

Tips
For extra durability, consider using adhesive instead of double-sided tape. This is particularly useful for a table that gets heavy use or if you’re after a permanent bond. Keep in mind that adhesives typically require 6-8 hours to fully dry, so plan ahead.
Frequently Asked Questions
Get Inspired and Order Your Materials at Plasticsheetsshop
Feeling inspired? Get going today! At Plasticsheetsshop, you can order mirror sheets in the size you need – fully customised and cut to size with computer precision. Whether you go for bronze, silver, gold or rose gold, we’ll help make sure your project is a success.
Why choose Plasticsheetsshop?
– Fast delivery: We’ll make sure your materials arrive quickly and safely.
– Top quality: Our materials are sturdy, durable, and ideal for DIY jobs like this.
– Always custom-cut: Whatever you’re building, we’ll cut it exactly how you want it.
Start building your mirror table today and share the finished result with us. Show off your project, inspire others, and let everyone see what you can create with mirror sheets from Plasticsheetsshop!