Straight to content
Search
Search
My Account
Sign in
Username or email address
*
Password
*
Lost your password?
No account yet?
start here
0
0
Menu
Menu
Acrylic
PERSPEX®, PMMA
Clear acrylic sheets
White opal acrylic sheets
Tinted acrylic sheets
Coloured acrylic sheets
Black acrylic sheets
White acrylic sheets
Matt acrylic sheets
Acrylic mirror sheets
Fluorescent acrylic sheets
Anti-reflective acrylic
Recycled acrylic
Signage lettering
Acrylic Blocks
PERSPEX®
Acrylic, PMMA
Polycarbonate
Makrolon®, Lexan
Clear polycarbonate sheets
White opal polycarbonate sheets
Tinted polycarbonate sheets
Makrolon® sheets
Lexan
HPL / Trespa®
Abet, Volkern
White HPL sheets
Trespa® sheets
HPL screws
ACP
Alupanel, Dibond®
White aluminium composite
Coloured aluminium composite
Brushed aluminium Dibond®
Dibond® panels
PVC
Foamboard, Forex®
White PVC foam sheets
Coloured PVC foam sheets
Forex® boards
Solid PVC sheets
Engineering plastics
Polyethylene, HDPE
PE sheets
HDPE sheets
Solid PVC sheets
Plastic wall panels
Accessories
Plastic fasteners
Plastic adhesive
Plastic cleaner
Plastic polish
Bostik adhesives and primers
AC window sealing
Secondary glazing
Acrylic screens
Blog
Search
Search
Search
Acrylic
All acrylic sheets
Clear acrylic sheets
White opal acrylic sheets
Tinted acrylic sheets
Coloured acrylic sheets
Black acrylic sheets
White acrylic sheets
Matt acrylic sheets
Acrylic mirror sheets
Fluorescent acrylic sheets
Recycled acrylic
Signage lettering
Anti-reflective acrylic
Frosted acrylic sheets
Glass acrylic sheets
Acrylic Blocks
PERSPEX®
All PERSPEX® sheets
Polycarbonate
All polycarbonate sheets
Clear polycarbonate sheets
White opal polycarbonate sheets
Tinted polycarbonate sheets
Makrolon® sheets
Lexan
HPL / Trespa®
All HPL / Trespa®
White HPL sheets
Trespa® sheets
HPL screws
ACP
All aluminium composite panels
White aluminium composite
Coloured aluminium composite
Brushed aluminium Dibond®
Dibond® panels
Alupanel sheets
PVC
All PVC sheets
White PVC foam sheets
Coloured PVC foam sheets
Forex® boards
Solid PVC sheets
Engineering plastics
All engineering plastics
PE sheets
HDPE sheets
Solid PVC sheets
Plastic wall panels
Bathroom
Kitchen
Shower
Toilet
Accessories
Plastic fasteners
Plastic adhesive
Plastic cleaner
Plastic polish
Bostik adhesives and primers
AC window sealing
Secondary glazing
Acrylic screens
Blog
Keep the heat out and the cool air in. Order your fully customised window seal for a portable air conditioner today.
Shop now!
Close
Back
|
Home
|
HPL
|
Processing
Processing options for HPL / Trespa®
Glueing
More information
Painting
More information
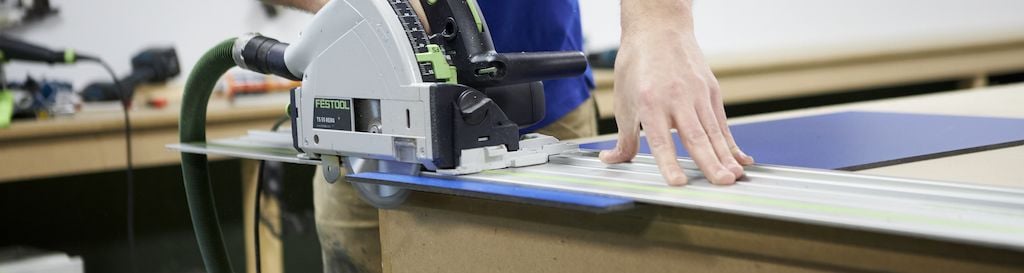
Sawing (circular saw)
More information
Sawing (jigsaw)
More information
Drilling
Engraving
Lettering
Milling
Cutting
More information
Bending (cold)
Bending (warm)
Coating
Lasering
Polishing
Turning
Water cutting
Welding
Show all
Close window
You are not logged in
Login here. No account yet? Create it immediately and take advantage of the benefits
Username or email address
*
Password
*
Lost your password?
Create an account for these advantages:
See all your orders at a glance
Edit your data quickly
View the status of your order
Discover our latest offers
Register account