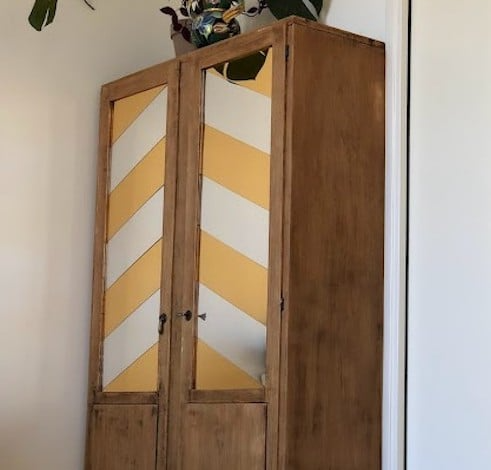
Gert-Jan has crafted a beautiful room divider to keep the cold at bay near the entrance door. He utilised acrylic and wood to create an elegant partition. By doing so, he avoided the expense of purchasing a costly glass and steel structure while achieving an equally stunning final result!


The Project
Gert-Jan designed a room divider from acrylic and wood, positioned next to the front door. This divider keeps the cold out, with a chic steel-look design. Gert-Jan explained, “I ordered bespoke acrylic and crafted a frame from pinewood. It’s all assembled with hidden screws and dowels, leaving no screws visible. The frame was primed and finished with a black paint.”
Here’s a step-by-step guide to help you through the process
steps
-
Measure
Carefully measure and order custom-sized acrylic. Make a central saw cut of 1.2 cm in the pinewood frame.
-
Assemble
Assemble everything with hidden screws using dowels in the middle. Ensure no screws are visible.
-
Remove
Remove the acrylic before painting. Prime the wooden frame and once dry, paint it black.
-
Paint
Paint the saw cut black with a brush. Ensure the wood isn’t visible once the acrylic is in place.
-
Reinsert
Reinsert the acrylic into the frame and secure everything for the final time. Enjoy your masterpiece!
Supplies
Additional materials

Gert-Jan’s tips for others
“Measure well. Assemble everything with the acrylic in place. Make sure you can’t see any screws. Screw from the bottom and top. Use dowels in the middle as screws can’t be used there. If everything fits, take it apart and remove the acrylic. Start painting only then, so you don’t need to mask off the acrylic. After painting, insert the acrylic again, screw everything in place and you’re done. Enjoy your masterpiece!”
Other DIY Awards
Get inspired by other people’s DIY Awards entries. Or enter too and stand a chance to win fantastic prizes!