Acrylic is easy to engrave. In addition to etching and printing, engraving is the most commonly used technique to process the surface of acrylic. Certainly, with slightly thicker plates (from 4 millimetres) a very nice three-dimensional effect can be achieved with an engraving, especially in combination with lighting that gives a magic effect. But the saying “practice makes perfect” applies when engraving acrylic. In this blog, we provide some important tips and tricks.
Acrylic engraving with a Dremel
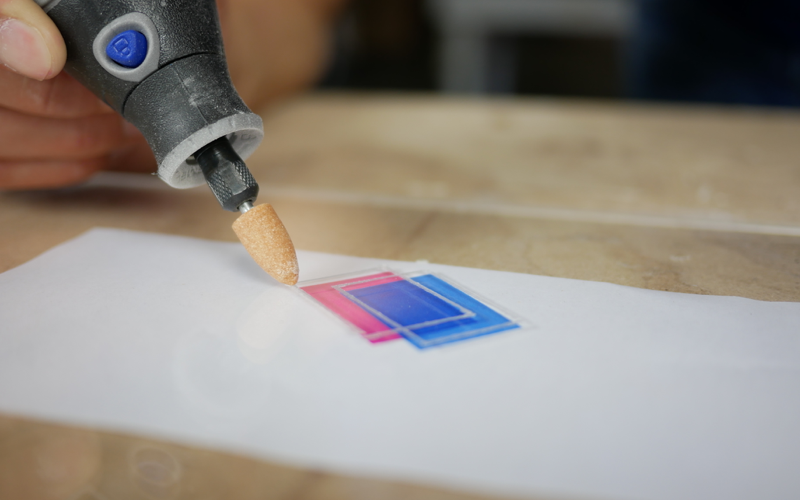
The best engraving tool for acrylic sheet is a Dremel or a similar multi-tool. There are two types of engraving heads for engraving: metal (HSS) and ceramic. We have a wide range of experience with both types of engraving heads. Metal engraving heads usually have a smaller diameter and are best suited for drawing and applying details in an engraving. Ceramic engraving heads have a larger contact surface and are used to “colour” surfaces. Try to find out for yourself which head you prefer for engraving, everyone is different.
Cooling with water when engraving acrylic
The most important thing is to choose the speed of your multi-tool. Try to keep this as low as possible. The reason for this is simple: acrylic is a thermoplastic and will melt if it gets too hot. That is the “danger” that lurks when engraving: the material melts and the engraving head becomes clogged up. The ideal speed for the engraving head is between 1,000 and 2,500 revolutions per minute.
To ensure sufficient cooling and heat dissipation, it is highly advisable to keep the acrylic sheet wet. For this, you can use a plant sprayer with tap water and a little washing-up liquid. Also make sure that you do not press too hard on the engraving head, too high a contact pressure causes a lot of heat to develop and the material will melt and your engraving head might even be clogged up. If that happens, dip it in a cup of cold water. The acrylic solidifies and then you can easily remove it with your fingers – just take the plug out of the socket!
Transferring a design to acrylic
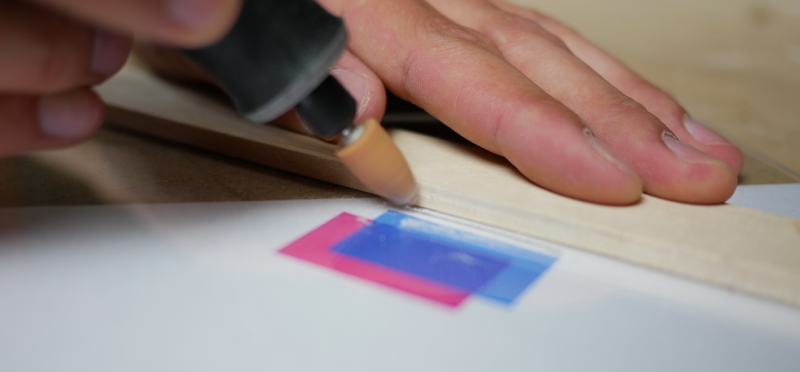
There are various ways to transfer a design to acrylic. You can draw it freehand, trace a design or work with a stencil. We have good experiences with the latter, which is why we give you a few tips on this. How you decide on a design does not matter. You can search for a picture on the internet or start sketching something yourself. Then print the template of your design, cut your design out of the print and place it on or under the acrylic. Fix the design along the edges on the acrylic with the help of adhesive tape.
Now you can transfer the outlines to the acrylic. Take your multi-tool and place an HSS engraving head. You can just engrave through the paper. At some point, the design will come loose from the surrounding paper, then remove it so that it does not get in the way. This is also the reason that you work from the inside out; otherwise, you would have to re-attach your template every time. After the outlines have been transferred, you can fill in the design. From this moment, you must begin cooling with water. You can complete the engraving with a wider, ceramic engraving head. You can also add depth to the design, although this is a case of “practice makes perfect”.