DIY: Acrylic wedding welcome sign

For the ultimate fairytale wedding, a welcome sign at the entrance of your wedding venue is essential. It not only looks beautiful but is also the perfect way to welcome your guests! In this DIY, you’ll find step-by-step instructions on how to make a DIY wedding welcome sign with acrylic.
- acrylic sheet 4 mm thick (colour and dimensions of your choice)
- Stickers for the text
- Drilling machine
- Frame or easel
- A beautiful flower arrangement or garland (optional)
The basis for making the “Welcome to our Wedding” sign
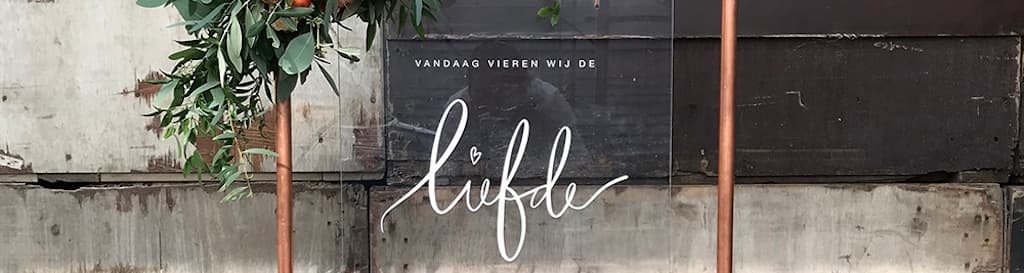
There are endless options for creating wedding welcome signs, ranging from a wooden board painted with chalk paint to a clear plastic sign on which the text is added with stickers. In this example, we’re going to show you how to make a welcome sign for your wedding using acrylic sheet and stickers. Acrylic comes in a wide range of sizes, finishes and colours, from matte white to crystal clear and gorgeous fluorescent shades.
Step 1: Decide on the type of frame for your wedding welcome board
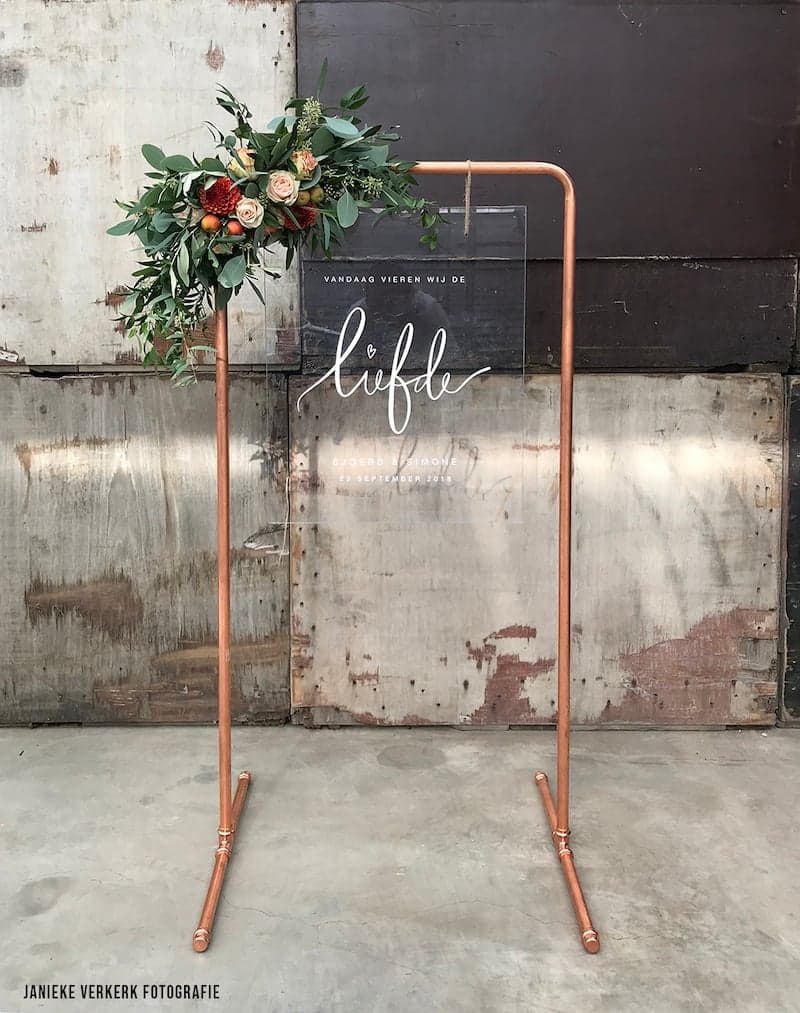
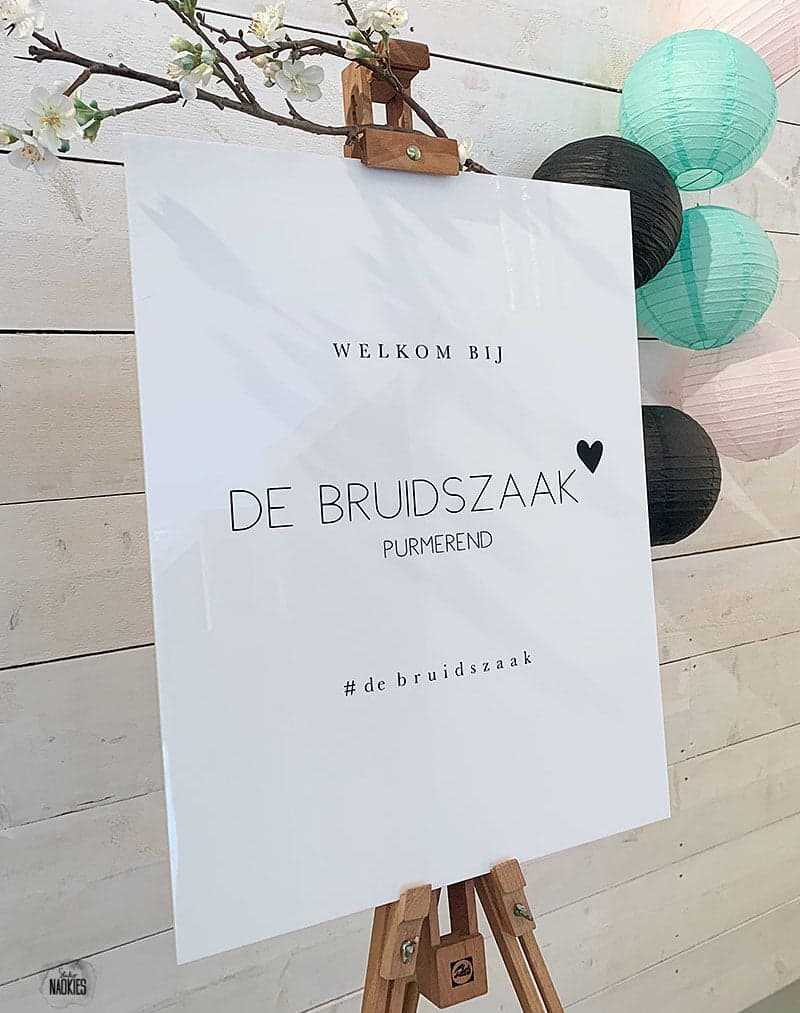
Before you start to make your wedding welcome sign, it’s important to decide how you want to present your sign. Do you want the text to read horizontally or vertically? And are you going to hang it or place it on a stand? If you decide to stand it on the floor or a table, you can easily make a frame yourself using pipes and connections available at any hardware store. Spray the frame with gold, silver or copper spray for an extra chic look. For a simpler effect, just use an easel as a frame. Suspending the sign from the ceiling is very easy with our special hanging system for acrylic.
Products & photos: Studio Naokies
Step 2: Choose the size and colour of your wedding welcome sign
In our webshop, you’ll find a comprehensive range of acrylic, ranging from opal white and tinted acrylic to clear and coloured perspex. Matte acrylic is also very suitable to make an attractive welcome sign. The thickness required depends on the size you choose. Use our free thickness aid to select the right thickness.
Step 3: Order your acrylic
When you order the acrylic sheet in our webshop, we’ll cut it to size for you free of charge. All you have to do is drill two holes. You only need to do this if you choose to hang your wedding welcome sign on a frame rather than placing it on an easel. We recommend choosing cast acrylic. This type is easier to work with than the extruded version. Due to the production process of extruded acrylic, there is more tension on the panel. This makes it more difficult to process because of the chance of breaking. You can learn how to drill acrylic in our blog: Drilling acrylic.
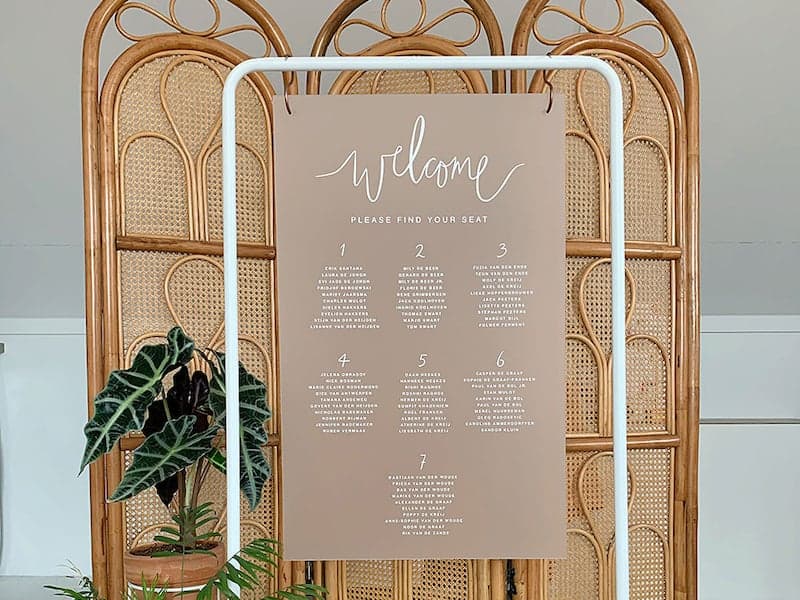
Step 4: Add the text to homemade acrylic wedding signs
Once you have bought the frame and the acrylic sheet, it’s time to add stickers to your homemade welcome sign with, for example, the wedding date, your names and a beautiful quote. You can also use the sign to indicate the seating plan for your guests, as shown in the example below. Before you start adding the stickers, it’s advisable to clean the acrylic first with an anti-static cleaner. This will allow the stickers to adhere better and prevent the panel from attracting dust. Are you happy with the stickers? Then your welcome sign is ready! As the icing on the cake, you can complete the look with a lovely flower arrangement.
Wedding welcome sign mirror
You can also choose to make a mirror welcome sign for your wedding for a very attractive effect. All you have to do is to use mirror acrylic sheet. In our range of mirror acrylic, you will find gold, bronze and silver mirror panels, as well as other attractive shades.
More wedding decoration ideas
You can not only use acrylic to make a beautiful “Welcome to our Wedding” sign but also to create stylish table decorations such as acrylic nameplates, menu holders and napkin rings. Learn how to do this in our DIY: Make your own table decorations.
How to recycle your wedding welcome sign
It’s nice to be able to use your wedding welcome sign again after the big day, whether as a memento or just because you think it’s a shame to use it for just one day. In our blog section, you will find countless ideas and possibilities for recycling your wedding welcome sign. For example, you could turn it into a clock, a knife block or acrylic coasters.
Make your own wedding welcome sign
Has this blog inspired you to make a welcome sign for your wedding? It’s quick and easy to select and order your acrylic via our webshop and we’ll cut the sheet to the exact size you require for free. We always ensure that you receive your order as soon as possible.


Other blogs you may be interested in