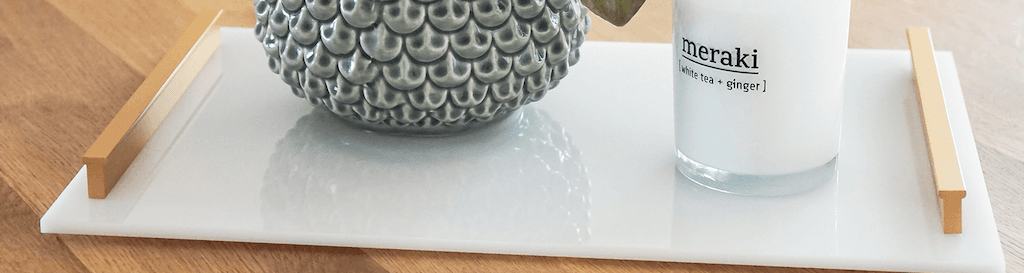
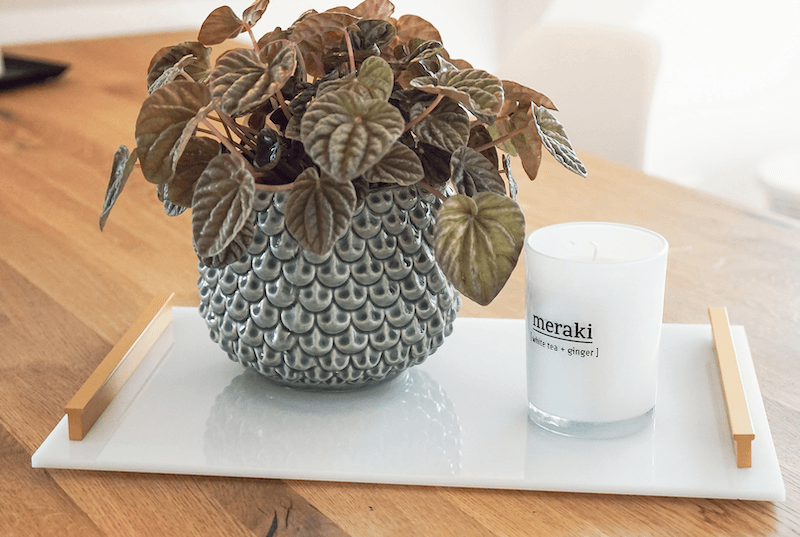
DIY: Acrylic tray in under 5 minutes

It’s easy to make a stylish DIY acrylic tray in under five minutes. All you need is an acrylic sheet cut to size and a pair of handles.
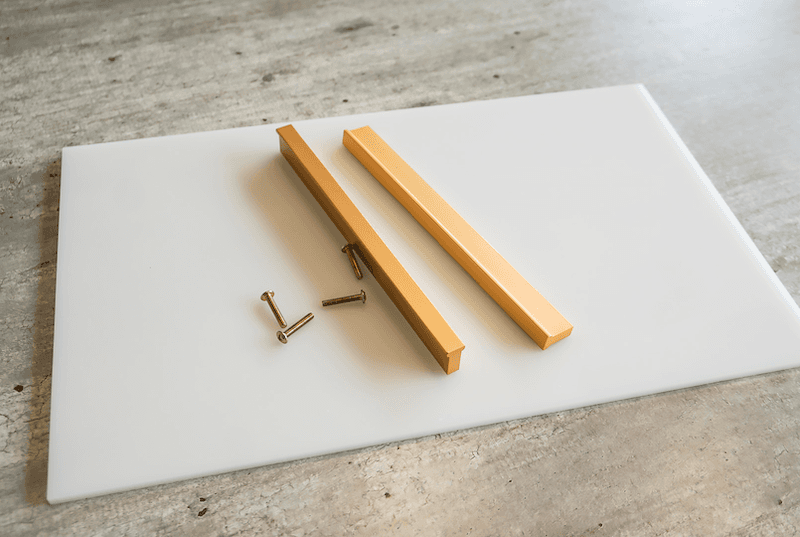
You’ll need:
- White opal cast (GS) acrylic sheet 6 mm
- A pair of handles of your choice
- A power screwdriver
- Self-adhesive baize or felt
- Masking tape
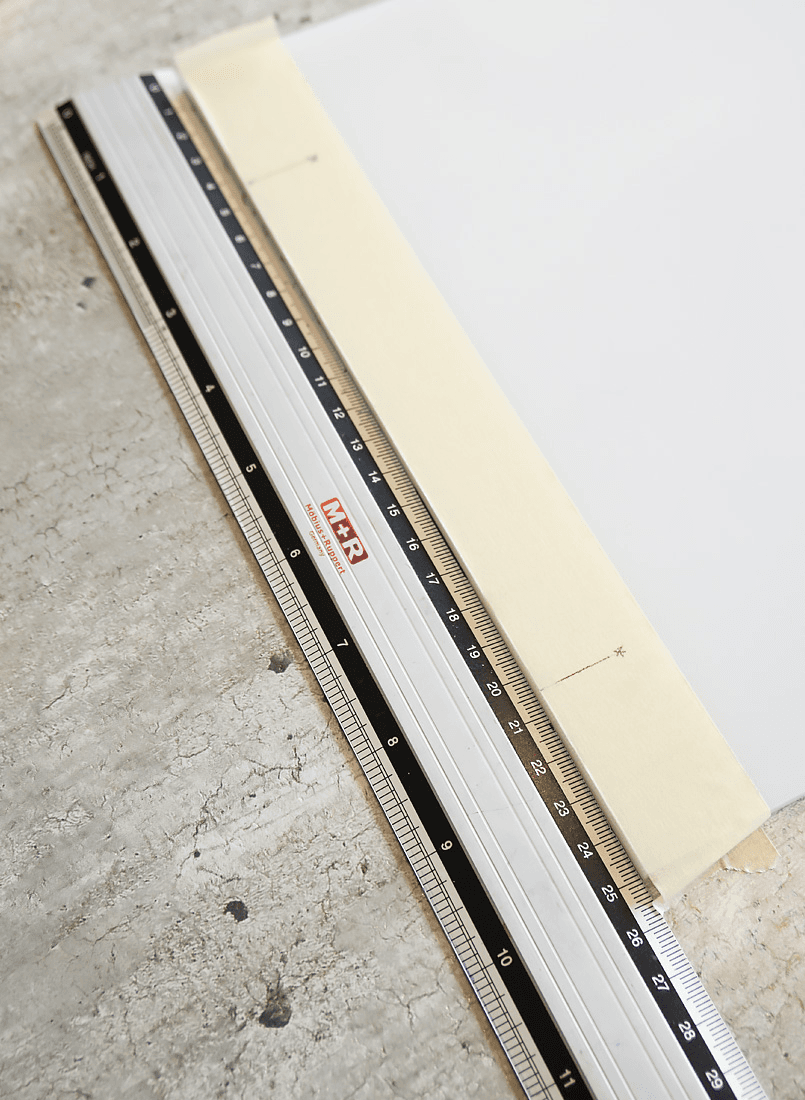
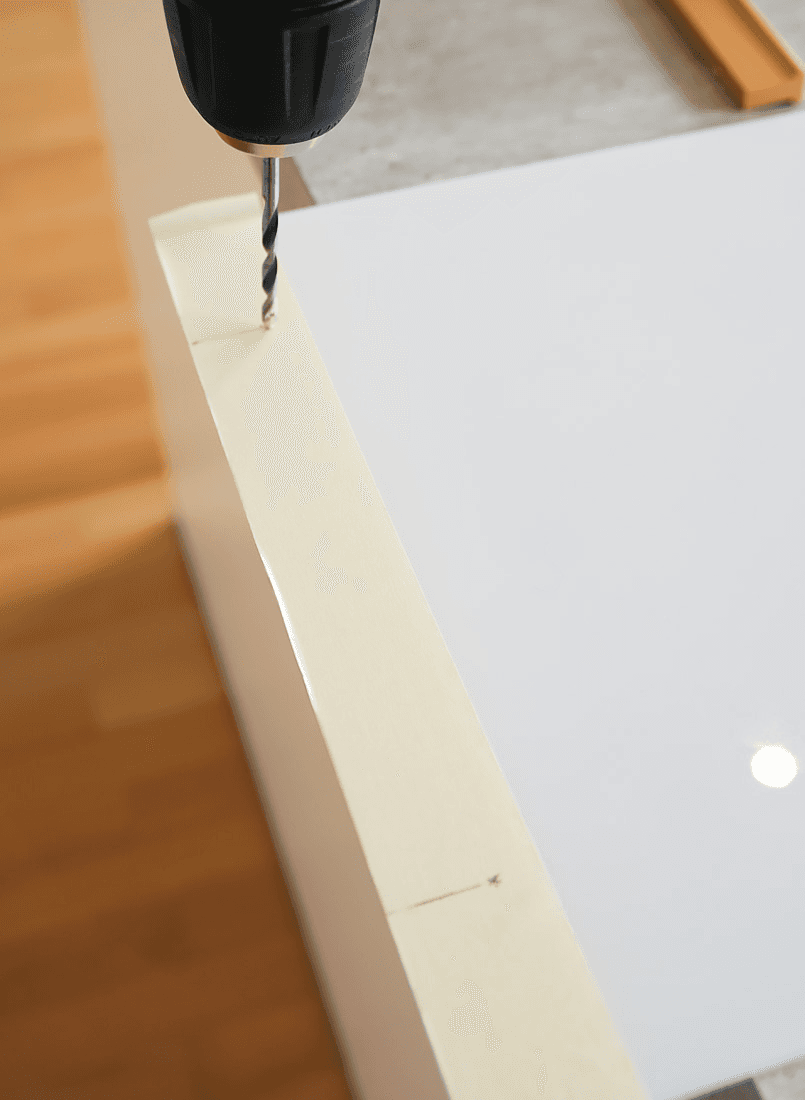
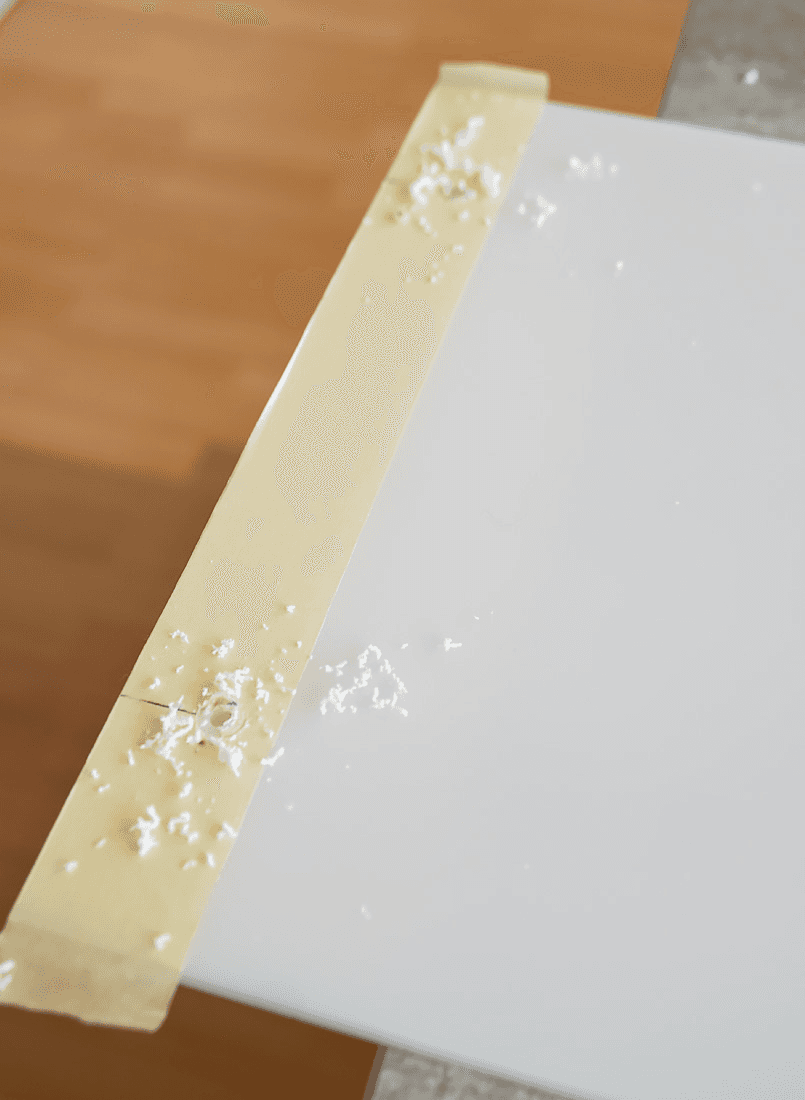
Step 1: Mark and drill the holes
Apply a piece of masking tape about 2 cm from the edge of the acrylic sheet. Measure the distance between the screw holes on the handles and mark this on the piece of masking tape. In our example, there’s a distance of 16cm between the holes for the screws. Using a small size drill bit, drill two holes in the acrylic sheet.
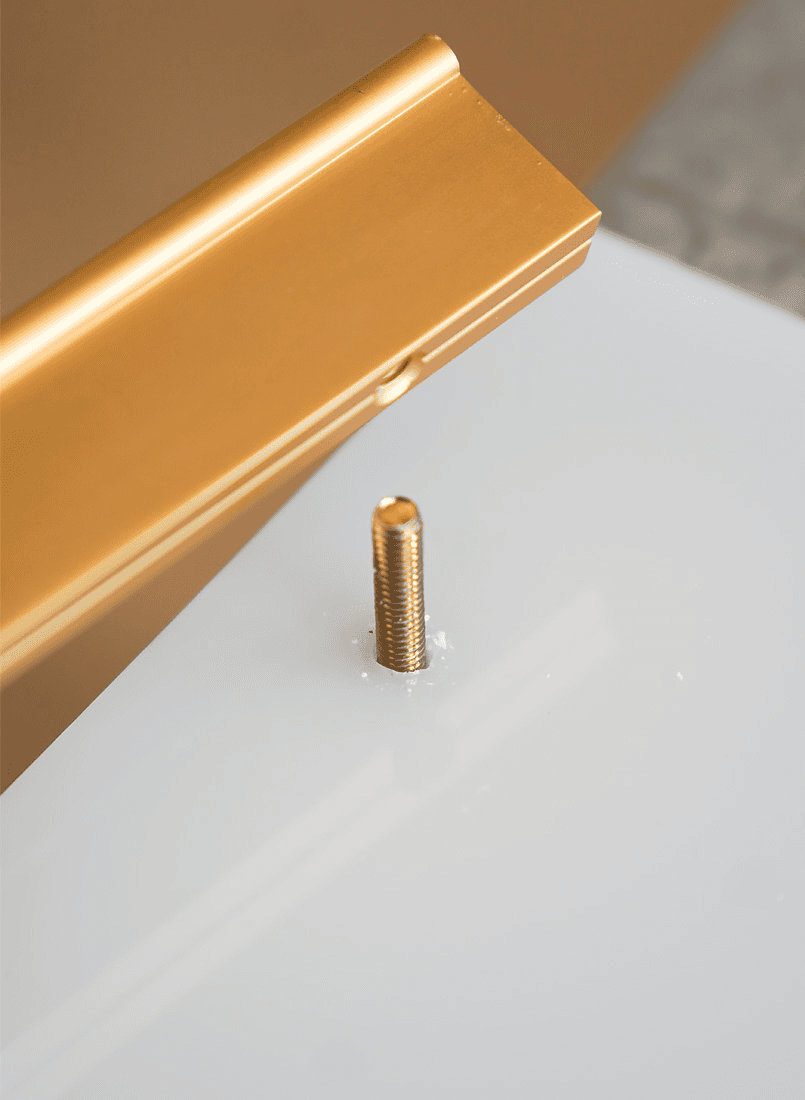
Step 2: Fixing the handles
Remove the masking tape and apply it to the other side so that you don’t have to measure the distance between the holes again. Drill two more holes, then place the screws into position from below and place the handles on them.
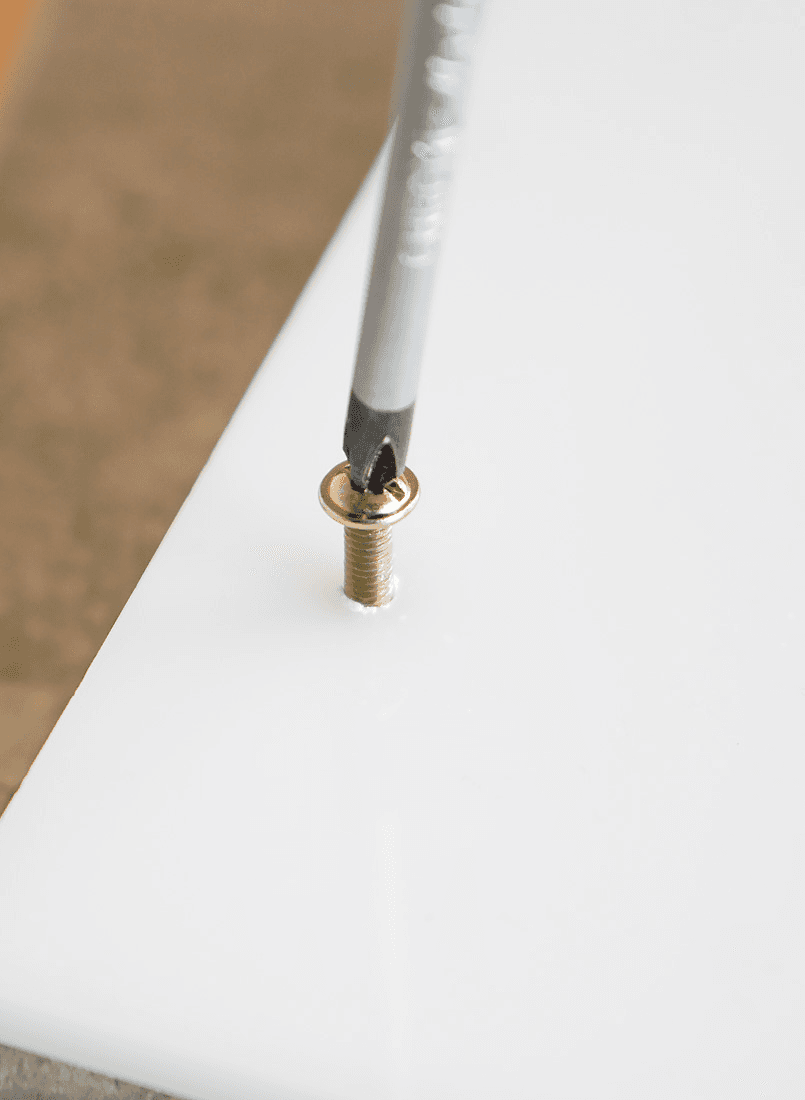
Step 3: Finishing the DIY acrylic tray
Turn the acrylic sheet over and screw the screws into the handles so that they are securely attached. You can also stick self-adhesive baize to the screw heads, which will prevent your table from getting scratched.
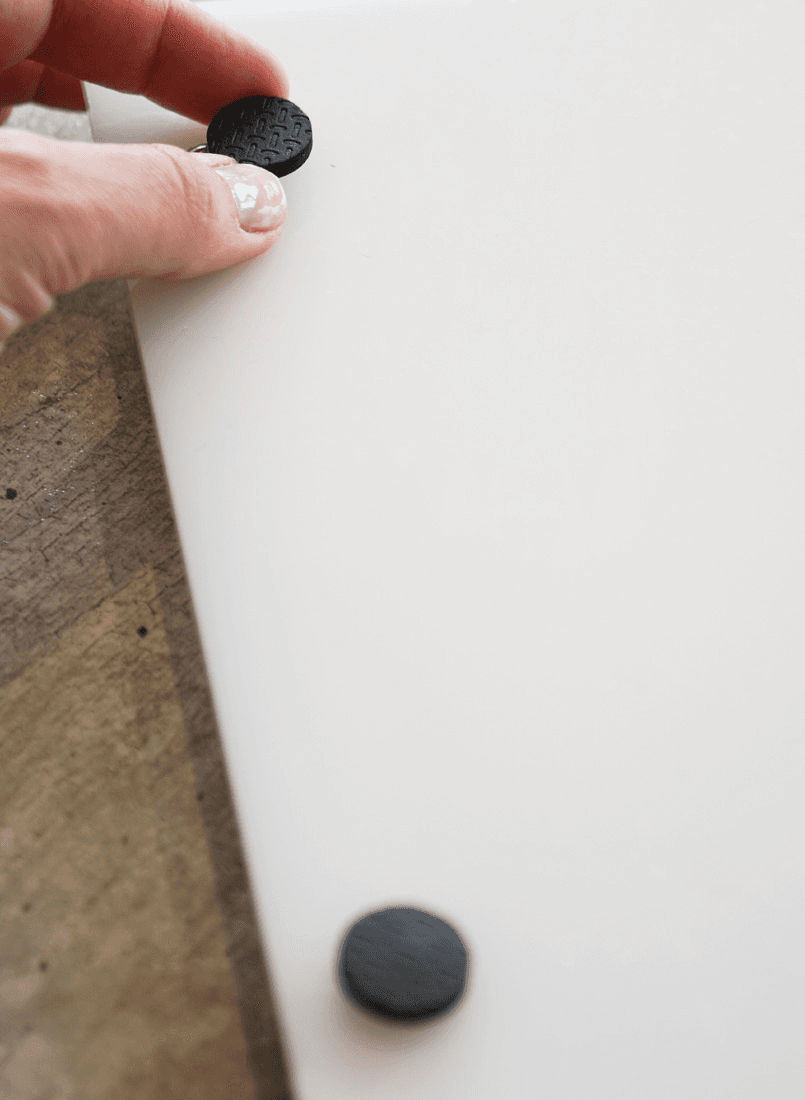
Your easy DIY acrylic tray is now ready to use!


Ordering acrylic sheet for your diy acrylic tray
Has our DIY inspired you to make an acrylic tray yourself? Take a look at our webshop, where you can order acrylic sheets in a range of attractive colours. We saw the panels to size for you free of charge.
Other blogs you may be interested in

