Blind spacers – Round white – Set of 25
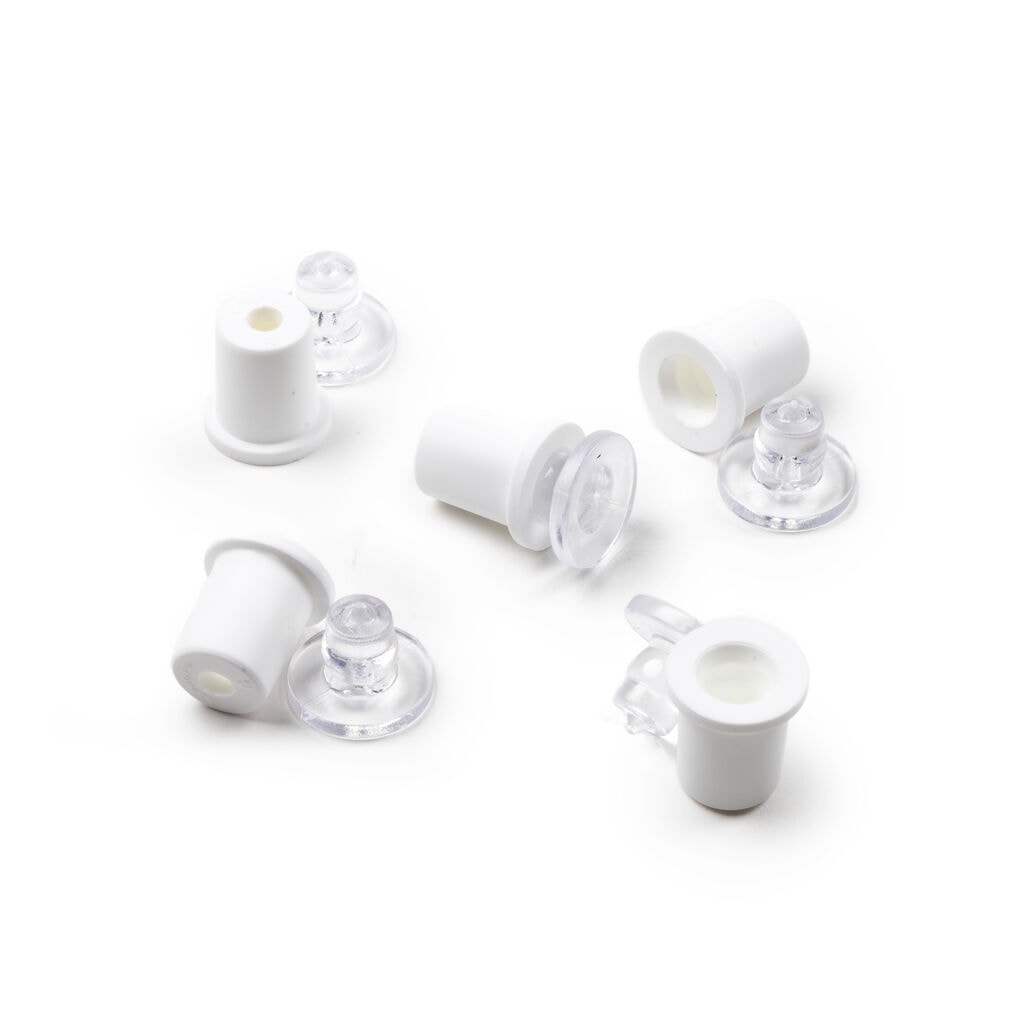
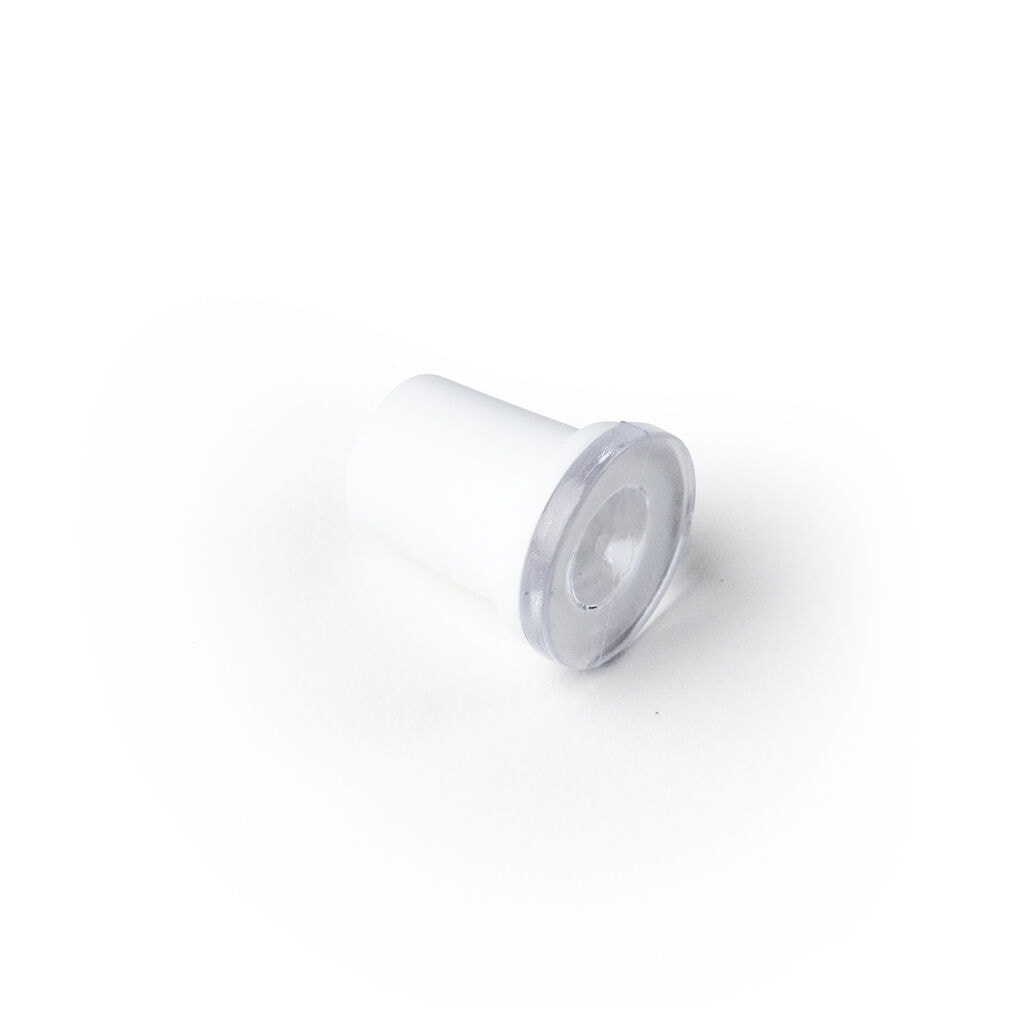
With this set of round spacers you can mount milled letters and logos to the wall completely out of sight. The two-part click system lets your letters float off the wall, without a single screw ever coming into view.
Product description
With this set of round spacers you can mount milled letters and logos to the wall completely out of sight. The two-part click system lets your letters float off the wall, without a single screw ever coming into view.
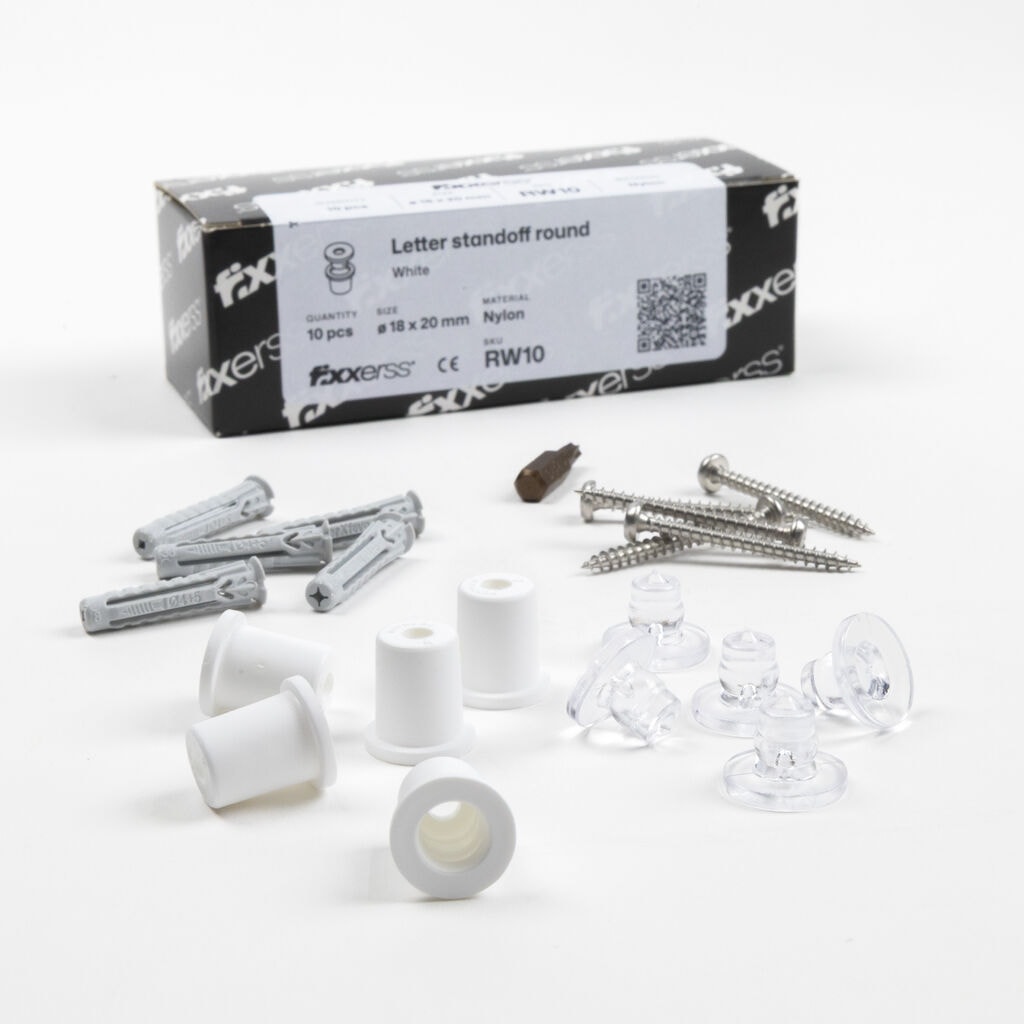
- Complete: 25 male parts, 25 female parts, 25 stainless steel screws, 25 wall plugs and a torx bit
- Round shape: compact and discreet, ideal for smooth, flat surfaces
- Suitable for indoor and outdoor use
- White, disappears behind light-coloured letters and on light surfaces
- All you need is a cordless drill
You glue the male part to the back of your letter and screw the female part into the wall. Click it together and you're done. You can use the set for your company name on the façade, a logo behind the reception desk or an advertising board on an outside wall.
Specifications
The spacers are made of nylon and come with stainless steel screws. The round shape is the compact standard: it takes up little room behind your letter, which means you can also fit it into narrow letter sections such as the stem of an 'I' or the thin stroke of an 'S'.
Choose the white version when your letters are light in colour or go on a light façade or wall. If you can see through to the fixing behind a transparent or light-coloured letter, white stands out far less than black. This combination — round and white — is therefore the most discreet in the range, and the logical choice for smart interior work in acrylic.
Ways to process blind spacers
These spacers are ready to use, so there's no need to process them.
What does matter: tighten the screw into the female part hand-tight and then back it off a quarter turn. You need that little bit of play to click the male part smoothly into the female part and to take up small alignment differences between your mounting points. If you tighten everything solidly against the wall, you won't be able to fit the letter on without tension.
With the round version, hold the female part still while you turn the final part of the screw. A round holder can turn with the screw, and then it's no longer on the point you marked.
Applications of blind spacers
Anywhere you want to mount letters, logos or signs without visible fixings. The round shape is the logical choice for smart, modern lettering on a flat surface, and thanks to its compact size it also fits into narrow letter sections. In white it disappears completely behind light-coloured lettering.
Main areas of use
- Interiors — logos behind reception, wall signs in showrooms, name plates on office doors and signage on light walls
- Transparent lettering — letters in clear acrylic, where you look through the material to the fixing
- Façade lettering — company names, shop name signs and large-format house numbers on a light, flat façade
- Retail and events — exhibition stands, promotional boards and brand displays, quick to put together and click apart again
Fitting blind standoffs
Mark the positions on your letter
Degrease and bond the pins
Make a drilling template
Fix the template level on the wall
Drill and insert the wall plugs
Screw on the wall sockets
Click the letters into place
Mount outdoors in dry weather. On a surface you don't know, test with a single letter first before you take on the whole façade. Keep the white standoffs clean while you work: drilling dust and dirty hands simply show up faster on white than on black. For a full company name, work from the middle outwards, so small deviations don't add up towards one side. And keep your template, in case you want to expand later.
Mount outdoors in dry weather. On a surface you don't know, test with a single letter first before you take on the whole façade. Keep the white standoffs clean while you work: drilling dust and dirty hands simply show up faster on white than on black. For a full company name, work from the middle outwards, so small deviations don't add up towards one side. And keep your template, in case you want to expand later.
Maintenance and cleaning
Remove dust and dirt with an antistatic polishing cloth and, if needed, a little lukewarm water with a mild cleaning agent. Never use a pressure washer on mounted letters: it can force the glued bond or the click apart.
For outdoor mounting we advise a quick check once a year. Is every letter still firmly in place, are there any cracks at the glue points, is dirt or moisture building up behind the letters? You can simply unclick a letter, have a look and put it back. You'll find more cleaning products among our accessories.
Combining with other products
For a mounting that lasts for years, work in three steps: clean, glue, finish.
Clean — Fixxerss IPA Bonding Cleaner removes grease, dust and other dirt from your surfaces and dries residue-free. Use it on the back of your letters as well as on the male parts. This isn't an optional step; it's the difference between a glued bond that holds and one that comes loose after a winter.
Glue — For acrylic and polycarbonate, reach for the Fixxerss Super Glue.
Finish — the antistatic polishing cloth keeps your letters dust-free without scratches. The antistatic action prevents dust from clinging, which is especially an issue with plastic letters that build up static. It's also perfect for putting on the IPA Bonding Cleaner.
Frequently asked questions
Have you got questions about these spacers or other fixing materials? Do get in touch — we're happy to help you through the process with your project.