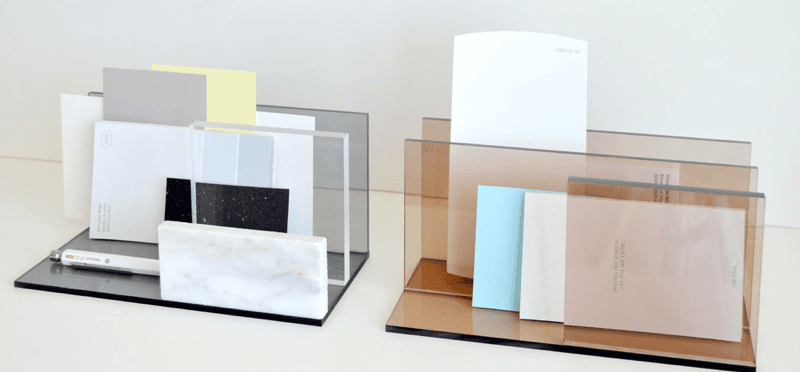
Make your own desk accessories

Is your desk furnished with boring, standard desk accessories? Why not give it a makeover with unique office items you’ve made yourself? In this blog, you can read how to make a number of original desk accessories. We have opted for a combination of acrylic sheet and marble because these materials create a nice contrast when used together.
Preparation
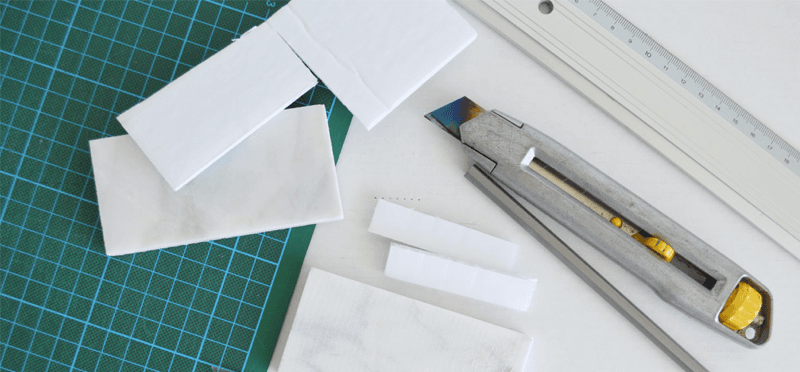
You can cut or saw the acrylic sheets yourself. You will have read how to do this in our blog about cutting acrylic sheet. You don’t have the right tools? No problem: we can saw the acrylic sheets for you free of charge, saving you both time and money.
In this blog, we discuss the following accessories:
- A pen holder
- A holder for business cards
- Two sizes of photo or card holders
- Two sizes of mailboxes
What do you need for this project?
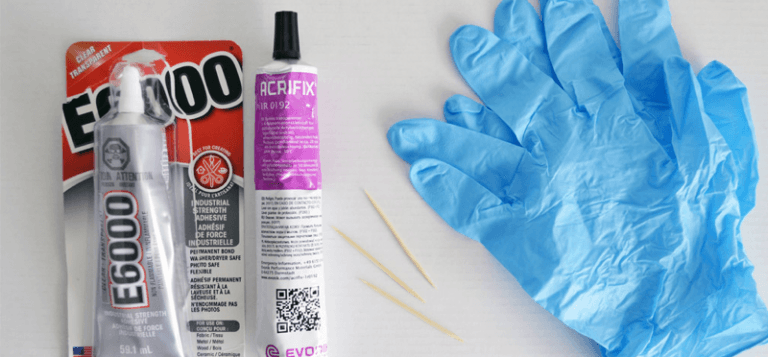
To make all the accessories, you will need the following products:
- A tube of E6000
- A tube of Acrifix
- A pair of gloves
- A pack of toothpicks
- A cutting mat
- A knife/Stanley knife
- A ruler
- Mouth and eye protection
- Sandpaper
You’ll also need these extra items for each desk accessory:
Large photo frame:
- clear acrylic GS sheets 3 mm
- 2 pieces of marble 10 mm thick. Format: 50 x 100 mm
- 1 sheet of styrofoam (alternative: a cork sheet approx. 6 mm thick)
Small photo frame:
- clear acrylic GS sheets 5 mm
- 3 pieces of marble 10 mm thick. Format: 50 x 100 mm
Brown penholder:
- 2 brown-tinted acrylic sheets 5 mm thick. Format: 110 x 100 mm
- 1 brown-tinted acrylic sheet 5 mm thick. Format: 110 x 110 mm
- 2 brown-tinted acrylic sheets 5 mm thick. Format: 100 x 100 mm
- 1 piece of marble 10 mm thick. Format: 50 x 100 mm
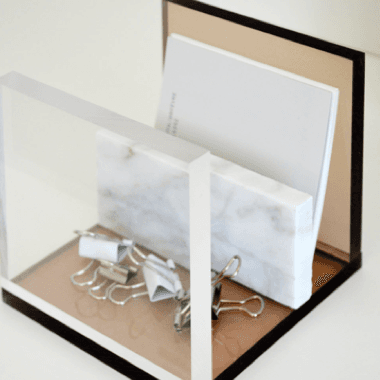
Business card holder:
- 2 clear acrylic GS sheets 10 mm thick. Format: 100 x 100 mm
- 1 brown-tinted acrylic sheet 8 mm thick. Format: 100 x 100 mm
- 1 piece of marble 10 mm thick. Format: 50 x 100 mm
Brown mailbox:
- 1 brown-tinted acrylic sheet plate 8 mm thick. Format: 100 x 100 mm
- 3 brown-tinted acrylic sheets 5 mm thick. Format: 200 x 100 mm
Grey mailbox:
- 1 clear GS acrylic sheet 10 mm thick. Format: 100 x 100 mm
- 2 grey-tinted acrylic sheets 5 mm thick. Format: 200 x 100 mm
- 1 piece of marble 10 mm thick. Format: 50 x 100 mm
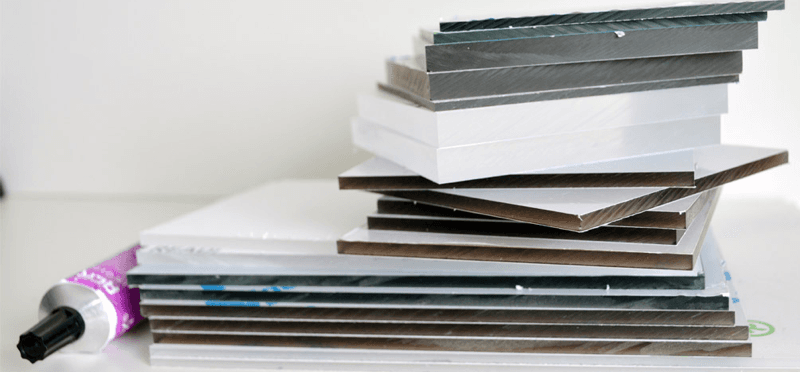
We opted for transparent and brown tinted acrylic for our project. Of course, you are completely free to choose a colour that suits your decor. You can also choose sheets in different thicknesses for a playful effect. We use sheets of 3, 5, 8 and 10 mm thick acrylic.
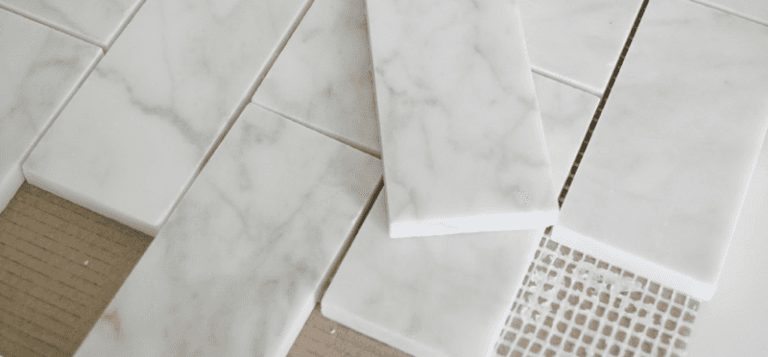
You can purchase the marble pieces from a local tile dealer, stonemason or via a webshop. You can often buy small pieces of marble for stonemasons for a few pounds.
Protective film
Our acrylic sheets are supplied with a foil covering. This foil protects the sheet during transport and processing. Therefore, you should remove the foil just before attaching the surface to be glued to prevent fingerprints, scratches and glue residues.
Acrylic adhesives
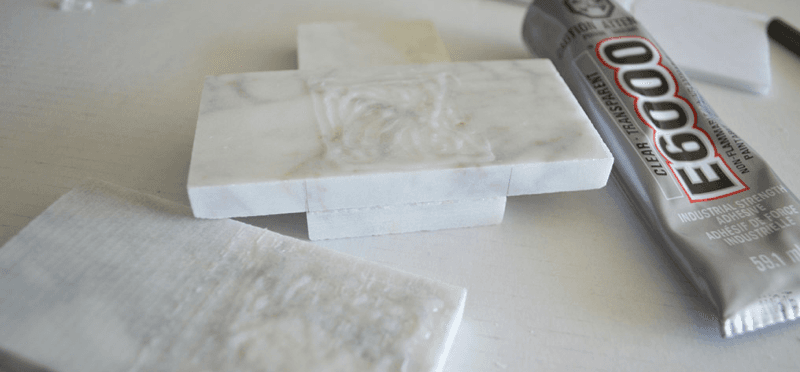
For bonding acrylic sheets, we recommend acrylate adhesive Acrifix 0192. Adhesive E6000 is ideal for bonding marble to acrylic. Use toothpicks to apply the glue accurately and lightly sand the edges of the acrylic for bonding. For more tips, read our blog about acrylic adhesives.
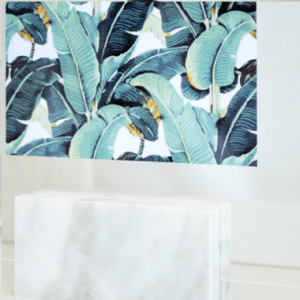
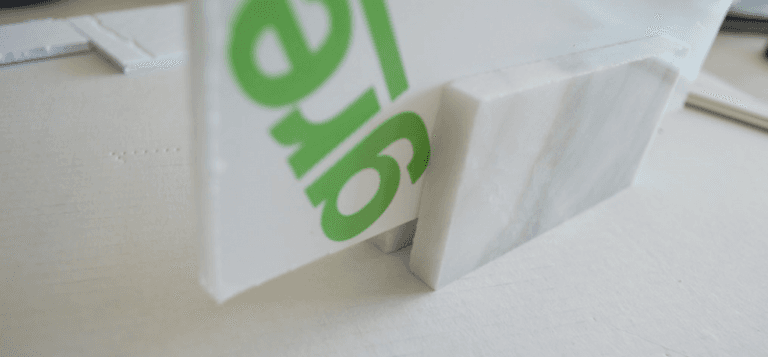
Create a large photo frame
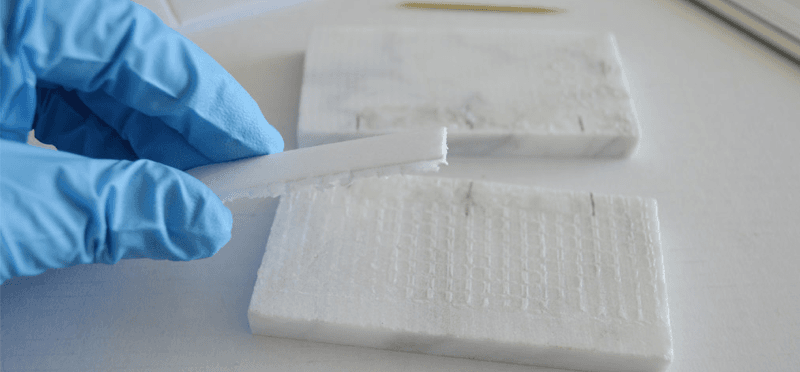
For the large picture frame, we use the pieces of marble as a pedestal. The two acrylic sheets form the front and back of the frame and rest on the marble pedestal. The acrylic sheets are each 3 mm thick, which means that there must be 6 mm space in the pedestal. Use the styrofoam as a spacer.
Cut the piece of polystyrene foam to a size of approximately 15 x 60 mm x 6 mm thick and glue the marble pieces on both sides of the styrofoam using the E6000 glue.
After two minutes of drying, the adhesive bond is strong enough to position the frame. Place a photo or image of your choice between the acrylic sheets and secure them in the marble base. The large photo frame is now ready. On to the next!
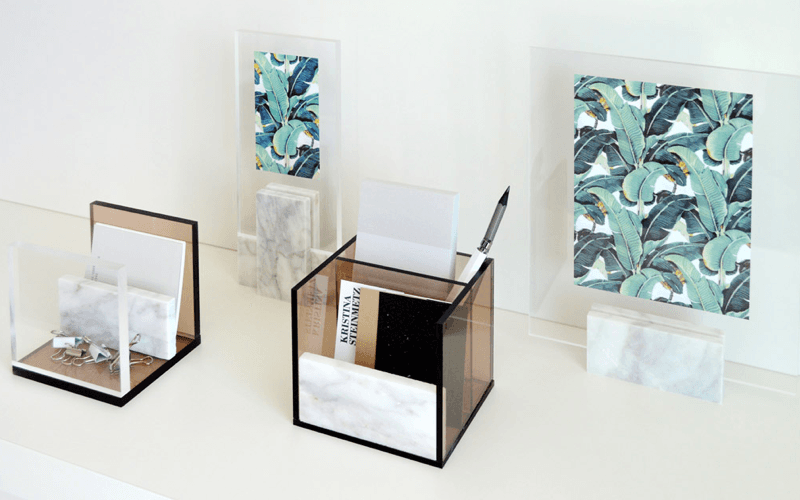
Create a small photo frame
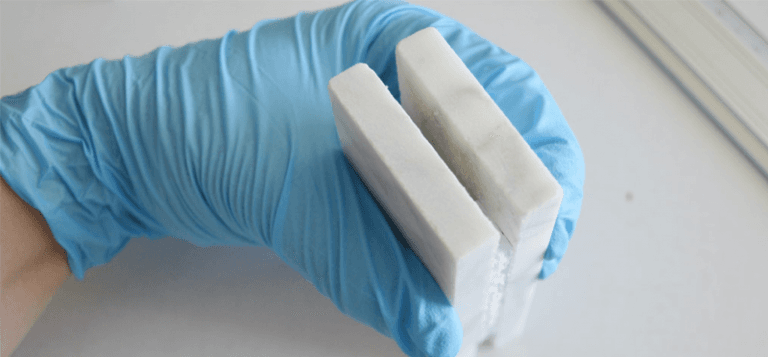
For the small picture frame, you use three pieces of marble for the base. 10 mm of space is needed to clamp the two acrylic sheets into the base. The marble pieces are all 10 mm thick. One of the three marble pieces, therefore, serves as a spacer. In the picture below, you can see that the two outer pieces are glued upright and the middle piece is lying in between. Use the E6000 glue for bonding and wait two minutes. Clip the acrylic sheets onto the base, et voilà: the small photo frame is ready.
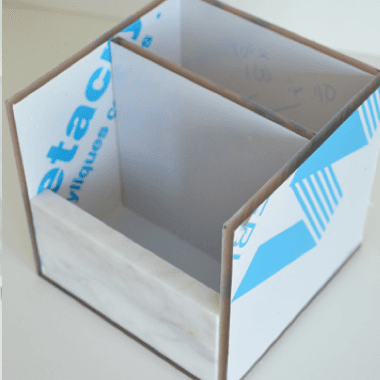
Pen holder and mailboxes
The pen holder, mailboxes and business card holder are all made by glueing together several acrylic sheets. Before glueing, lay out the sheets so that you can see exactly which sides need to be glued together.
Sand the edges lightly and apply the glue carefully using a toothpick, then push the sheets together. The glue needs UV light to dry. Use a UV lamp or allow the glue to dry in sunlight. Attach the marble pieces with the E6000 glue.


With the correct bonding, an Acrifix connection is extremely strong. Your sturdy, unique desk accessories are now ready. Acrylic sheet is available in many colours and finishes: if the above colours are not to your taste, then look out for transparent, coloured, matt or mirrored acrylic sheets. Check out our other blogs full of tips, advice and DIY ideas.