DIY: acrylic nameplate

Would you like to make a transparent acrylic nameplate to hang by your front door? Or a professional-looking nameplate for your business? It’s easy to make a stylish nameplate from acrylic sheet or PERSPEX®. And if you’d like to take it a step further, acrylic sheet lends itself beautifully to being illuminated. In this blog, we’ll explain how to make your own DIY acrylic nameplate with LED lighting.
To make a PERSPEX® nameplate, you’ll require:
- Acrylic sheet in the colour of your choice
- Stainless steel spacer (4 pieces)
- Jigsaw or fine tooth saw suitable for soft metals
- Drill
- 5mm HSS drill
- Paint
- Fine sandpaper, grit 120-240
- Fineliner
- Dremel / multitool
- Masking tape
- Engraving pen for Dremel, 1- 2 millimetre head
- Earplugs
- Breathing mask
- Wooden baseboard
- Propane burner
- LED strip
- Glue gun
The basics of making a DIY acrylic house nameplate
Because you’re going to attach the acrylic nameplate to a wall, we recommend using cast acrylic with a minimum sheet thickness of 5 mm. The budget version (extruded acrylic) is more difficult to process. To attach the spacers, you will be drilling holes. If you want to install lighting, opt for 8-millimetre thick acrylic.
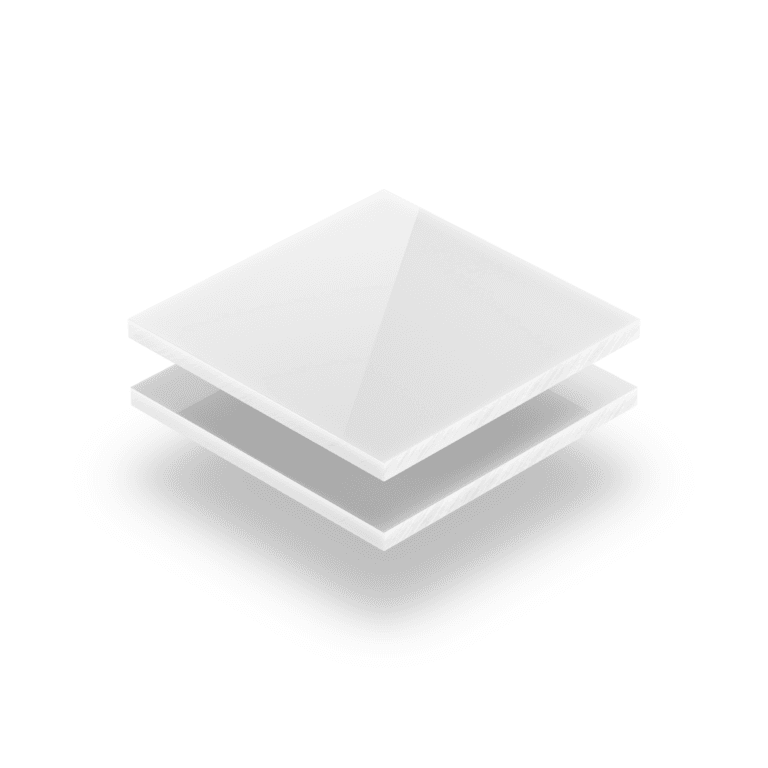


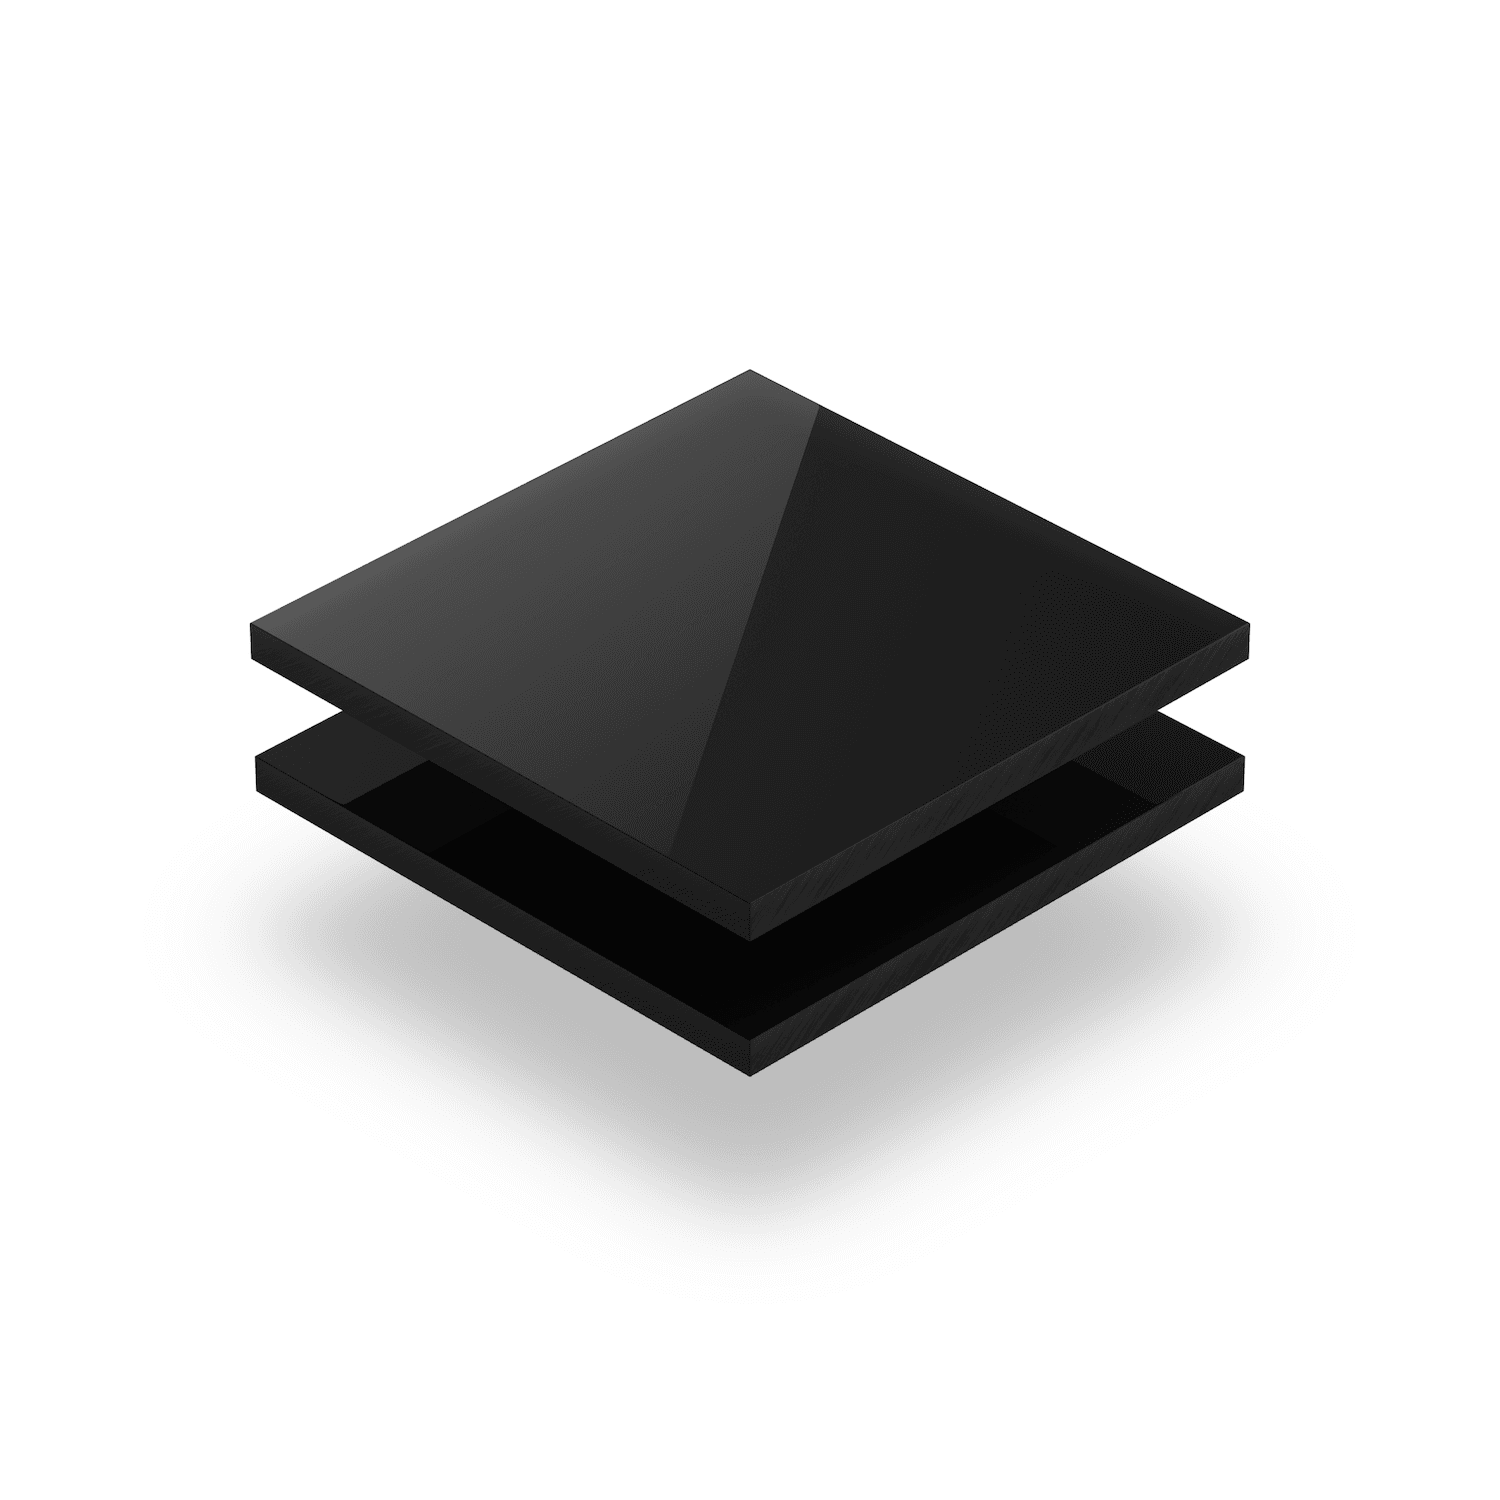
Step 1: Choose a colour and order your custom-cut acrylic nameplate
You will find an extensive range of acrylic sheet in our webshop: from clear and opal acrylic to coloured and tinted acrylic sheets. Of course, you can order your acrylic sheet cut to size, but if you order a sheet a little larger than you need, you could also create an original nameplate for your family or friends. It’s easy to cut several nameplates from a single acrylic sheet. Because the holes must be positioned as close to the corners as possible, it’s essential to drill them before cutting out the nameplate. This prevents the drill hole from tearing out to the edge.
Step 2: Choose the lettering for your acrylic name
There are various ways to approach the lettering for your nameplate. You can paint your acrylic nameplate, engrave the letters or attach stickers. In this blog, we’re focussing on an engraved acrylic nameplate. The engraving is done using a Dremel tool (or the equivalent from another make) with an engraving cutter. A permanent marker or liner pen is ideal for marking the letters.

Step 3: Drill holes in the acrylic nameplate
Before you start drilling, mark the holes for attaching the spacers. Follow these steps:
- Leave the protective film on both sides.
- Stick the masking tape along one side.
- Drill holes of 5 millimetres, the centre of these drill holes must be a minimum of 10 mm from the edge.
- Place the acrylic sheet on the wooden baseboard so that you can allow the drill to run into it.
- Start drilling slowly, and don’t apply too much pressure.
- If you aren’t going to illuminate your nameplate, the corners can be rounded off..
- Sand down saw marks and rough edges using sandpaper.
- Start with grit 120 and then switch to grit 240.
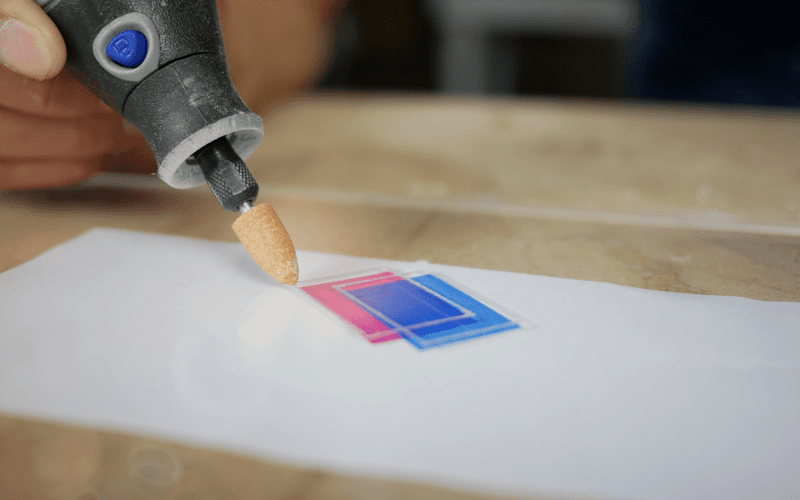
Step 4: Apply the letters to your acrylic nameplate
If you’re going to engrave the letters on your acrylic nameplate, it’s helpful to mark the lettering first. Whether you’re going to engrave or paint, the lettering will be on the back of the sheet, so you’ll be working in a mirror image. Of course, this is an easier job if you have a good pattern. Print your design, position it under the nameplate, and trace it on the front surface. The best way to engrave the letters is as follows:
- When you’ve happy with your design, turn over the nameplate and remove the protective foil on the underside.
- Don’t forget your earplugs and breathing mask because of the fine dust and high-frequency sound caused by engraving.
- First, engrave the outlines of your design/lettering.
- Use an engraving cutter with a 1-2 mm convex head.
- Keep the cutter to a medium speed, as acrylic will quickly melt or stick when machined.
Tip: Practice on a scrap piece until you’ve discovered the best speed. Take a soft cloth or brush and wipe off the grinding residue that might prevent you from seeing the scribed lines clearly.
Step 5: Polish the edges of your DIY acrylic nameplate
Acrylic has a higher light transmission than glass, and this is why it’s often used for illuminated signs and nameplates. Because the acrylic sheet is illuminated from the edge, the edges must be transparent and smooth. If an edge is sawn, then it must be polished. It’s easy to do this with flame polishing.
Flame polishing is carried out using a propane burner. Small, lighter-sized burners can be bought at any hardware store. They often contain a refillable lighter cartridge. If you’re using a larger burner, check that it has an adjustable end that can form a tapered flame shape or ‘pencil flame’. Flame polish your acrylic nameplate as follows:
- First, remove any remaining protective film.
- Place the acrylic nameplate on a fireproof surface. It’s also a good idea to dampen the wooden baseboard.
- Light your burner. Adjust the flame until it’s steady and not too large.
- The flame’s cone (the brightest part) must not come into contact with the acrylic sheet during flame polishing.
- Point the flame at the edge of the sheet and run the burner along it in one gentle, not too slow movement. The acrylic will melt and then set to a polished, crystal-clear surface. It’s a good idea to practise this procedure on a leftover piece first.
If you don’t have a propane burner, you can also polish using this polishing set.


Step 6: Apply LED lighting to your DIY nameplate
If you want to illuminate your nameplate, you’ll discover valuable tips in our blog: “Lighting acrylic with LED.” Buy some LED strips that can be cut to the desired length. If you intend hanging your acrylic nameplate outdoors, check that the LED strip is waterproof. This will be shown on the packaging.
Tip: Check the LED strip to make sure it’s working before glueing it to the acrylic.
Glue the LED strip to the acrylic nameplate with a glue gun and melt cartridges. Proceed as follows:
- Position the LED strip against the lower edge of the acrylic sheet and make sure that the LEDs are precisely in the centre of the sheet thickness.
- Fix the LED strip with a scrap of masking tape to stop it from sliding.
- Attach the LED strip to the acrylic by glueing the front and back sheet edges.
- Try to prevent the adhesive from getting between the acrylic and the LEDs.
- Your DIY nameplate is now ready to mount on the wall.
- If you prefer, the LED strip can be hidden in a frame or profile.
Step 7: Attach your acrylic nameplate to the wall
You can attach your acrylic nameplate in several ways. You’ll find special acrylic spacers in our webshop, which allow you to hang your DIY acrylic nameplate in style.
More ideas for DIY acrylic nameplates
If you’d like to give your acrylic nameplate an original touch, you could “fold-over” one corner. You can learn how to bend acrylic sheet in our blog: “Bending acrylic sheet“. If you’d prefer a round acrylic nameplate, we can saw your acrylic sheet to size in any shape you like. If you have your own design, upload it as a DXF, and we’ll saw your acrylic nameplate accurately to the nearest mm. Please consult our thickness guide if you have any concerns about which thickness to order.