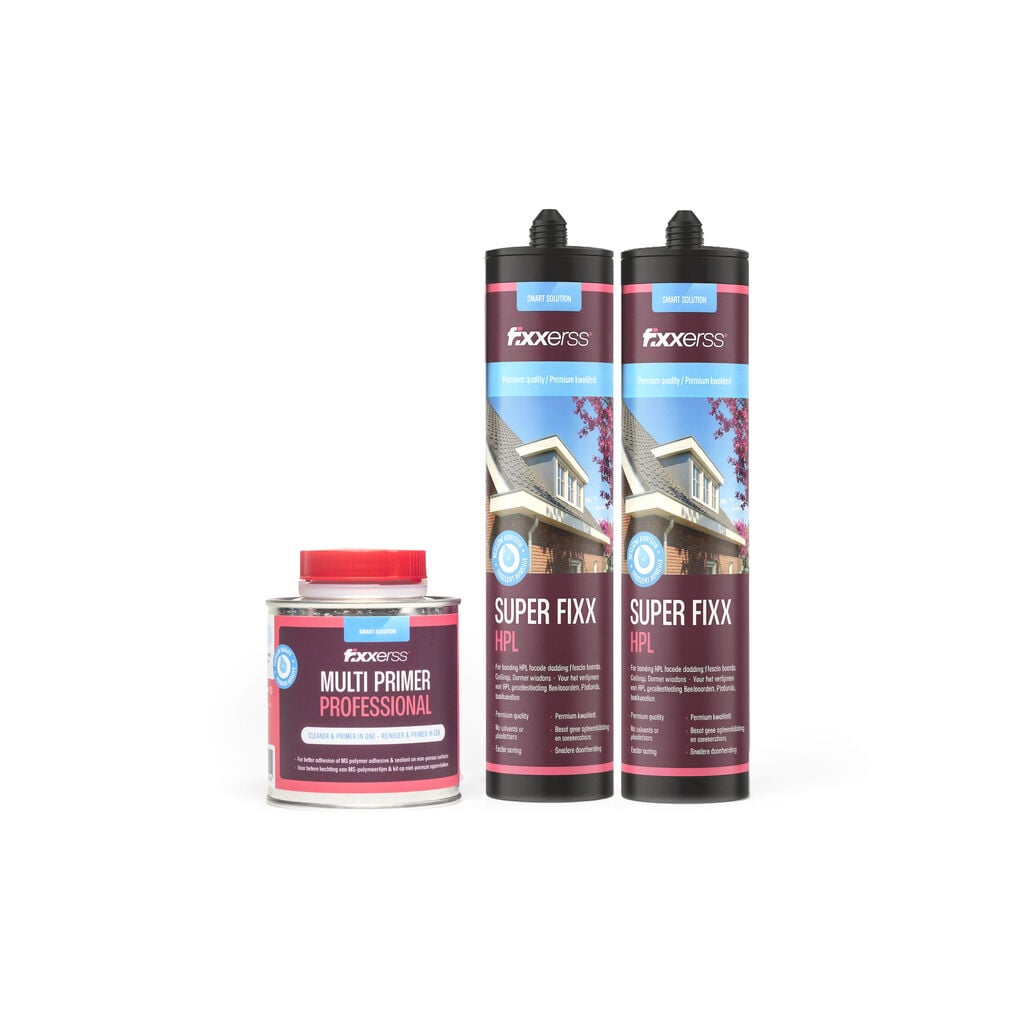
HPL Super Fixx adhesive set
The Fixxerss HPL Super Fixx adhesive set is a complete set that will get you started straight away with bonding HPL cladding. You get two cartridges of 290ml each with fast, ultra-strong MS Polymer adhesive and one tin of Multi Primer Professional of 250ml. The adhesive is resistant to UV radiation and moisture, which means your bond will last for years. Even in harsh weather conditions your HPL sheets stay firmly in place. You use this set for bonding cladding, fascia boards, ceilings and dormers. The big advantage? You don't have to hunt down the components yourself. Everything you need is in one set.
Product description
The Fixxerss HPL Super Fixx adhesive set is a complete set that will get you started straight away with bonding HPL cladding. You get two cartridges of 290ml each with fast, ultra-strong MS Polymer adhesive and one tin of Multi Primer Professional of 250ml. The adhesive is resistant to UV radiation and moisture, which means your bond will last for years. Even in harsh weather conditions your HPL sheets stay firmly in place. You use this set for bonding cladding, fascia boards, ceilings and dormers. The big advantage? You don’t have to hunt down the components yourself. Everything you need is in one set.
Specifications
The HPL Super Fixx adhesive set gets you a long way. Together, the two cartridges are good for 13 metres of adhesive bead. The primer covers around 25m² of surface area. So plenty for medium to large projects. The MS Polymer technology in the adhesive provides strong adhesion and flexibility. The Multi Primer Professional prepares the surface, so the adhesive can bond optimally.
Processing options of the HPL Super Fixx adhesive set
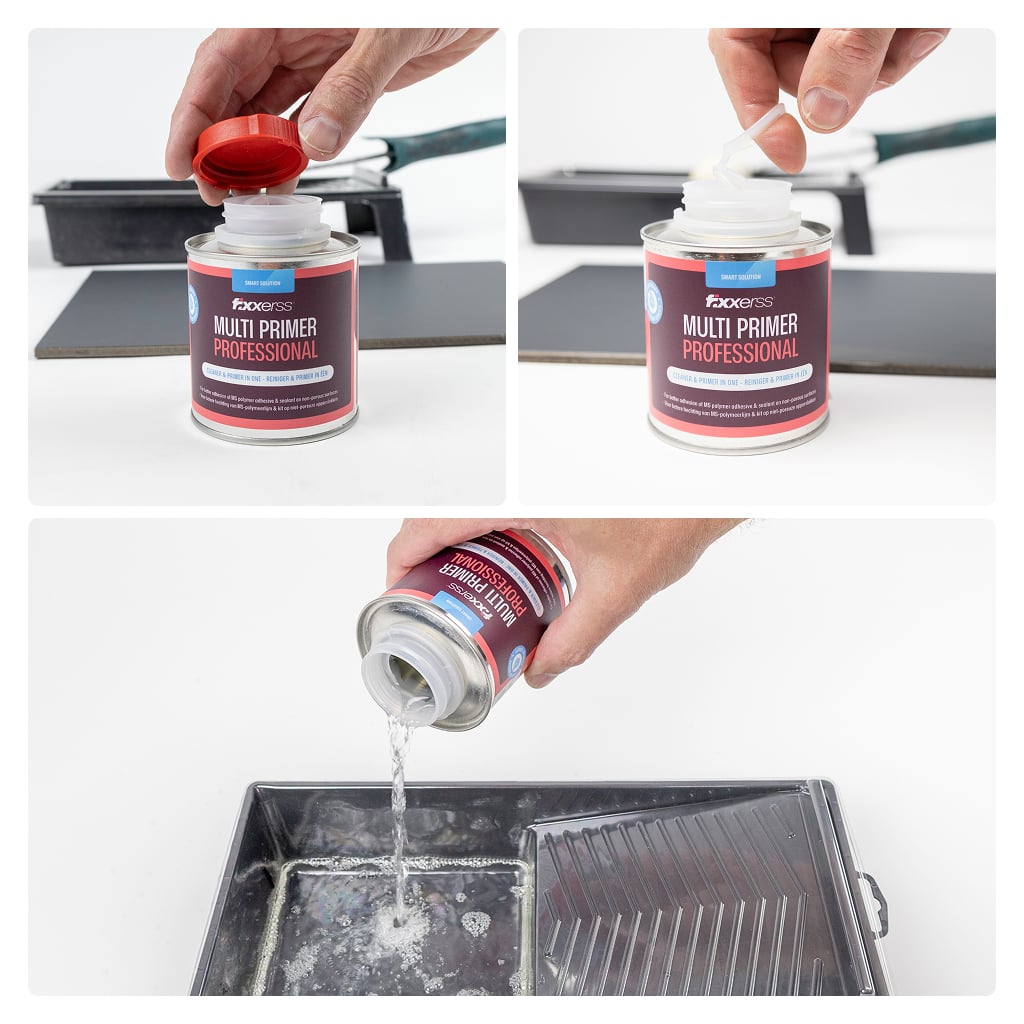
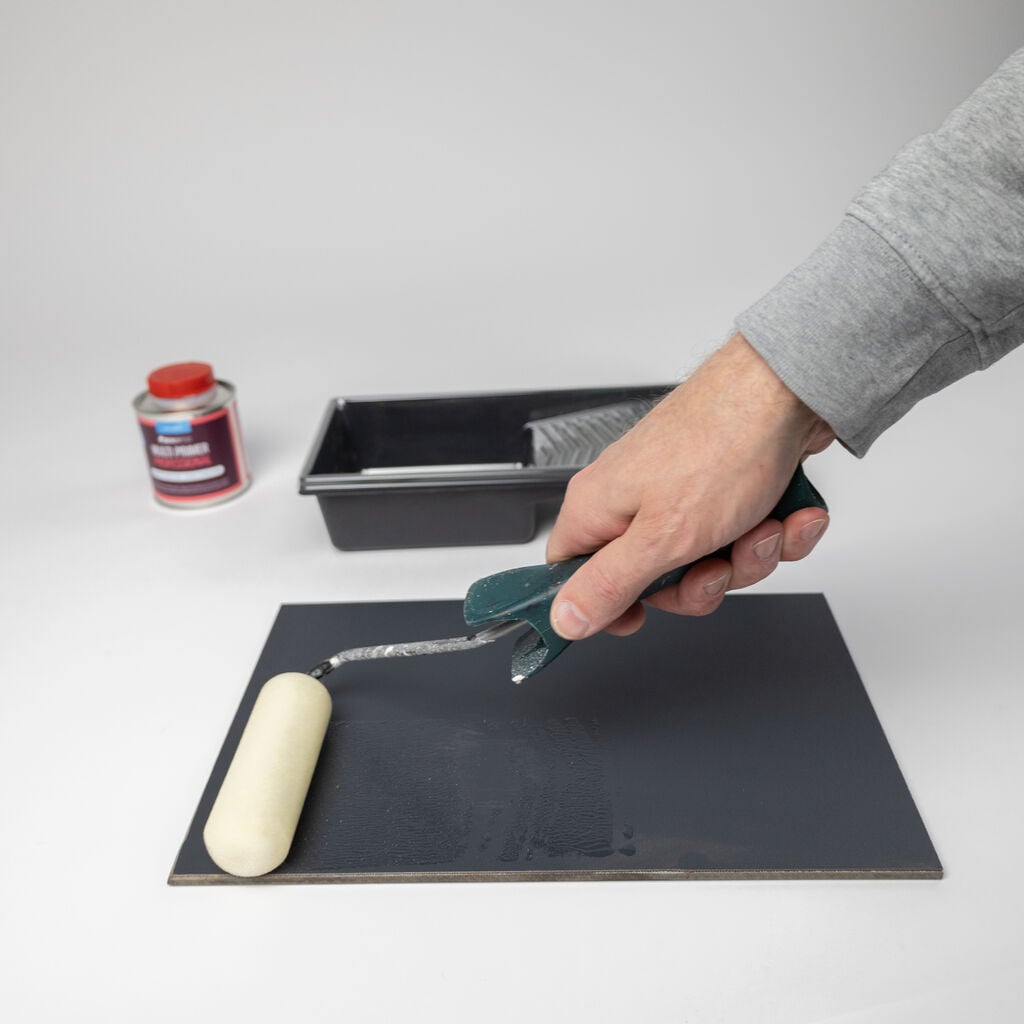
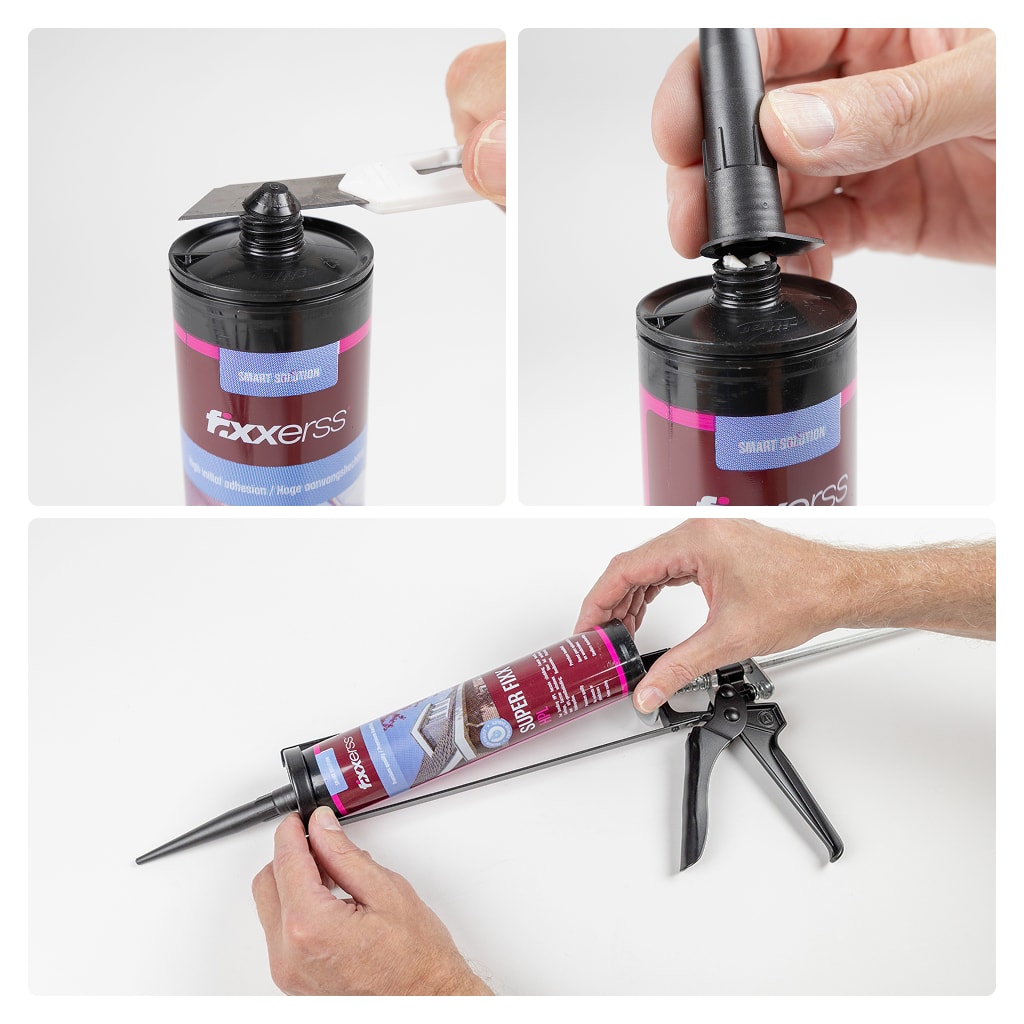
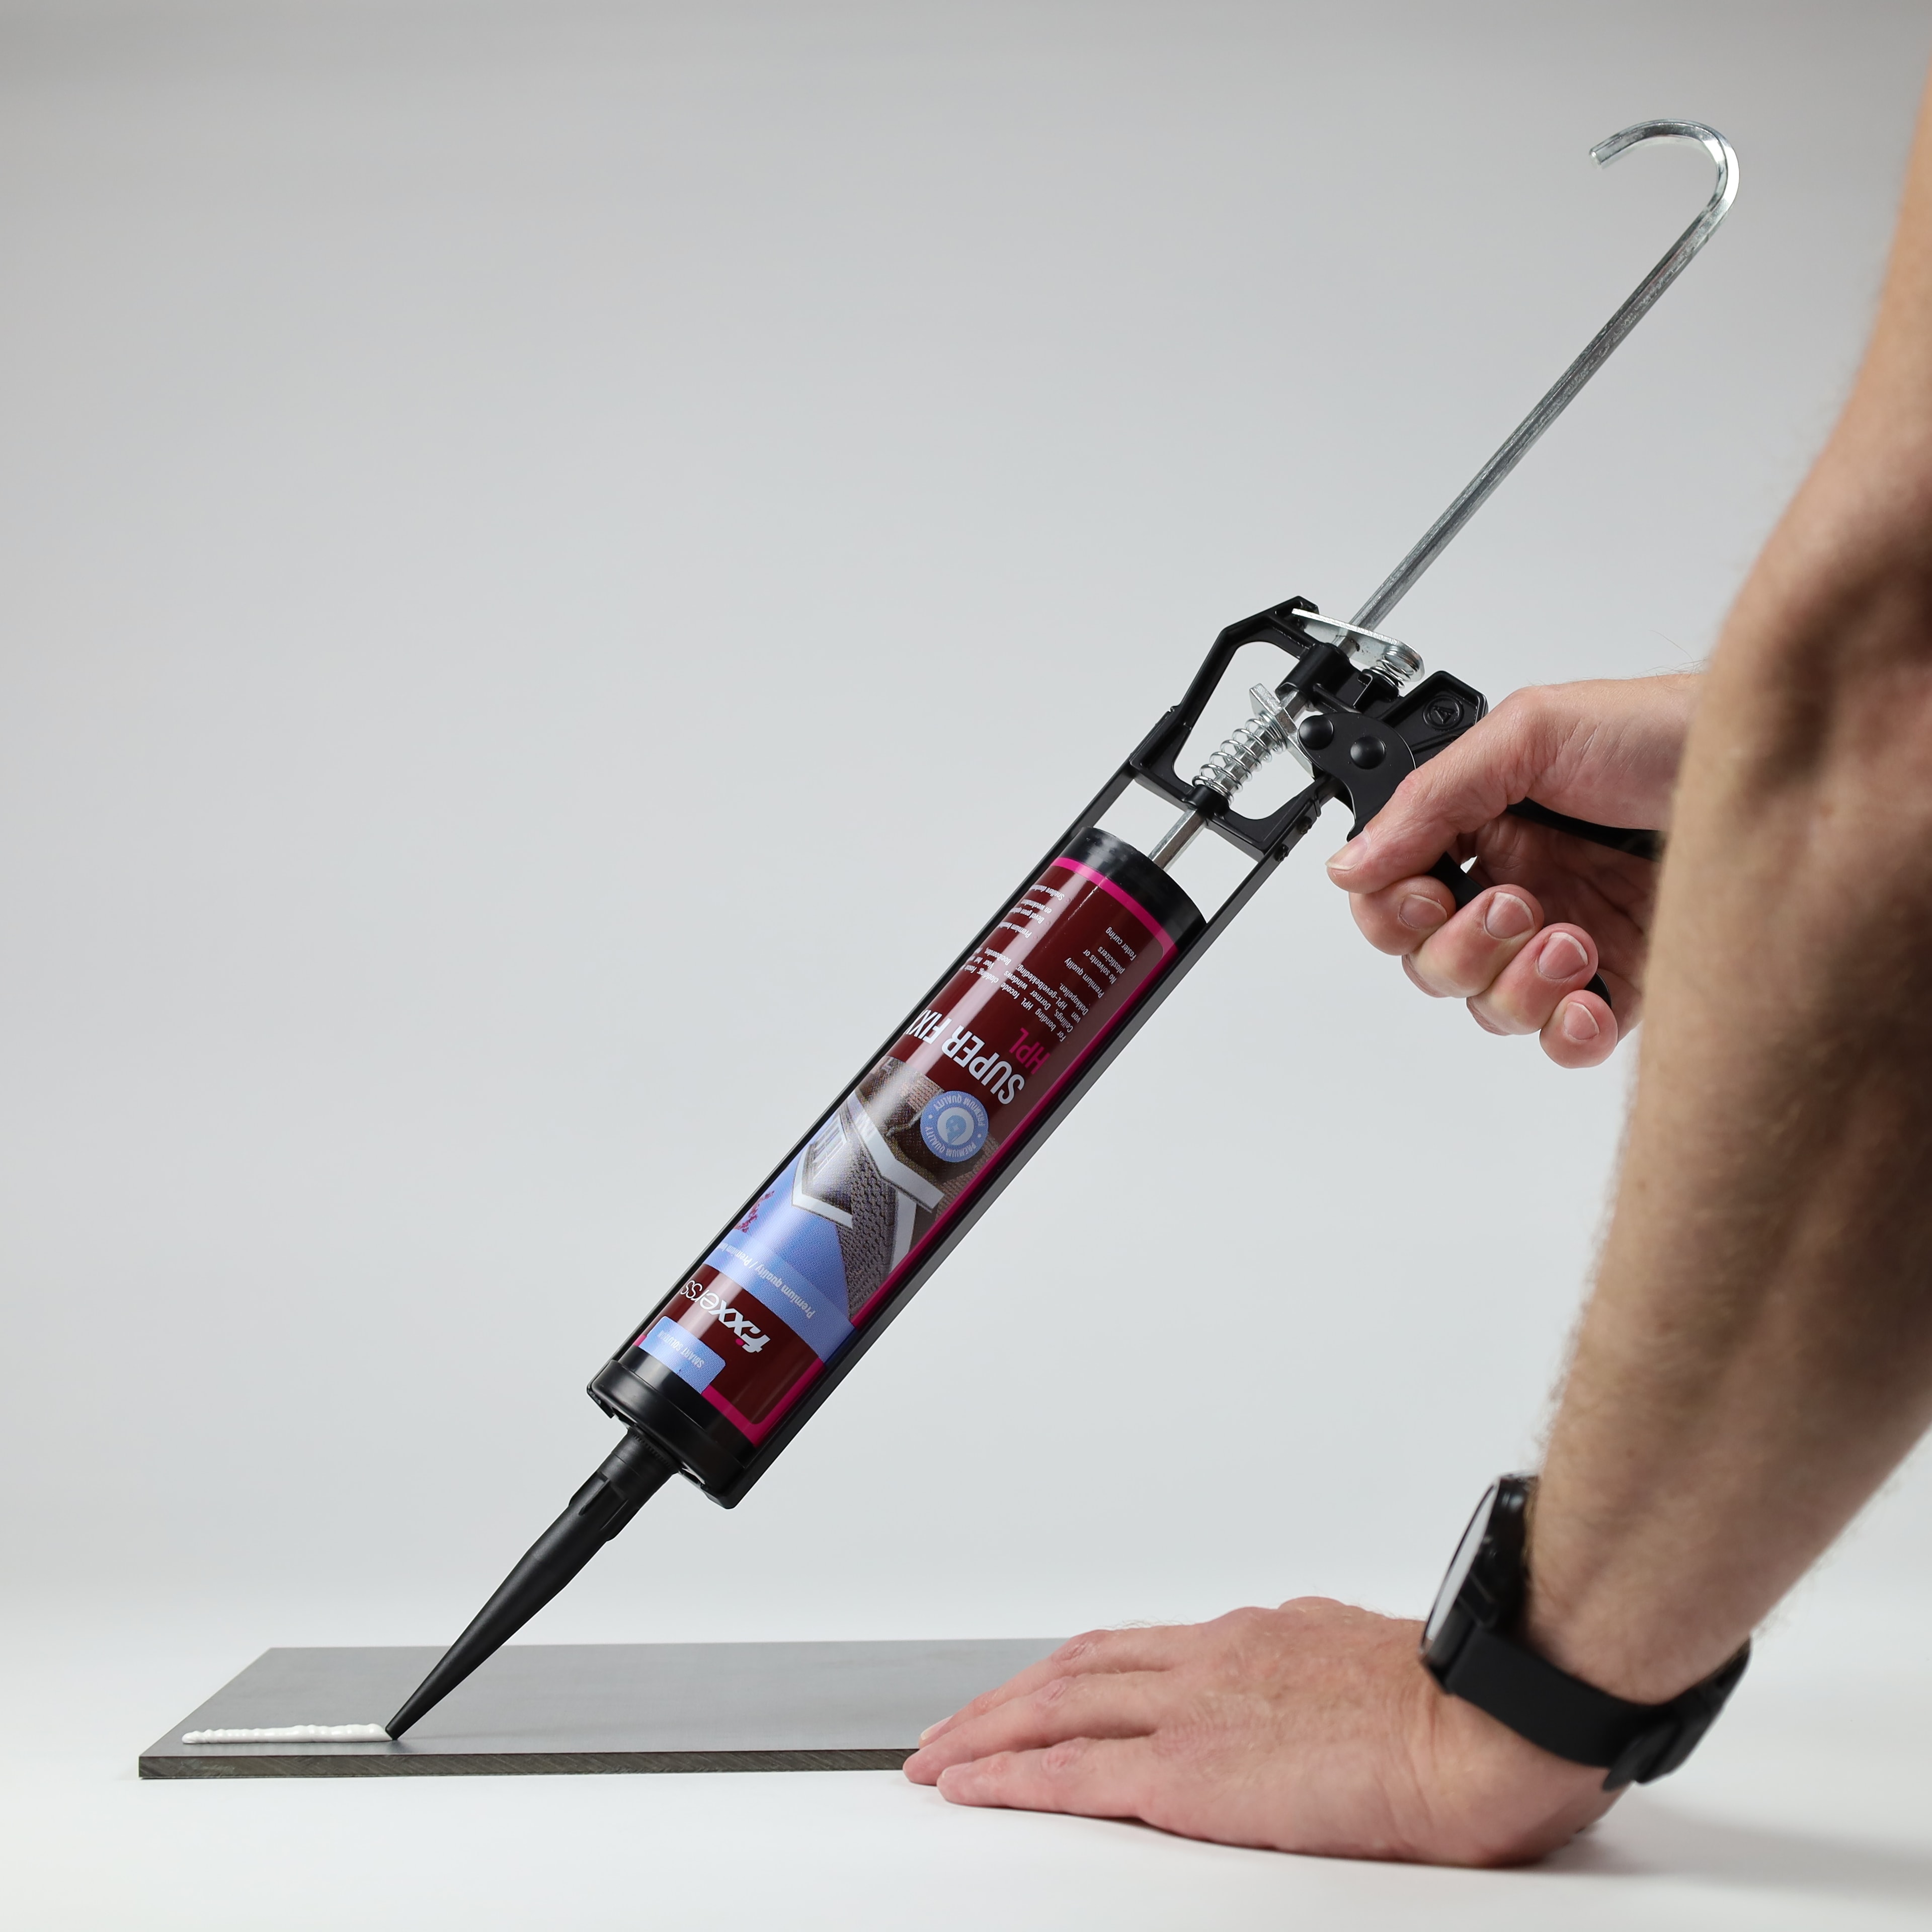
The HPL Super Fixx adhesive set is designed so that you can work with it easily. Even if you are not very experienced. The cartridges fit in any standard caulking gun. You put on the Multi Primer Professional with a cloth, brush or roller. After a few minutes of drying time you can start bonding. The MS Polymer adhesive dispenses smoothly and you have plenty of time to position the sheets exactly right. The product doesn’t run and stays where you put it. Once the adhesive has cured, it stays flexible. That’s important, because HPL expands and contracts with temperature differences. The flexible adhesive absorbs that movement without putting any stress on the joint.
Step-by-step processing guide
Start by thoroughly cleaning all surfaces. Dirt, grease and dust must go. For stubborn grime, use Fixxerss IPA Bonding Cleaner or Plastic Cleaner Antistatic.
Then put on the Multi Primer Professional on the HPL sheet itself (so the non-porous surface). Let the primer flash off for at least five minutes. You can tell the primer is ready when a matte finish appears.
Put the cartridge in a caulking gun and apply the adhesive in beads or dots. On large sheets you work with beads at regular intervals. On smaller parts, dots are enough.
Process the adhesive within the open time and press the HPL sheet down firmly for good contact. Use temporary fixing or tape if the sheet needs a bit of extra support during curing.
Wait for the full curing time before you load the project. Remove any excess carefully before the adhesive hardens completely.
Process the adhesive between 5°C and 35°C. Dispense evenly to prevent air bubbles, because those can reduce the strength. Always use primer for facade mounting. Really, always. HPL has a smooth surface that doesn’t provide enough grip without primer.
If in doubt about the surface, always test on a small area first. Saves disappointment and wasted materials. Work with gloves and make sure there’s good ventilation, although MS Polymer adhesive is less aggressive than traditional adhesive types. Store opened cartridges well-sealed and dry. With the right cap they stay usable for several months.
Process the adhesive between 5°C and 35°C. Dispense evenly to prevent air bubbles, because those can reduce the strength. Always use primer for facade mounting. Really, always. HPL has a smooth surface that doesn’t provide enough grip without primer.
If in doubt about the surface, always test on a small area first. Saves disappointment and wasted materials. Work with gloves and make sure there’s good ventilation, although MS Polymer adhesive is less aggressive than traditional adhesive types. Store opened cartridges well-sealed and dry. With the right cap they stay usable for several months.
What do you use the HPL Super Fixx adhesive set for
The HPL Super Fixx adhesive set is made for fixing HPL cladding. The combination of strong MS Polymer adhesive and primer works perfectly for outdoor applications. UV radiation, moisture and temperature fluctuations are no problem. The flexibility of the adhesive compensates for expansion and contraction. That’s important with facade applications where materials are constantly moving due to sun and temperature. You also use this adhesive set for fascia boards, ceilings and dormers. Anywhere you need adhesion and weather resistance. The set works on various surfaces: wood, metal and plastic.
Frequently asked questions
Questions?