How to make a bath board

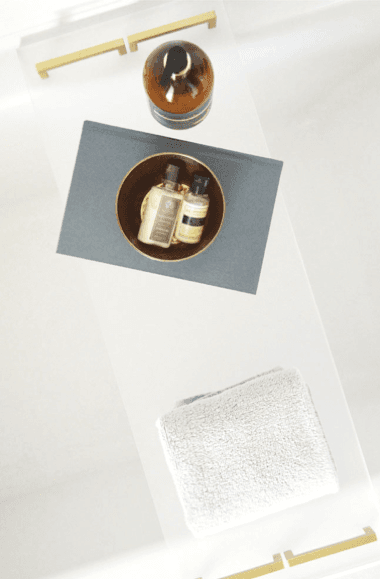
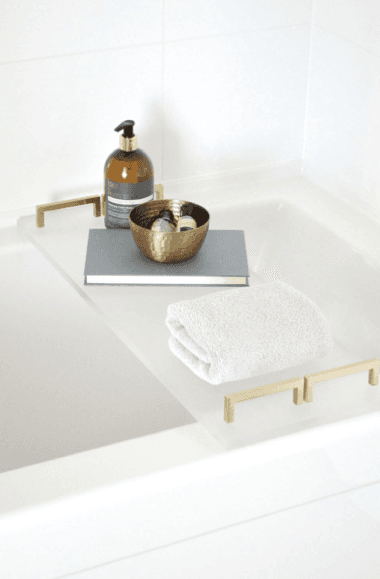
Sometimes, you just need to relax in a warm bath. Unfortunately, you can’t usually store things around the bathtub without them getting wet. Putting your phone or book on the edge of the tub is not a good idea: a bath board offers an ideal solution. Making a customized bath board isn’t difficult and you don’t even need any tools!
The requirements:
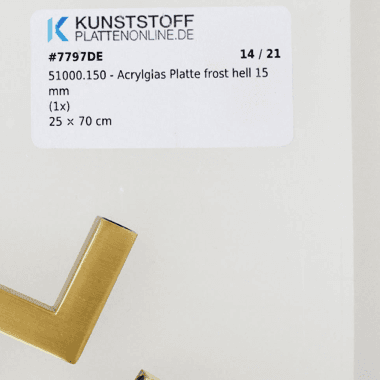
- frosted acrylic sheet, 15 mm
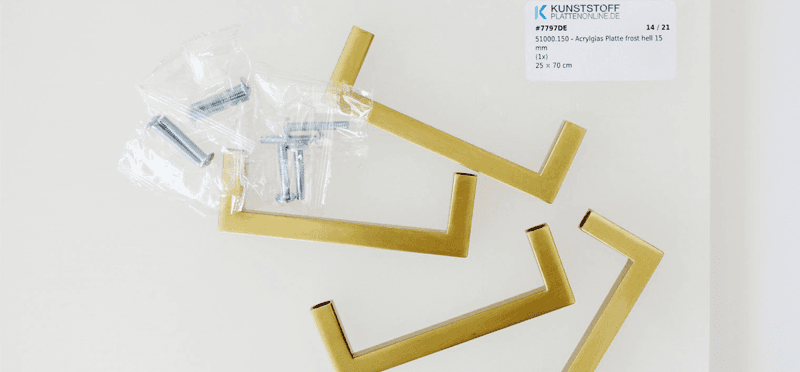
- Handles made of copper or other material of your choice
- Rody-Rapid superglue
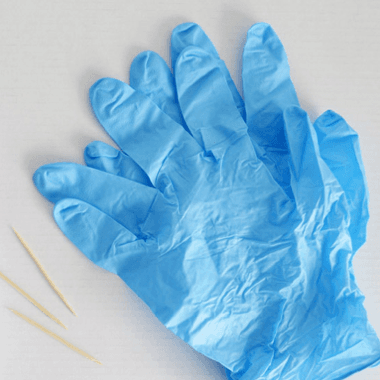
- A toothpick
- Gloves
- A marker
- A ruler
Naturally, the size of the acrylic sheet will depend on the width of your bath. Therefore, measure the bath before you start this job. You can, of course, choose the colours of the acrylic and the material of the handles to suit your decor. We’ll be working with frosted acrylic and copper handles in this blog.
Step 1: Measure and mark the bath board
Start by measuring the bath board and mark where you will place the handles. The handles are attached with a strong super glue. Of course, it is also possible to fix the handles with screws. In our blog about drilling acrylic, we explain how to approach this step by step.
Step 2: Glueing the handles
We recommend wearing gloves when using Rody-Rapid superglue. Use a toothpick to apply the glue accurately to the bottom of the handles. Apply the glue and place the handles directly in the desired location. Press them well until the glue is dry.
Step 3: Protect the acrylic
The bath board is now ready. To protect both your bathtub and the acrylic sheet, stick silicone stickers on the bottom of the bath board. This also prevents the bath board from slipping.
Acrylic sheet is available in many colours and finishes. If the frosted version does not suit your interior decor, opt for transparent, coloured, matt or mirrored acrylic sheet.