Acrylic ring for sleek ceiling design in the bedroom

Submitted byYvonne
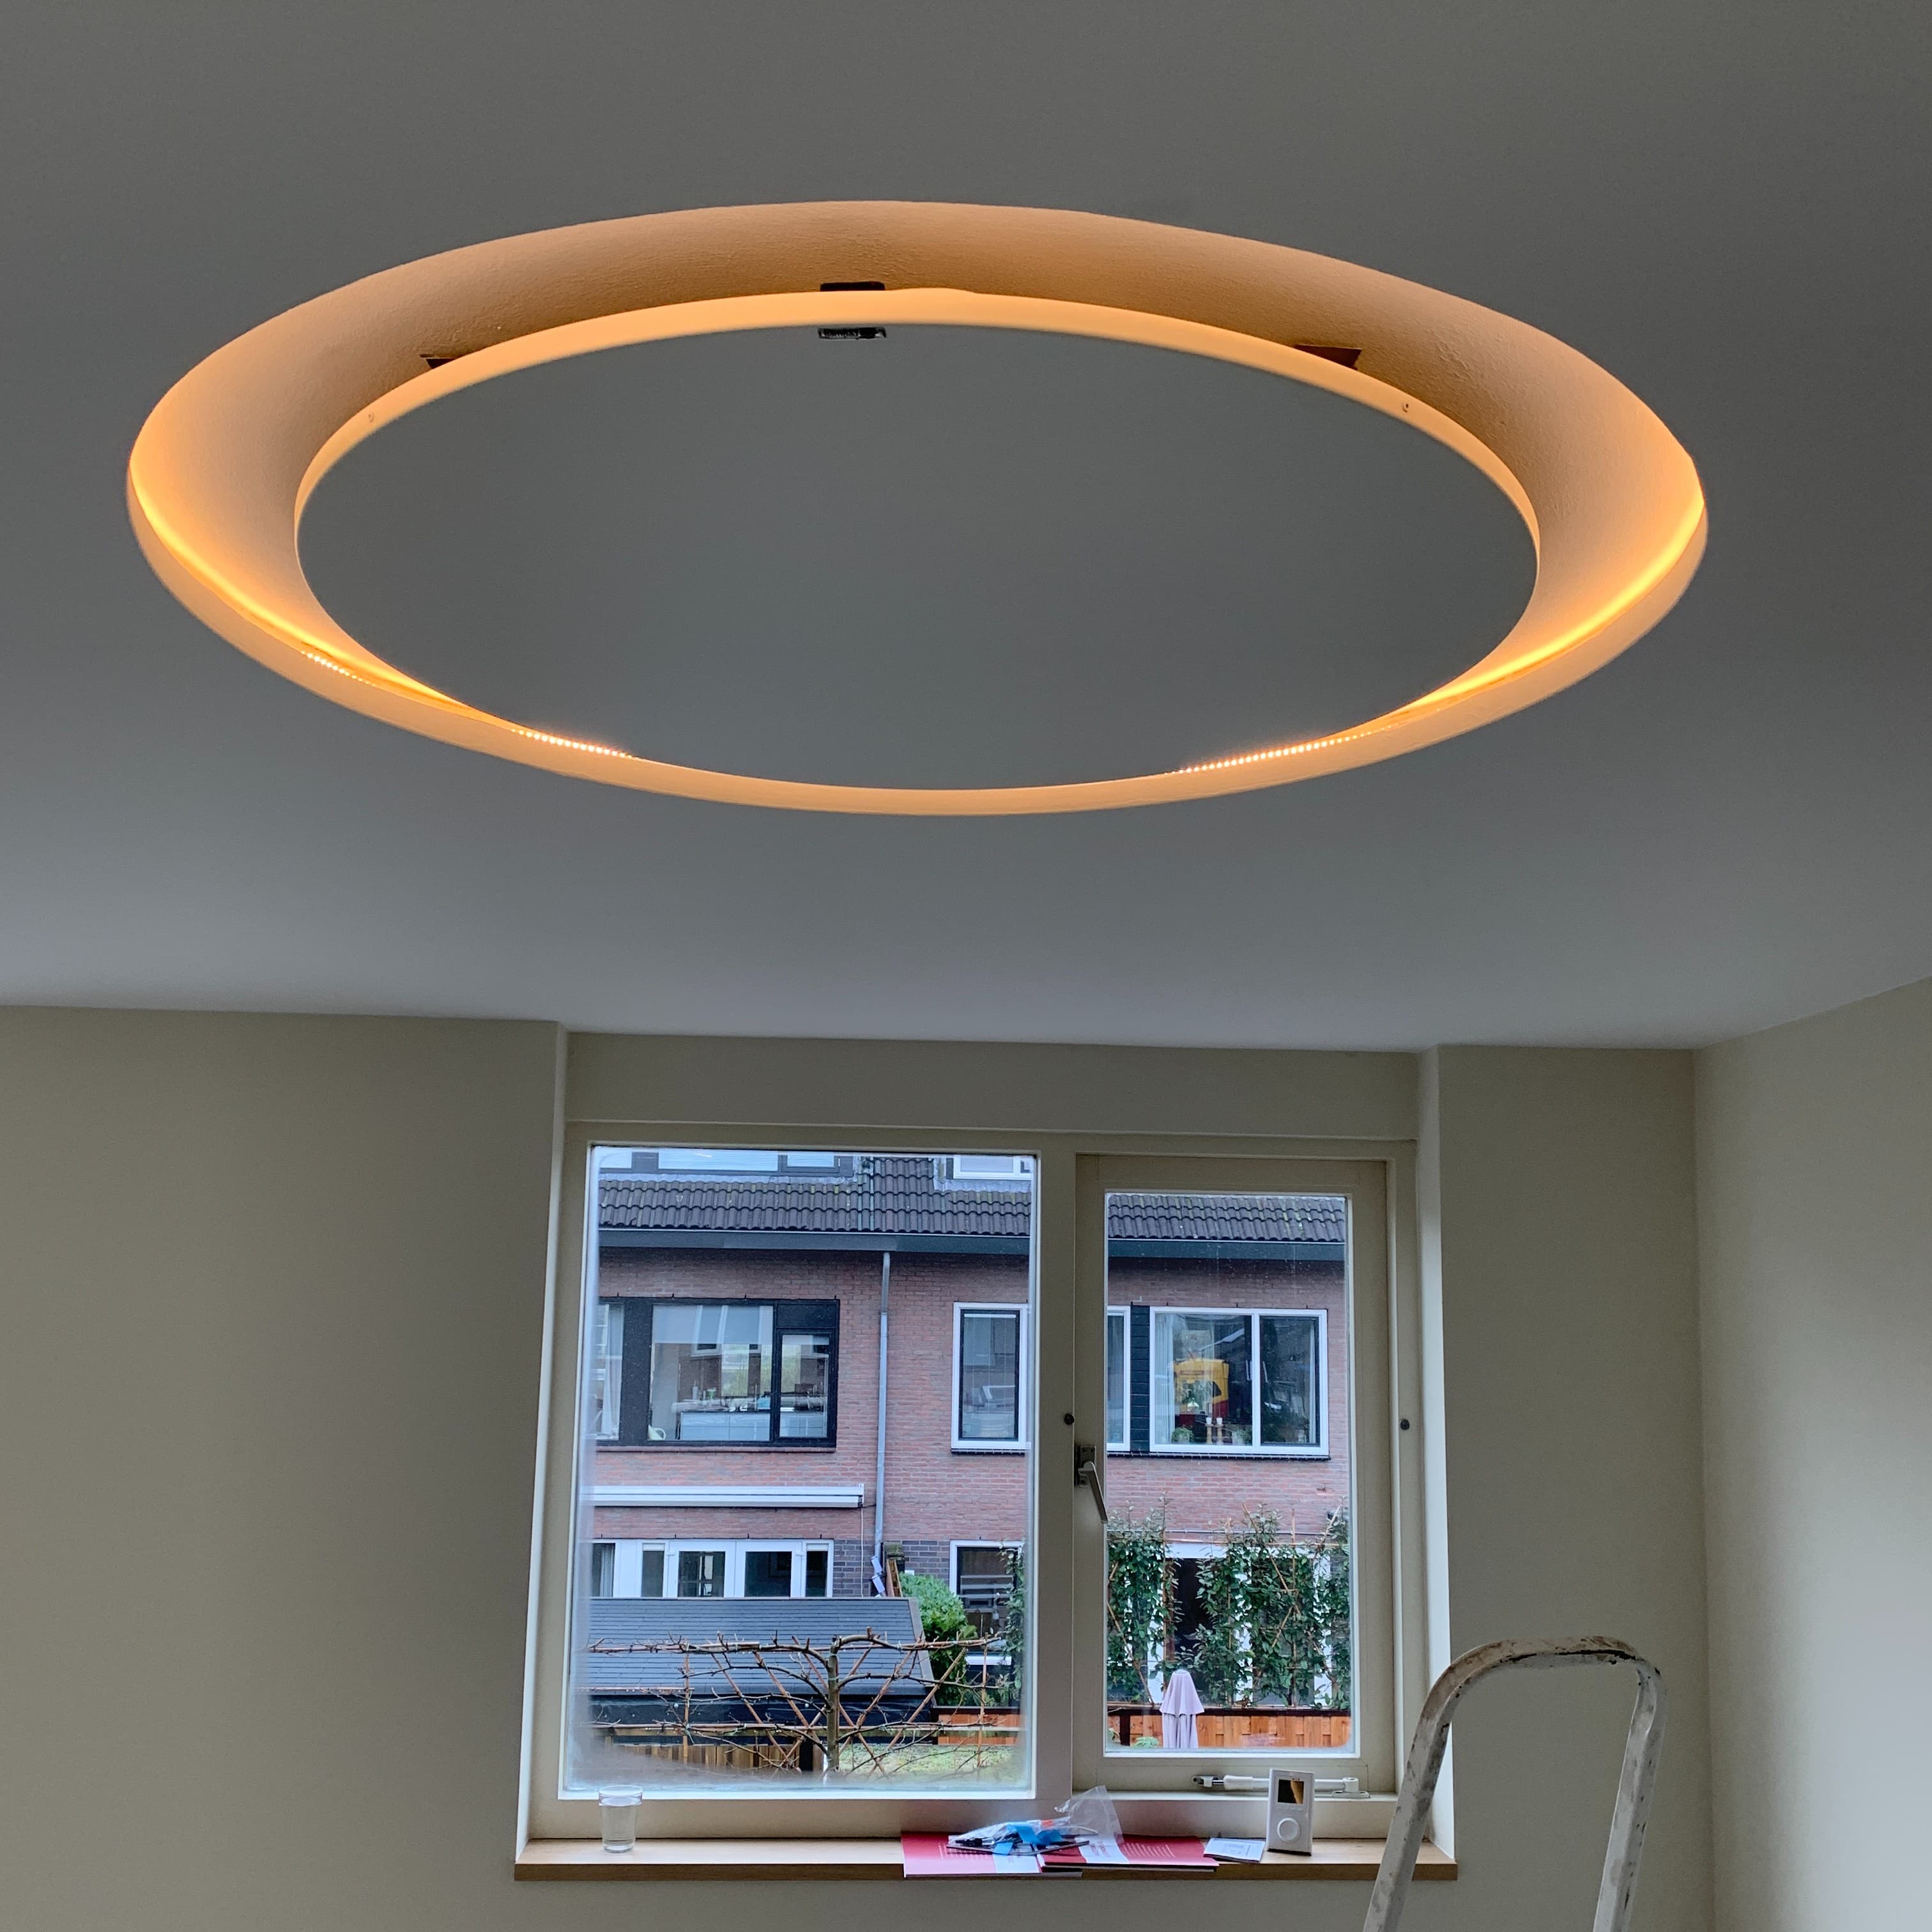
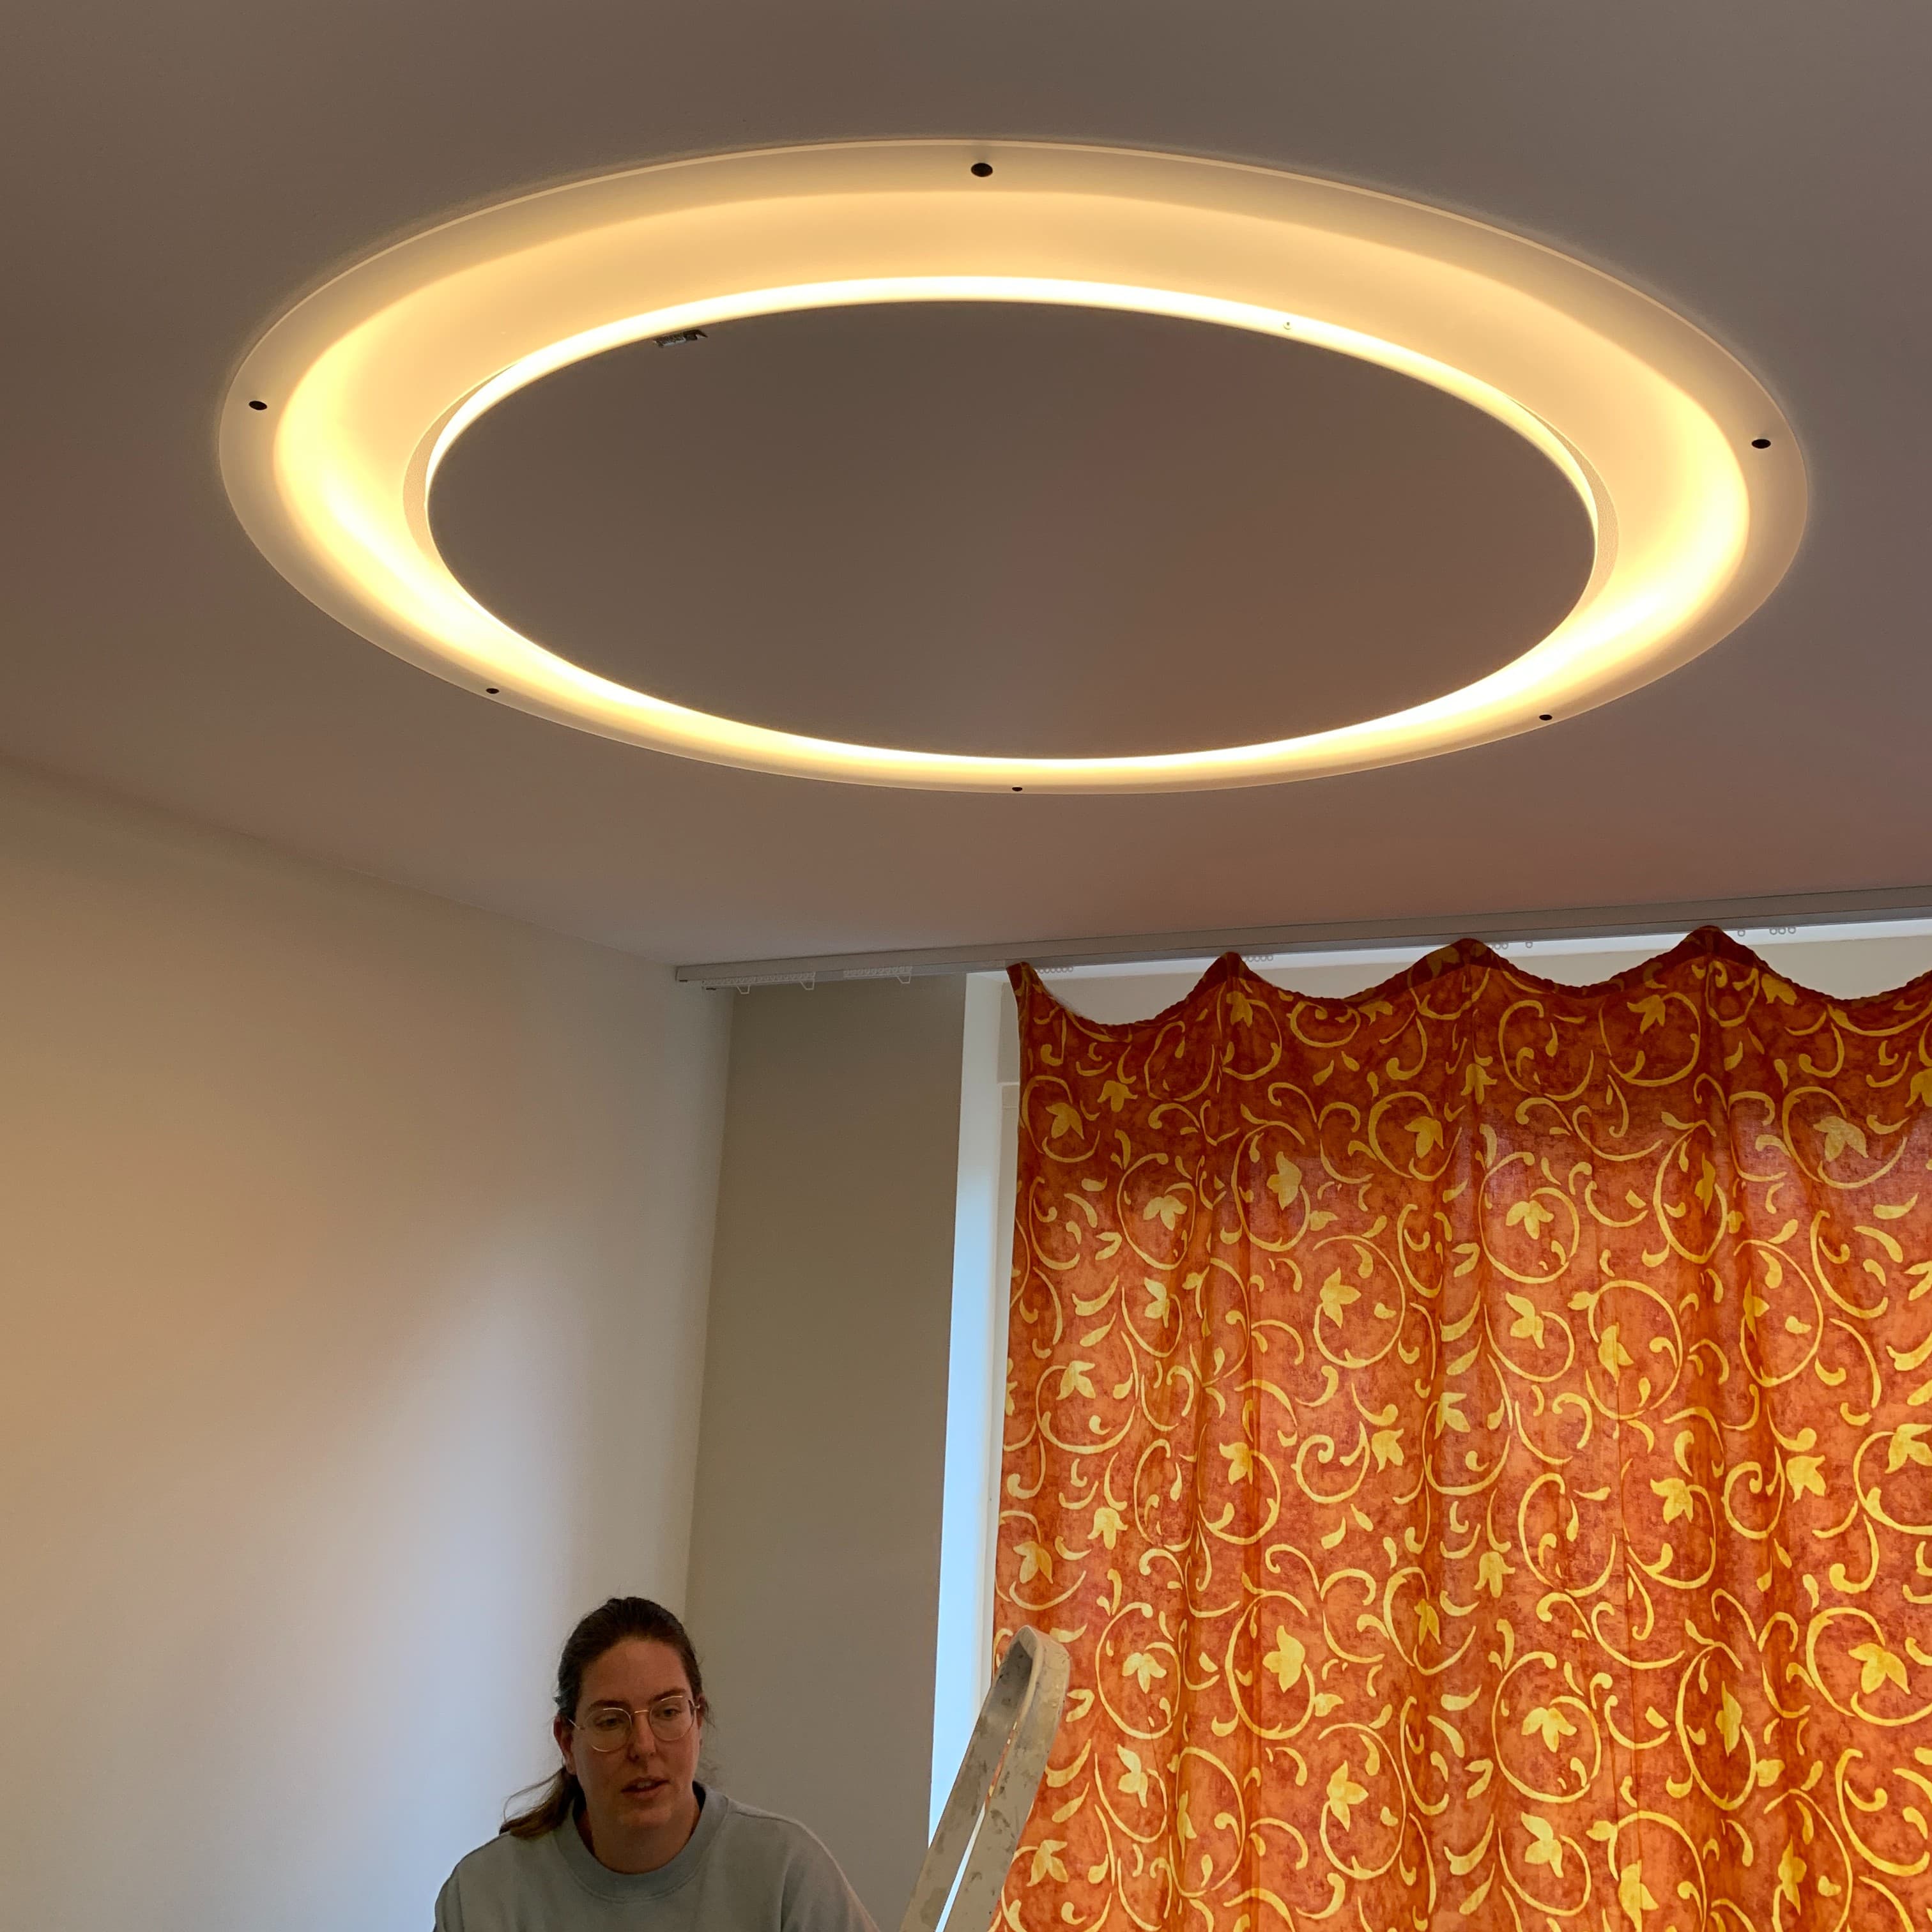
Yvonne came up with a clever solution for her bedroom. She installed an acrylic ring in the lowered ceiling to conceal the visible lighting and construction of her ceiling lamp. This has given the entire ceiling a sleek and finished look.
The Project
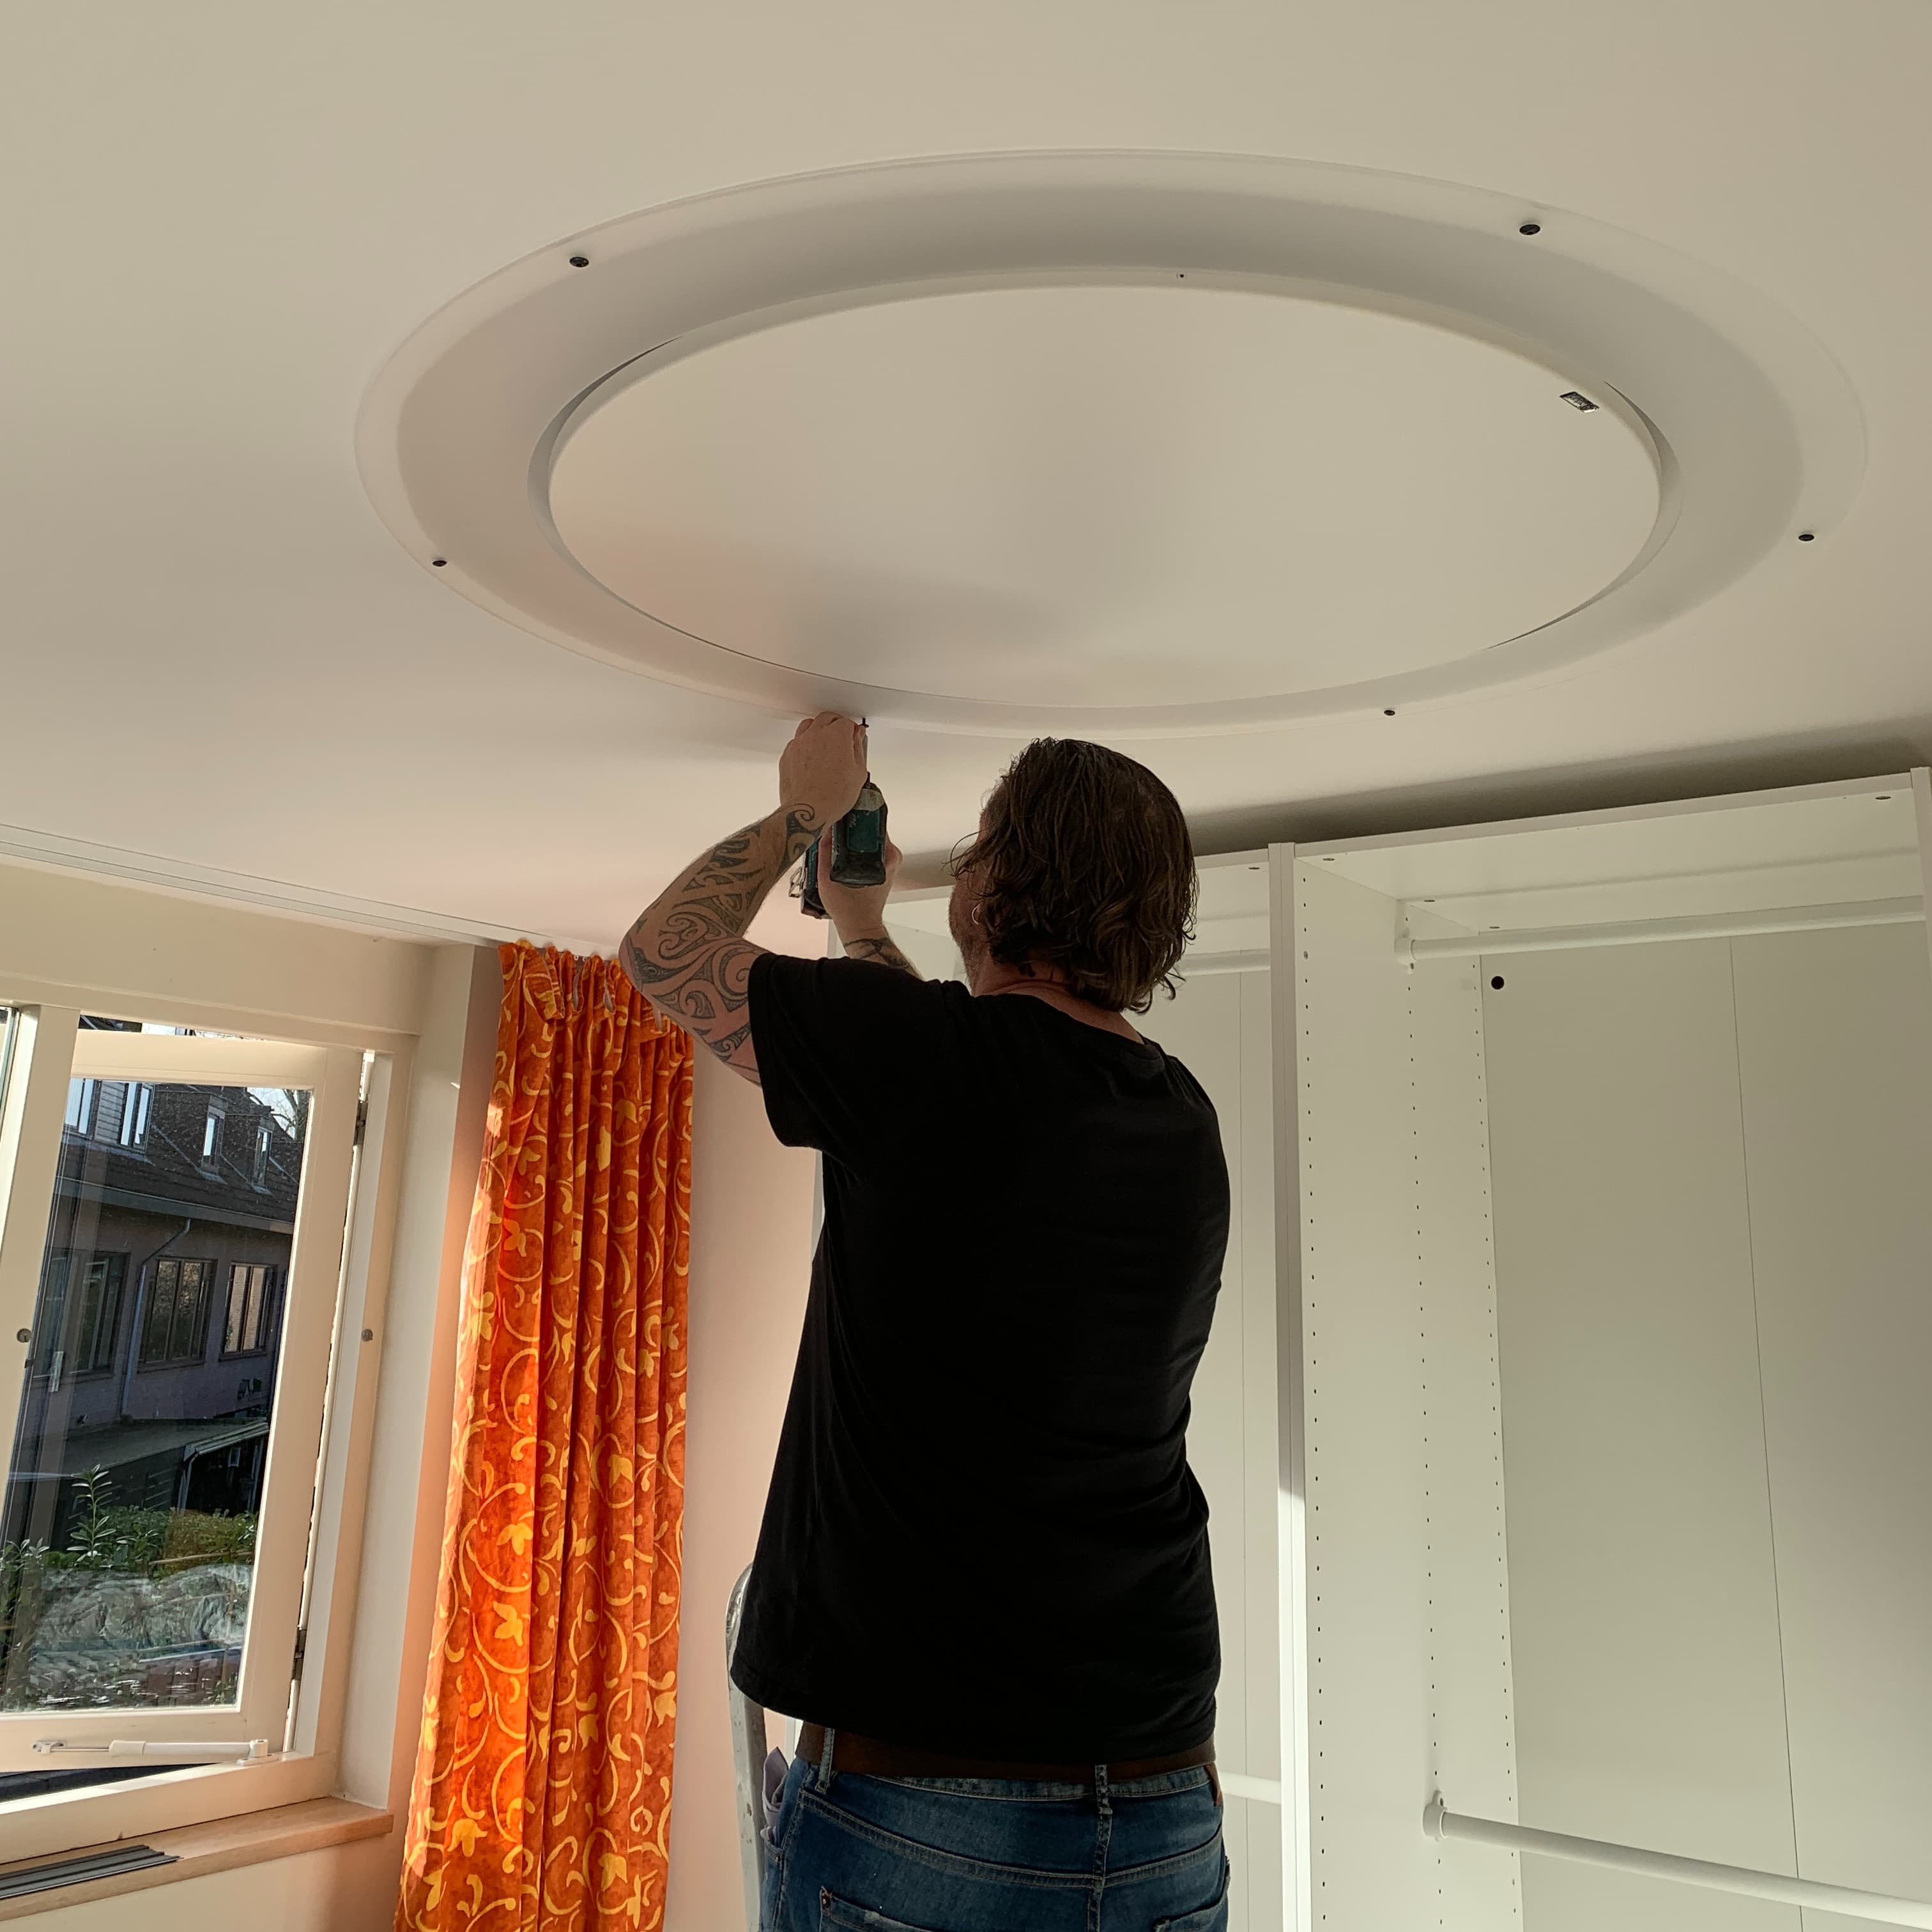
Yvonne wanted to hide the visible mounting structure and lighting around her infrared panels in the lowered ceiling. To achieve this, she used an acrylic ring and coloured screws. Yvonne says, "We are very proud of our solution."
1
Measuring
Start by precisely measuring the area around the infrared panels. Ensure you take measurements at multiple points to determine the correct size for your acrylic ring.
2
Drilling
Drill holes in the acrylic ring and the lowered ceiling. Make sure everything is well-aligned.
3
Attaching
Attach the acrylic ring using attractive coloured screws. Check that everything is firmly and neatly in place.
Frosted clear acrylic sheet GS 3 mm

Frosted clear acrylic sheet GS 3 mm
Tools
- Drill
- Screwdriver
Other requirements
- Infrared panels
- Nylon washers
Yvonne’s Tips for Others
Measure well at multiple points (since the infrared panels aren’t mounted exactly in the centre and the circle in the lowered ceiling isn’t perfectly round, the screwing was just right).
Yvonne’s Tips for Others
Measure well at multiple points (since the infrared panels aren’t mounted exactly in the centre and the circle in the lowered ceiling isn’t perfectly round, the screwing was just right).
Other DIY Awards
Get inspired by other people’s DIY Awards entries. Or enter too and stand a chance to win fantastic prizes!

Acrylic table top with LED strips
Mason created an Acrylic Tabletop with LED lighting. The opal white acrylic combined with the riser wood, the brick wall, …
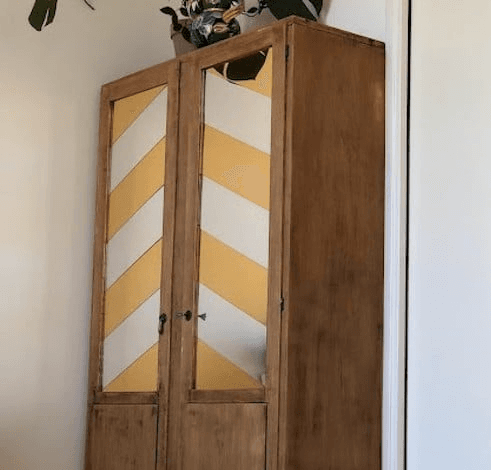
Mirrored plexiglass on wardrobe doors
Find out how Phil Eberle used sheets of mirrored plexiglass to replace the glass on his wardrobe.
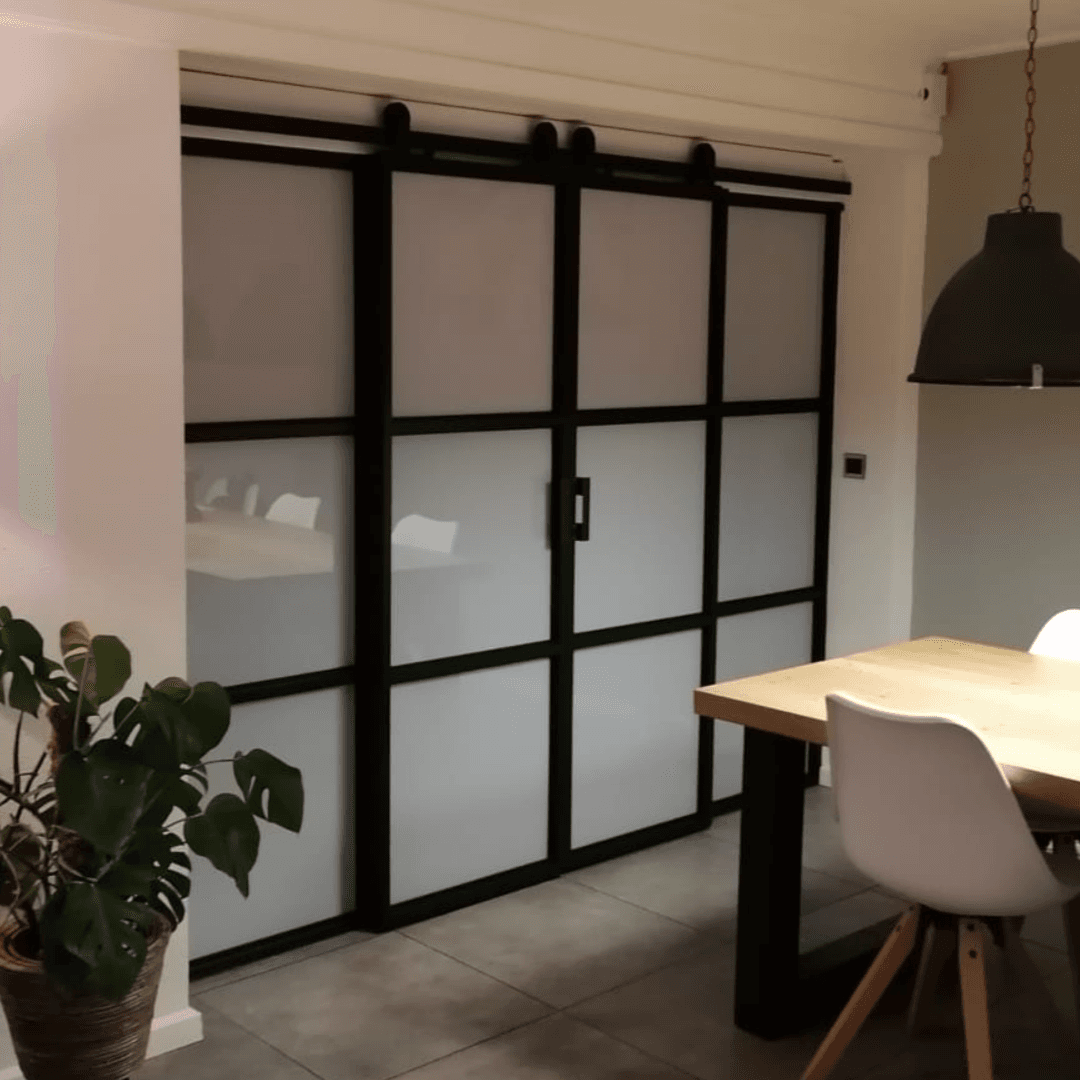
Industrial sliding door room divider with polycarbonate
Industrial sliding door room divider with polycarbonate. Discover how Rob crafted a stylish and functional room divider from wood and polycarbonate.
Acrylic table top with LED strips
Mason created an Acrylic Tabletop with LED lighting. The opal white acrylic combined with the riser wood, the brick wall, …
Mirrored plexiglass on wardrobe doors
Find out how Phil Eberle used sheets of mirrored plexiglass to replace the glass on his wardrobe.
Industrial sliding door room divider with polycarbonate
Industrial sliding door room divider with polycarbonate. Discover how Rob crafted a stylish and functional room divider from wood and polycarbonate.
Share this article