DIY: Making a plastic toilet ceiling
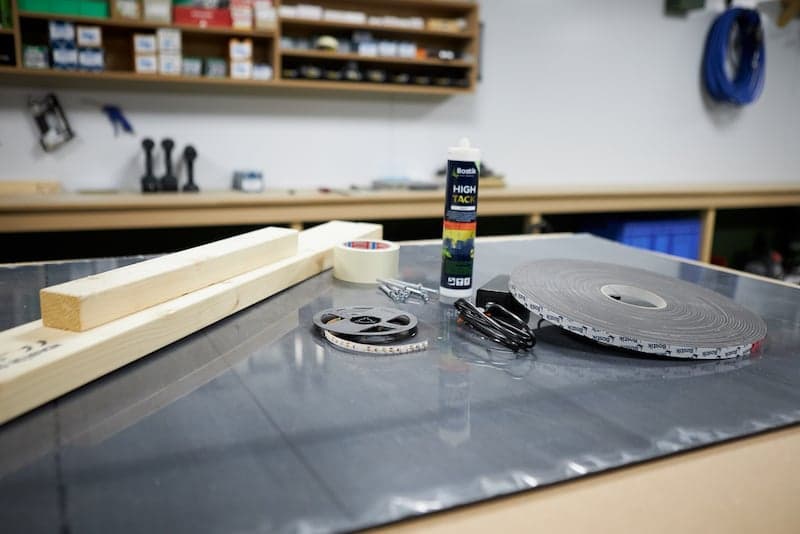
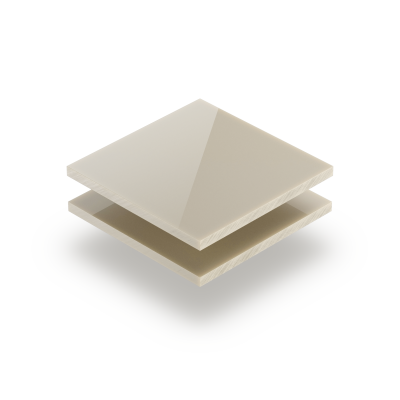
- Satin acrylic sheet anthracite 4 mm
- Double sided foam tape
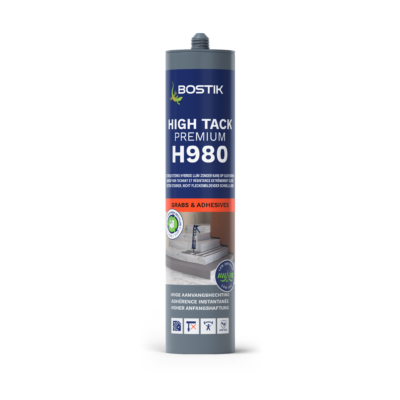
- High Tack Premium H980 adhesive
- Impact plugs
- Short screws
- Drill with drill boots for wood
- Impact drill
- LED strips 220 volt
- Timber battens
The base for your toilet ceiling
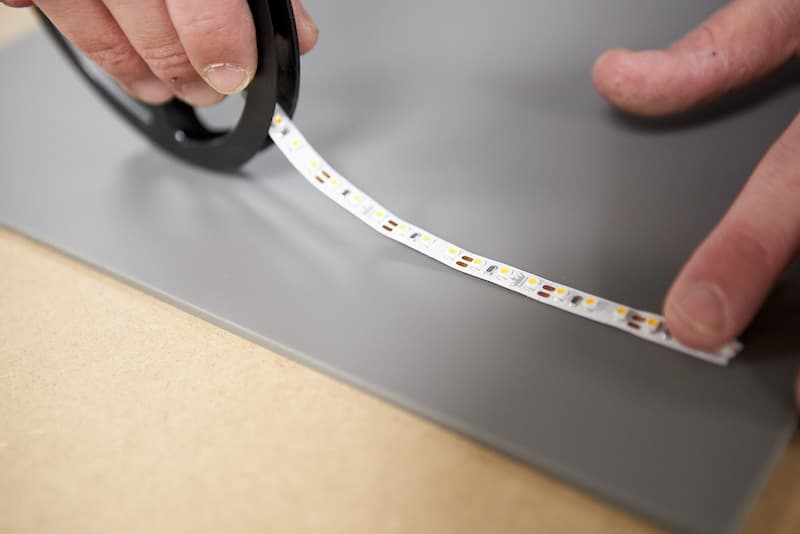
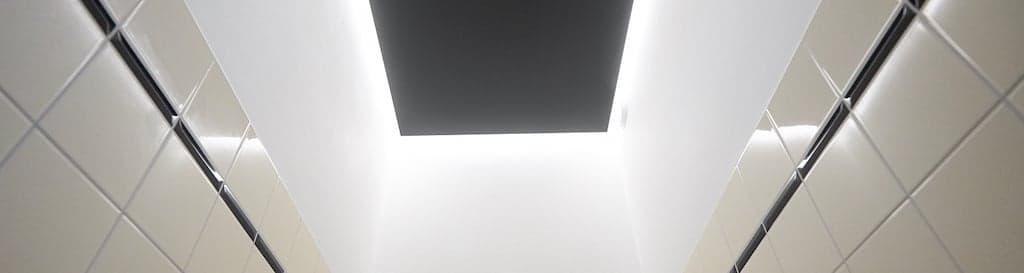
For the plastic ceiling in this demonstration, we’re using the matte side of a 4mm thick acrylic sheet in satin ebony colour with measurements 92 x 148.5 cm. This will create a black floating ceiling. We’re also using 220 volts LED strips in warm white. LED strips with a transformer can also be used. For the framework, we’re using pine battens.
Step 1: Measure your toilet ceiling
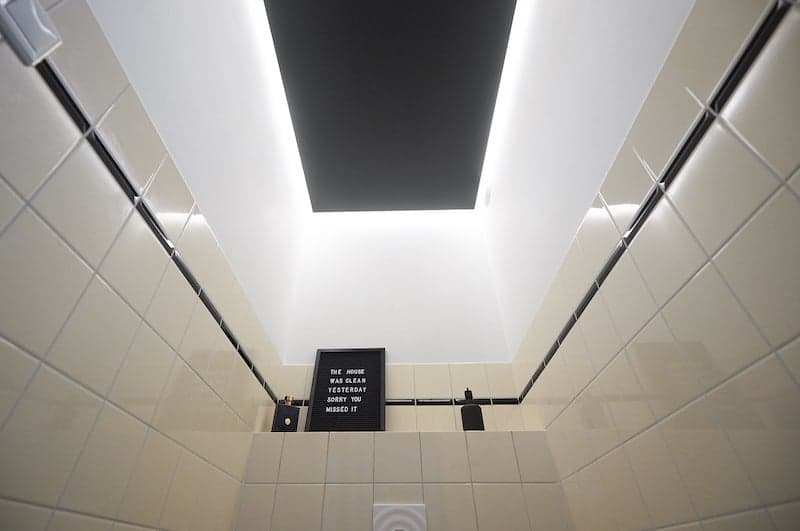
Measure the exact size of the ceiling in your toilet and subtract 3 cm around it. This tells you what size acrylic sheet you need. We allow 3 cm space around the sheet to create a shadow edge so that the LED lighting diffuses out around it. This gives the effect of a ceiling that seems to float.
Step 2: Order your plexiglass
When you know the right dimensions, order the plexiglass and the High Tack mounting glue. We saw all acrylic sheets to size for you free of charge. You can find the timber battens and LED strips at the local hardware store.


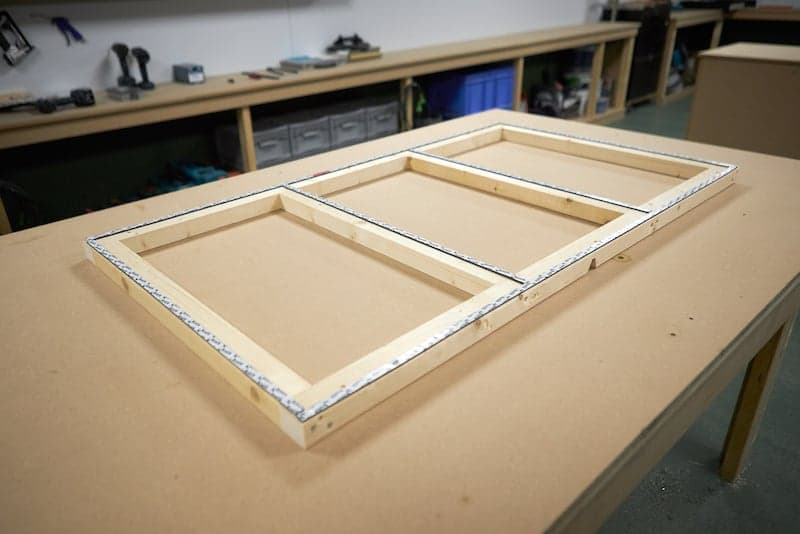
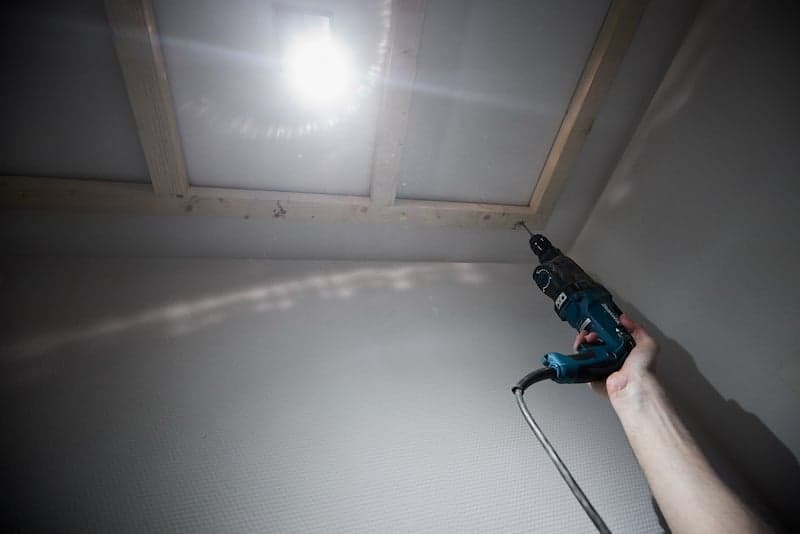
Step 3: Make your frame
In order to fix your acrylic sheet to the ceiling, you need a frame. Construct this using wood and take the light fitting in the toilet into account when positioning the battens. Make sure your frame is around 10 cm smaller than the acrylic sheet. This leaves room for the LED strips that you will stick on to the plexiglass.