DIY parcel drop box for your home

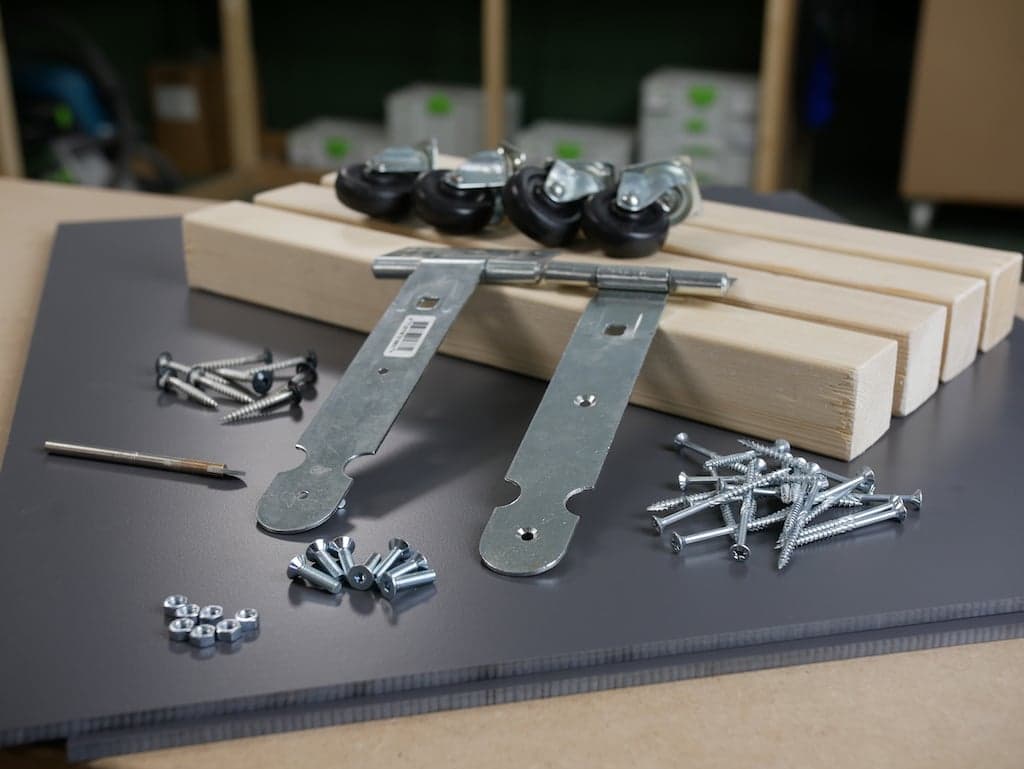
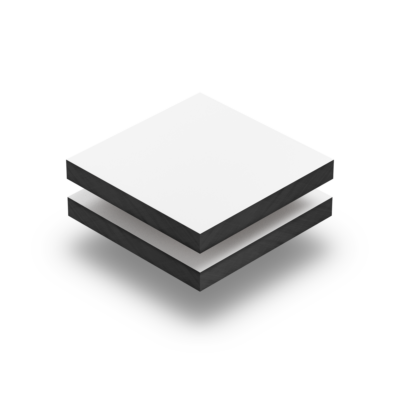
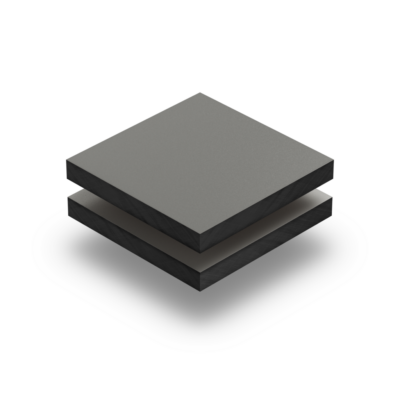
- 6 x HPL sheets, 6 mm thick in the colour of your choice
- 12 timber beams (4 uprights, 4 longitudinal beams, 4 crossbeams)
- Drilling machine
- Chipboard
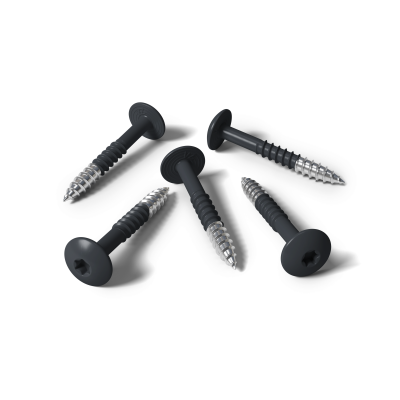
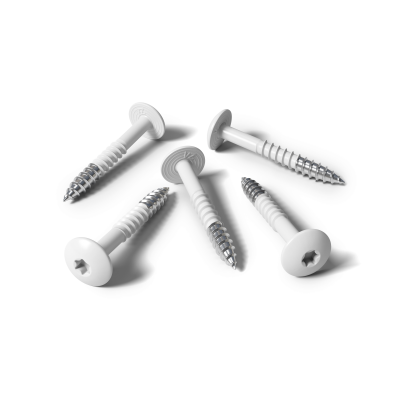
- HPL screws
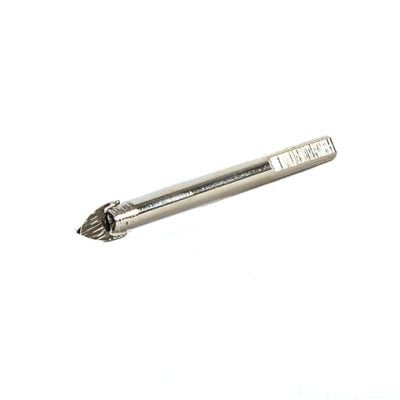
- HPL drill for High Pressure Laminate
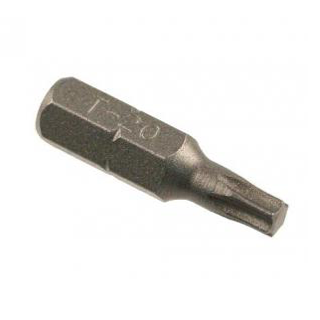
- Torx bit (per piece)
- 2 hinges and 6 bolts
- Standard transfer closure for padlock (or another locking system of your choice)
- Padlock
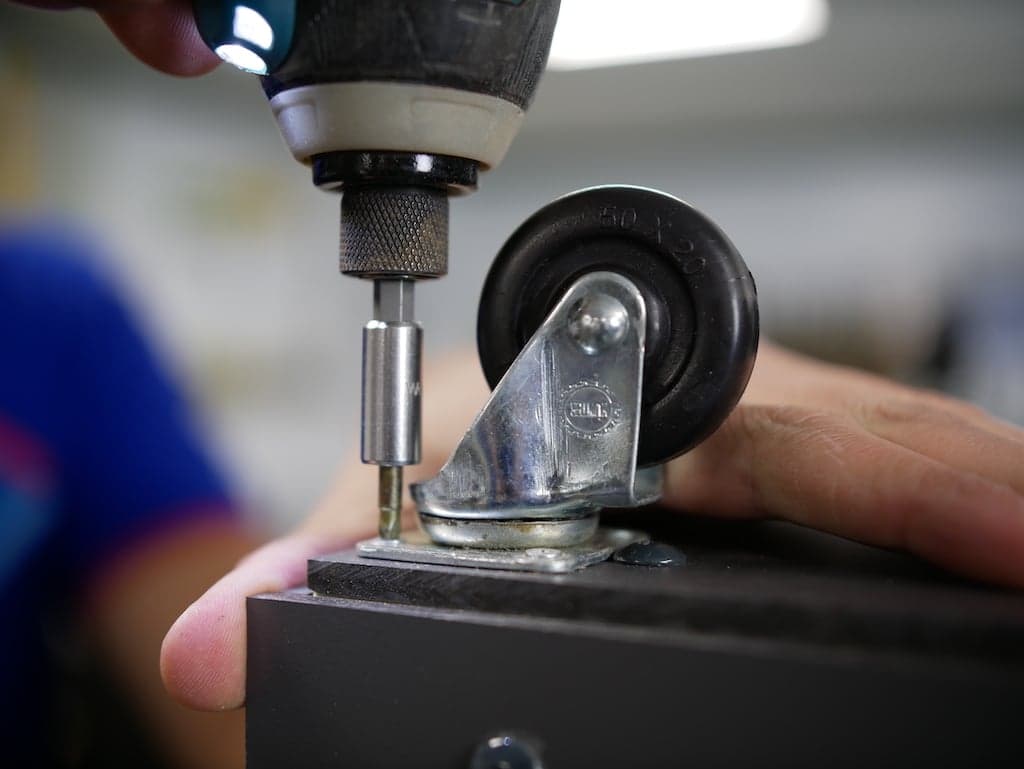
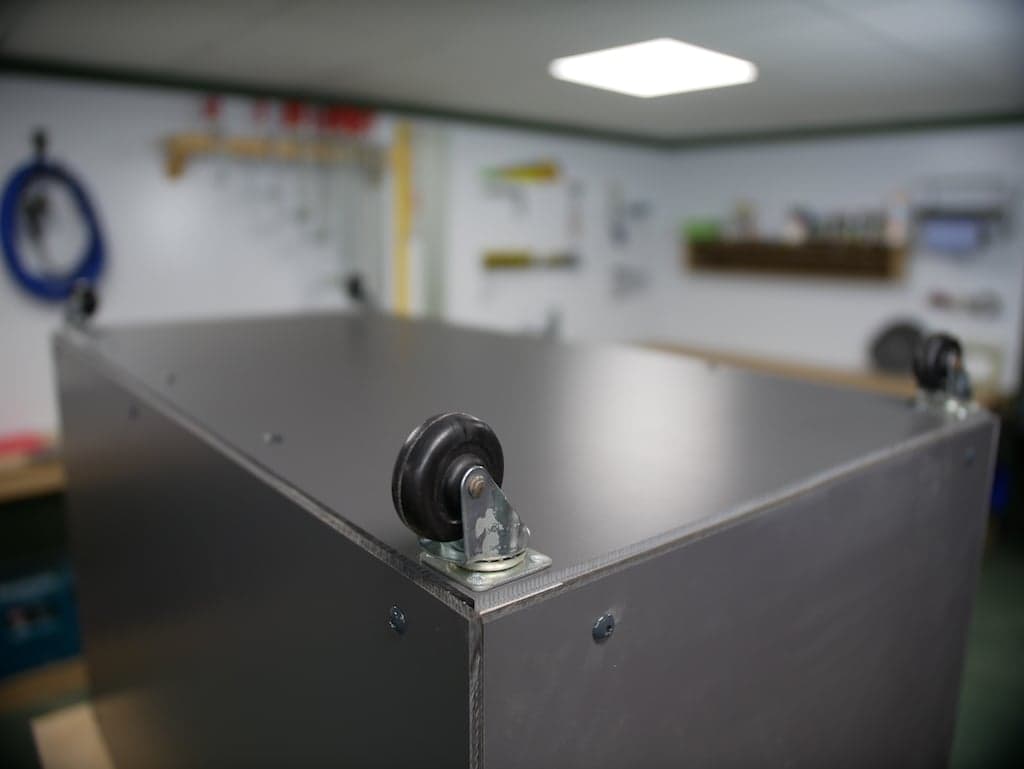
- Swivel castors (optional)
Loading...
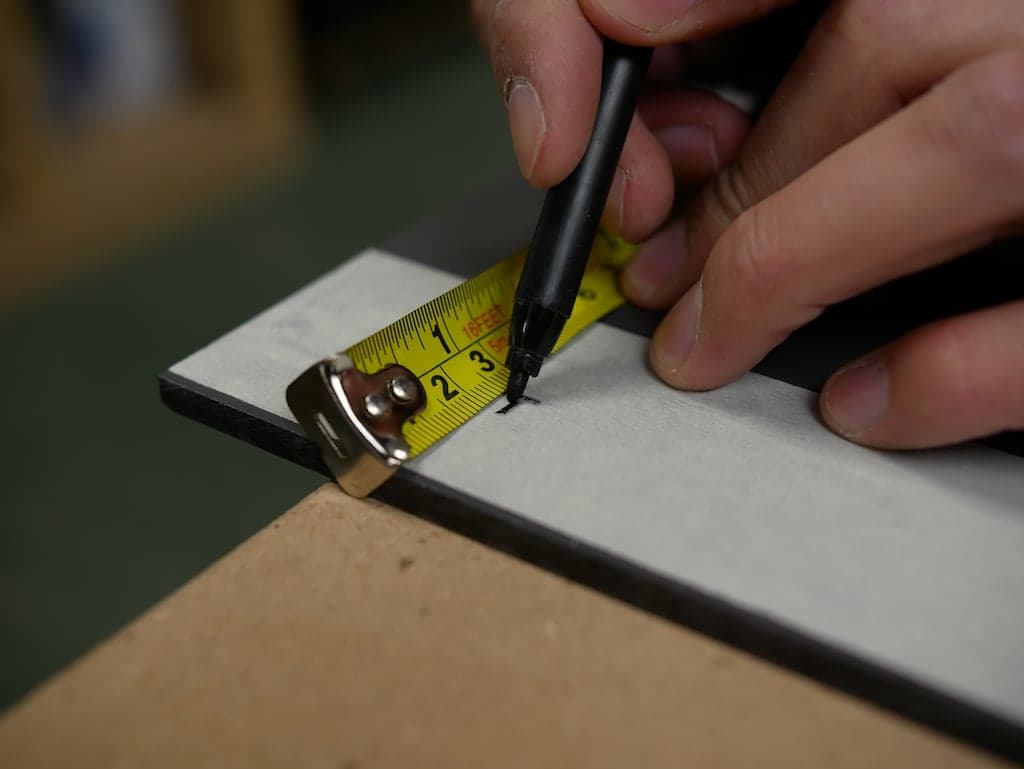
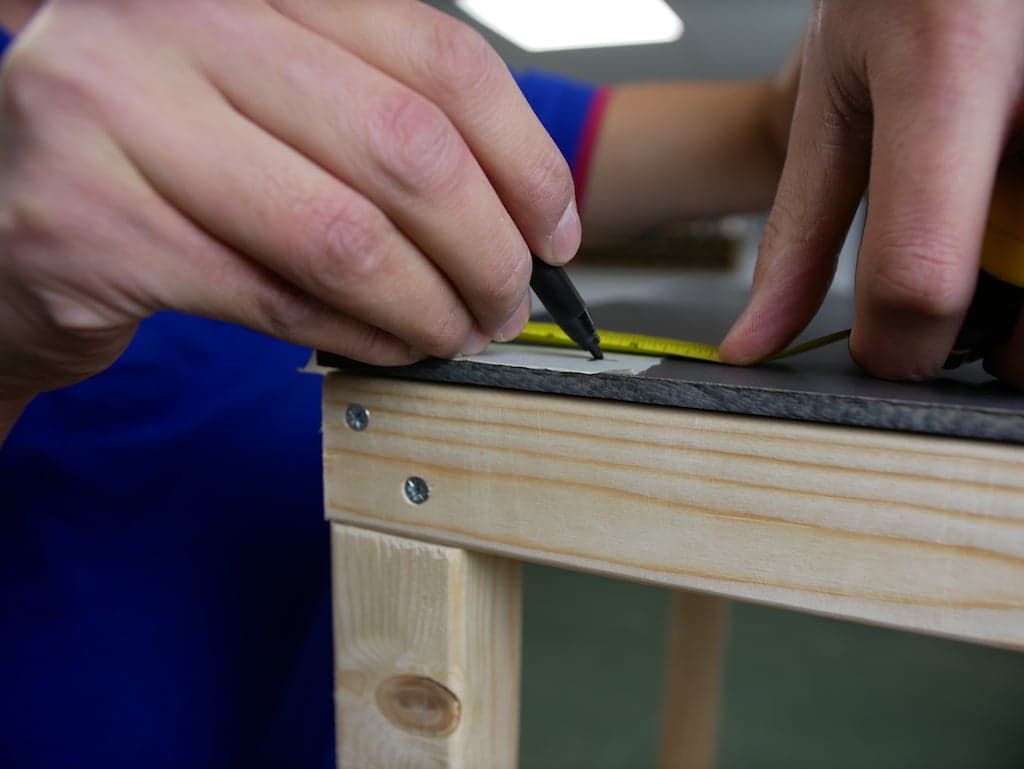
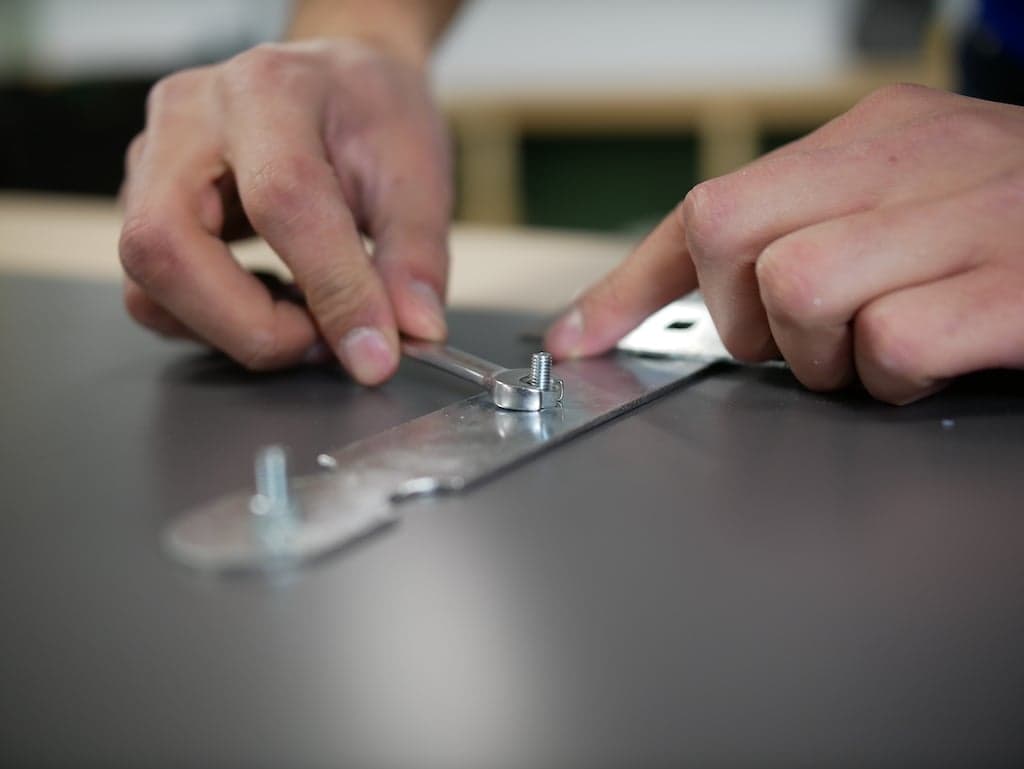
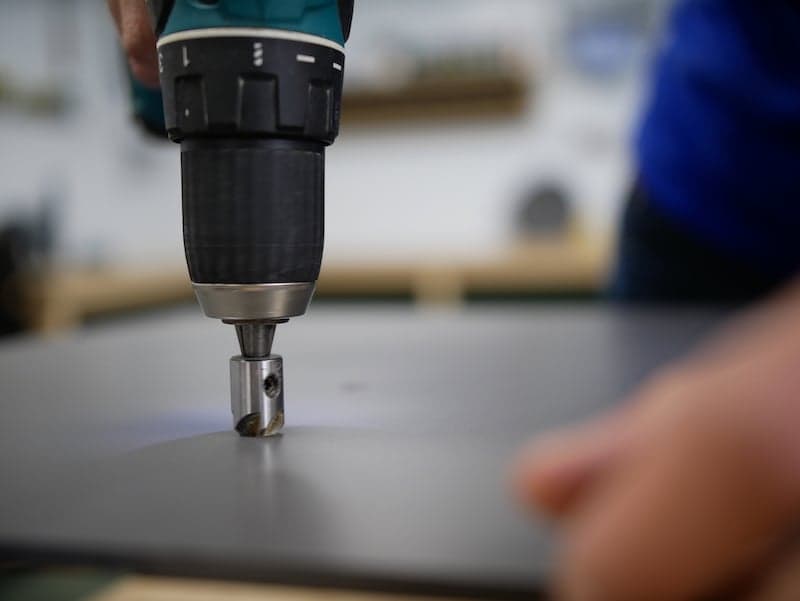
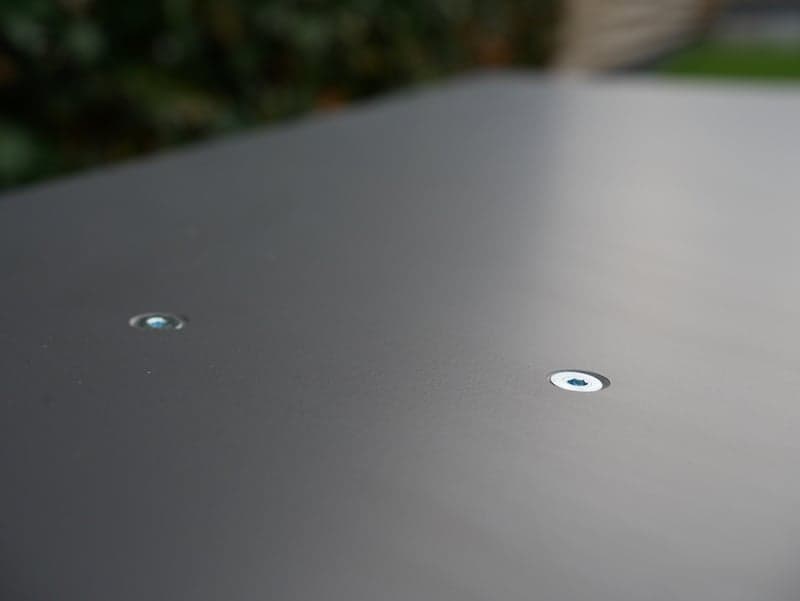
Step 3: Mark where the drill holes will be and fix the HPL sheets
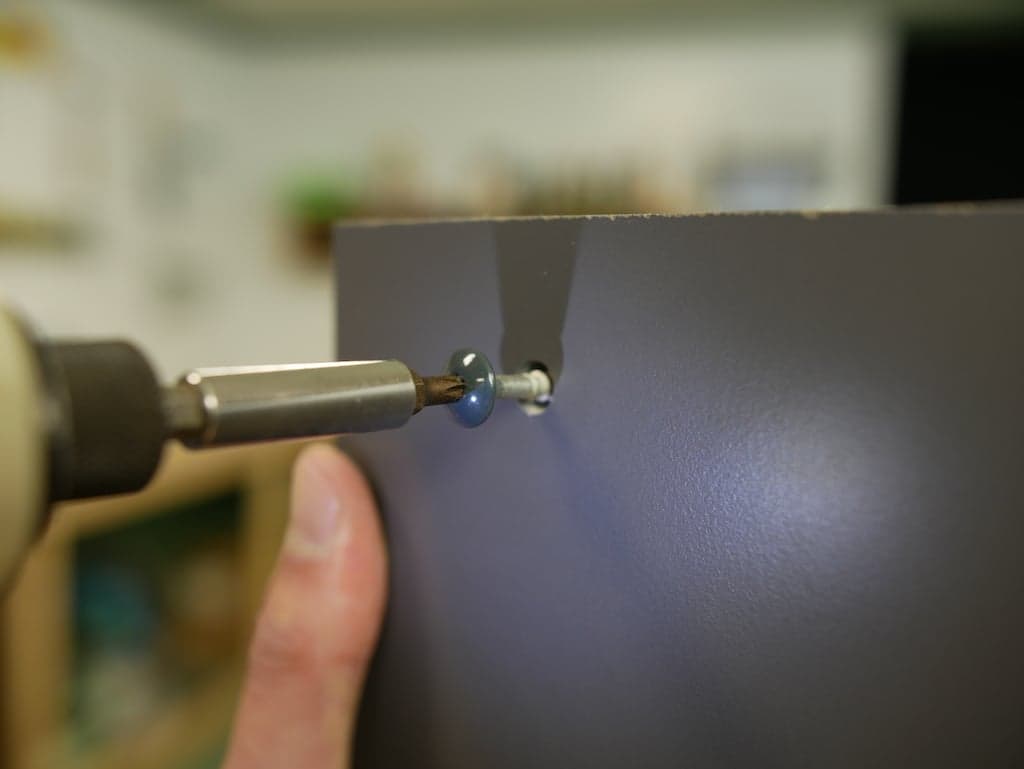
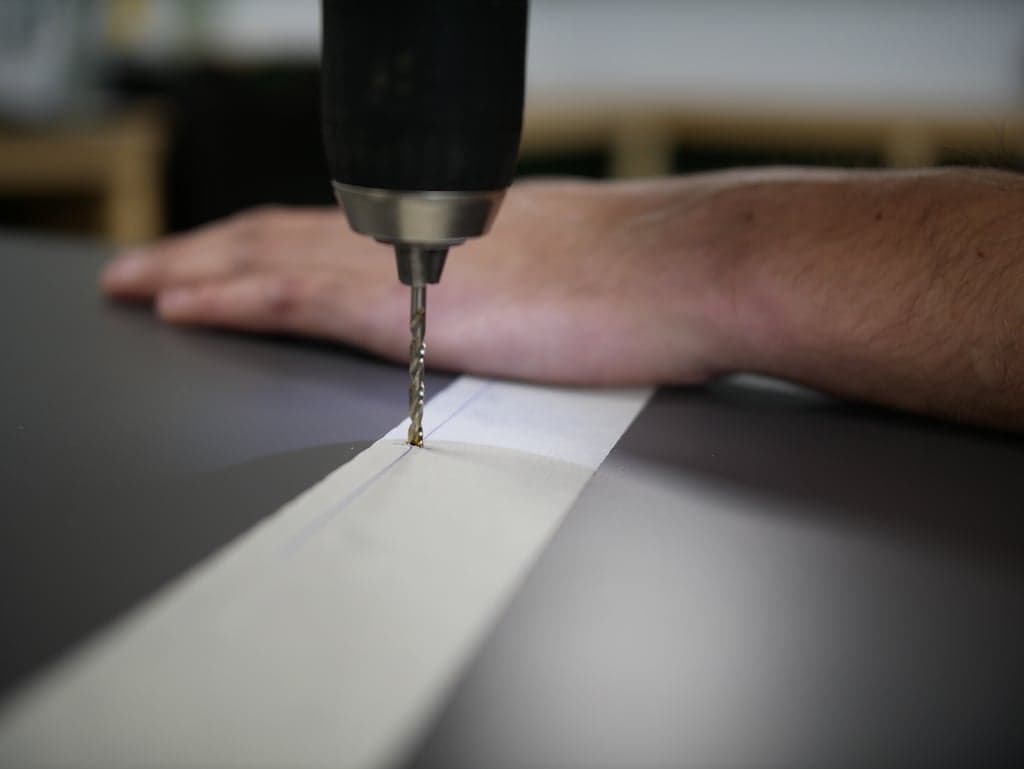
Before assembling the HPL panels, mark out the holes. Use an HPL drill and drill the holes every 25-30 cm. Secure the HPL sheets with special HPL screws. Since our HPL is anthracite in colour, we’re going to assemble the HPL using screws in the matching shade.
Loading...
Loading...
Loading...
Buy HPL sheets online
Have we inspired you to make a DIY parcel drop box yourself? You’ll find everything you need in our webshop, where you can order HPL sheets in a wide range of colours. We’ll saw the sheets for you for free.

More DIY ideas
View our blog where you’ll find lots more fun DIYs using HPL. If you have any questions about this project or our products, please call us on 01223 976701 or send us an email, we’re always happy to help.

Arjen de VosArjen de Vos, a product expert and seasoned DIY specialist, brings a wealth of experience in interior construction to his role at Plasticsheetsshop. With over a decade of expertise in interior design and furniture making, he stands out as a versatile and knowledgeable professional in his field.
Share this article
Updated:
Published: