Intelligent and Stylish 3D Printer Enclosure with Acrylic
Submitted byJan
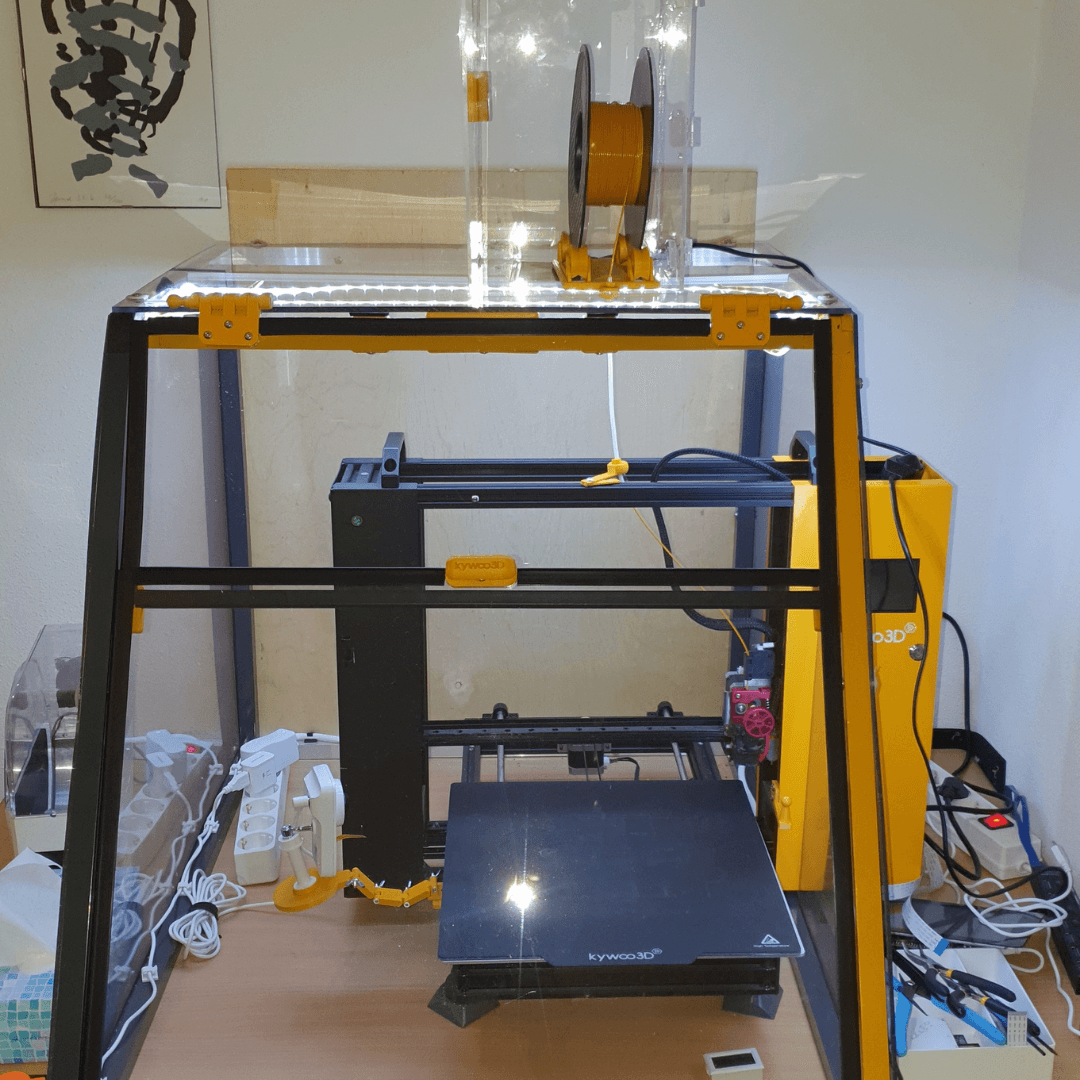
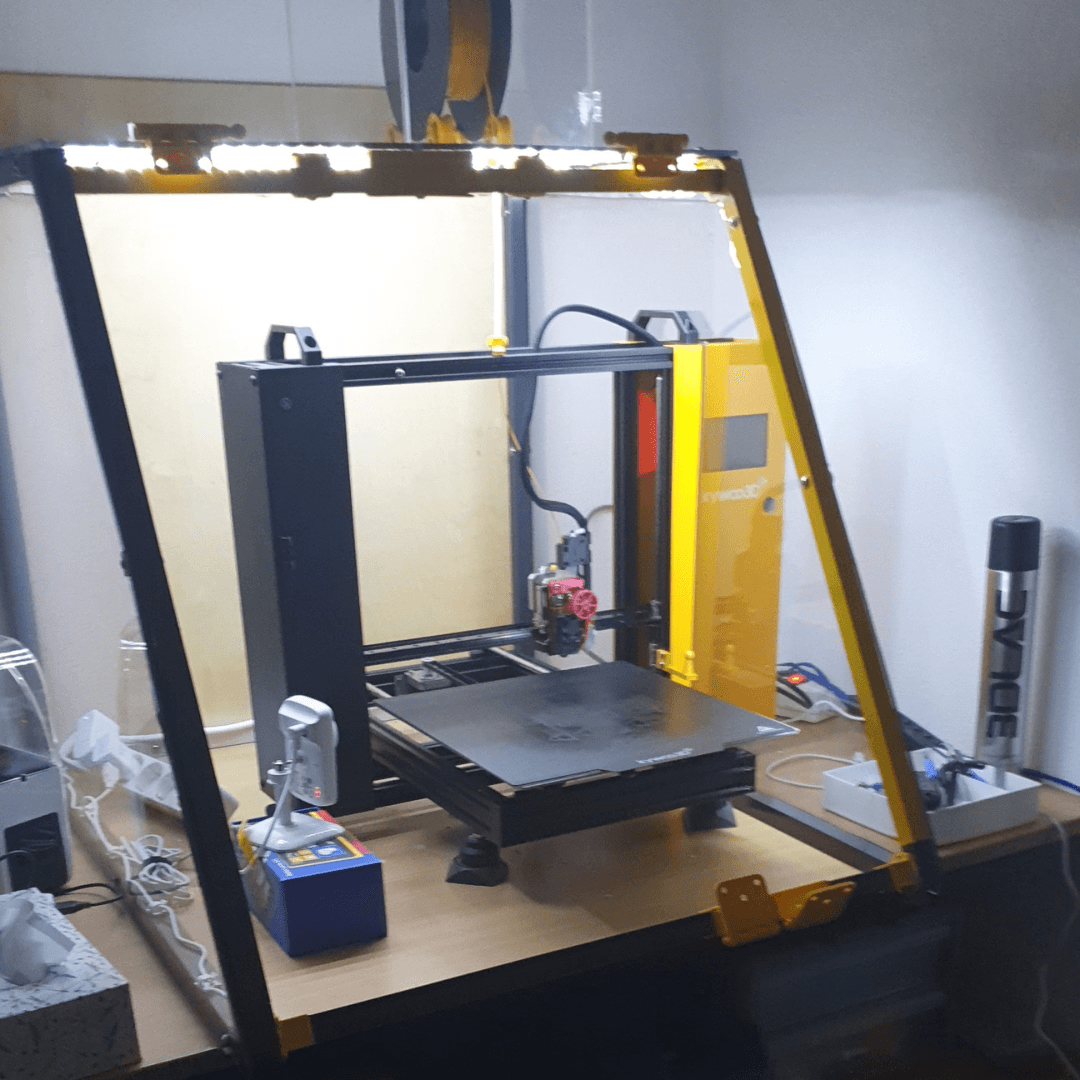
Jan has crafted a clever and stylish enclosure for his 3D printer using transparent acrylic from PlasticSheetsShop. This enclosure helps regulate the temperature regulation better around the printer, resulting in stunning and precise prints. Thanks to the transparent material, you can still admire the printer at work!
The project
Jan aimed to create optimal conditions for his 3D printer, so he opted for an enclosure made from square aluminium tubes and acrylic. The sleek design allows you to see the printer in full operation, while maintaining a well-regulated temperature. Jan shares, “I wanted an attractive enclosure for my 3D printer, while ensuring the surrounding temperature is ideal for the best results.”
Step-by-step guide
1
Assemble
Put together a structure using 20x20 mm aluminium tubes as the base for your enclosure.
2
Order
Order the required acrylic sheets cut to size from PlasticSheetsShop for the side panels.
3
Attach
Attach the acrylic sheets to the outside of the structure.
4
Print all necessary components with the 3D printer, such as hinges and a handle.
5
Craft
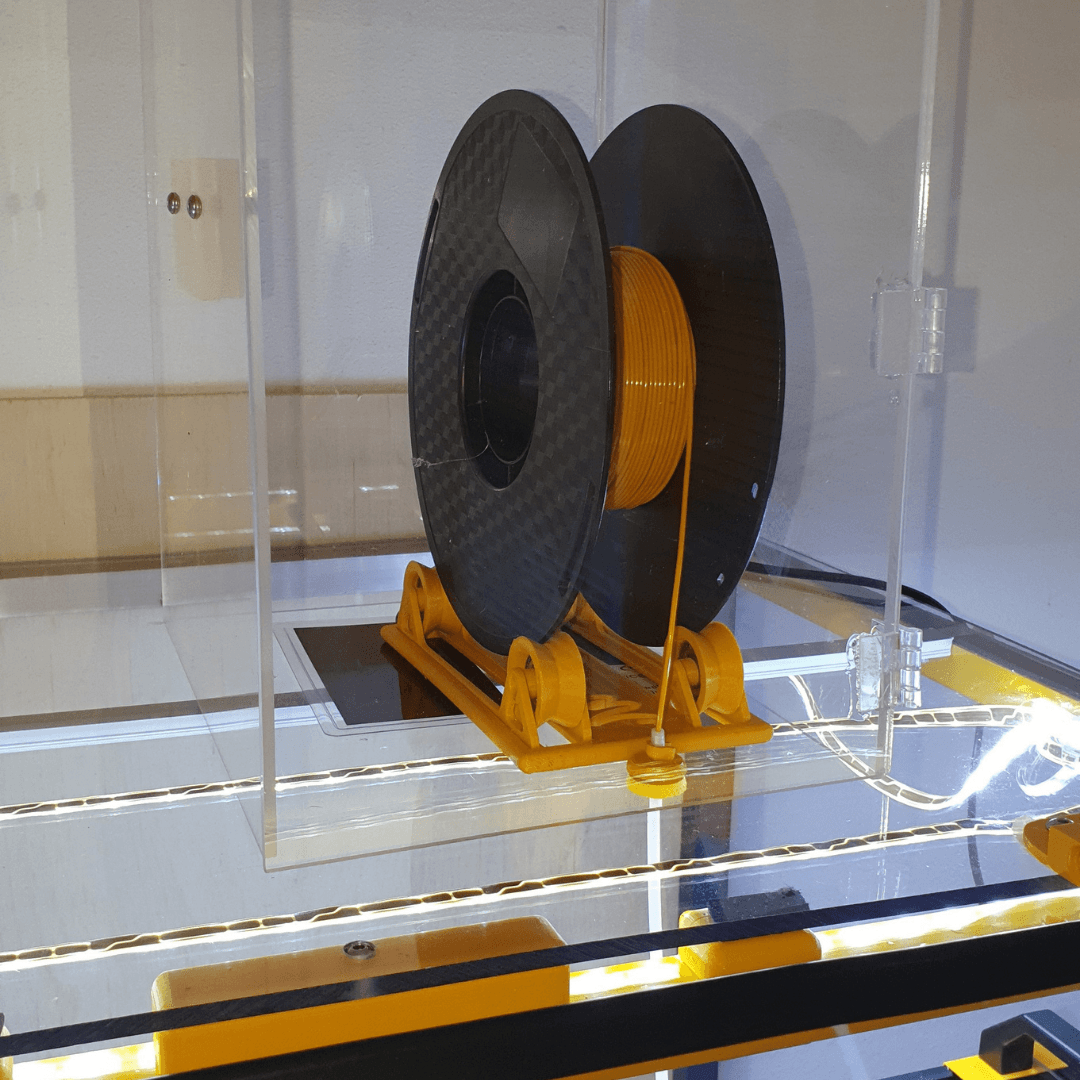
Craft a filament holder to fix on top of the enclosure.
Materials and tools used
Clear extruded (XT) acrylic sheet 4 mm

Clear extruded (XT) acrylic sheet 4 mm
Tools
- 3D printer
Other requirements
- Aluminium tubes 20x20 mm
- Acrylic sheets
- Tube connectors (printed with the 3D printer)
- Hinges for the front panels (printed with the 3D printer)
- Handle (printed with the 3D printer)
Tips from Jan
"3D printing is a time-consuming hobby! However, an enclosure makes printing much simpler."
Tips from Jan
"3D printing is a time-consuming hobby! However, an enclosure makes printing much simpler."
DIY-Awards
Discover more DIY-Awards.


Acrylic glass plaque with oak wooden stand
Acrylic glass plaque with a unique oak stand? Discover the possibilities and get inspired!
Acrylic ring for sleek ceiling design in the bedroom
Yvonne came up with a clever solution for her bedroom. She installed an acrylic ring in the lowered ceiling to …
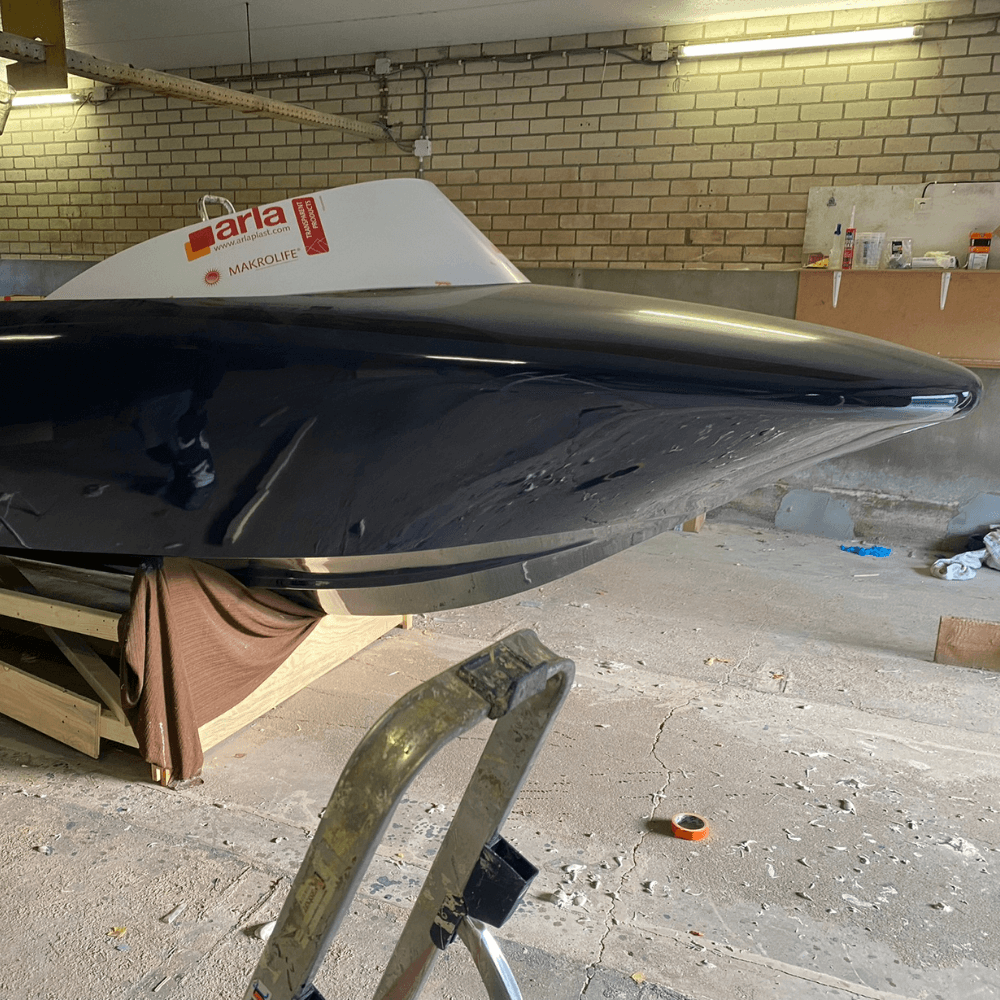
Boat with polycarbonate window
Own boat with polycarbonate window? Read how Jaap built his own boat with a custom-made polycarbonate window.
Acrylic glass plaque with oak wooden stand
Acrylic glass plaque with a unique oak stand? Discover the possibilities and get inspired!
Acrylic ring for sleek ceiling design in the bedroom
Yvonne came up with a clever solution for her bedroom. She installed an acrylic ring in the lowered ceiling to …
Boat with polycarbonate window
Own boat with polycarbonate window? Read how Jaap built his own boat with a custom-made polycarbonate window.
Share this article