Innovative Enclosure for 3D Printer from Acrylic
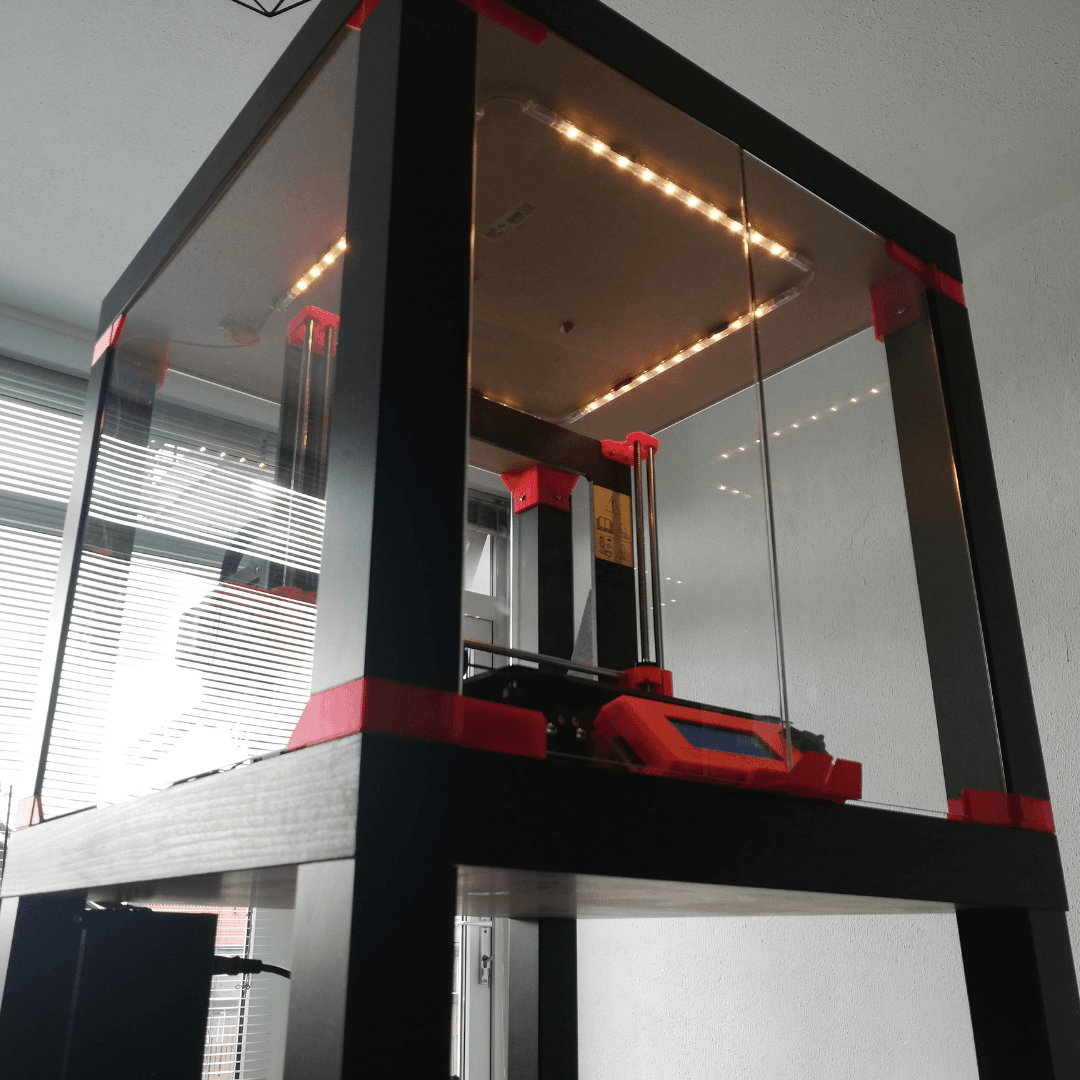
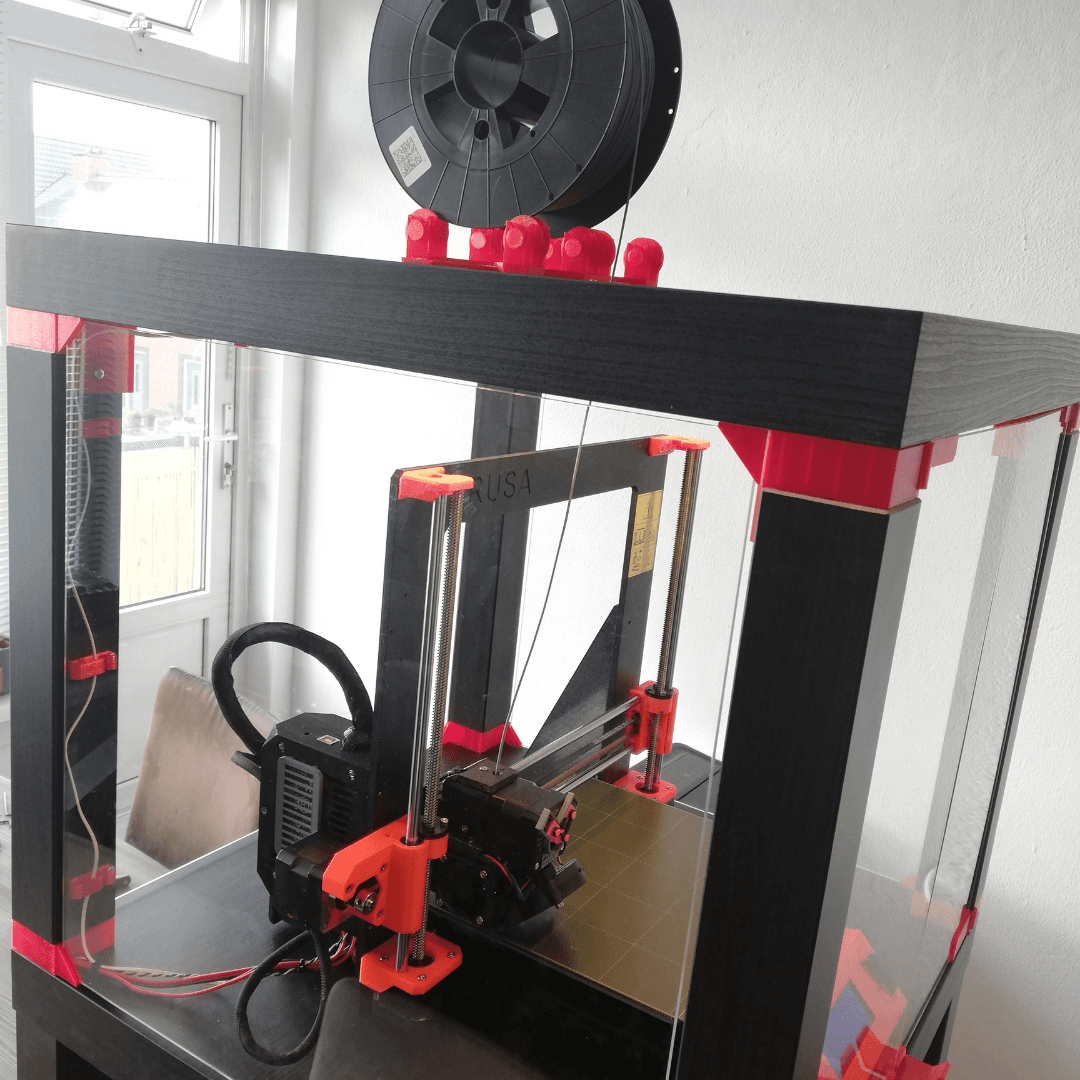
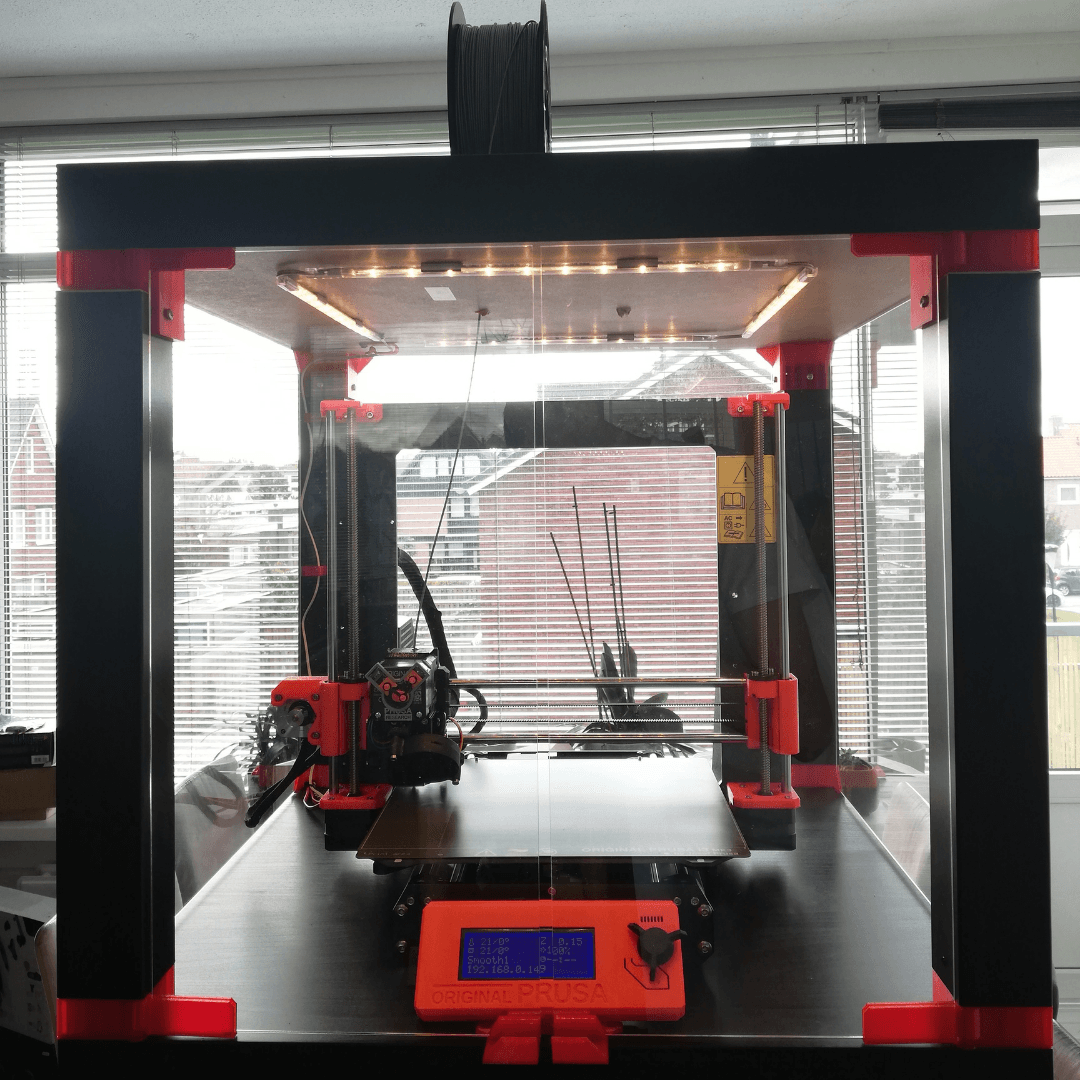

Rikus has ingeniously crafted an enclosure for his 3D printer using acrylic and two IKEA Lack tables. His goal? To create the perfect environment for printing. The setup maintains a stable temperature, mitigates unpleasant odours, and even dampens the noise of the printer. With this enclosure, your 3D prints will only get better!
The Project
Rikus equipped his 3D printer with a practical enclosure by cleverly using IKEA Lack tables and acrylic. He connected the tables with specially designed spacers, which he printed himself on a 3D printer, and attached acrylic panels to create the enclosure. At the front, there are two convenient doors made from acrylic panels and hinges. He fitted LED lighting within the enclosure that switches on as soon as the printer starts. He also crafted a holder on top of the enclosure for the filament spools.
Rikus shared, "I wanted to create an enclosure for my 3D printer using two IKEA Lack tables and specially designed spacers, which I printed myself."
Step-by-step guide
Secure
Place
Install
Cut
Supplies

Tools
- 3D printer
- Screwdriver
- Allen key
Other requirements
- Printable parts (available on various 3D sharing platforms)
- PETG filament
- LED lighting (matching the voltage of the printer)
- White screws
- Magnets to keep the doors closed
DIY-Awards

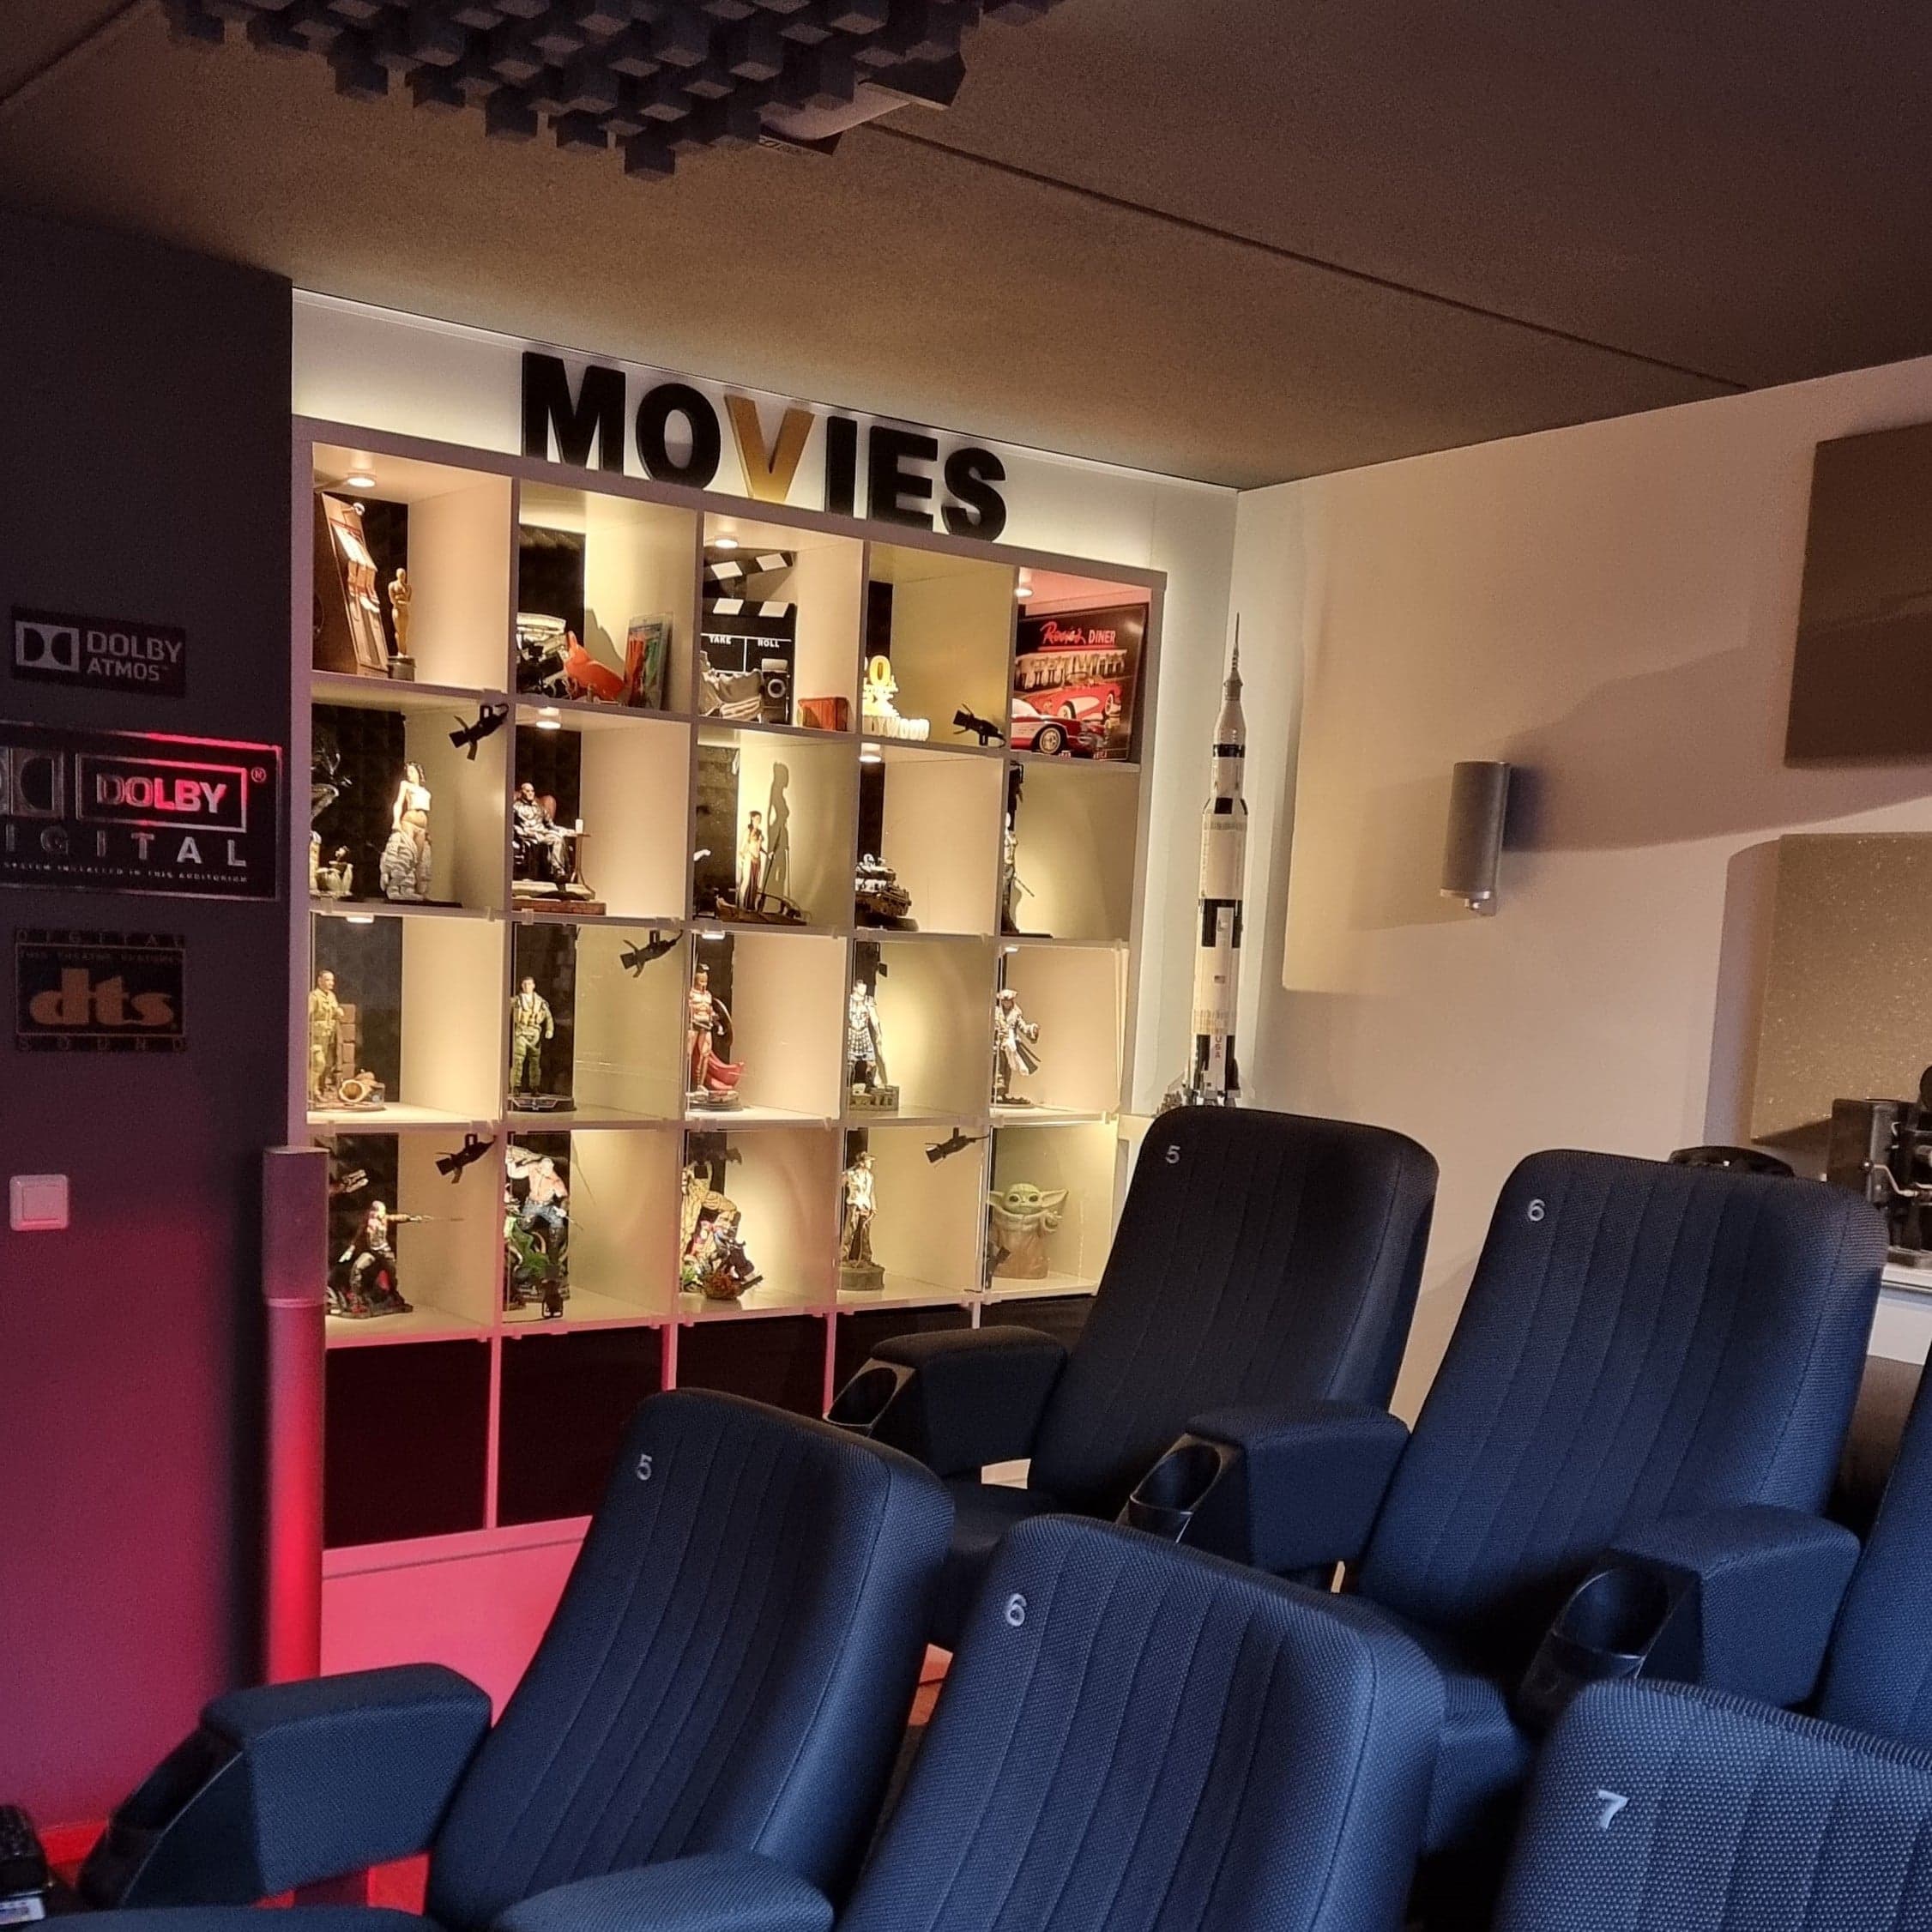
IKEA Kallax Display Cabinet with Acrylic for Movie Miniatures
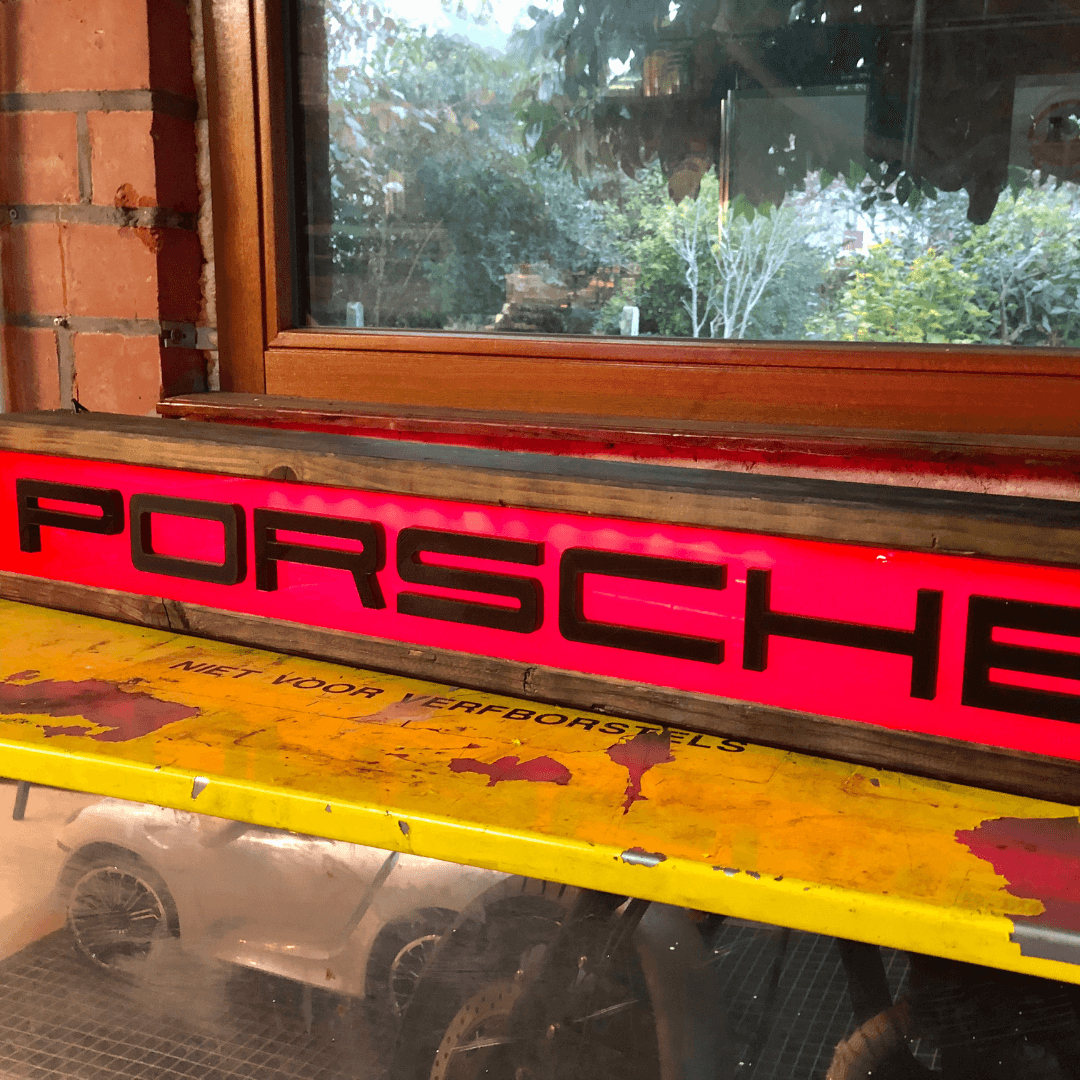
Unique Porsche Light Box with Opal Red Acrylic

Acrylic glass plaque with oak wooden stand
IKEA Kallax Display Cabinet with Acrylic for Movie Miniatures
Unique Porsche Light Box with Opal Red Acrylic