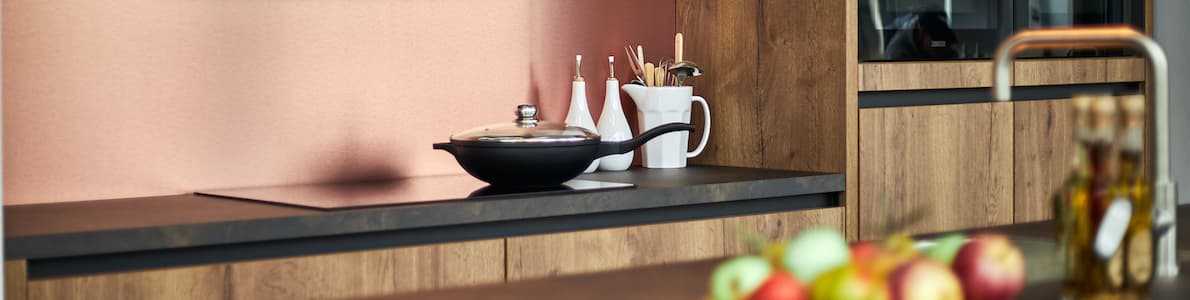
Kitchen backsplash installation

Are you planning to install a DIY kitchen splashback? It’s essential to determine which installation method is most suitable for your kitchen splashback before you start. You have to attach an opaque kitchen backsplash differently from a transparent or semi-transparent panel. This blog gives you tips for installing both an opaque and a transparent DIY kitchen splashback.
To install a kitchen splashback, you’ll need:
The basics of kitchen backsplash installation
It’s easy to fix an opaque kitchen splashback with mounting adhesive. When attaching a transparent or semi-transparent sheet, it’s best to use special spacers. Follow the steps that correspond to the kitchen splashback you’ve chosen.
Step 1: Ensure the surface is clean and flat
Before you get started, the wall on which you’re going to mount the splashback must be clean and flat. If you’re glueing the splashback over old tiles, make sure the surface is entirely free of grease. And remove any old sealant residue before you do anything else.
Step 2: Make cut-outs for the sockets (optional)
At Plasticssheetshop.co.uk, you can order your kitchen splashback with cut-outs for the sockets. All you have to do is upload a DXF file with the correct measurements. If you’re going to mill the socket cut-outs yourself, proceed as follows:
- Measure the position and measurements of the sockets. Measure tightly because it’s always possible to file or sand them.
- Draw the cut-outs on the protective film of the plastic sheet and then apply masking tape.
- Take a metal drill and drill a starting hole in one corner.
- Now you can cut the recess for the socket with a jigsaw or router.
- Check that the recesses are correct and tidy them up where necessary with a file or sandpaper.
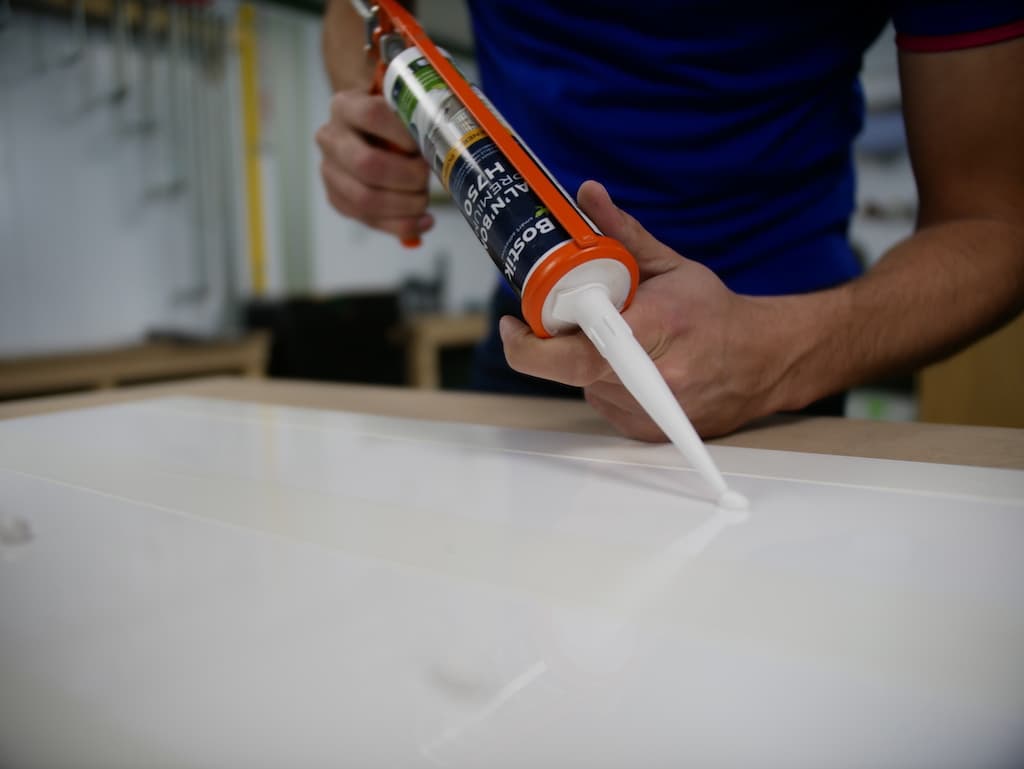
Step 3: Apply sealant to your opaque kitchen splashback
If your kitchen splashback is transparent, skip this step and go on to step 5. Apply stripes and dots of sealant adhesive to the back of the plastic sheet, but not too close to the edges. First, remove the protective foil and clean the sheet with an anti-static cleaner. Is your kitchen splashback an acrylic or Alupanel / Dibond® panel? If so, we recommend using High Tack Premium H980 mounting adhesive. Use Bostik Paneltack mounting adhesive to attach an HPL / Trespa® kitchen splashback.
Step 4: Stick the panel to your kitchen wall
Slide your panel carefully into the correct position, being careful not to scratch the worktop. Don’t press the panel against the sealant straight away, but place it in the right position first. Now press the panel against the wall working from the centre. Let the mounting adhesive cure for 24 hours, and then remove the spacers (if you used them).
Step 5: Drill holes in your (semi-)transparent kitchen backsplash
Have you opted to install a transparent acrylic splashback in your kitchen? Then, of course, it won’t look good if you attach it with mounting adhesive. So instead of mounting glue, use special spacers or panel holders. Do you need a few tips on drilling transparent acrylic sheet? Please have a look at our video explaining how to drill acrylic.
Step 6: Seal your kitchen splashback
Whether you’re installing an opaque or transparent kitchen splashback, you need to seal it to create a neat and watertight finish. Use silicone sealant in the correct colour for this job.
Tip: Do you find it tricky to apply sealant neatly? Apply masking tape to the worktop and bottom of the plastic sheet so that the sealant only goes in the right place.
Would you like to make a kitchen splashback yourself?
In our webshop, you’ll find a wide range of acrylic sheet, Alupanel / Dibond® and HPL / Trespa® and much more. We’ll saw all sheets to size for you in any shape you require. If you have your own design and you would like us to mill your sockets, for example, upload your design via a DXF file. If you have any questions about this blog or any of our products, please don’t hesitate to contact us.