How to make a light box
- Acrylic sheet
- Acrylic sheet for the lamp holder
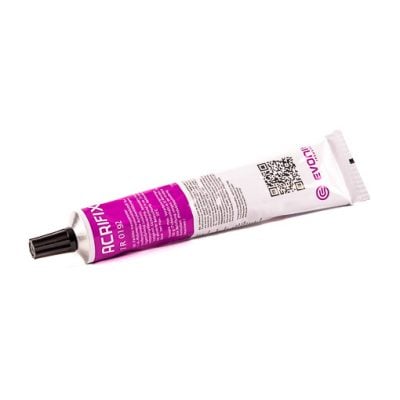
- Acrylic glue Acrifix 192
- Rubber gloves
- Block hook or hooks
- Right-angle support, e.g. one or more bookends
- Roll of wide masking tape
- HSS drill bits 3 and 5 millimetres
- Round hole saw
- Drill
- Plant spray with water
Step 2: Decide on the colour and order the material
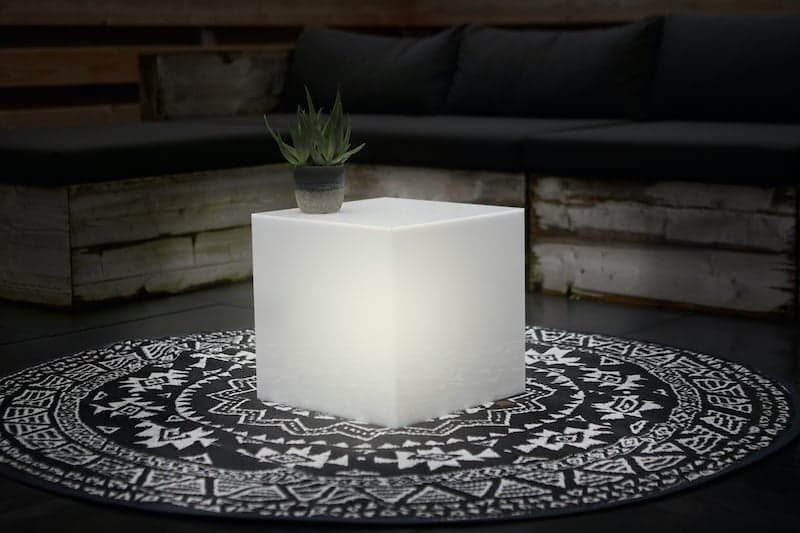
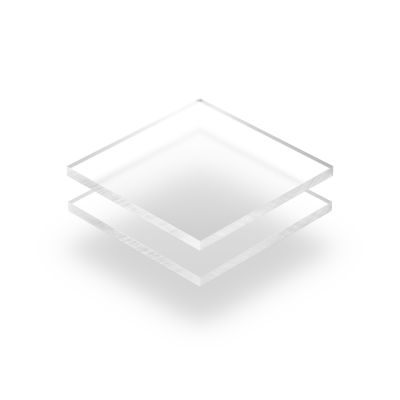
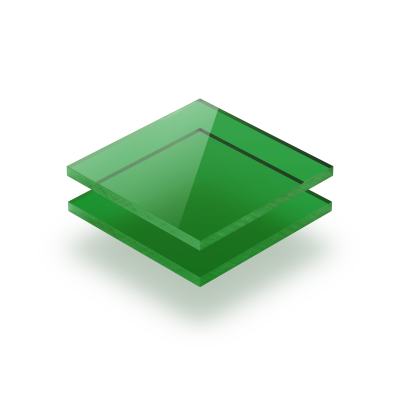
Acrylic sheets are available in different shades and colours. You could choose frosted acrylic, which gives a nice, even distribution of light, or you could opt for crystal clear plexiglass for a high-tech look. Remember, however, that all the glued connections are clearly visible in crystal clear acrylic sheet, so working very neatly is essential (but of course, not impossible). Finally, acrylic is available in several colours; this is particularly effective if you want to make several light cubes. Every corner of the room a different colour! Please note that coloured acrylic sheets are only available in the 3 millimetres sheet thickness. You have to set this off against the sizes. For a cube of 30 x 30 x 30 centimetres, you need to order 2 side walls of 29.4 x 29.7 centimetres and 2 side walls of 30 x 29.7 centimetres. The lampholder is also made from 5 millimetre thick acrylic. For this, you’ll need a strip of 29 .7 centimetre and two short strips of 7 x 7 centimetres. Oh yes, don’t forget to order the acrylic adhesive you require as well!


Step 3: Good preparation leads to a perfect result!
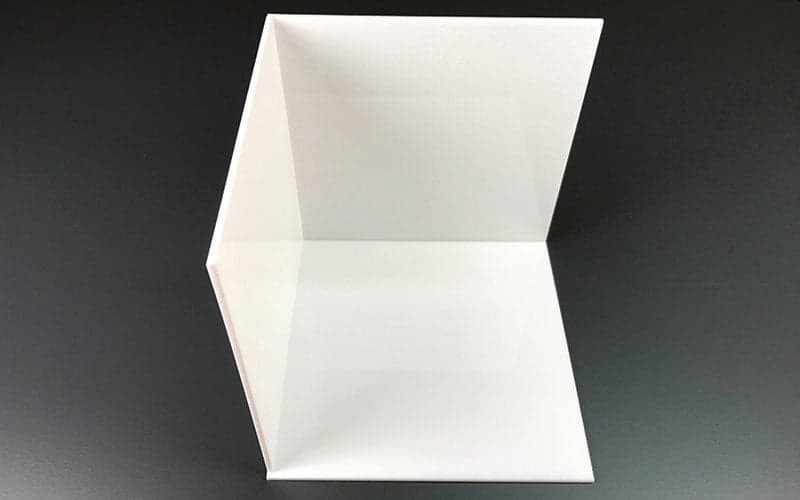
To make a perfectly shaped light cube, you only need a few simple tools. A block hook is essential and a few bookends also come in handy. To begin with, you take a short and a long side wall. From both pieces, remove the foil on one side, these sides will be on the inside. Lay the long side wall flat on your workbench (or table) and apply the Acrifix adhesive to the end of the side wall.
NB(1): Always wear rubber gloves when gluing and ensure adequate ventilation.
NB(2): The glue is very runny, so first practice spreading the glue on a piece of cardboard!
Then place the top piece (with the glue) on the long side wall, and using the book support and the block hook, position the short side wall perfectly perpendicular to the long side wall. Let it stand for 20 minutes, during which time the adhesive will harden. The bonding of acrylic is a kind of welding process, both parts melt together and cannot be disassembled without breaking. Take your time to place both sides perfectly.
While the first adhesive bond is curing, drill a hole for the cable in the second short sidewall. The borehole comes exactly in the middle, at the bottom. Stick a piece of masking tape on the spot where you mark the hole and drill. The centre point of the borehole is 15 millimetres from the edge. If you drill closer to the edge, there is a chance that the hole will tear. Drill the hole first with a 3 millimetre drill bit, followed by a 5 millimetre drill. When drilling, lay the plate on a piece of wood which the drill can run into.
After the first side wall has been glued, place the second short side wall. You glue this onto the long side in the same way. Only when this second glued connection has hardened, place the second long side wall on top of the whole.
Finally, you can set the cube down on all four sides. Now you can apply the top plate. Place the Acrifix on the ends of the cube and place the top plate. Don’t forget to remove the foil on one side! Using the masking tape, hold the top plate in place. If you want, you can place a weight on the top plate during curing.