DIY: Acrylic menu holder

Are you looking for a stylish, contemporary way to present your restaurant menu? Why not make a DIY acrylic menu holder using acrylic sheets and spacers so that your menu looks as if it’s floating on the wall. This playful effect is sure to be a real talking point and even better, a plastic menu holder is very cheap and easy to make yourself.
You’ll need
- Clear cast (GS) acrylic sheet 4 mm
- Stainless steel spacer (4 pieces)
- Masking tape
- Drilling machine
- Wooden board
- Fixxerss Plastic UV Glue
- Menu
Step 1: Order the acrylic sheets for your wall-mounted menu holder
First, decide how many menu holders you want to make and order the correct number of acrylic sheets in our webshop. We saw the sheets to the size you require for free. For this DIY project, opt for clear, moulded acrylic with a thickness of 4 mm. The measurements will naturally depend on the size of your menu. Allow for a border of 1/4 times the height of the menu card. You’ll also find the spacers you need in our webshop.
Step 2: Marking the position of the drill holes
To make sure that you drill in exactly the right place, first mark the drill holes. First, stick on a piece of masking tape: this will stop the drill from slipping. The protective film should be left in place on the acrylic sheet to prevent it from being damaged. Mark the drill holes at a distance of 1.5 mm from the edge to prevent the acrylic breaking in the future.
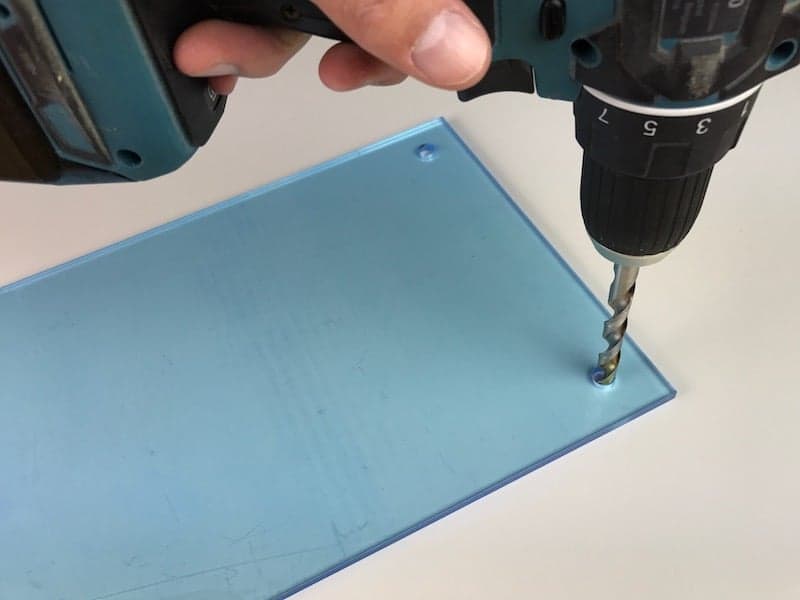
Step 3: Drill holes in the acrylic sheet
Place the acrylic on a solid surface into which the drill can run, such as a piece of wood. If you’re using the spacers from our webshop, the hole must be 10 mm. Drill the hole in two steps: drill a 5 mm hole first and then a 10 mm hole.
Step 4: Drill holes in the wall
Of course, you also have to drill holes in the wall. Calculate where to drill the holes based on the measurements of the acrylic sheet and the position of the holes you’ve drilled in it. Drill four x 5mm wide holes in the wall. Insert the plugs and screw in the bottom of the spacers.
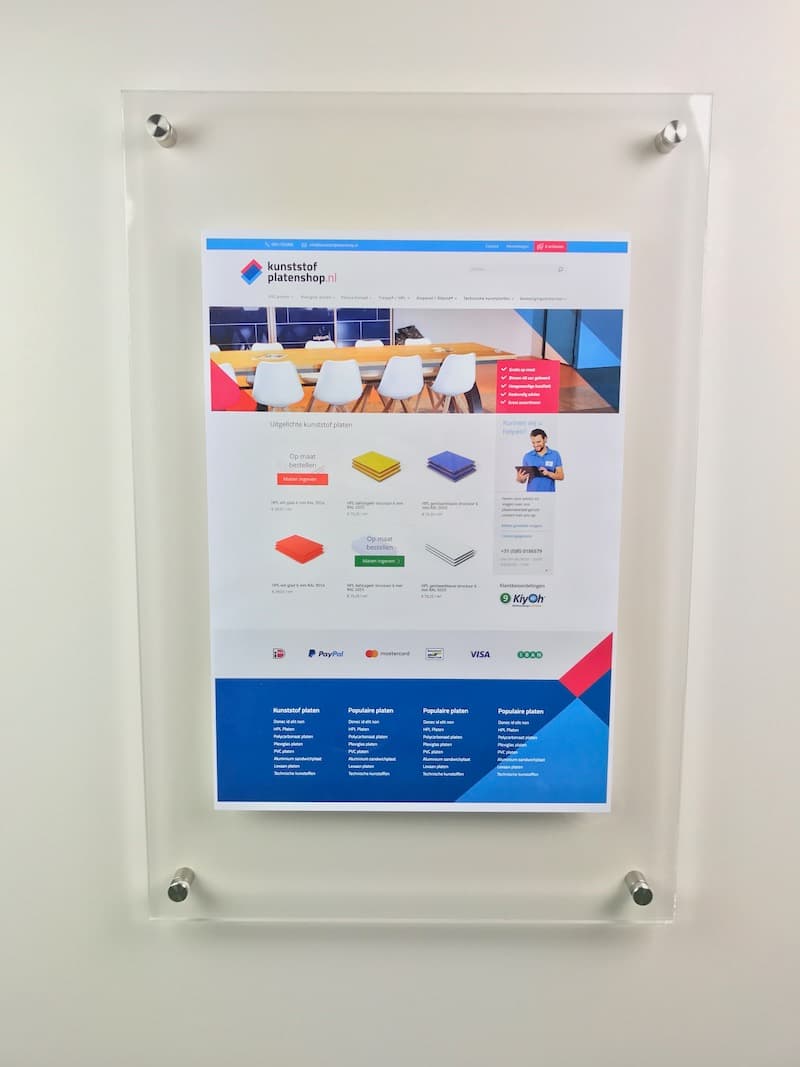
Step 5: Glueing the menu card
Attach the menu card to the acrylic by glueing the printed side onto the sheet. Stick glue dots on the corners and edges of your menu.
Step 6: Attaching the plastic menu holder
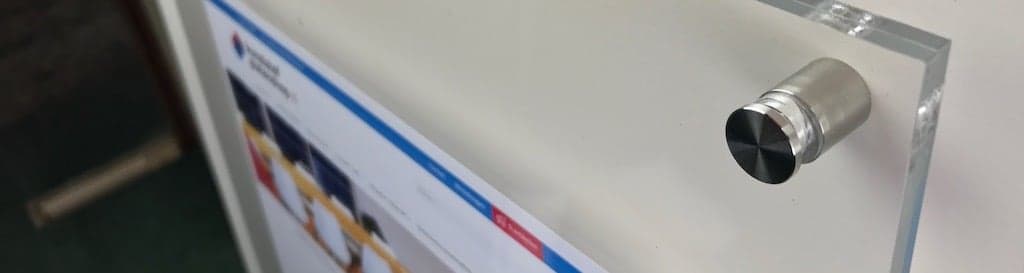
Now you’re ready to attach the perspex menu holder to the wall. Place the acrylic against the wall holders and loosely turn the spacer heads against the sheet. You can now remove the film protecting the front of the frame and carefully tighten the spacers.
Order acrylic sheet cut to size
Inspired to make a DIY floating menu holder from acrylic sheet? Order everything you need for this project in our webshop. We’ll saw the acrylic sheets to size for you for free.
Other blogs you may be interested in