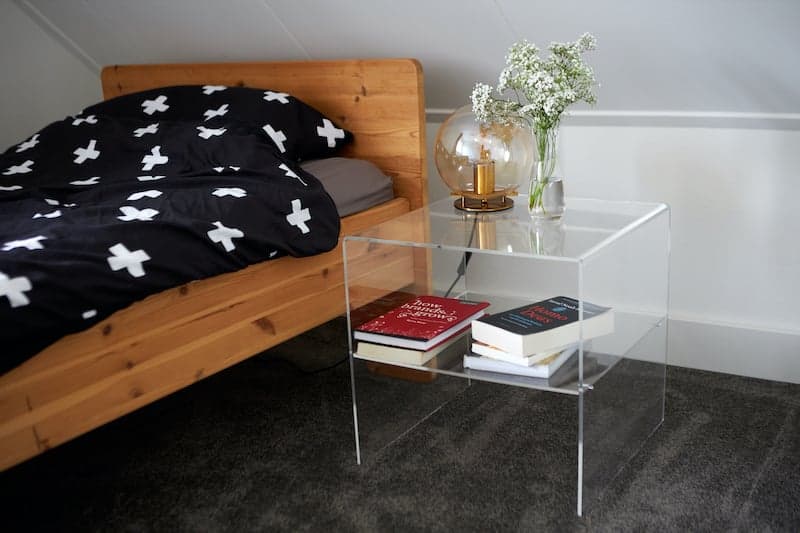
DIY acrylic bedside table

A perspex bedside table gives your bedroom a subtle, minimalist look. For smaller bedrooms, a transparent bedside table gives the illusion of more space. And the best thing about a plastic bedside table is that you can quickly and cheaply make it yourself from acrylic sheet. In this DIY, we’re going to explain how to do this in just three simple steps.
Requirements for a transparent bedside table
- Clear cast (GS) acrylic sheet 6 mm
- 4 shelf supports
- Heat spiral or electric paint stripper
- Drill
- Masking tape
The basis for your acrylic cabinet
In this demonstration, we’re going to explain how to make a transparent bedside table from acrylic sheet with measurements of 60 cm high x 45 cm wide. You’ll need two clear acrylic sheets with a thickness of 6 mm. For the main part of the bedside table, the dimensions are 165 cm x 45 cm and for the shelf, a panel of 45 cm x 45 cm. You’ll find the shelf supports in your local hardware store. Since you’re going to bend the acrylic, you’ll need a heating coil or hairdryer. If you prefer a table without a shelf, then you only have to order the panel for the bedside table.
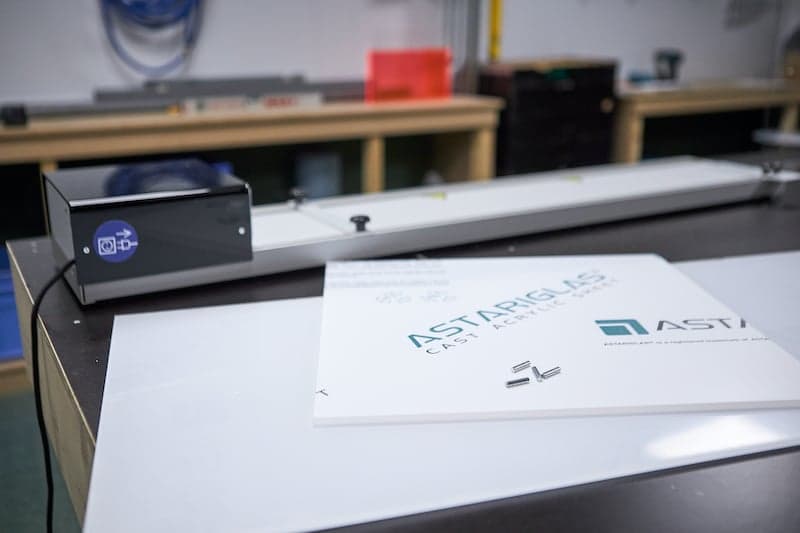
Step 1: Order the acrylic for your transparent bedside table
Of course, before you can start making your perspex bedside table, you need some material. Order the acrylic sheet in our webshop, and we’ll cut the panels to size for you free of charge. All you have to do is bend the acrylic and drill a few holes for the shelf supports.
Step 2: Heat and bend the acrylic sheet in the right place.
To create the left and right sides of your perspex cabinet, you’re going to bend the acrylic. Draw the lines you are going to bend on some masking tape. Draw the lines on both sides at a distance of 60 cm from the edge. This means that the top of your bedside table will be 45 cm wide. It’s best to use a heat spiral to bend acrylic because it heats more precisely than a paint dryer. The smaller the surface that you heat, the sharper the fold line, and a neater finish for your bedside cabinet. What to do if you don’t have a heating coil and are working with a hairdryer? We recommend that you protect the parts of the panel that you don’t want to bend with a piece of wood, so that you still create a sharp angle.
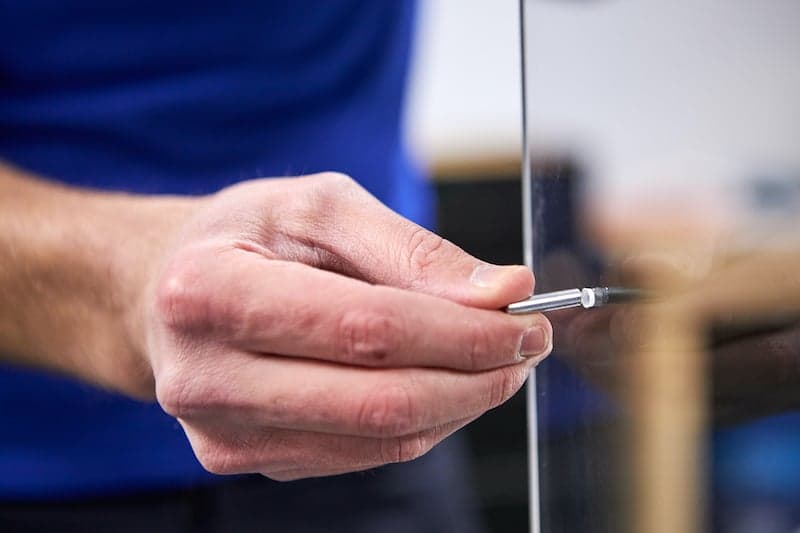
Step 3: Place the shelf in your perspex bedside table
Before you can fix the shelf in your plastic bedside table, drill four holes for placing the shelf supports. Mark the position of the holes on masking tape and drill them using a 5mm drill. Then insert four shelf supports in them and slide your transparent shelf into place. Et voila, your stylish new acrylic bedside cabinet is ready to use!
Tip: Clean your plastic bedside table regularly with an anti-static cleaner. This prevents it from attracting dust, and it will stay looking beautiful longer.
Buying acrylic sheet to make a transparent bedside table
Has our blog inspired you to make a transparent bedside table yourself? In our webshop, you’ll find a wide range of clear acrylic, tinted perspex and coloured acrylic sheet in various thicknesses. We’ll saw all the sheets to the size you need free of charge and ensure that your order gets to you as soon as possible. Not sure about which thickness you need? Please consult our free thickness aid.


Other blogs you may be interested in

