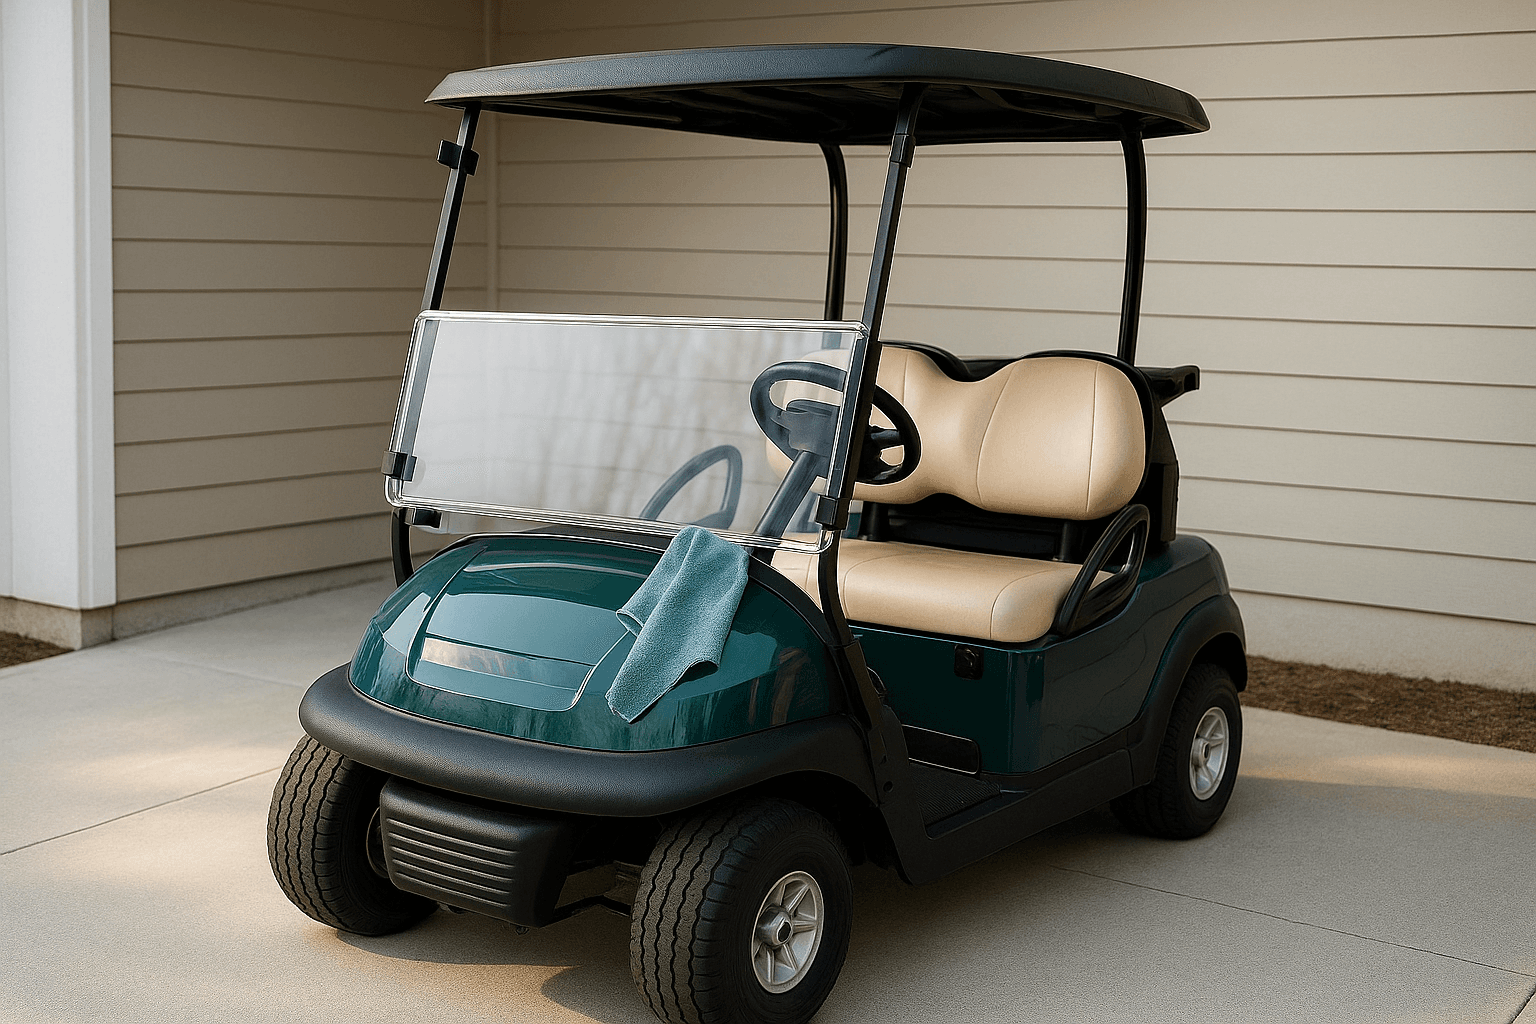
Replacing a window in a golf cart yourself

At PlasticSheetsShop, we understand that replacing a window in a golf cart yourself can truly make a difference. It looks better and functions perfectly. With this step-by-step guide, you can achieve your goal. Even if you have little DIY experience, materials like acrylic or polycarbonate can help you achieve excellent results. We’ll guide you step-by-step to ensure you’re well-prepared and have everything you need to put together a clean and secure new window.
Supplies

Tools
- Window rubber (if required)
- Nylon washers
- Anti-static cleaner
- Lint-free cloth
- Screwdriver
- Work gloves
1) Assemble all supplies
When you start this task, ensure you have everything you need to hand. It’s important to first identify the type of window on your golf cart. Carefully observe how the window is mounted – often with white screws in holders or clamped in a frame – and whether window rubbers are required. Check if these rubbers need replacing. Good planning is essential to avoid surprises during the project. For curved windows, it might be handy to read about bending acrylic or polycarbonate beforehand.
2) Remove the old window
Next, it’s time to tackle the removal of the old window. Gently loosen the screws or other fixtures with a screwdriver. This is where work gloves come in for some extra protection. Carefully remove the old window. Pay attention to the window rubber; if it's worn or damaged, replace it. Damaged rubbers can cause issues when installing the new window, so be meticulous in checking them.
3) Order and prepare for the new window
Now, it's time to order and prepare for the new window. Precisely measure the window opening. Allow 3 mm clearance for expansion if fitting in a frame. Order a customised plastic sheet using our sheet calculator. Opt for polycarbonate for durability, or tinted material for sun protection. Upon delivery, ensure the size is correct. Test whether the window fits in the frame first, as this will make the installation smoother.
4) Install the new window
Finally, it’s time to install the new window. Remove the protective film before starting. Place the window into the frame, ensuring everything fits perfectly. Use nylon washers when screwing to prevent the plastic from cracking. Once the window is securely fastened, give it a thorough clean. Use an anti-static cleaner and a lint-free cloth for a clear and streak-free finish. Your golf cart will look good as new!
Tips & Tricks
Consider opting for tinted acrylic or polycarbonate when choosing the material. It reduces glare on sunny days, which can be very handy. For maximum durability, polycarbonate is your best choice. It's practically unbreakable and offers excellent protection in the conditions of a golf course.
Choose quality with PlasticSheetsShop!
Ready to roll up your sleeves and replace your golf cart window? At PlasticSheetsShop, you’ll find a wide range of top-quality plastics. Choose from acrylic or polycarbonate, fully customised to your specifications. With our precise laser cutting techniques, we guarantee a perfect fit down to the millimetre. Order today and enjoy our fast delivery and premium quality materials.
Frequently Asked Questions


