How to Install Wall Panels

How to install wall panels: Your simple guide Installing wall panels is a fantastic way to give your space a fresh new look. The best part? You can put them together all by yourself, no matter if you’re handy or not. We’ll help you through the process of installing wall panels without finishing profiles—from measuring your wall panels to the final polish.
What you’ll need
Tools
- Putty knife (to remove old silicone lines)
- Tape measure
Other requirements
- Silicone sealant
- Degreaser/ammonia
- Plastic cleaner
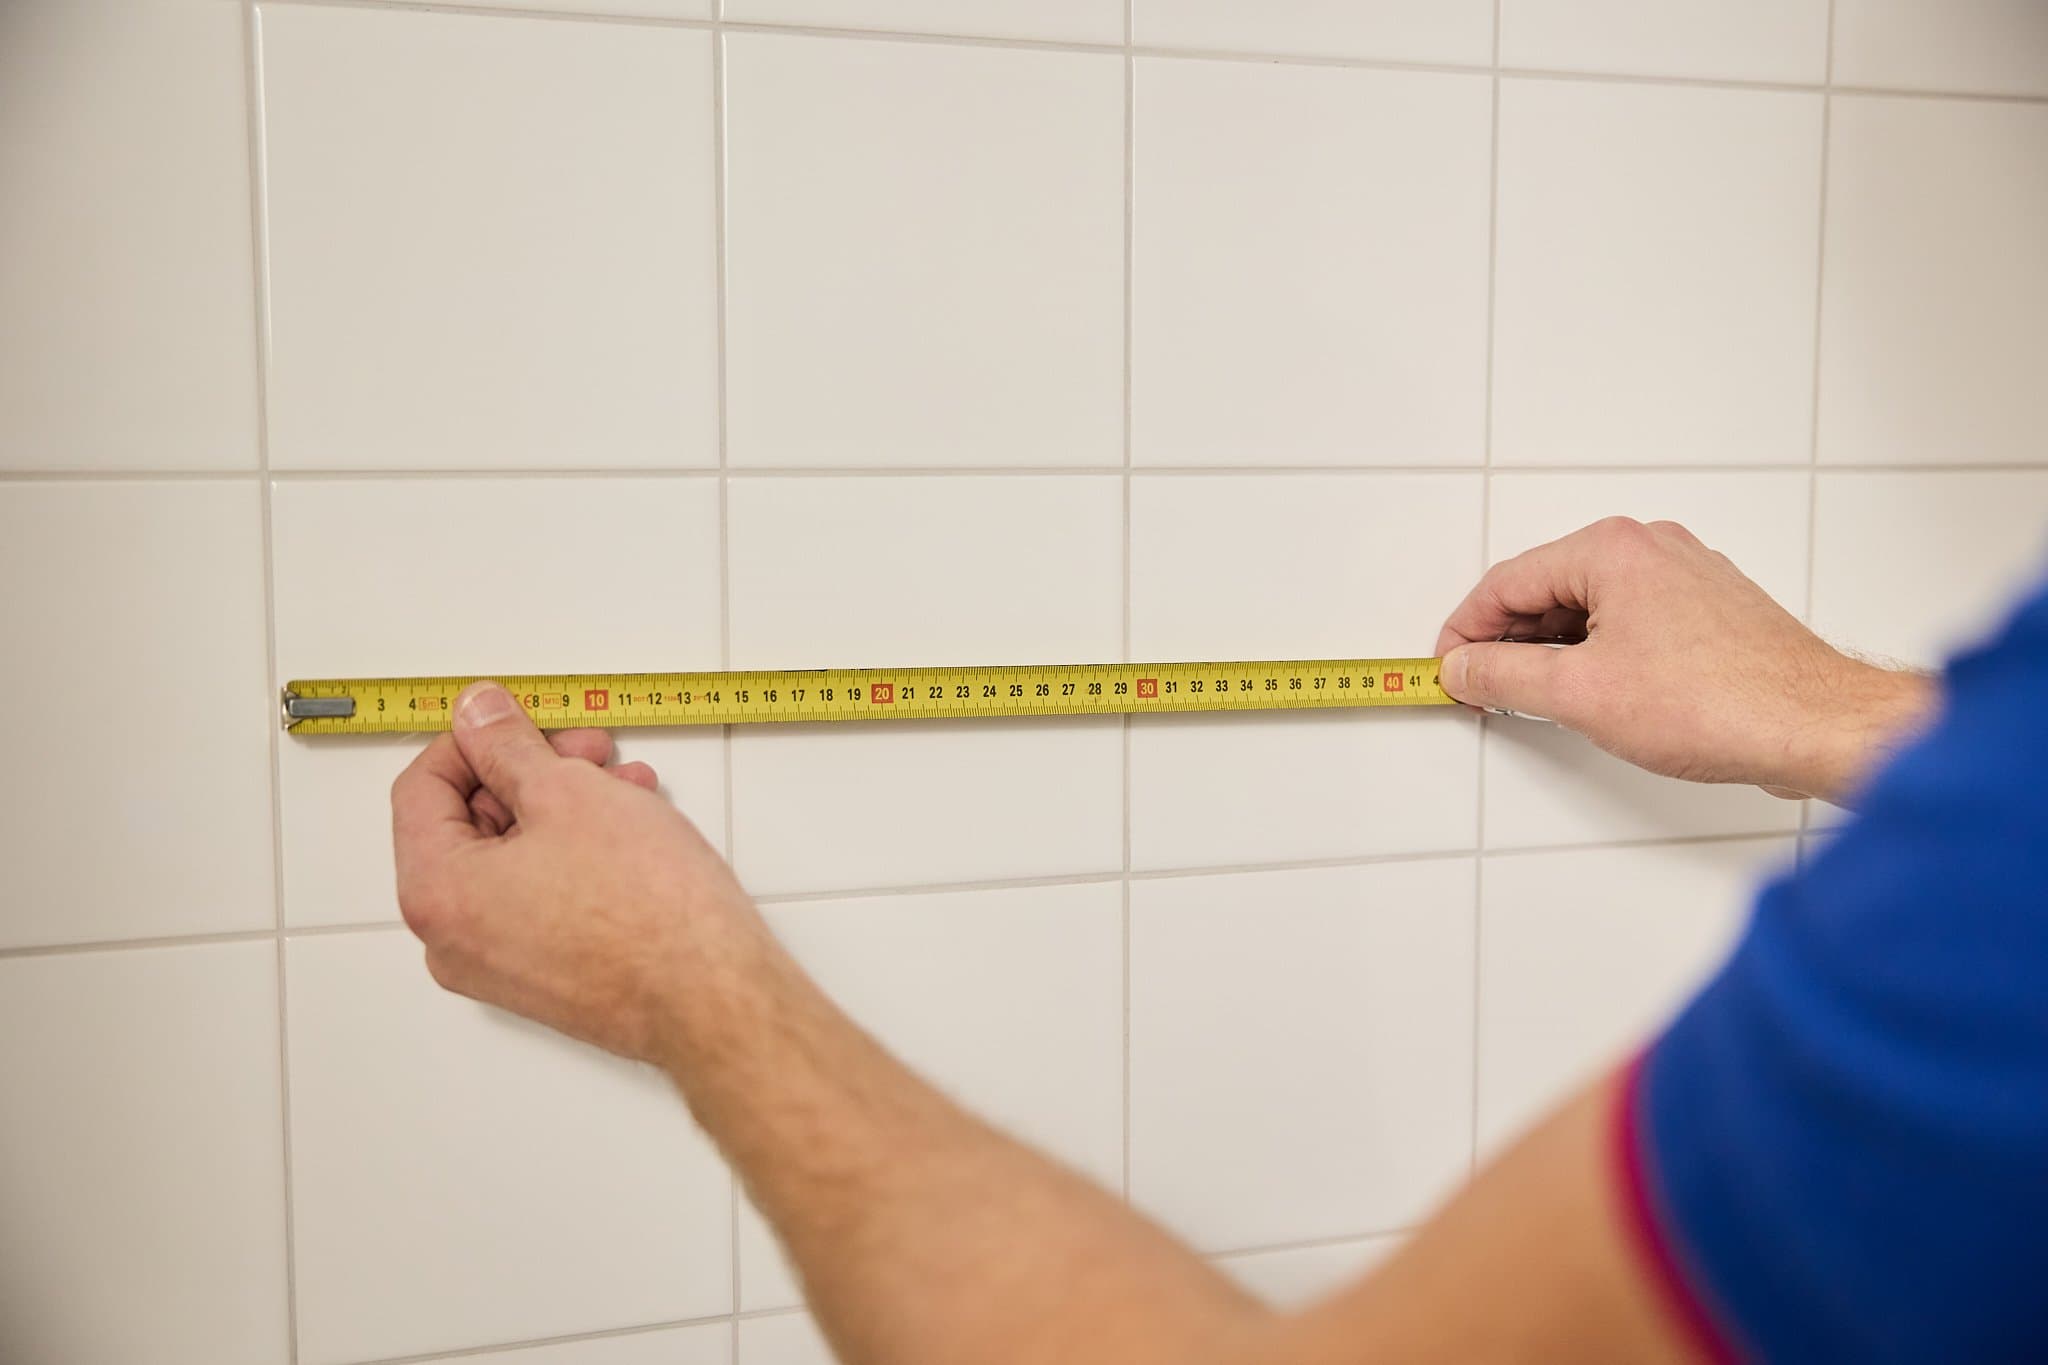
1) Determine sizes
Write down the correct size for your wall panels using our measuring instructions. Always allow for a 3 mm gap between all panels, walls, ceiling, and floor or shower tray. We suggest ordering a wall panel with pre-drilled cut-outs for fixtures like sockets or taps.
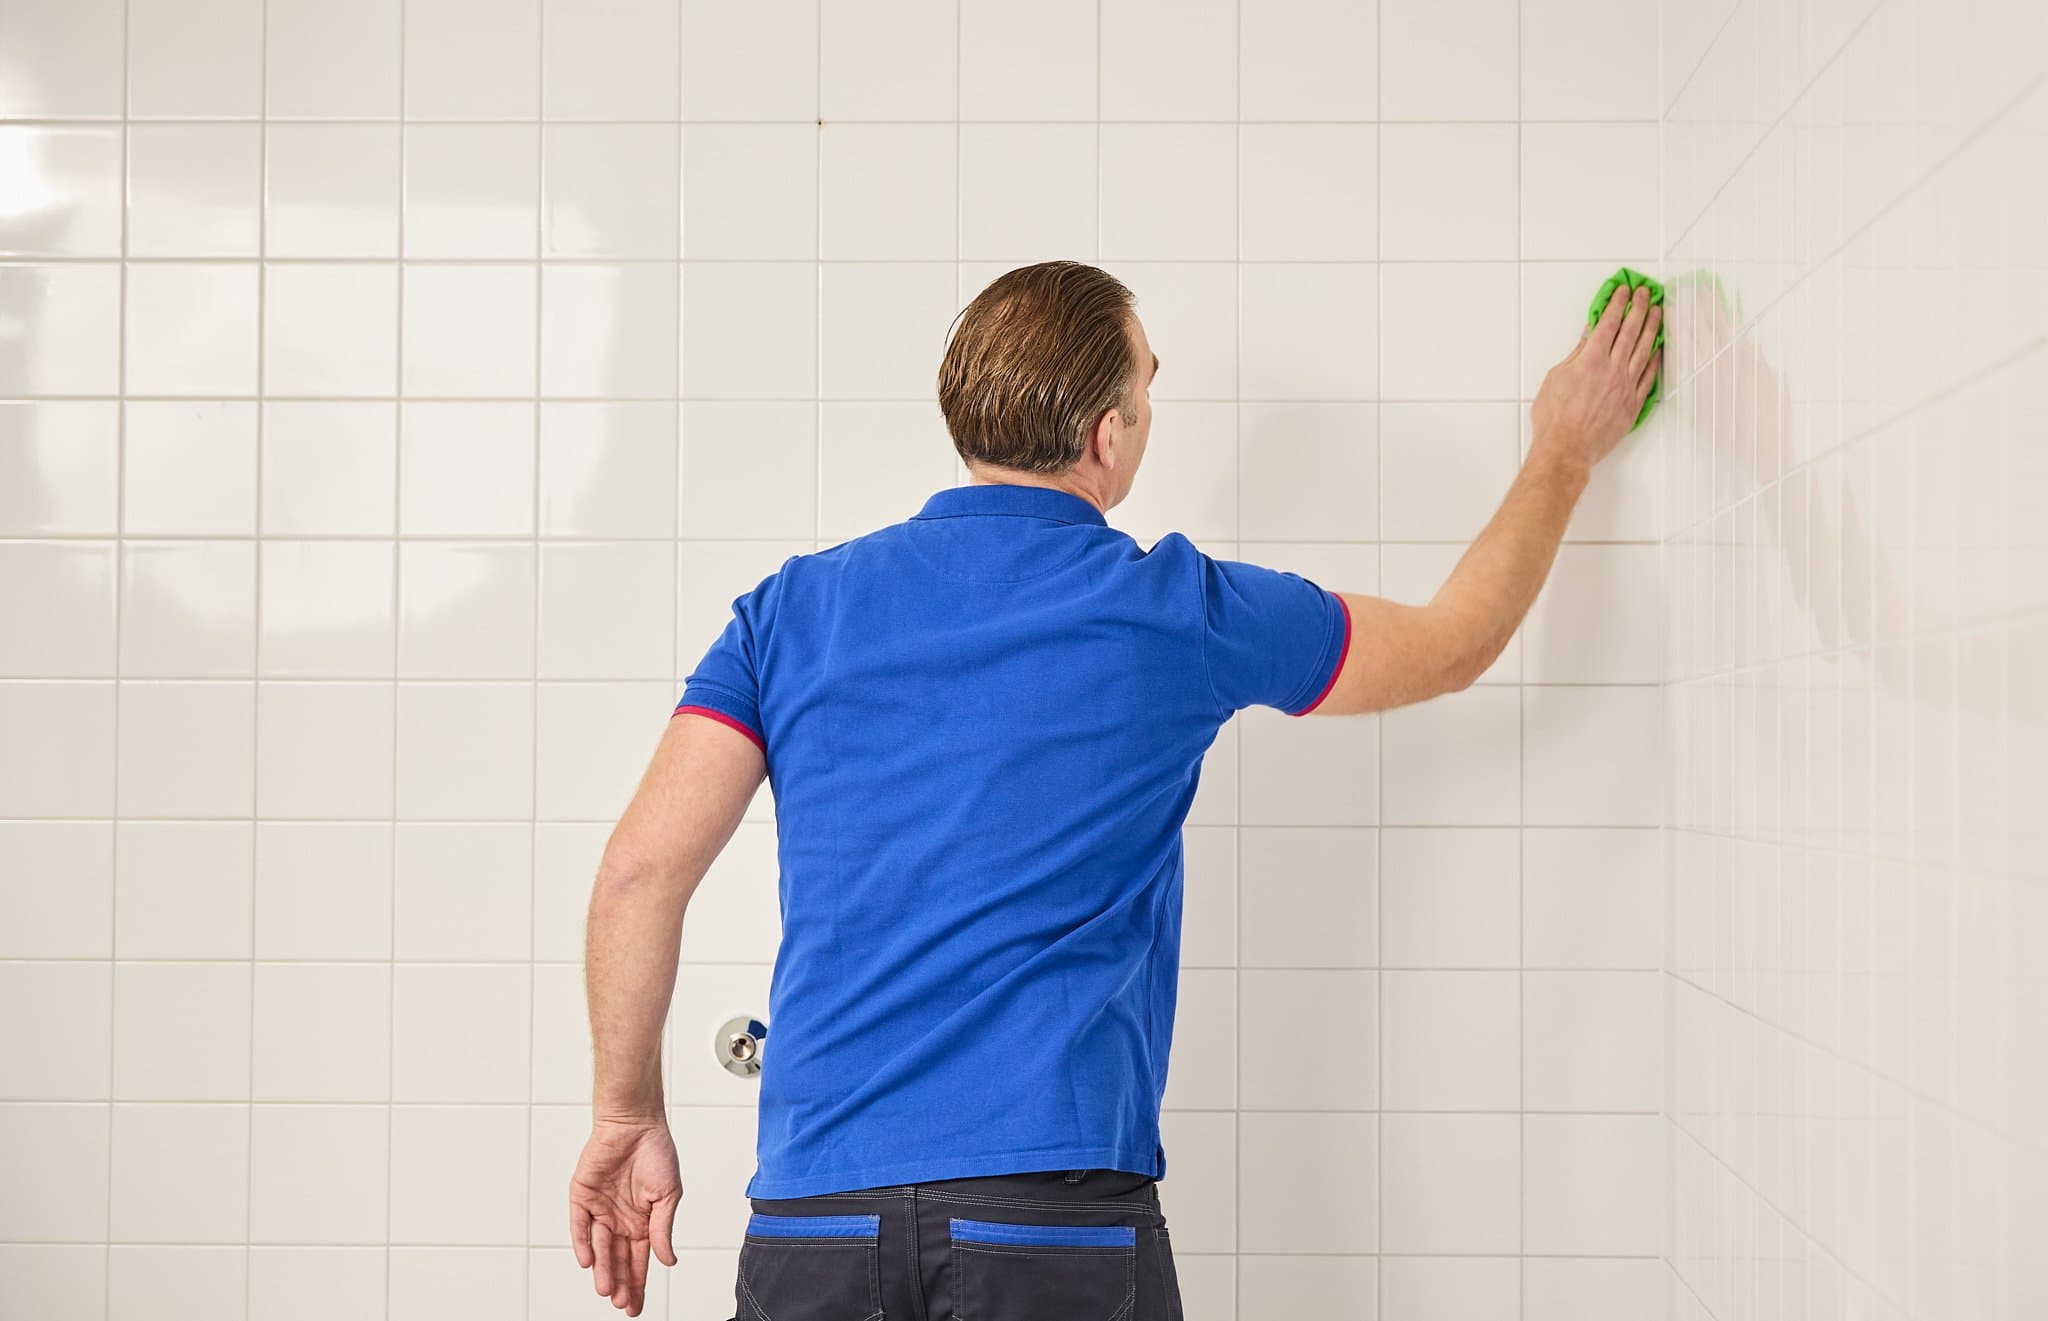
2) Smooth and degrease
Good preparation is half the hard work. Make sure your walls are smooth, clean, and free of grease. You can use a special wall degreaser or just water with a bit of ammonia. Remove any old silicone lines with a putty knife, the showerhead, and other attachments before you get going, so you have flat walls to work with.
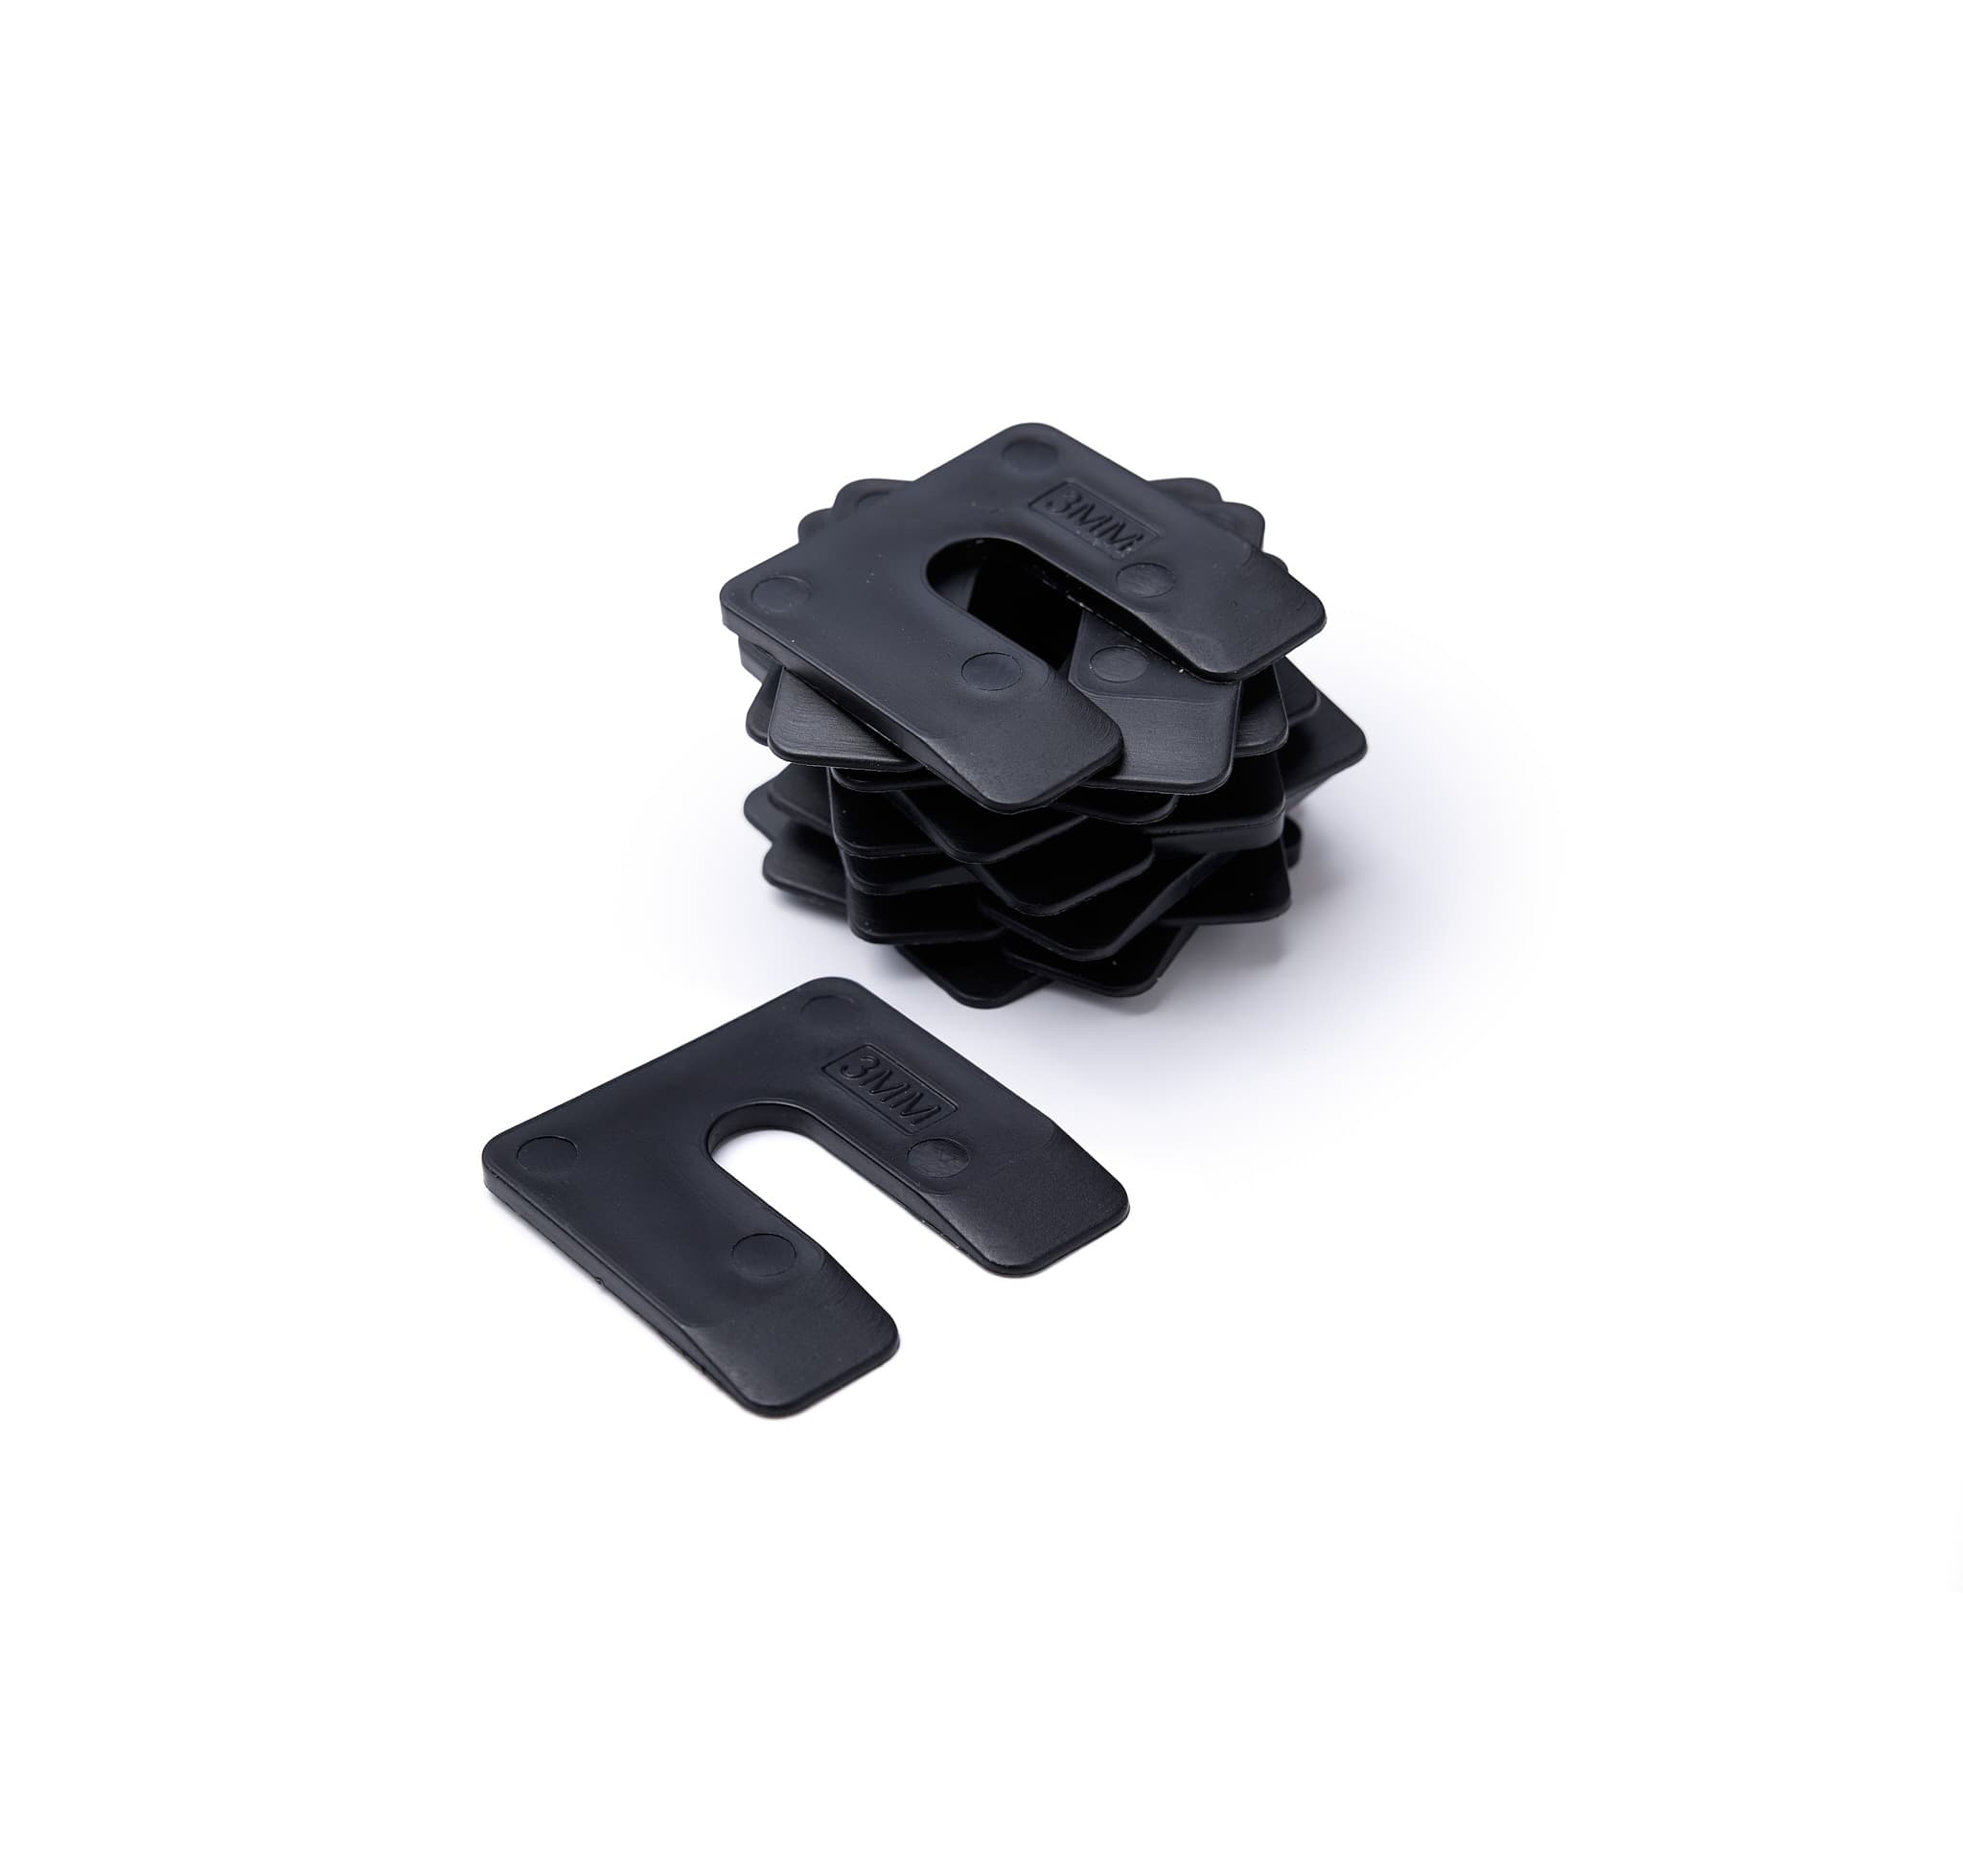
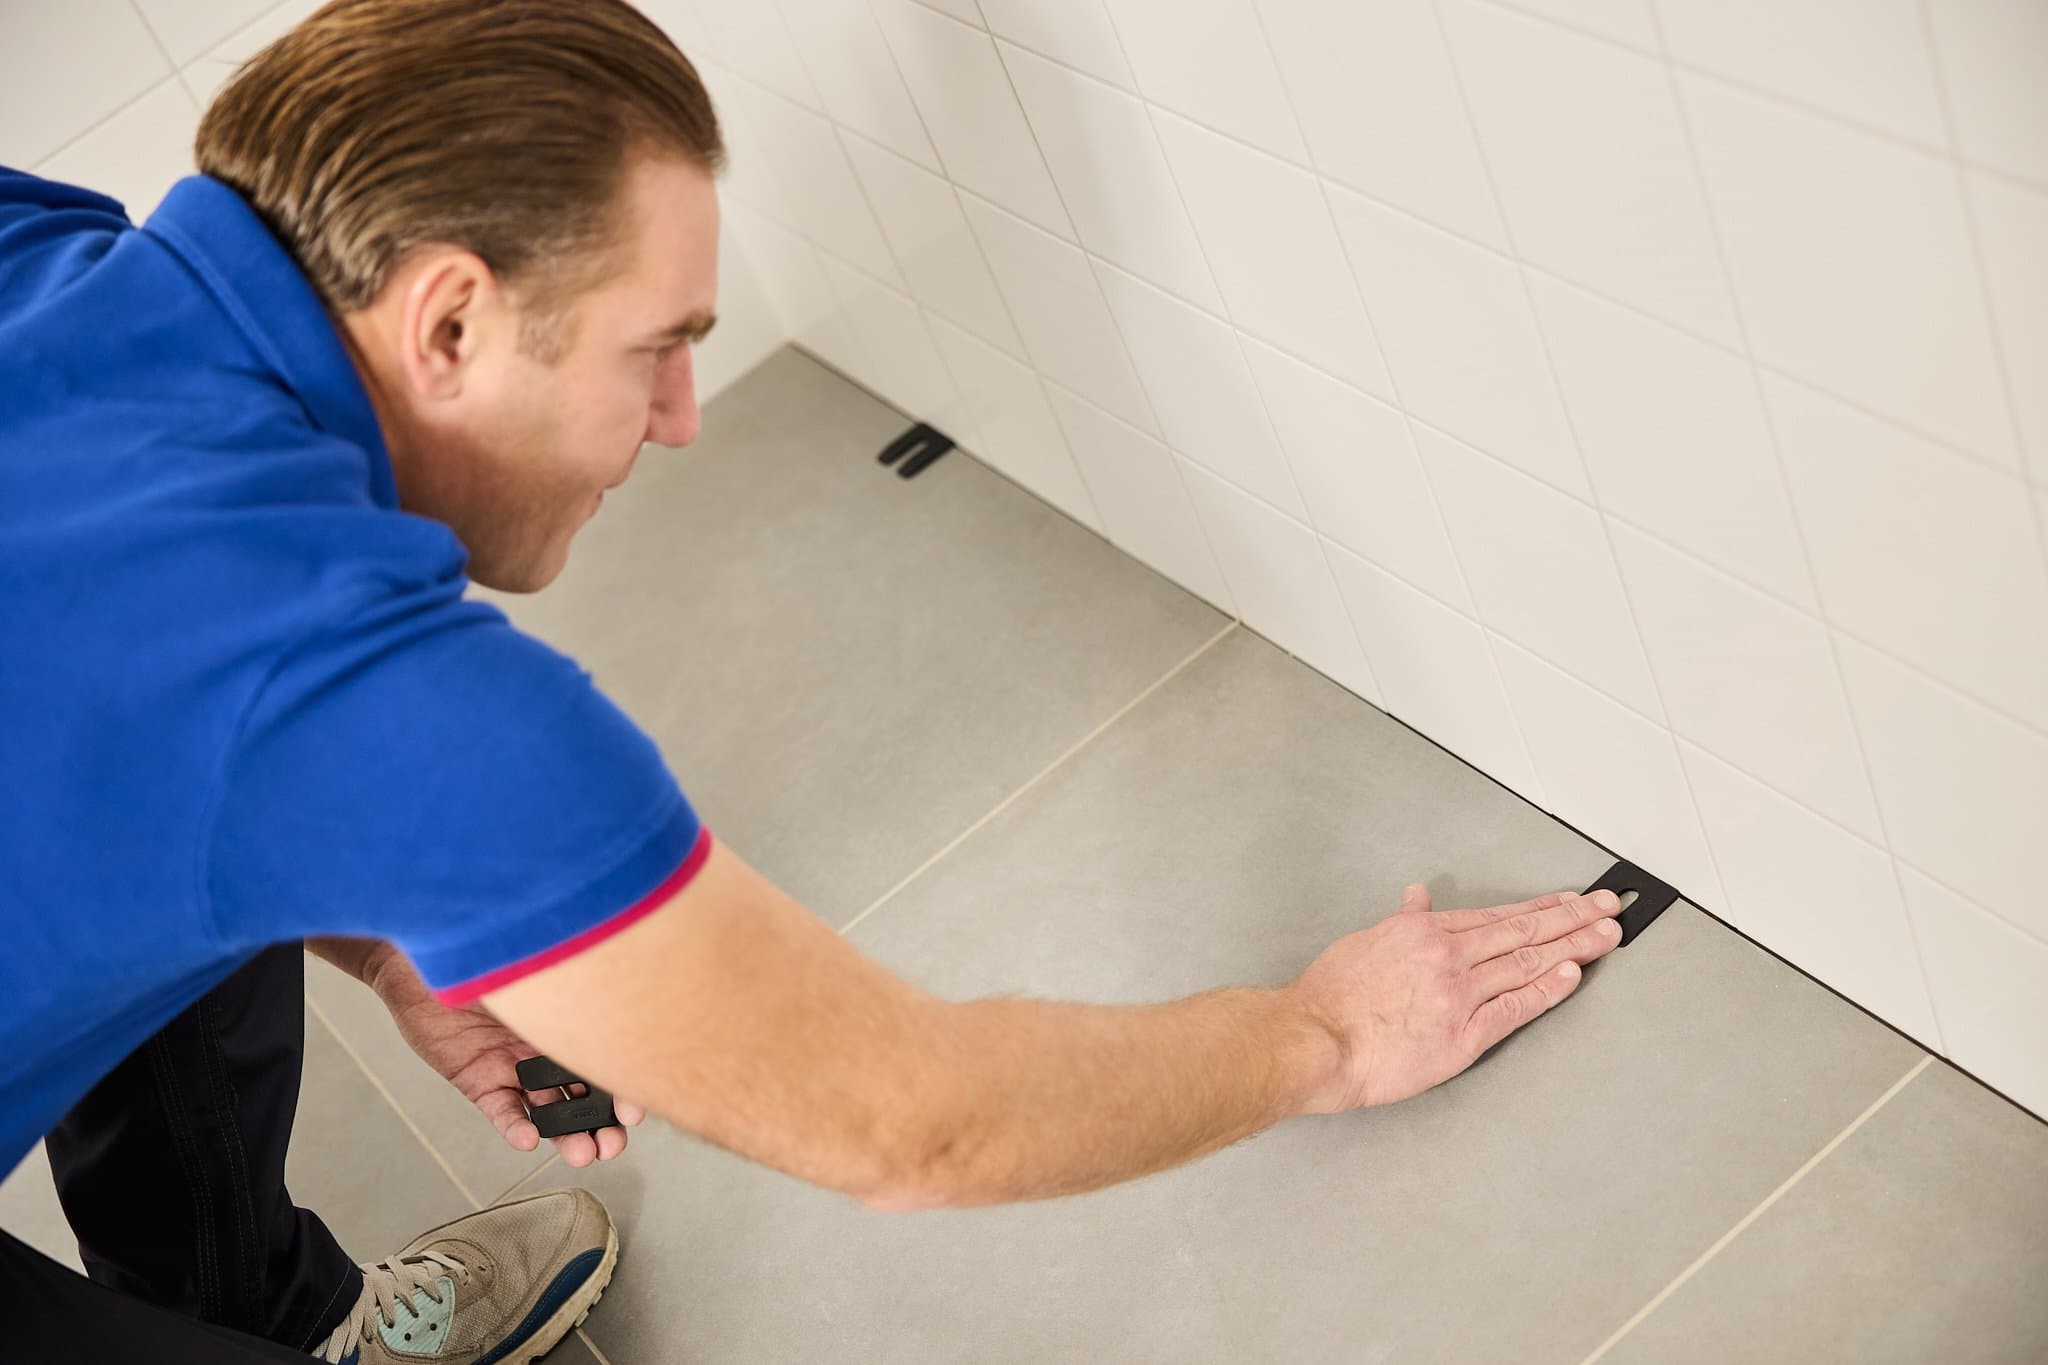
3) Placing spacers
Use 3 mm spacers between the floor, ceiling, and the panel. This ensures proper spacing and allows the panels room to expand.
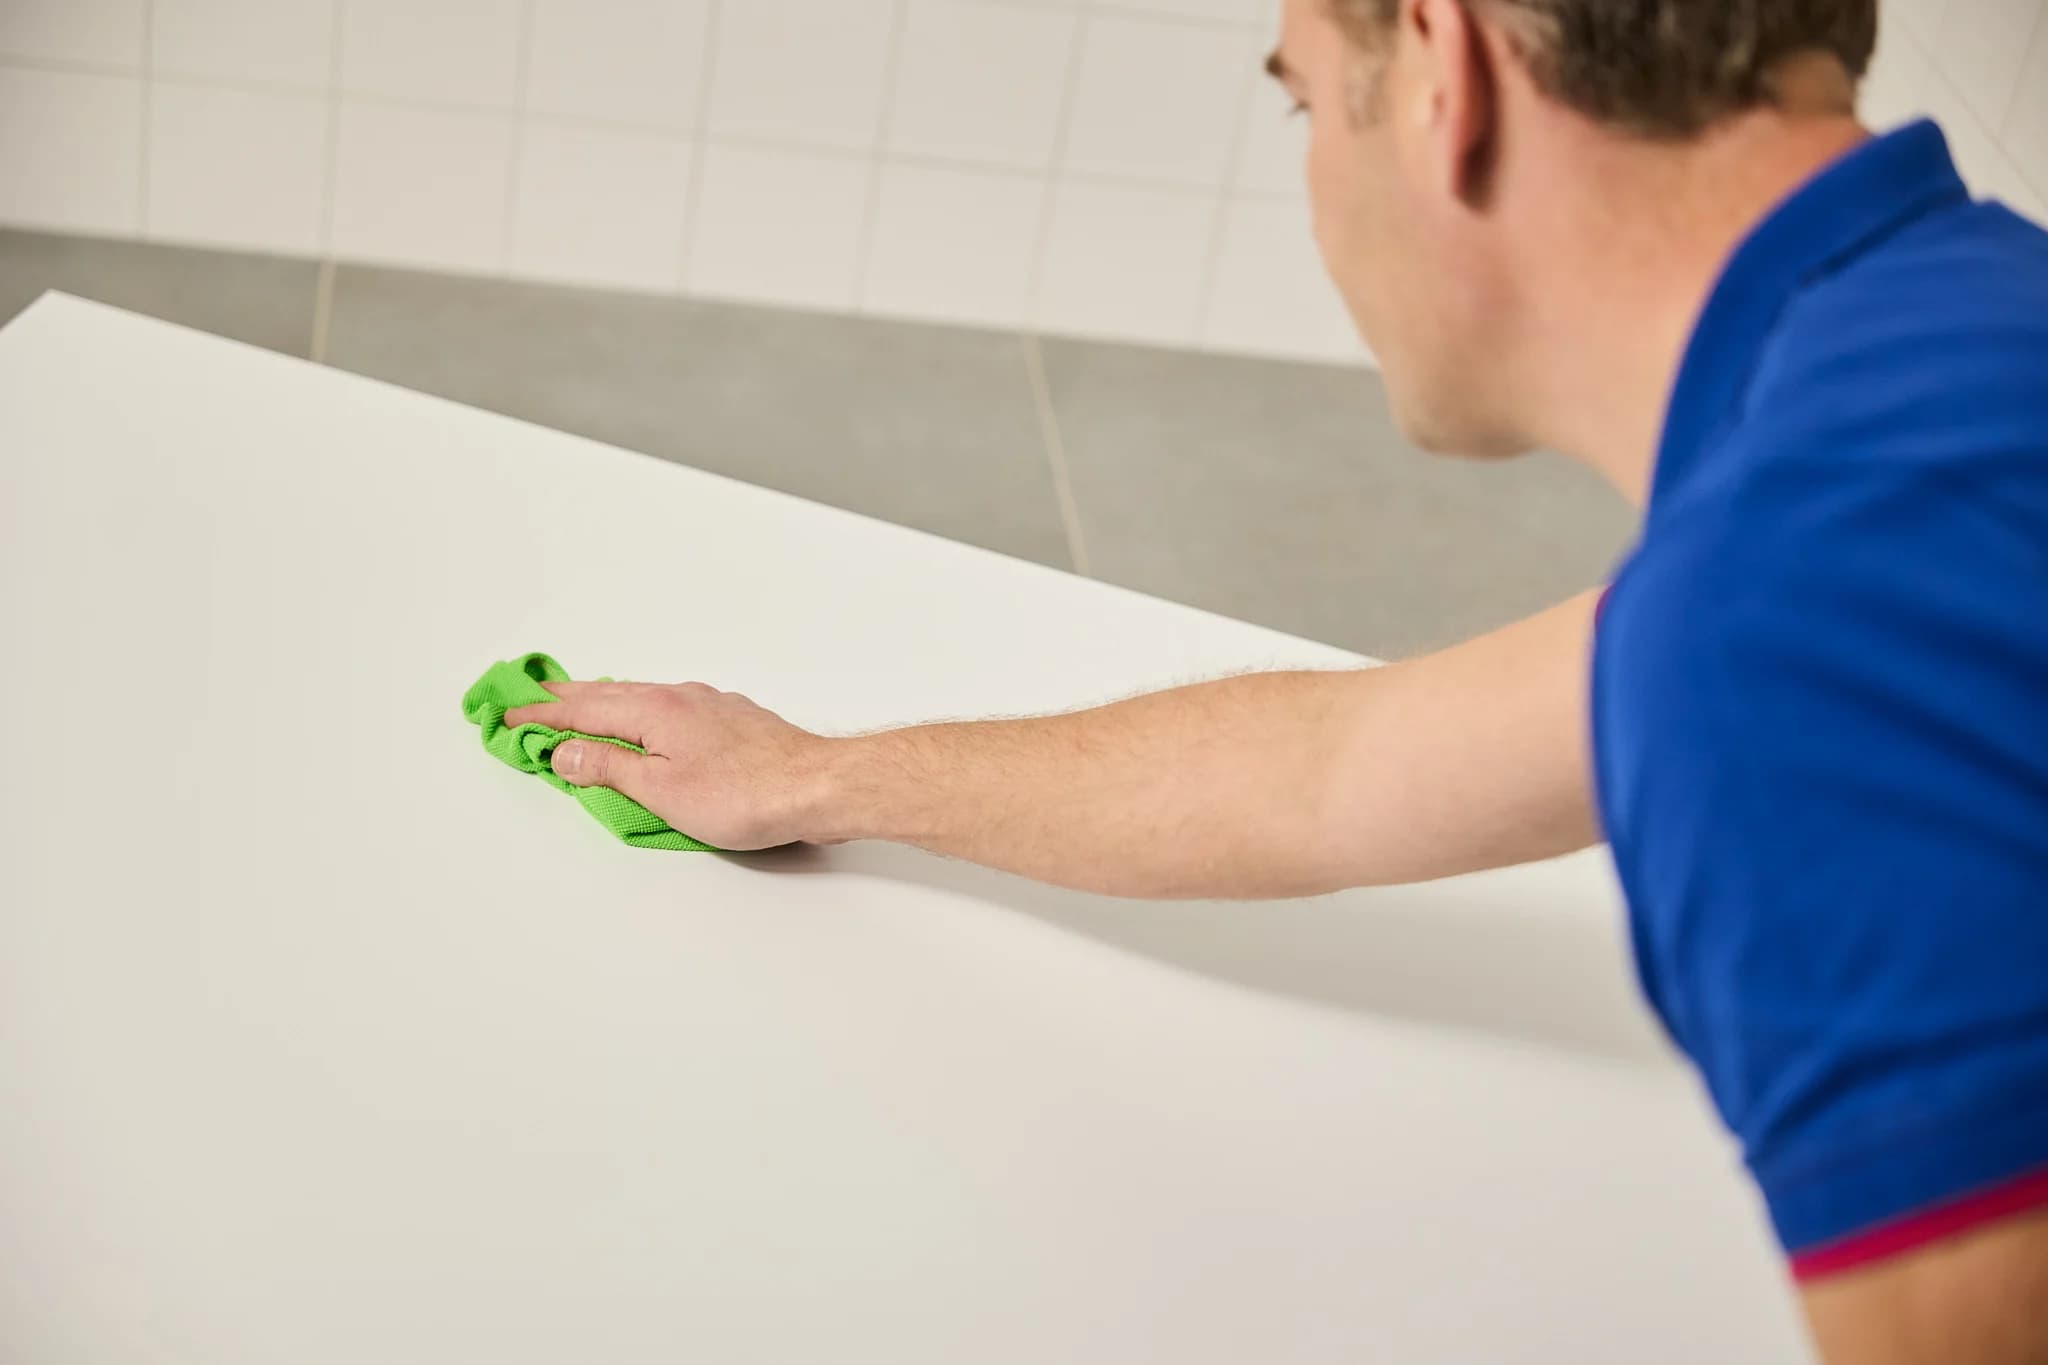
4) Preparing
Remove the protective film from your wall panel and clean it with an anti-static cleaner. An anti-static cleaner prevents the panel from attracting dirt or dust.
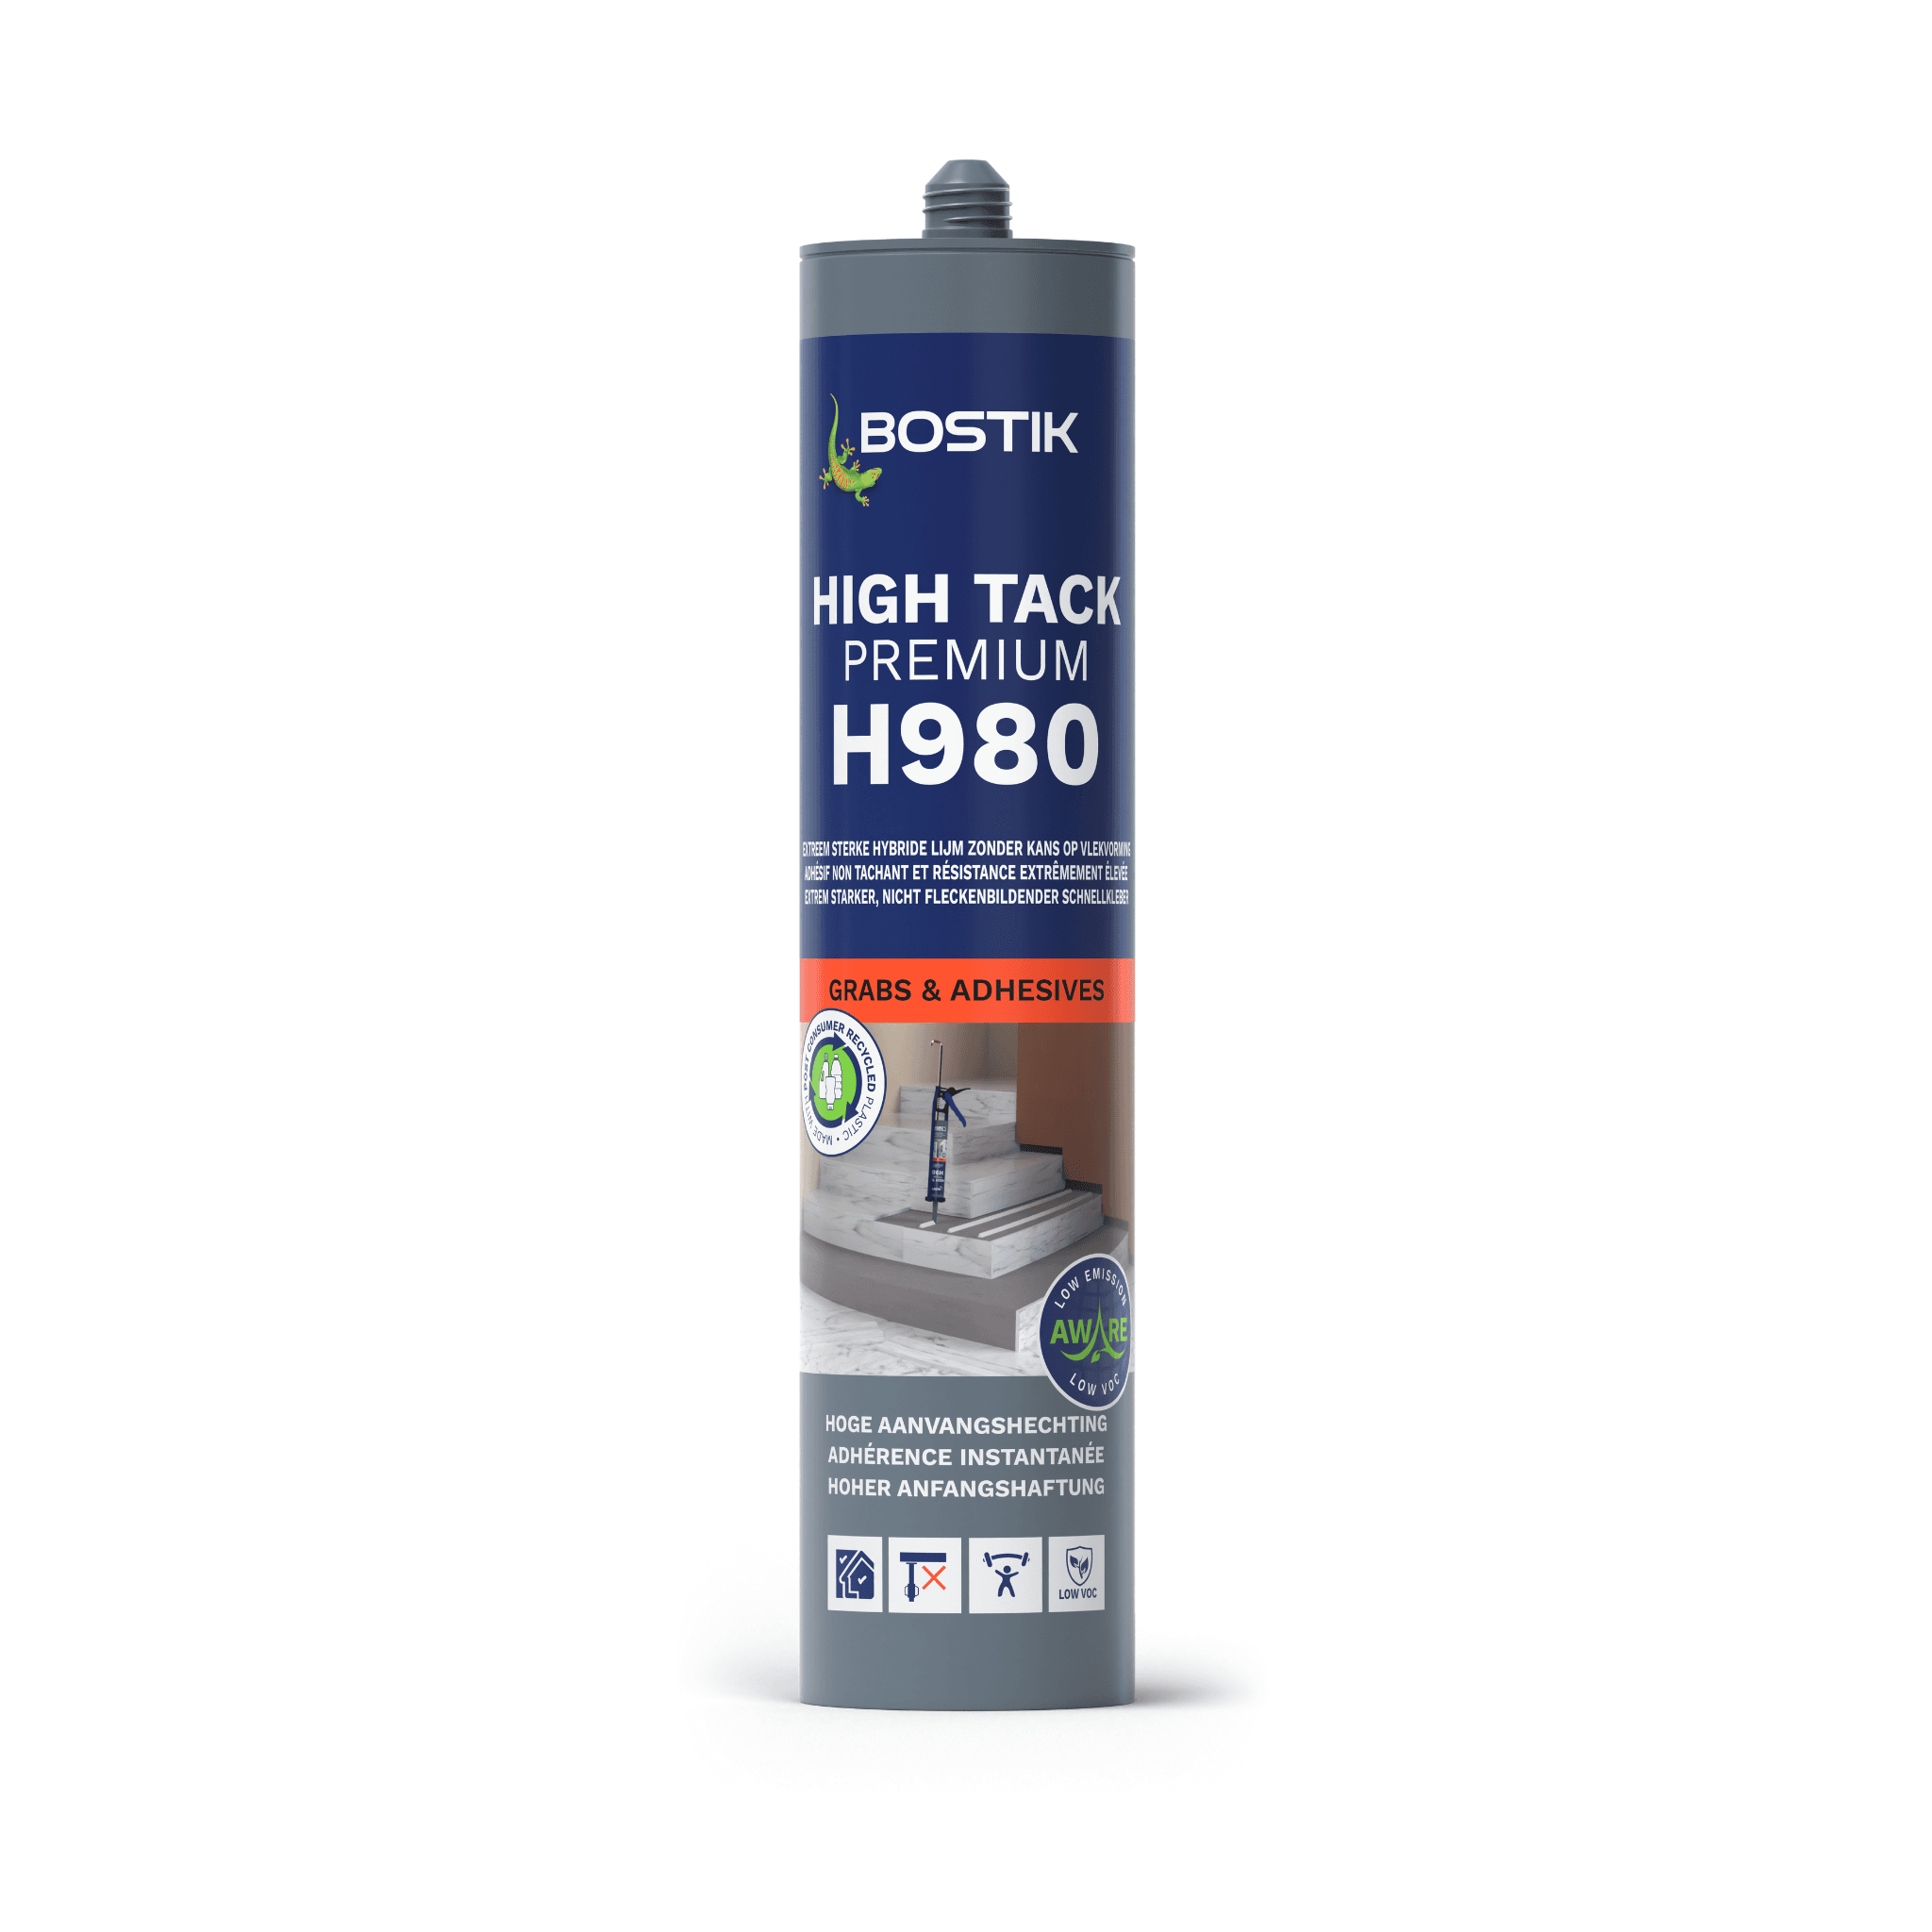
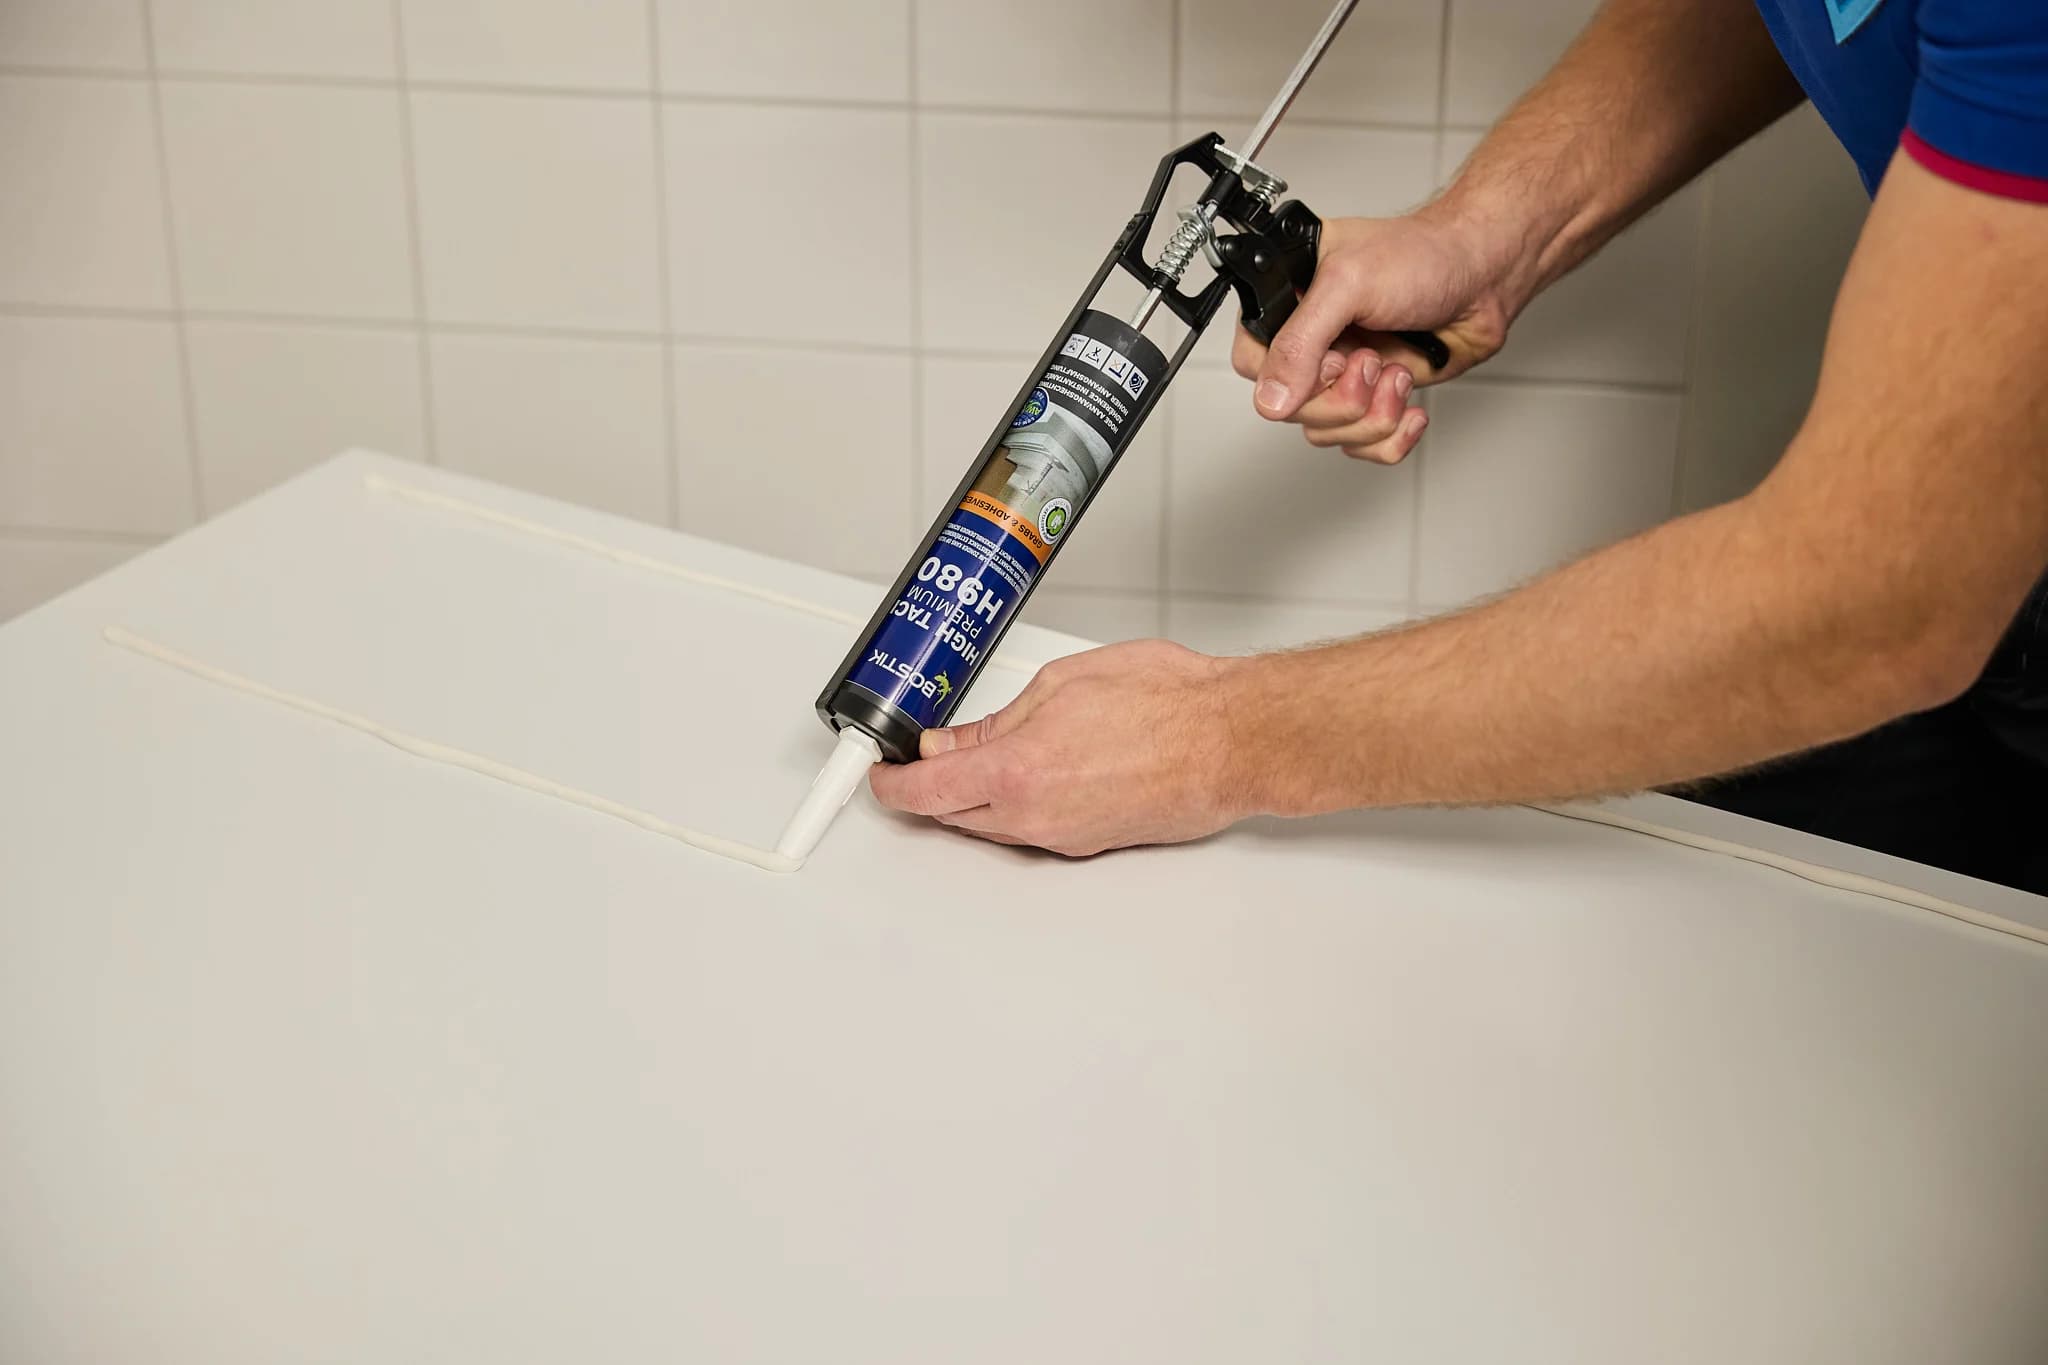
5) Applying adhesive
Apply adhesive in vertical strips on the back of your wall panel, keeping away from the edges. Don’t use too much adhesive, to ensure enough air can circulate. Leave a space of 10 to 20 centimetres between strips. If your wall panels have cut-outs, apply adhesive around these areas, about half a centimetre from the edge to prevent gaps.
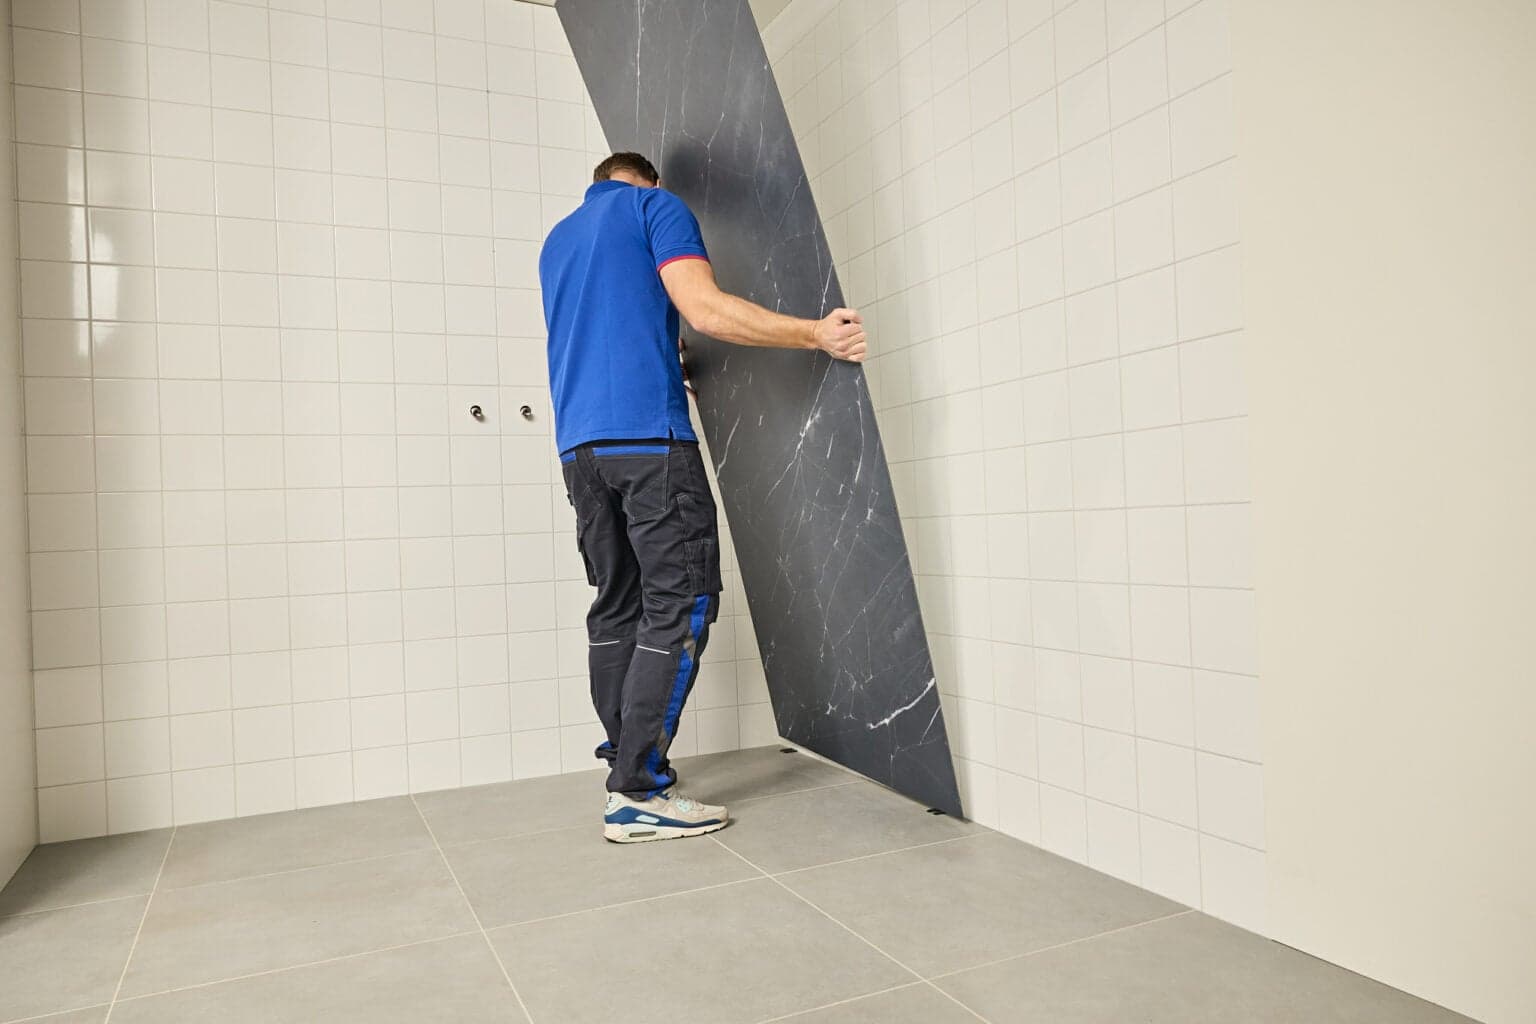
6) Fixing the wall panels
Carefully position the wall panel in place without pressing it down fully. Position it first, as it’s important that the first panel is level to avoid misalignment. Use 3mm spacers between the panel and the ceiling, floor, and other panels. Press the panel firmly in the centre against the wall and allow the adhesive to harden for 24 hours. Afterward, you can remove the spacers.
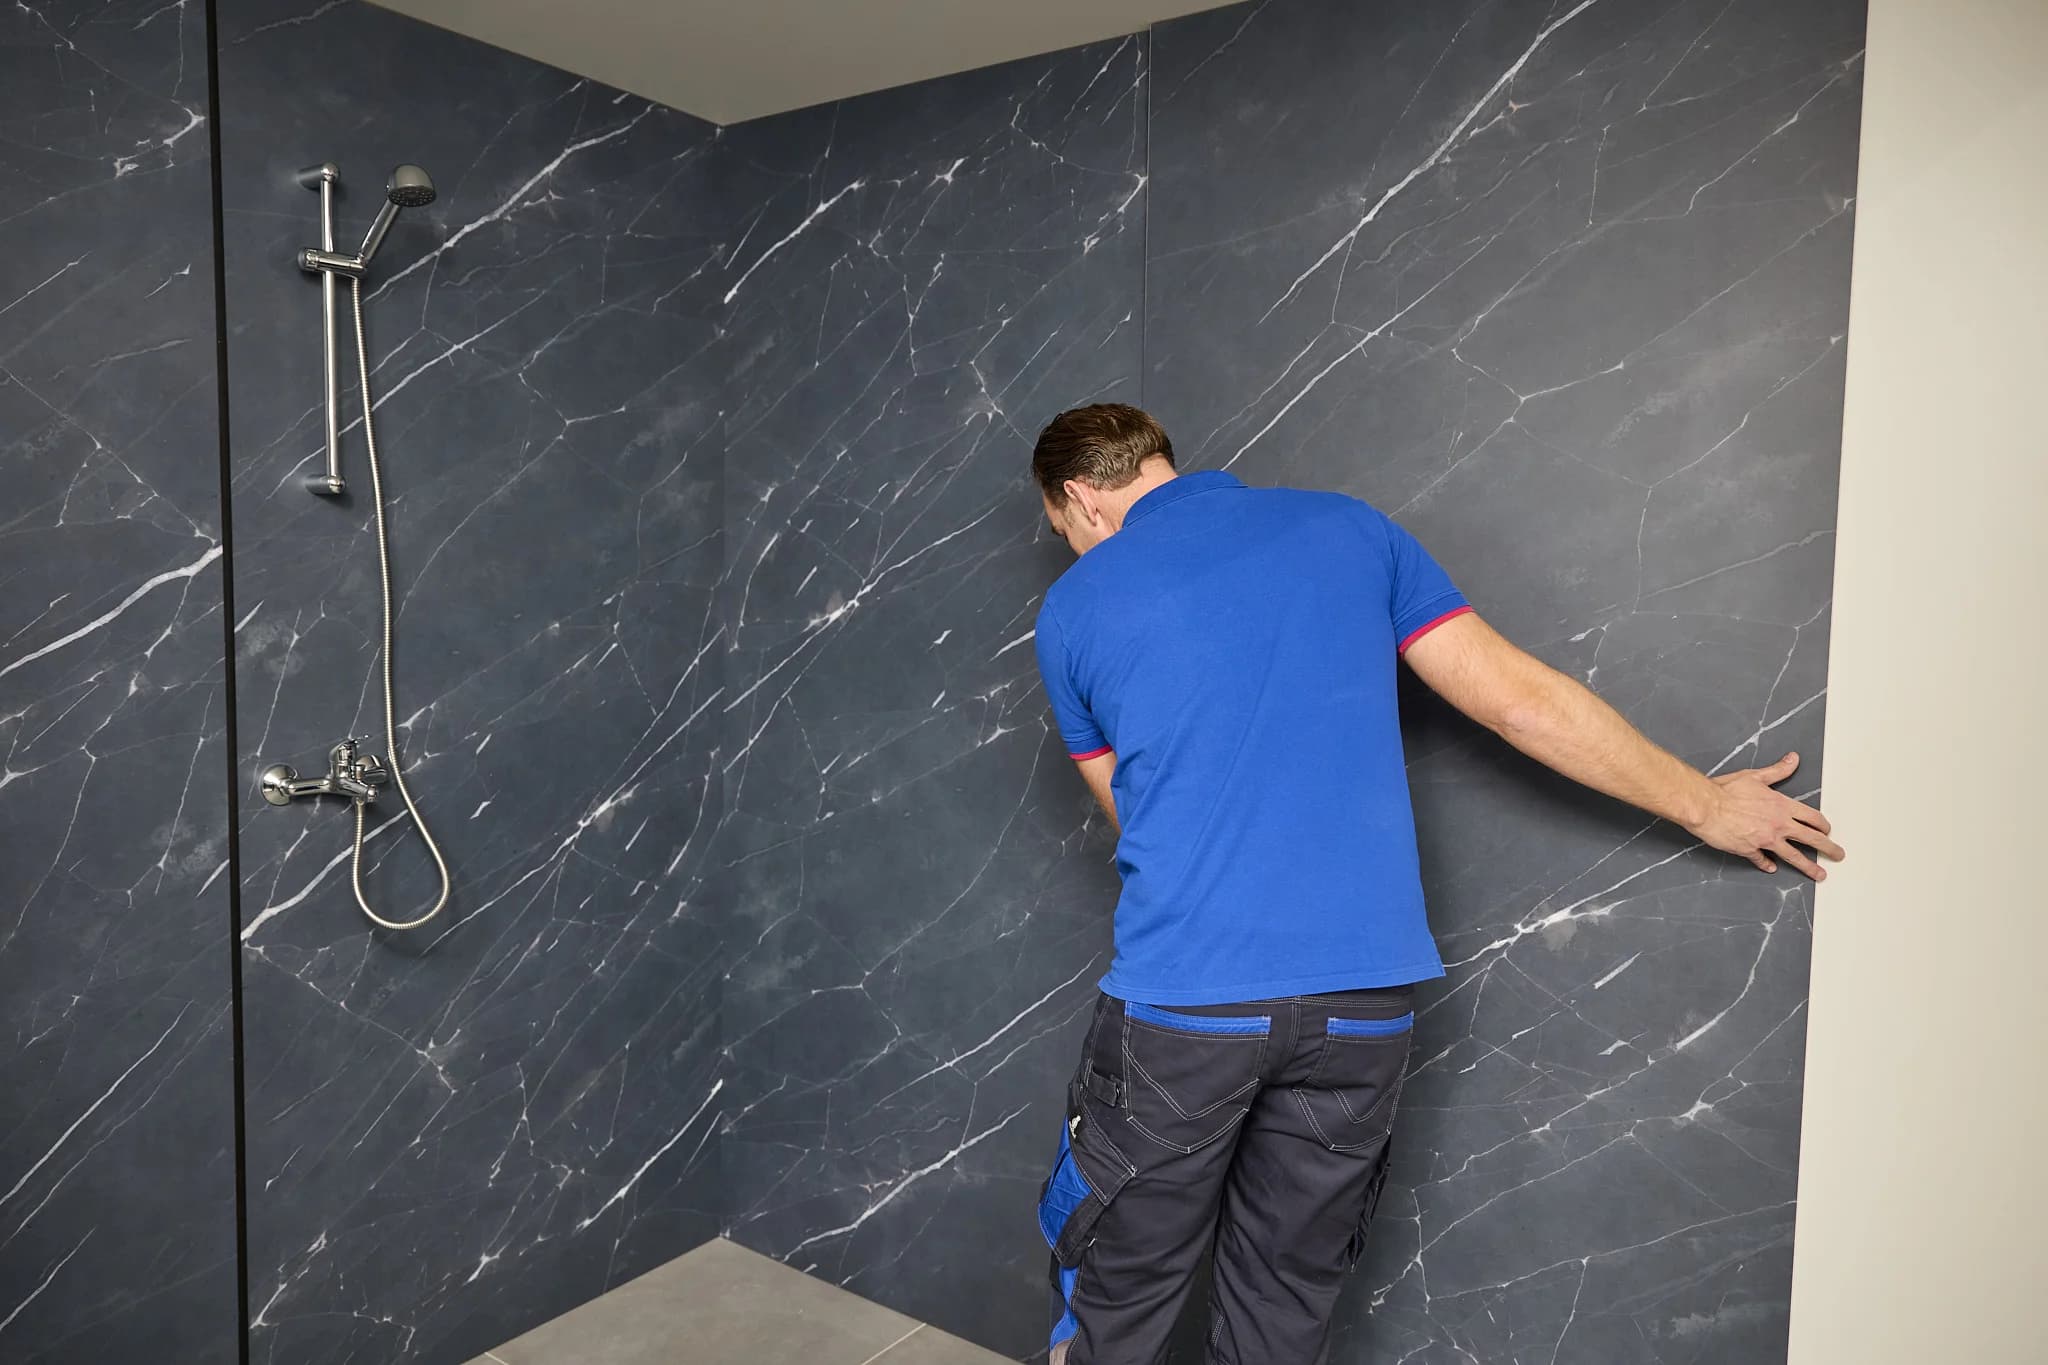
7) Fixing multiple wall panels
When you install multiple panels without finishing profiles, position the next panel just like the first one. Make sure to place 3mm spacers between them, allowing enough space to expand.
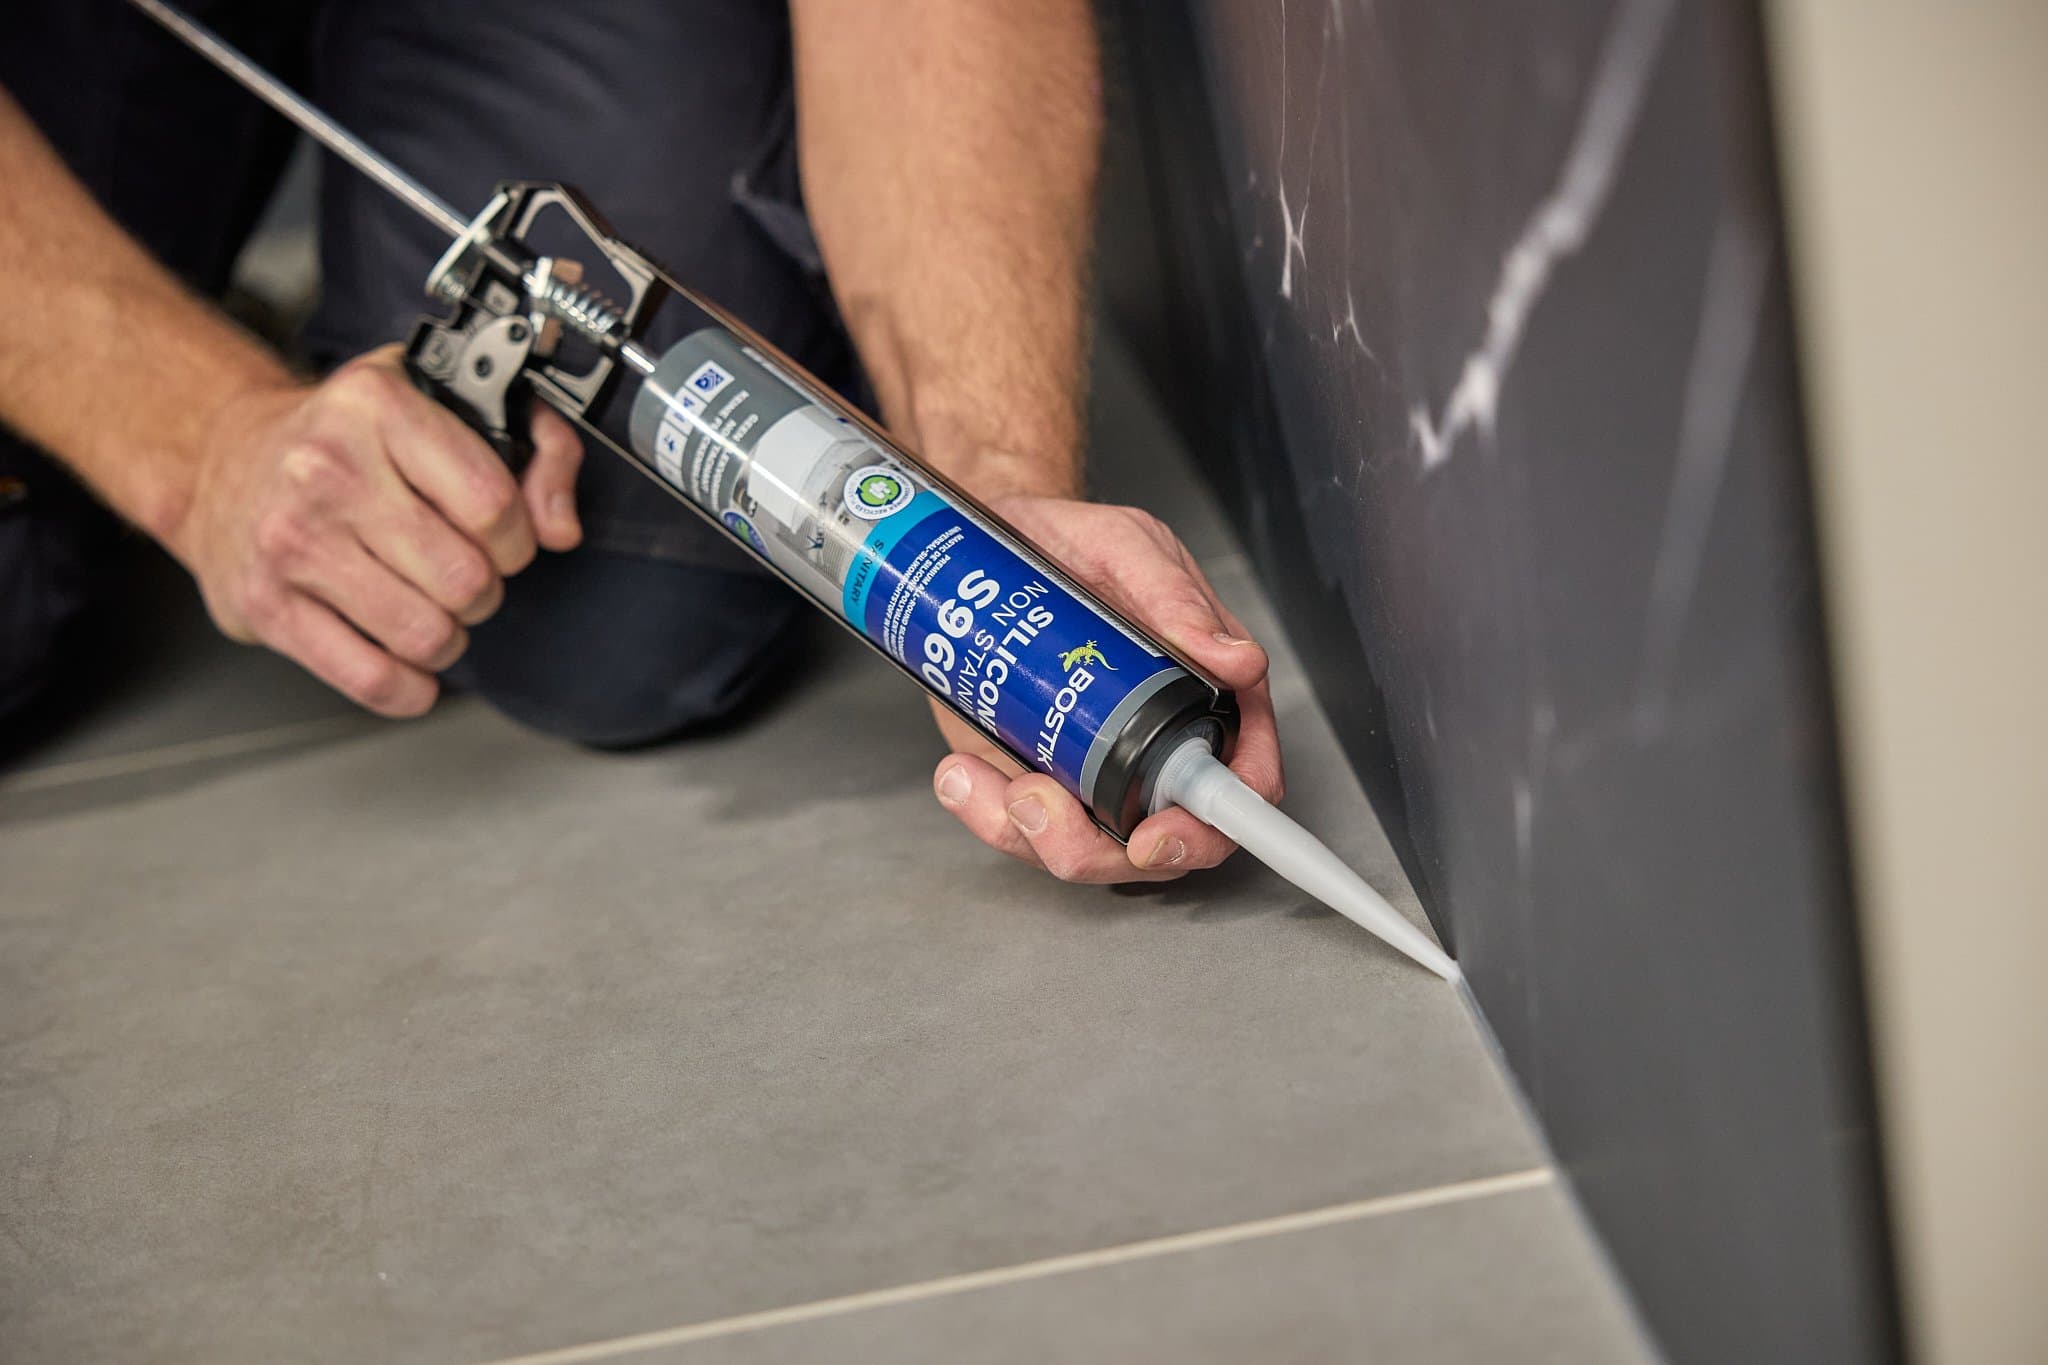
8) Finishing the edges
Once the adhesive has hardened after 24 hours, you can start finishing all the edges with sealant. This gives it a neat look and ensures the finish is waterproof. Use silicone sealant in a matching colour, or choose clear silicone sealant if you’ve painted the corners and edges of your wall.
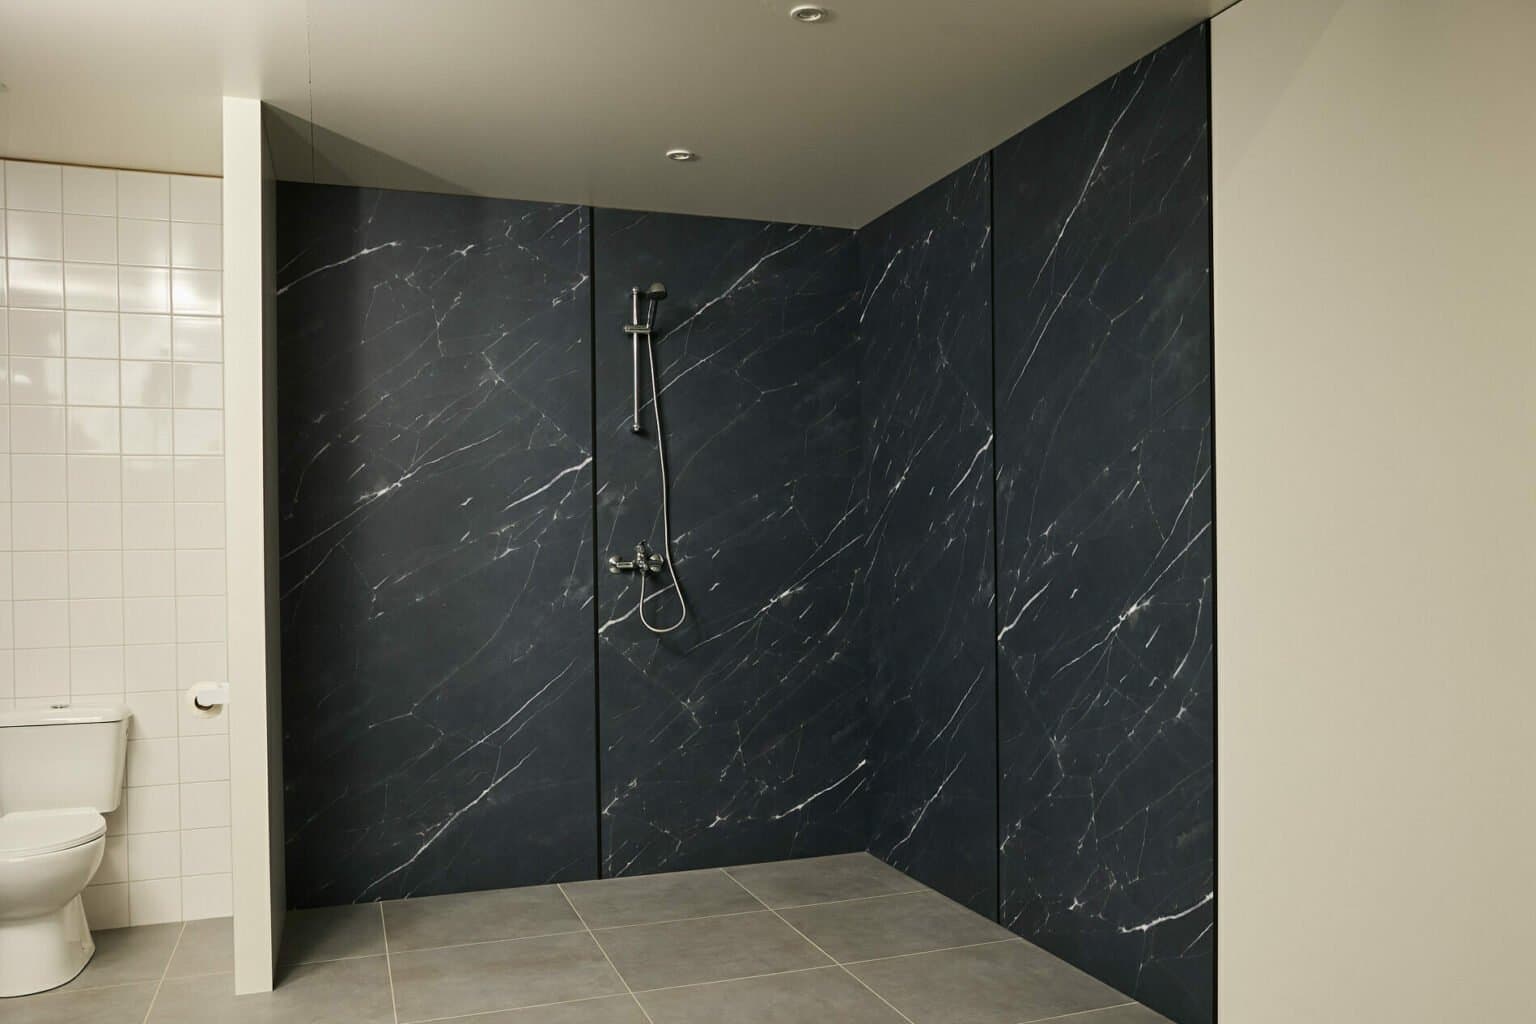
9) Wrapping up
When the sealant has dried, clean your wall panel with an anti-static cleaner and a soft cloth. If you don’t have an anti-static cleaner, a general cleaner works too. However, avoid glass cleaner as it may cause the panel to become dull.
Frequently asked questions
Frequently Asked Questions