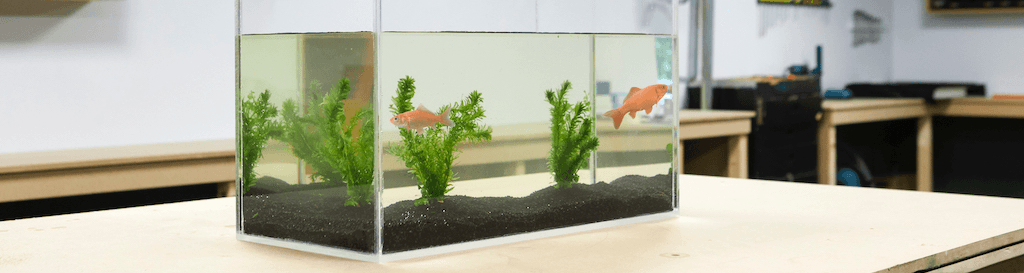
Make your own acrylic fish tank
DIY time
Approximately 7 hours (excluding drying times)
Level
Advanced
1
Determining the size of your aquarium
2
Ordering acrylic
3
Preparing the materials
4
Assembling the aquarium
5
Finishing touches for the aquarium
What you’ll need
Clear Acrylic GS 8 mm

Clear Acrylic GS 8 mm
Acrifix 192 acrylic glue
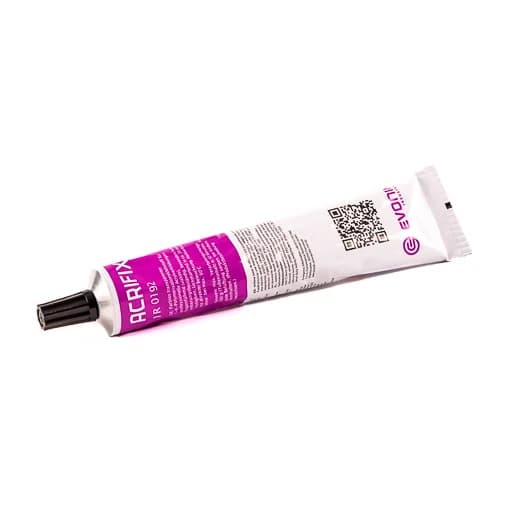
Acrifix 192 acrylic glue
Tools
- Vinyl gloves
- Soft cloth
- Flat surface
- Spirit level
- Support blocks
Other requirements
- Transparent sealing kit for acrylic
- Painter’s tape
| Aquarium volume | Acrylic thickness |
|---|---|
| Up to 100 litres | 8 mm sheet thickness |
| Up to 200 litres | 10 mm sheet thickness |
| More than 200 litres | 12 mm sheet thickness |
Disclaimer
It’s wise to secure acrylic and polycarbonate firmly in a fish tank. Loose panels, such as a lid, may warp due to heat.
Disclaimer
It’s wise to secure acrylic and polycarbonate firmly in a fish tank. Loose panels, such as a lid, may warp due to heat.
Frequently Asked Questions

Arjen de VosArjen de Vos, a product expert and seasoned DIY specialist, brings a wealth of experience in interior construction to his role at Plasticsheetsshop. With over a decade of expertise in interior design and furniture making, he stands out as a versatile and knowledgeable professional in his field.
Share this article
Updated:
Published: