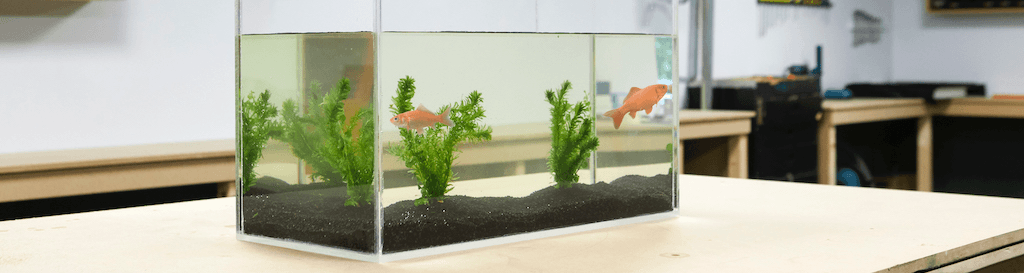
Make your own acrylic fish tank

Want to build your own fish tank, but don’t know where to start? Don’t worry, we’ll help you through the entire process. Acrylic sheets & perspex sheets are both stronger and lighter than glass, it transmits more light and also has excellent insulation, so it’s the ideal material for an aquarium. Follow our simple step-by-step guide to get going and create your own stunning fish tank.
Contents:
What you’ll need

Tools
- Vinyl gloves
- Soft cloth
- Flat surface
- Spirit level
- Support blocks
Other requirements
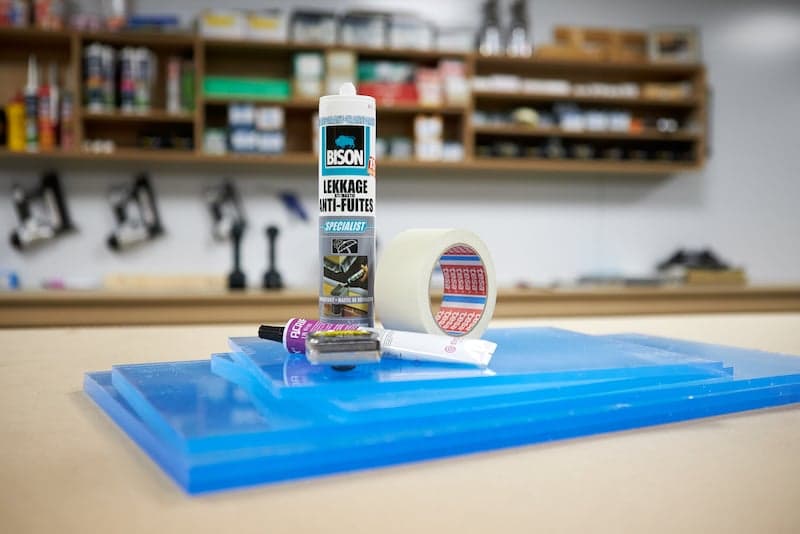
- Transparent sealing kit for acrylic
- Painter’s tape
We’ll guide you through the entire process, so you can start your project without a hitch. No unnecessary complications, just straight to the point: creating a gorgeous acrylic fish tank.
Step-by-step guide
Step 1: Determining the size of your aquarium
First, decide how large your aquarium needs to be. This decision is crucial as your fish need sufficient space. Check how much space is available and the required volume for your fish. For a 100-litre aquarium, you’ll need an 8 mm thick acrylic sheet.
Remember: always use cast acrylic for the best results.
| Aquarium volume | Acrylic thickness |
|---|---|
| Up to 100 litres | 8 mm sheet thickness |
| Up to 200 litres | 10 mm sheet thickness |
| More than 200 litres | 12 mm sheet thickness |
Step 2: Ordering acrylic
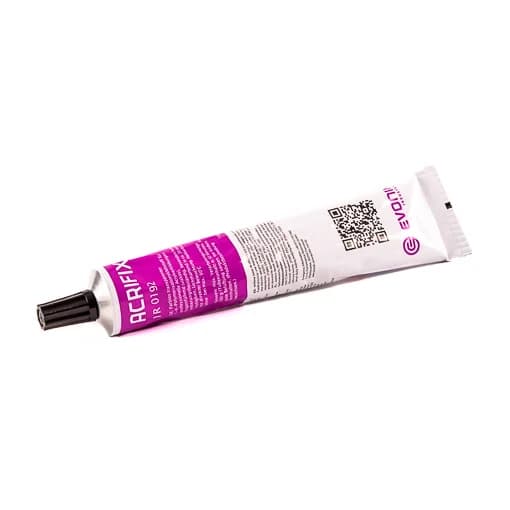
Once you have the dimensions and thicknesses required, it’s time to order your acrylic sheets. At Plasticsheetsshop, we offer precision cutting, accurate to half a millimetre. Don’t forget: order Acrifix 192 glue for a strong bond between acrylic sheets. Our 8 mm thick clear acrylic GS offers excellent clarity and is ideal for your aquarium. For a polished finish, consider buffing the visible edges of the front and back panels.
Step 3: Preparing the material
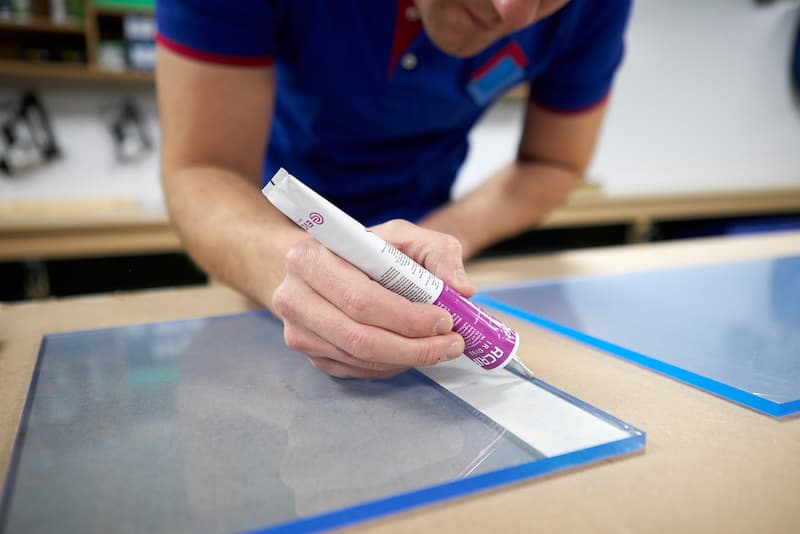
Received your acrylic sheets? Lay them on a flat, grease-free surface. Use a soft cloth to prevent scratches. Remove the protective film from one side and apply painter’s tape 8 mm from the edge to avoid glue smudges on the acrylic. Important: when using Acrifix glue, to prevent haziness – avoid spreading it. Allow the glue to dry slowly for the best result.
Step 4: Assembling your aquarium
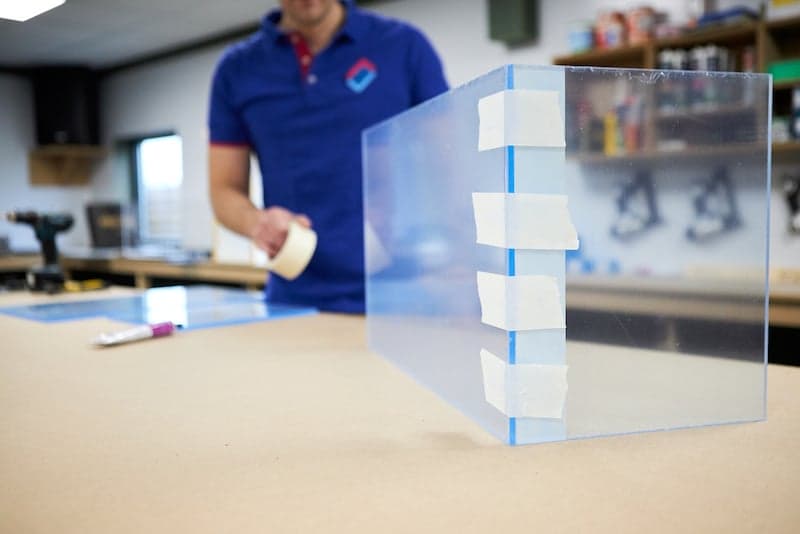
Ensure a sturdy, flat surface. A spirit level and support blocks are useful here. You can also fix the sheets using painter’s tape, as shown in our example. Place a support block on the base plate and put on your vinyl gloves.
Ensure a grease-free surface…
Before applying the glue, make sure the surface is clean and grease-free. Degrease it with a soft, lint-free cloth and alcohol. Now apply the Acrifix glue to one edge of the base plate. Then, position the side wall against the base plate. Using a spirit level and the support blocks or painter’s tape, fix the side wall against the base plate, ensuring it remains perfectly perpendicular. Allow the glue to react for at least 20 minutes. Acrifix is a reactive glue that allows both sheet parts to meld.
After 20 minutes, you can carefully proceed with placing the front or back wall. Apply Acrifix to the edge of the sidewall you just attached and along the edge of the base. Position the back wall against the sidewall and base. Fix the wall using support blocks and verify the wall is properly aligned. You can secure and align the back wall using tape against the side wall.
Wait another 20 minutes…
Wait another 20 minutes before placing the remaining walls in the same manner. You can place the last side and front wall at once. If the first two walls are well aligned and levelled, you can easily position and glue the last two walls. Afterwards, wait for three hours to allow the Acrifix to cure properly.
Step 5: Finishing the aquarium
Once assembled, allow everything to dry for a further six hours. This ensures your fish tank remains sturdy and solid. Then seal the corners with a transparent sealant to prevent leaks and extend its lifespan. Let the sealant dry for 24 hours before filling the tank with water. Get ready for an exciting underwater world!

It’s wise to secure acrylic and polycarbonate firmly in a fish tank. Loose panels, such as a lid, may warp due to heat.
It’s wise to secure acrylic and polycarbonate firmly in a fish tank. Loose panels, such as a lid, may warp due to heat.

Frequently Asked Questions
Excited to create your own fish tank? Order your customised acrylic sheets from Plasticsheetsshop. With our precision cutting service, you get exactly what you need, quickly and accurately. With our quality material, you’ll create a durable and impressive fish tank. Start your project today and let your creativity flow!

