Renovating Your Shower Yourself Without Removing Tiles

Want to give your shower a fresh look without having to tear everything out? We’ll share with you, step-by-step, how to achieve this using plastic wall panels from Plasticsheetsshop, with everything tailor-made for your project. We’ll explain which materials you need and provide practical tips to help your hard work pay off. You will easily create a modern, low-maintenance shower wall with our panels.
Requirements

Tools
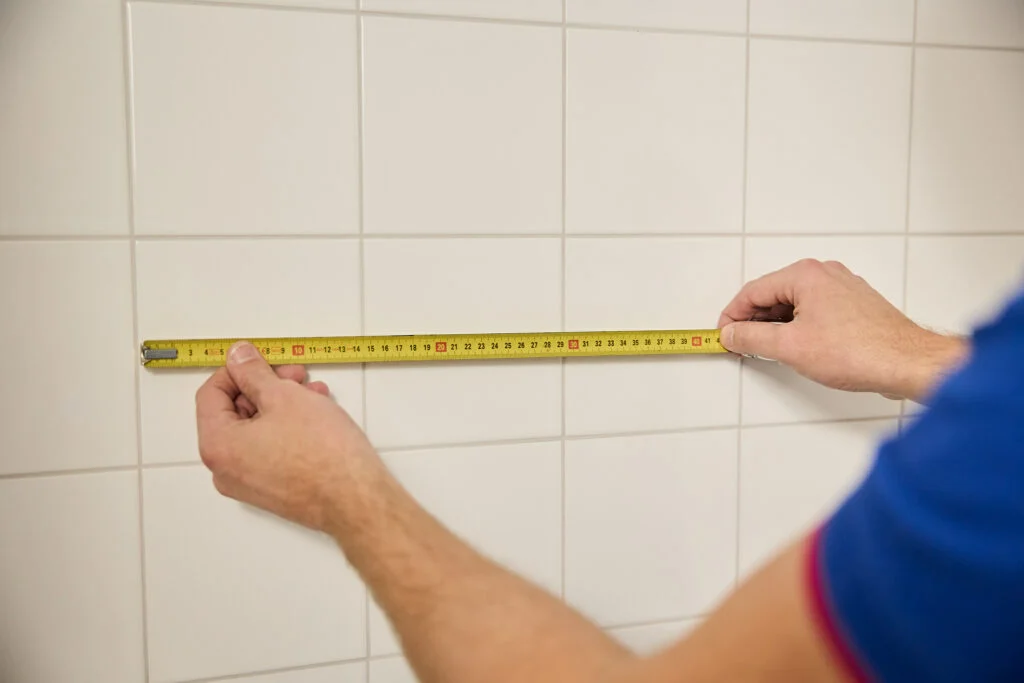
- Tape measure
- Sealant gun
- Bucket and cloth
Materials
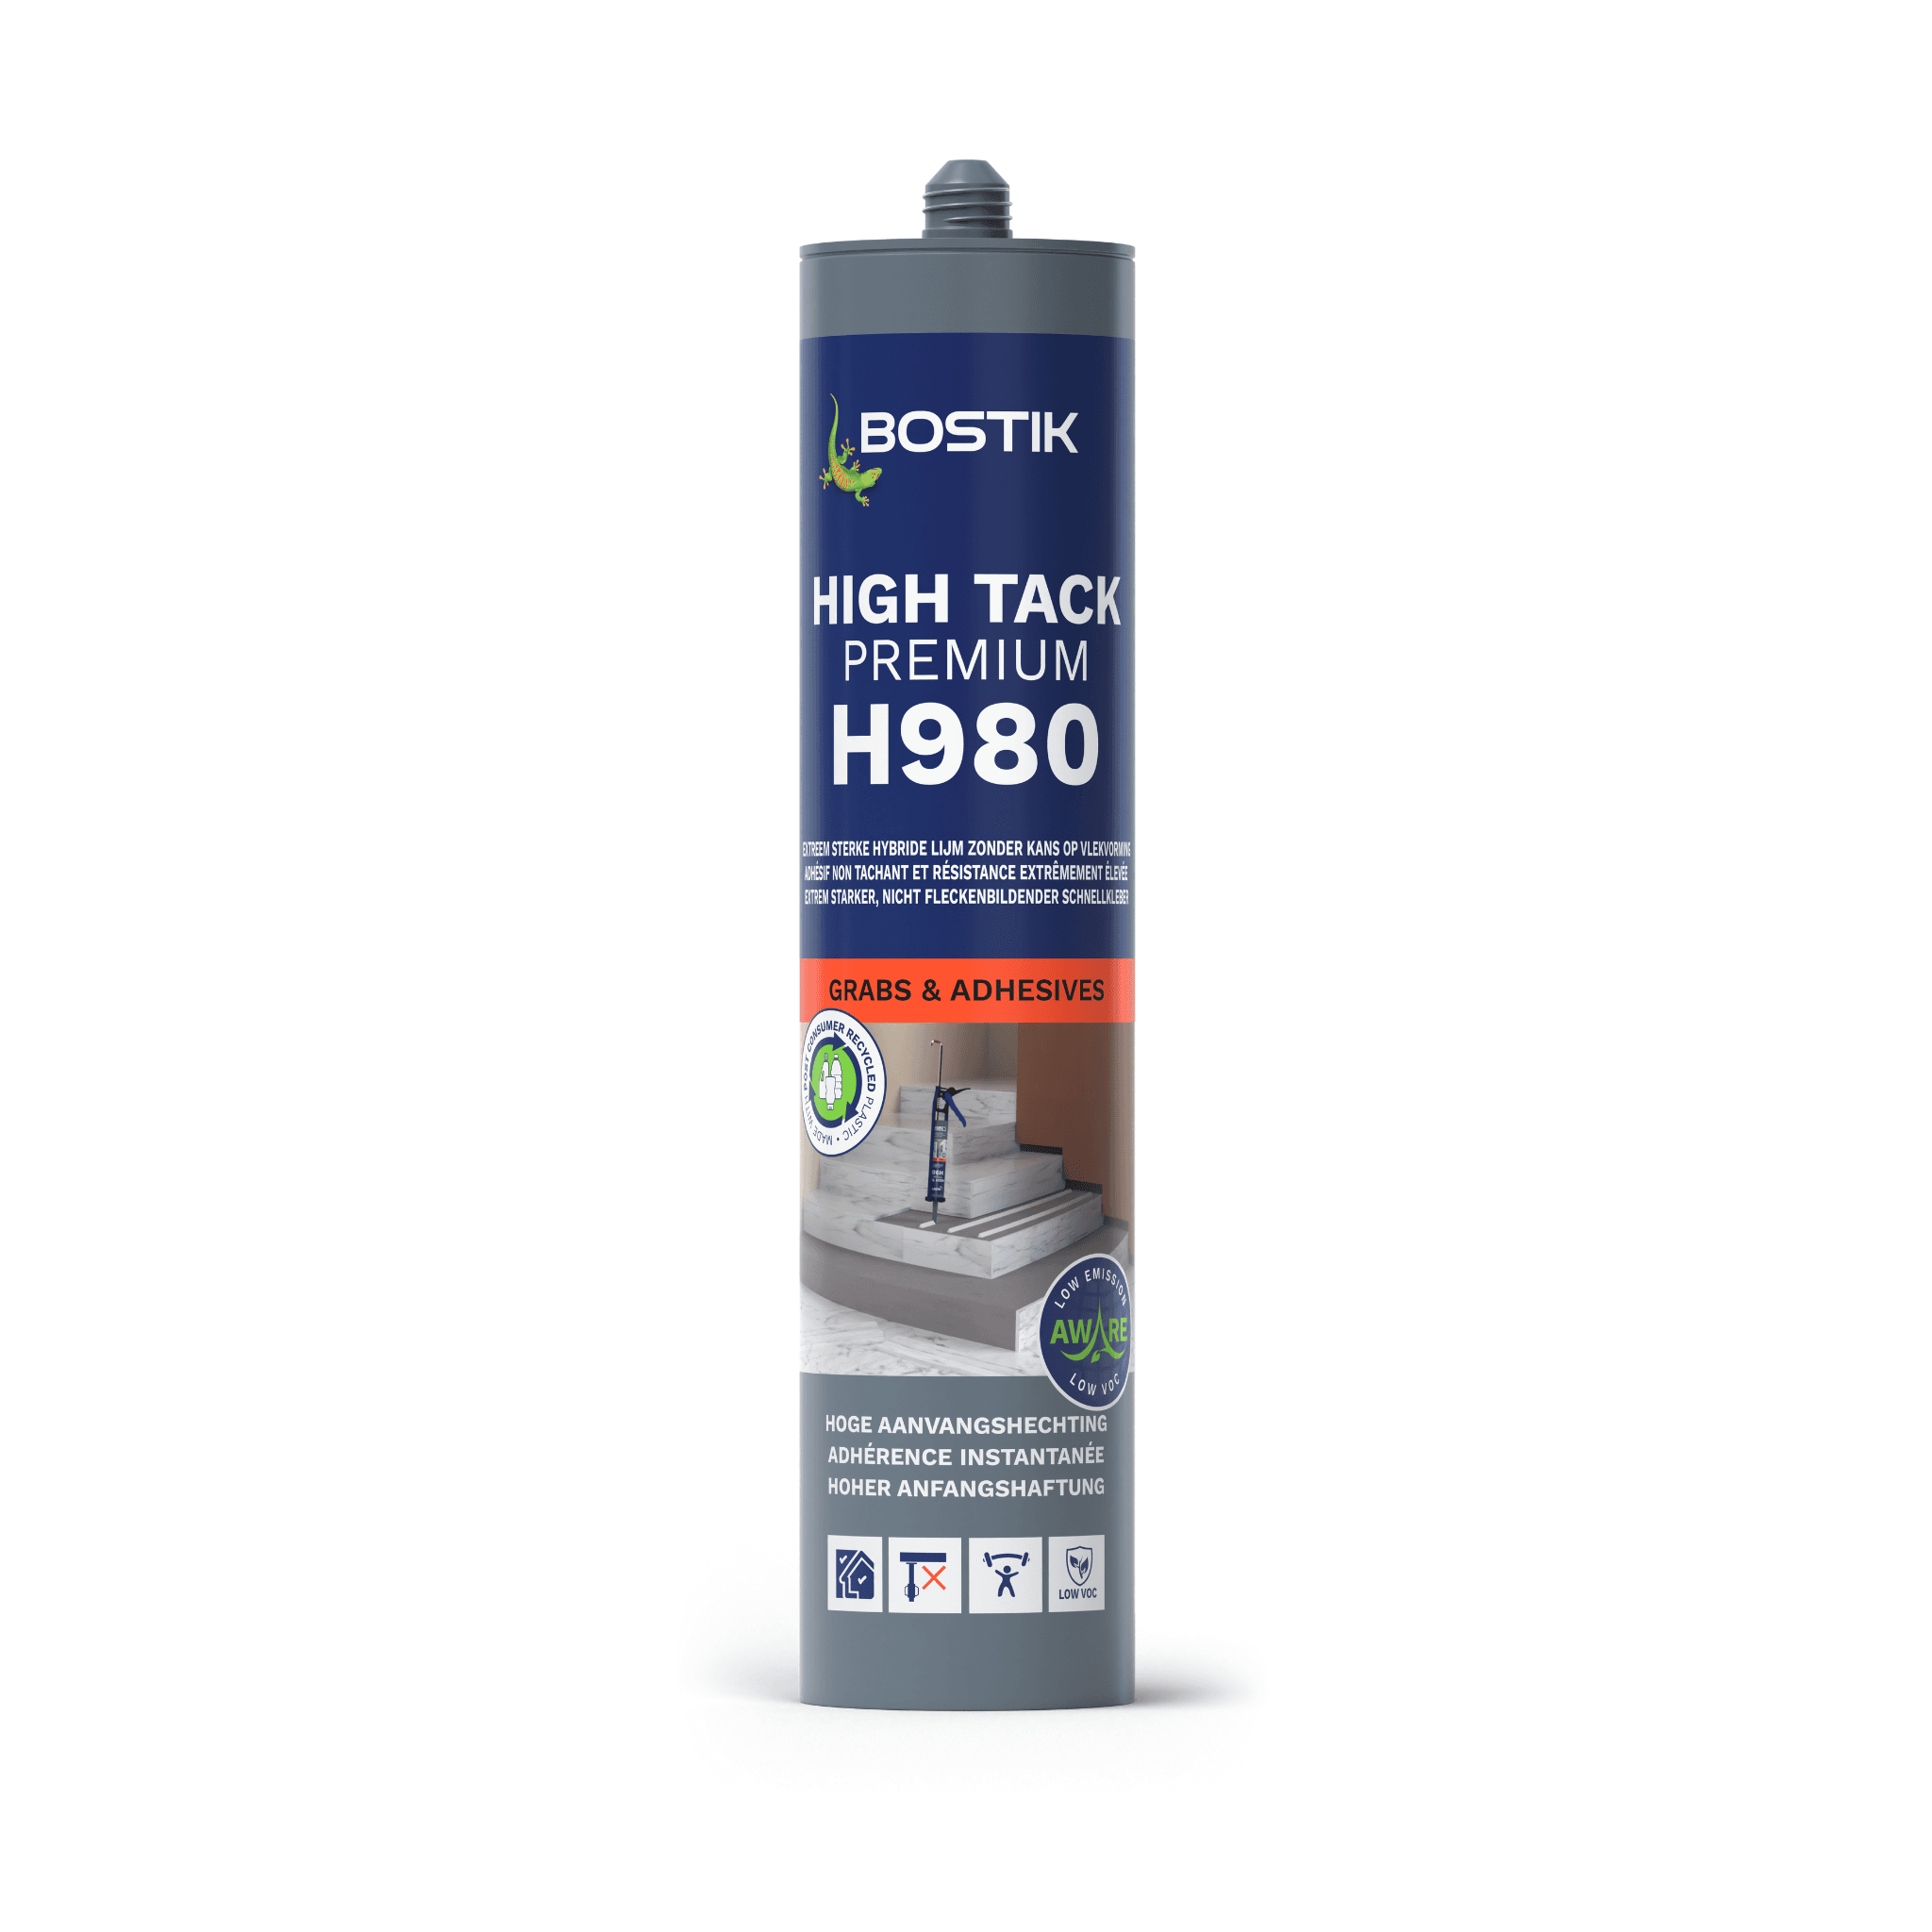
- Silicone sealant
- Degreaser
- Optional finishing profiles: coupling profiles, end profiles, internal corner profiles, external corner profiles
Step-by-Step Guide:
1) Before you begin
The first step to a new shower begins with measuring. Get going with the tape measure and write down the exact dimensions of your shower walls. Don’t forget to keep a 3 mm gap around each wall panel for expansion. Pay close attention to the positions of sockets and taps to avoid surprises later on. This makes it straightforward to get your panels ready for ordering from Plasticsheetsshop.
2) Ordering custom wall panels
Use our handy sheet calculator when placing your order. Fill in precisely where you need cutouts for sockets and taps. Remember to add other requirements like the High Tack Premium H980 adhesive, spacers, and profiles. Choose a colour that complements the rest of your bathroom, and we’ll cut your panels precisely to the millimetre.
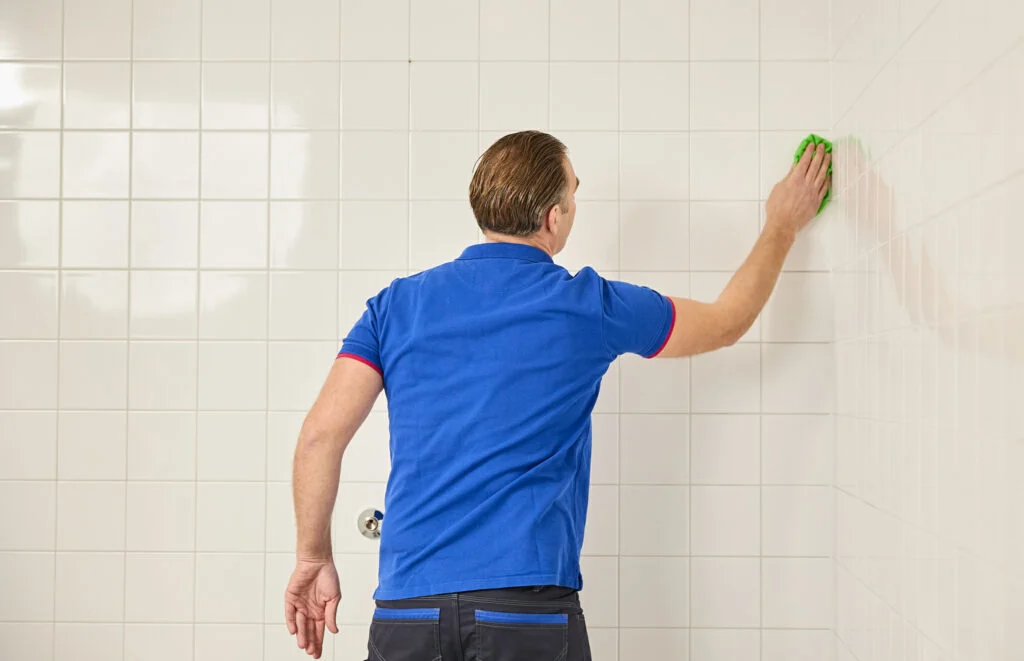
3) Preparing the shower
Start preparing your shower by cleaning it thoroughly. Ensure the tiles are dry, dust-free, and grease-free for proper adhesion. Place the wall panels in position to check that everything fits. Then, remove the protective film from the back of the panels and degrease that surface thoroughly so that the adhesive sticks well.
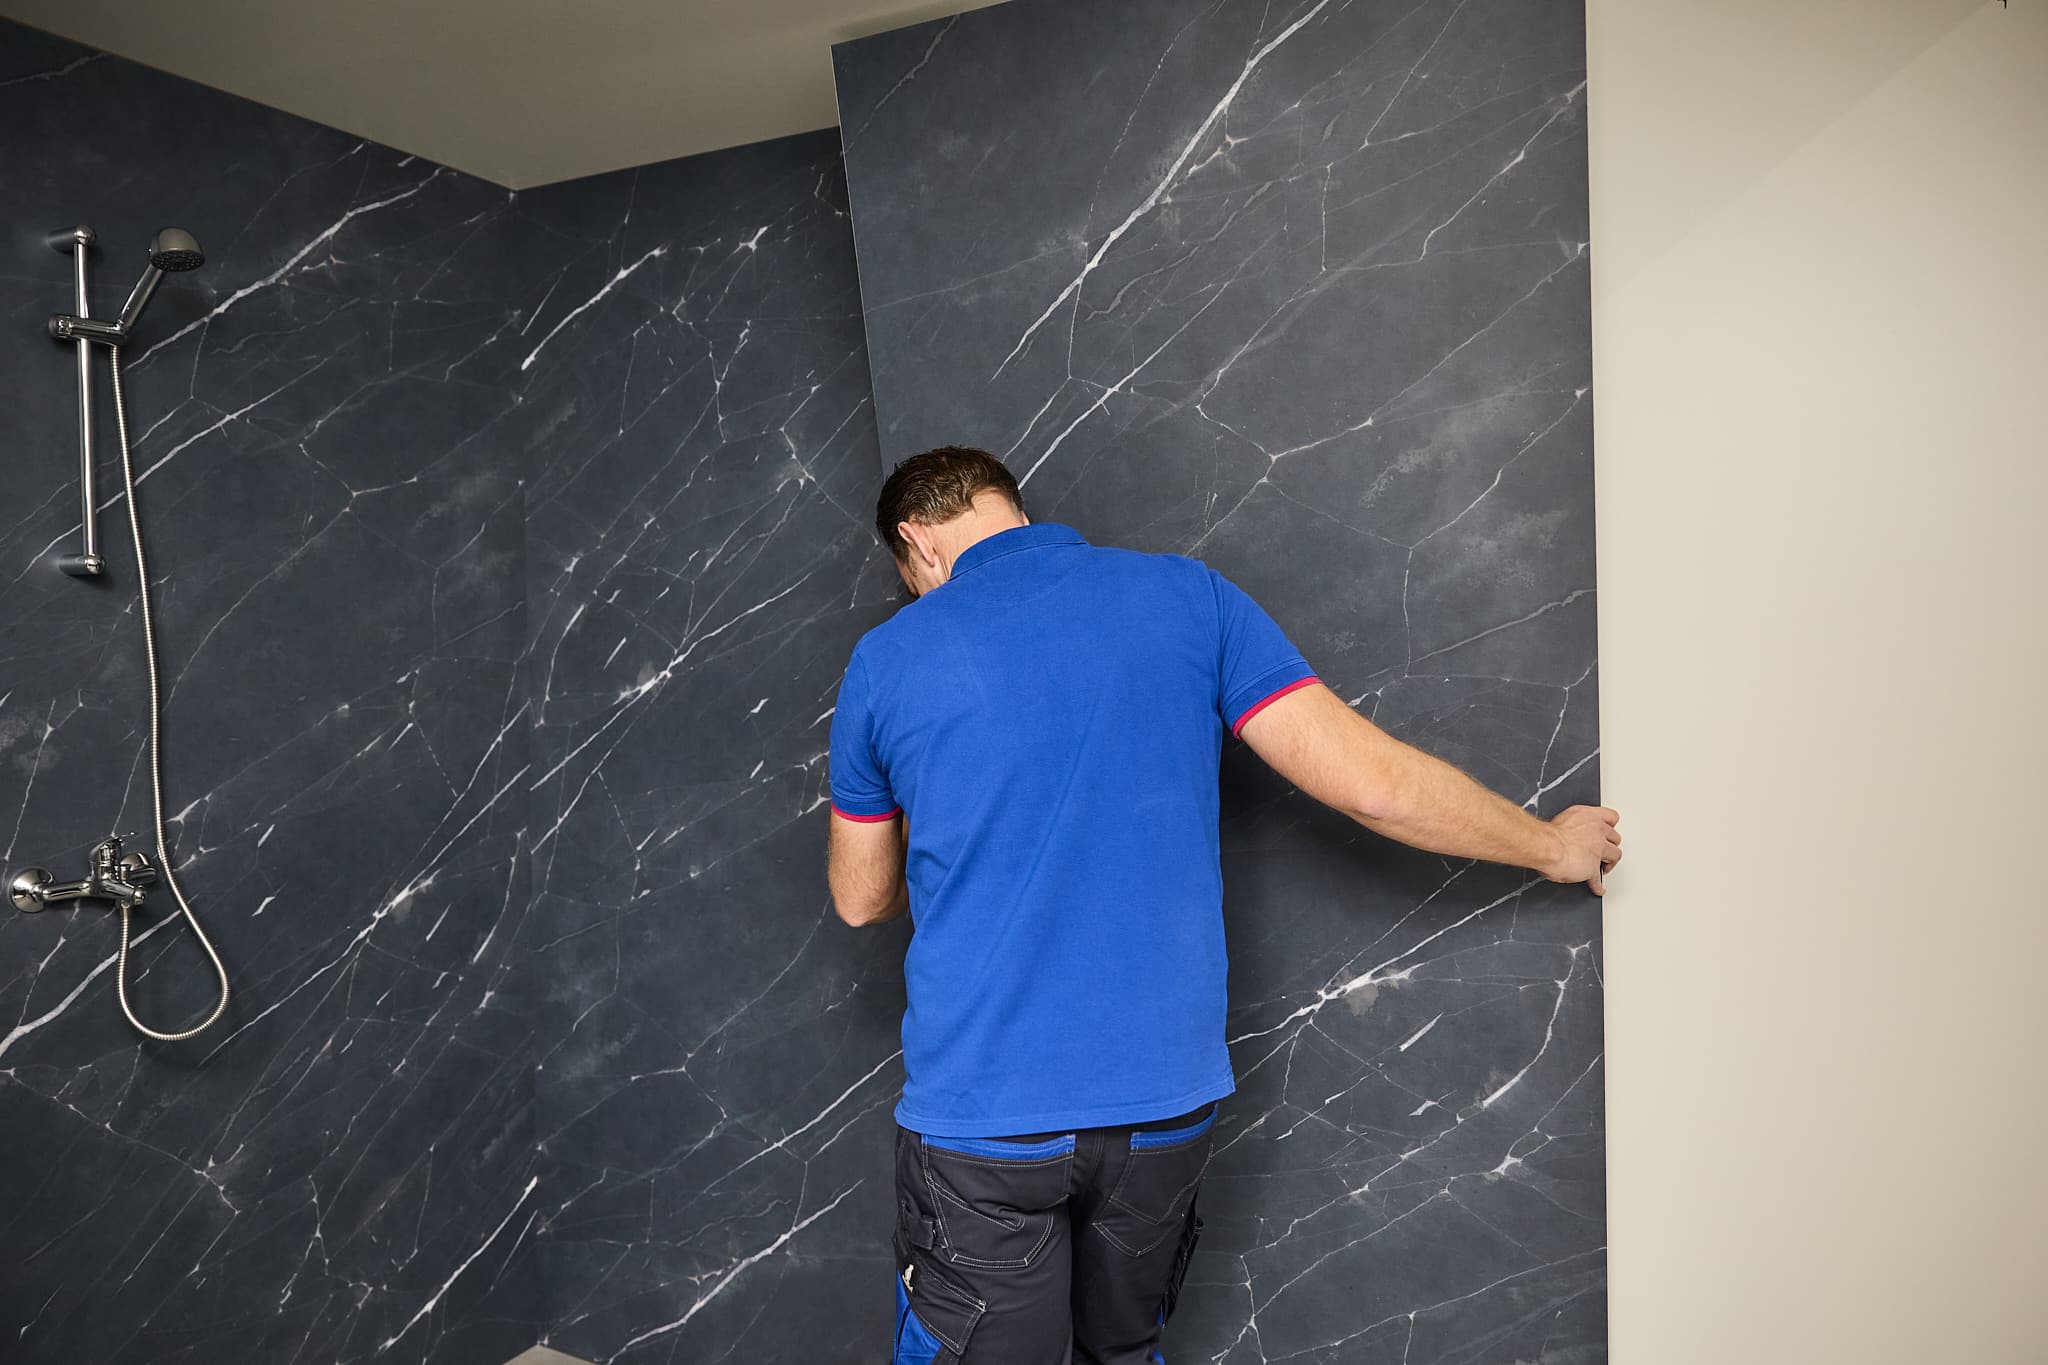
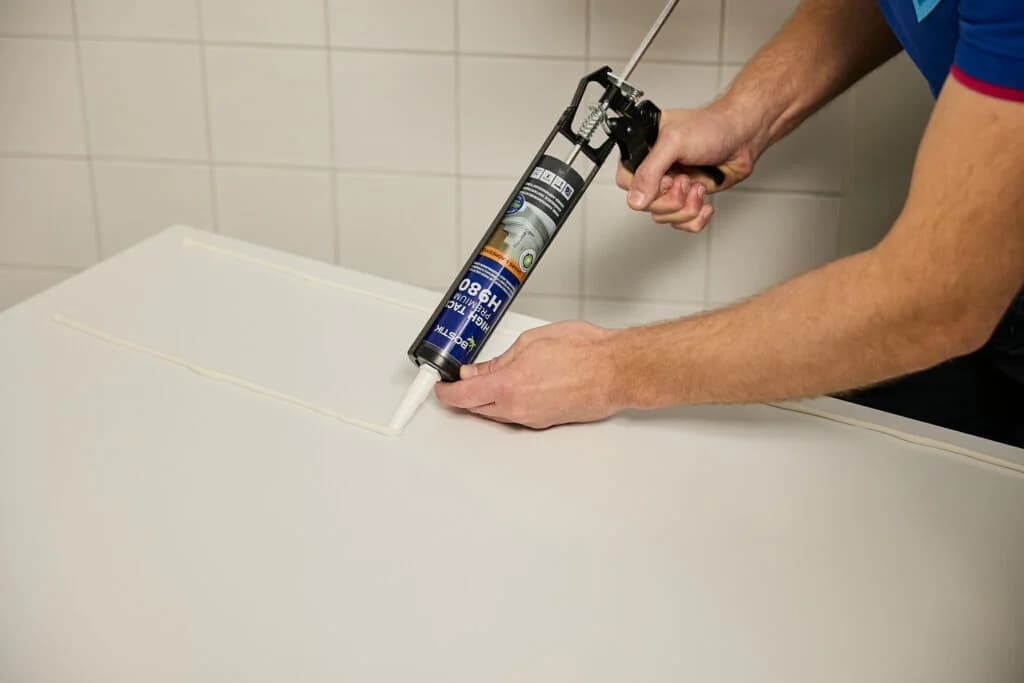
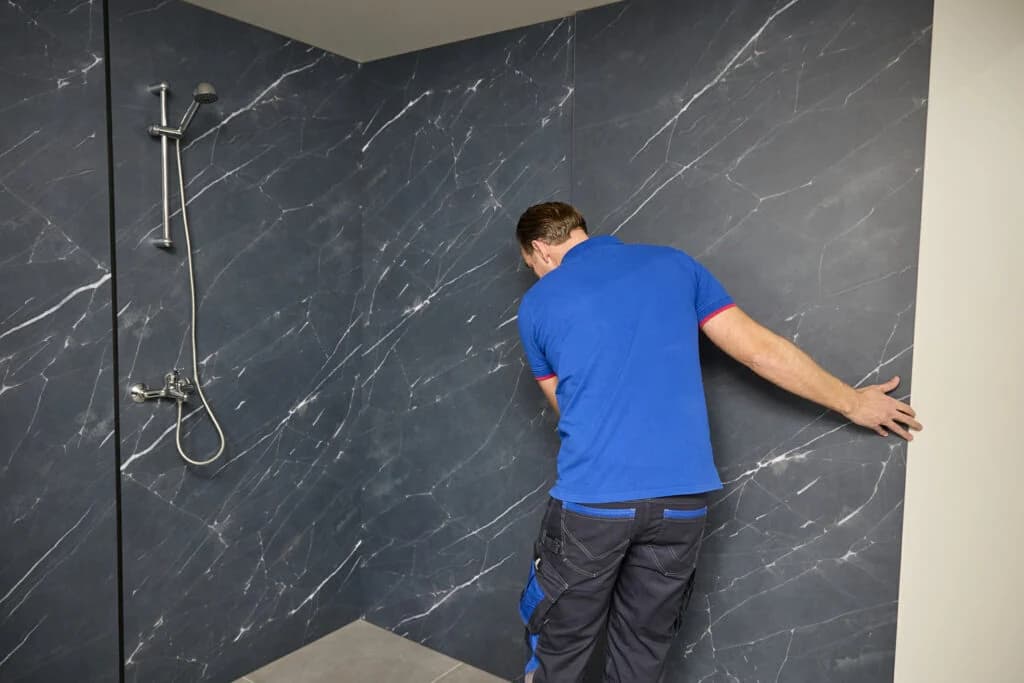
4) Fitting the wall panels
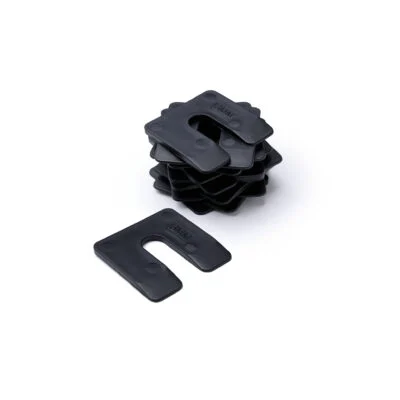
You can now place the panels. First, place the spacers to guarantee the 3 mm clearance — two per side. If you're using profiles, apply adhesive to the groove and slide the profile over the panel edges. Apply adhesive on the panel in lines 10 to 20 cm apart. Don’t forget to apply adhesive around cutouts, up to 1 cm from the edge. Repeat this for each wall panel, ensuring the use of profiles where needed. You can use these profiles to join panels, or at the end of a wall. Always add adhesive to the profile before sliding it onto the edge of a panel.
5) Finishing up
Remove the spacers only after the adhesive has fully hardened, which takes about 24 hours. Pull off the protective film from the visible side of the panels if you’ve chosen acrylic as your material. Finally, tidy up the edges and profiles with silicone sealant. Done!
Frequently Asked Questions
Get started with plastic wall panels from Plasticsheetsshop