Make your own acrylic vase: Here’s how
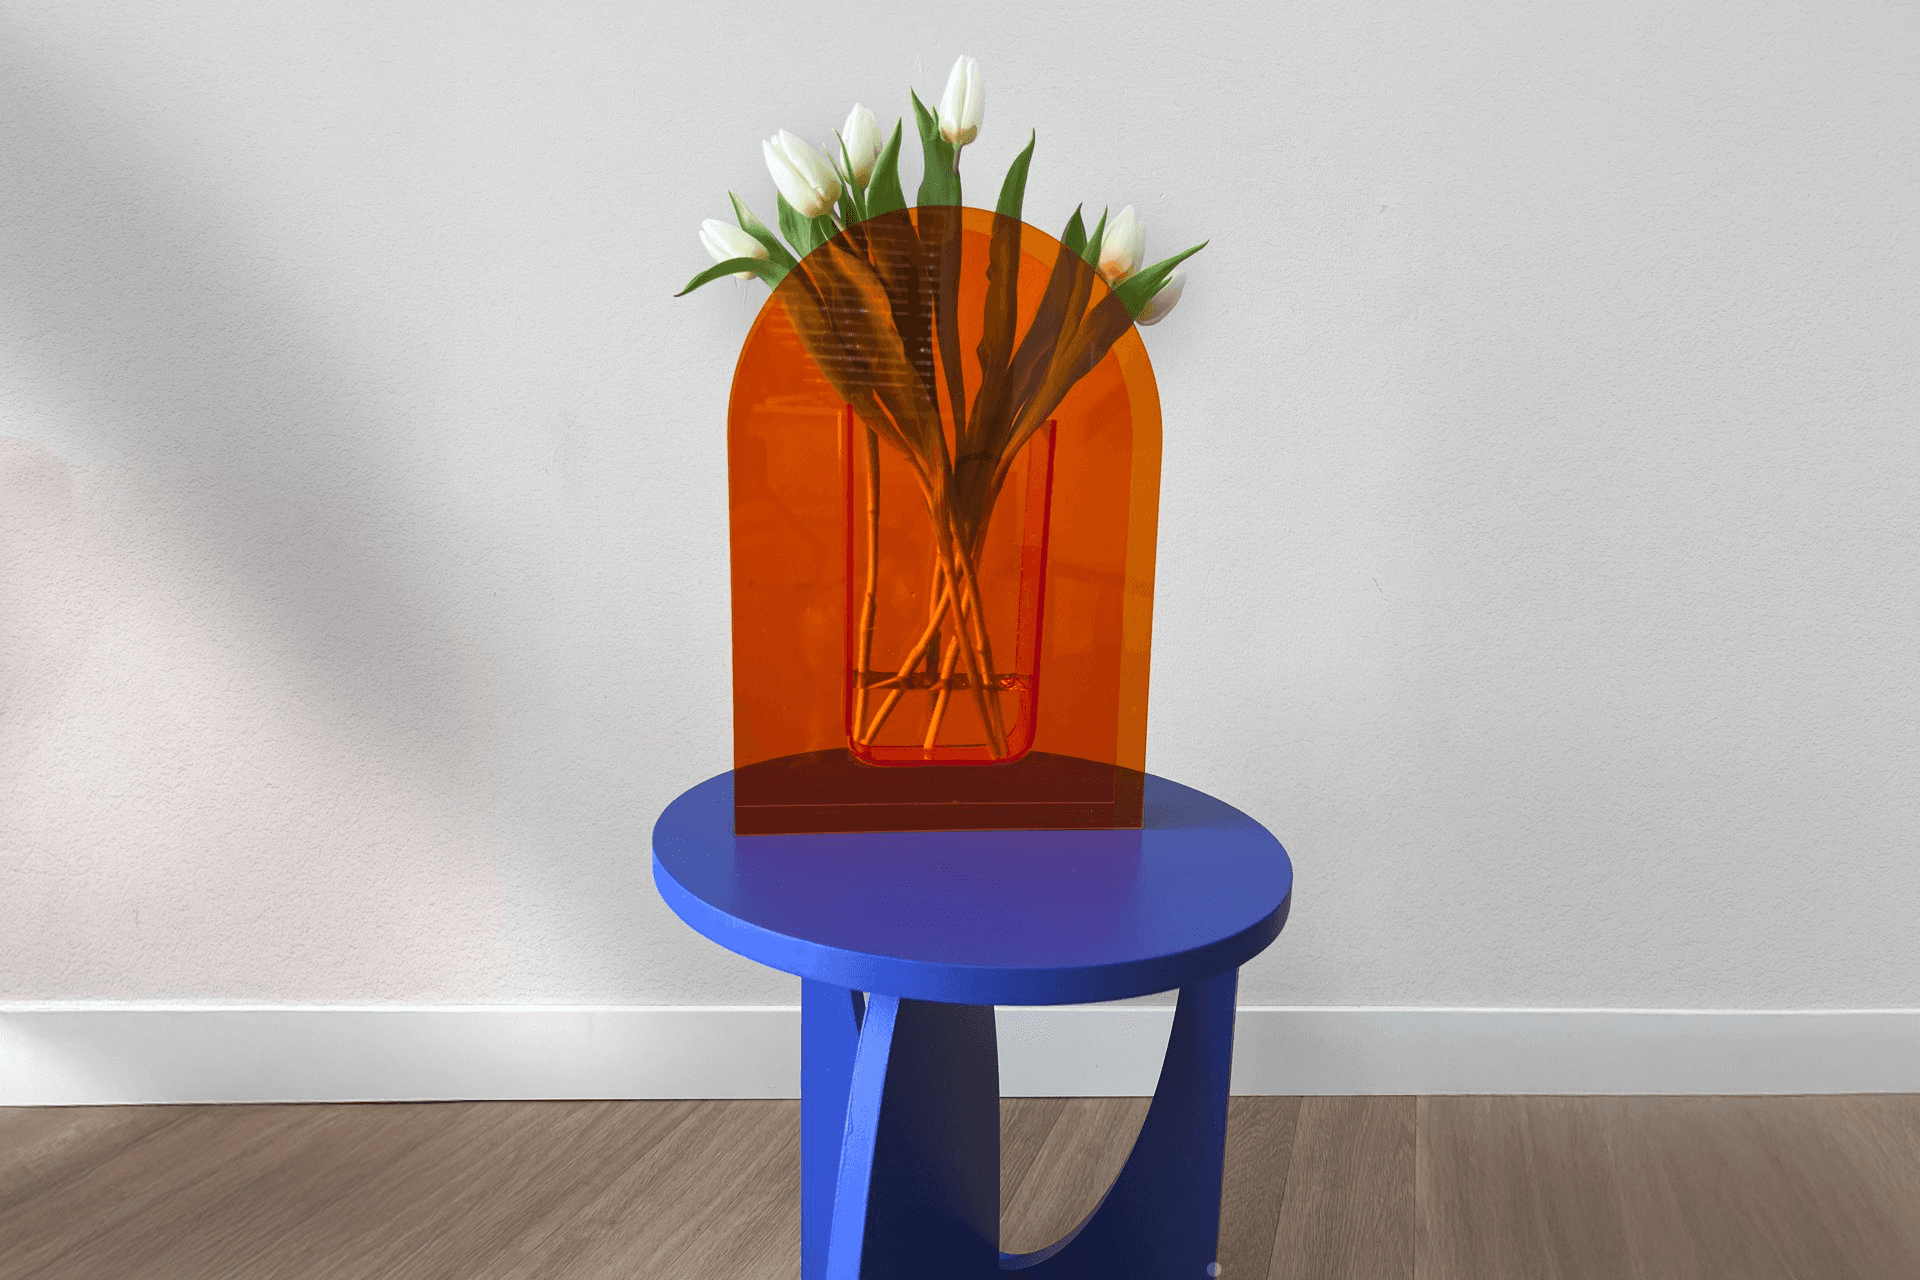
Want to create a stylish acrylic vase that fits perfectly into your home décor? With acrylic, it’s a breeze. This material is durable, easy to process, and perfect for beginners. In this step-by-step guide, we’ll walk you through assembling a unique vase in just 30 minutes. From ordering the components to bending and glueing—by the end of this guide, you’ll know exactly what to do.
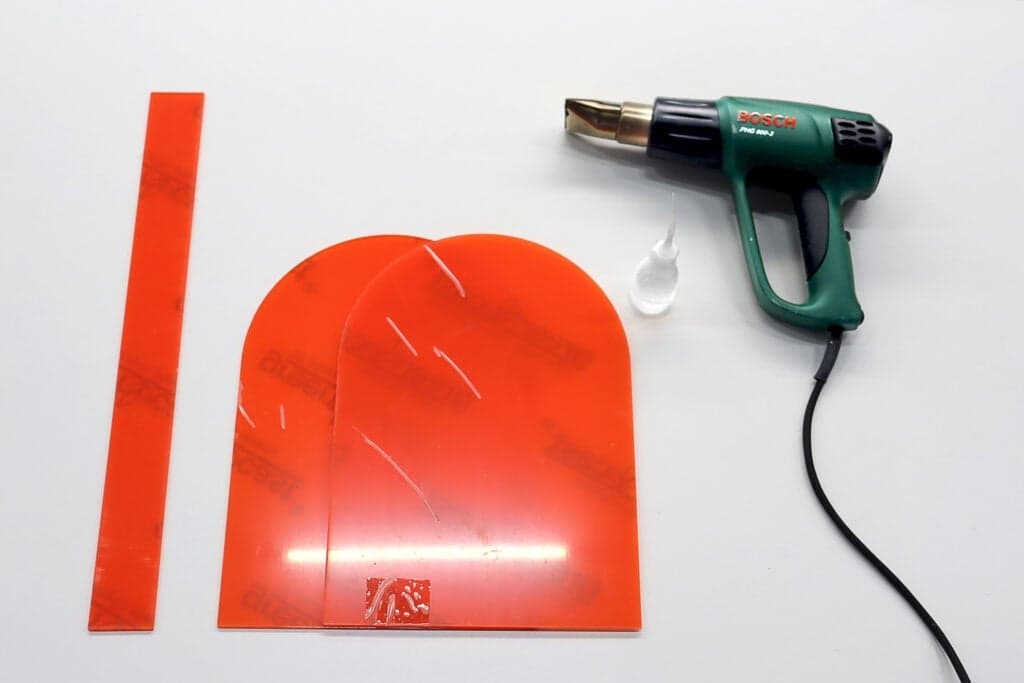
Supplies

Tools
- Heat gun
Materials
- Acrylic adhesive
- Wooden block
Step-by-step guide
1) Order your acrylic components
To create this vase, you’ll need acrylic sheets cut to specific dimensions. Start by designing your vase and determining the measurements required. In this example, the vase consists of two arched side pieces and a middle section. The arch pieces are rectangular with a rounded top, measuring 25 cm wide by 35 cm high. The middle section is a straight rectangular piece, 50 cm wide and 5 cm high.
Next, choose your preferred material and colour. We opted for tinted orange acrylic at 3 mm thick, giving the vase a fresh, contemporary look. Use the sheet calculator on PlasticSheetsShop to have your acrylic sheets fully customised to size. For optimal adhesion when gluing, it’s best to select milled edges for the middle piece. As for the arch pieces, laser-cut edges are recommended as they provide a clean and polished finish.
Once your order is placed, we’ll ensure that each component is cut to absolute precision — accurate to within a millimetre — so everything fits together seamlessly.
2) Bending the middle section
To create a smooth U-shape, carefully bend the middle section using the following process. Keep the protective film on to avoid scratches during processing. Heat the middle section (50 × 5 cm) with a heat gun. Move the heat gun steadily back and forth, keeping it about 10 cm away from the acrylic. Make sure the heat is spread evenly across the material to prevent cracks or an uneven bend.
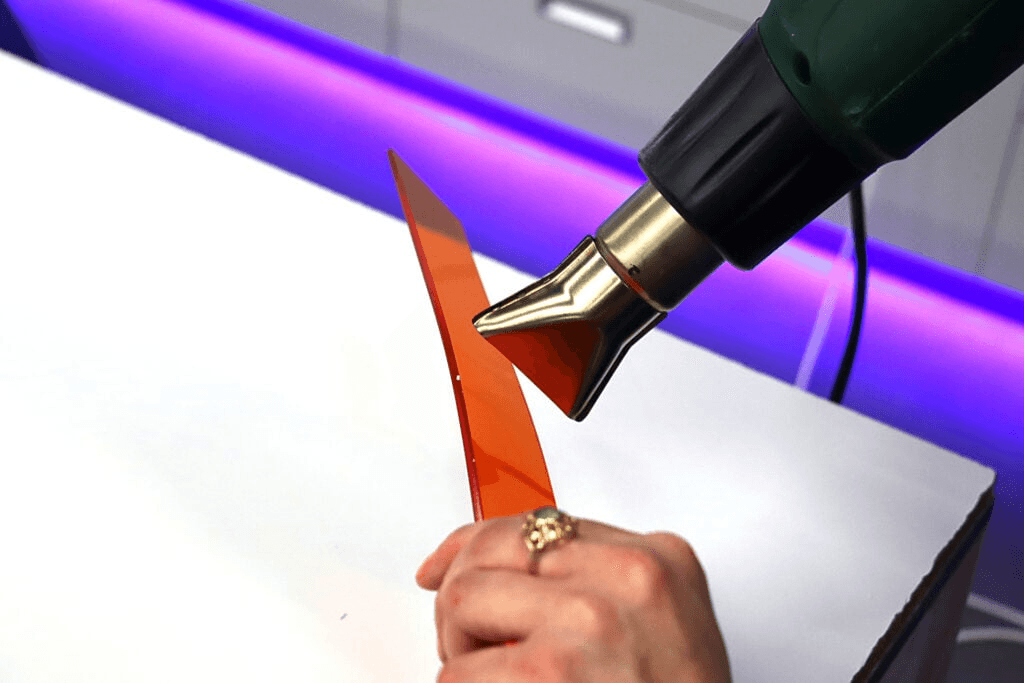
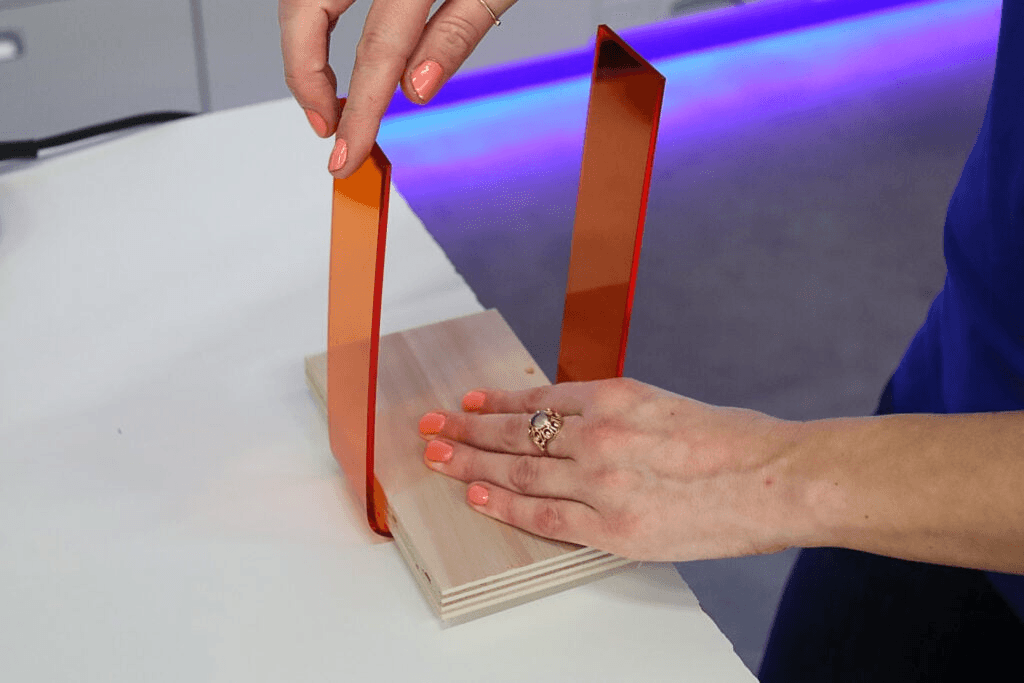
Once the material begins to soften, gently bend it at a 90-degree angle. Use a straight edge like a table or wooden block to help achieve a clean, precise bend.
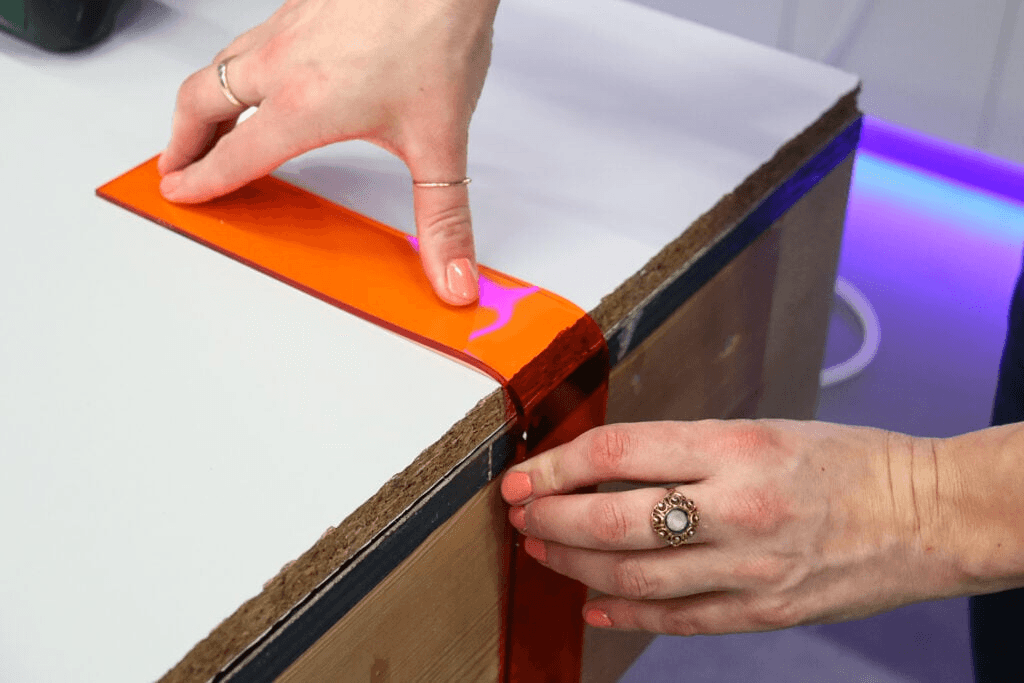
Allow the acrylic to cool and hold its new shape. Secure it using a wooden block or another sturdy object. After just a few minutes, the material will harden again. Repeat the same process for the opposite side, ensuring you form a neat U-shape. Again, use a wooden block to create the perfect 90-degree angle.
Once the bending is complete and the shape has fully cooled, peel off the protective film.
3) Gluing the acrylic pieces
The next step is to glue the pieces together using acrylic adhesive, ensuring your vase is both sturdy and watertight.
Preparation is key. Keep the protective film on all areas that will not be glued — this helps prevent scratches during the assembly process. Clean the edges that will be bonded using a microfibre cloth to remove any dust, grease or residue, allowing for optimal adhesion.
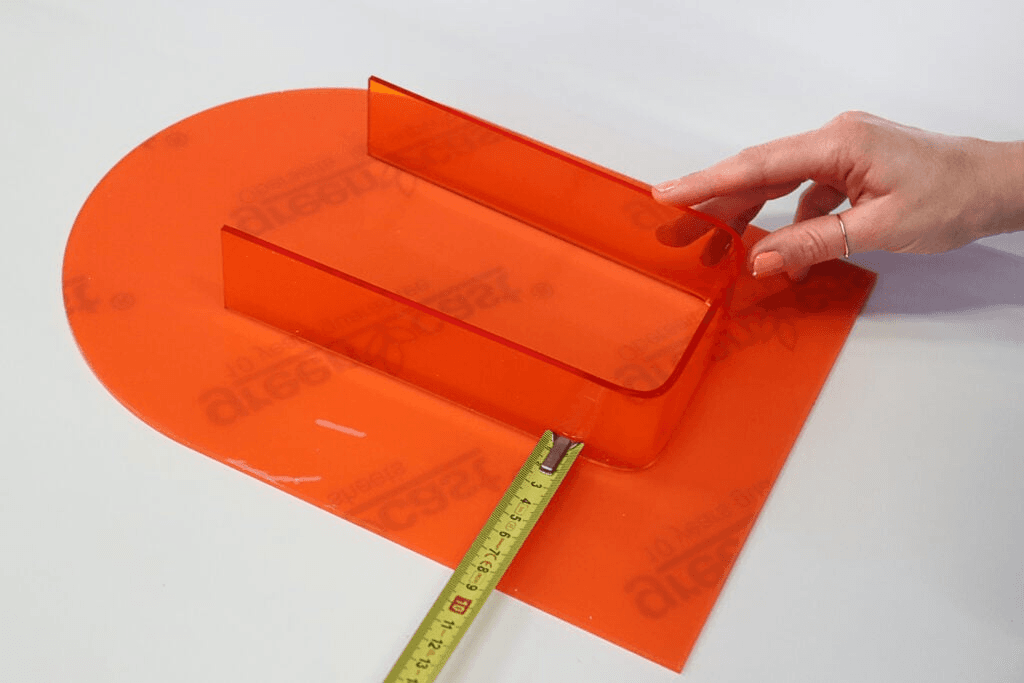
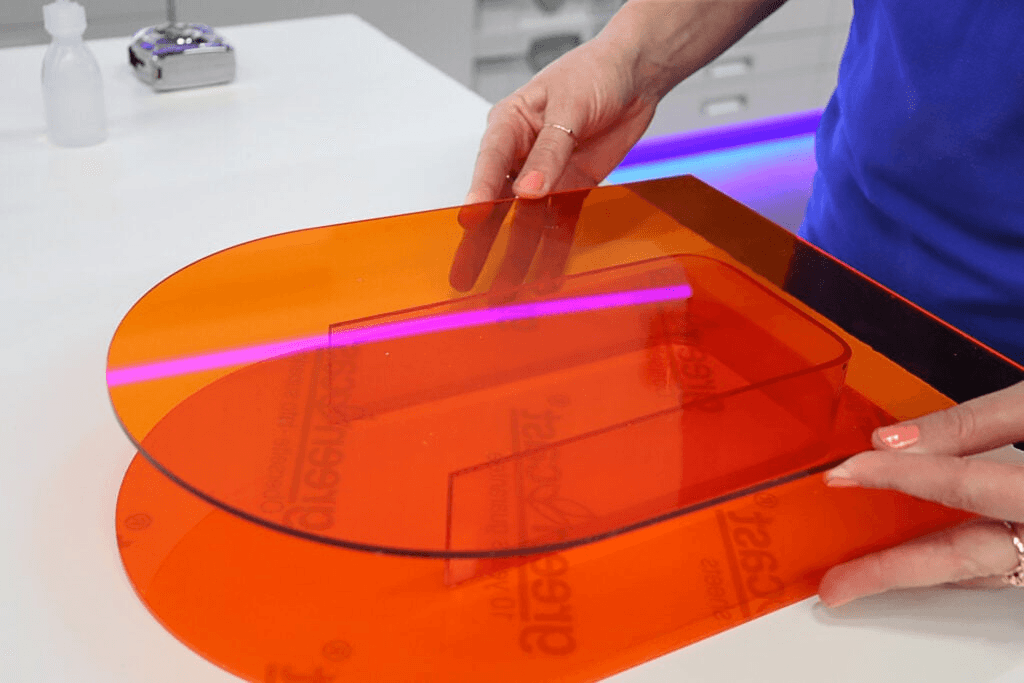
Positioning the parts begins with laying one of the arch pieces flat on your work surface. Carefully position the bent middle section, making sure everything aligns symmetrically. Take your time with this step, as precise placement will determine the final appearance and structural integrity of your vase.
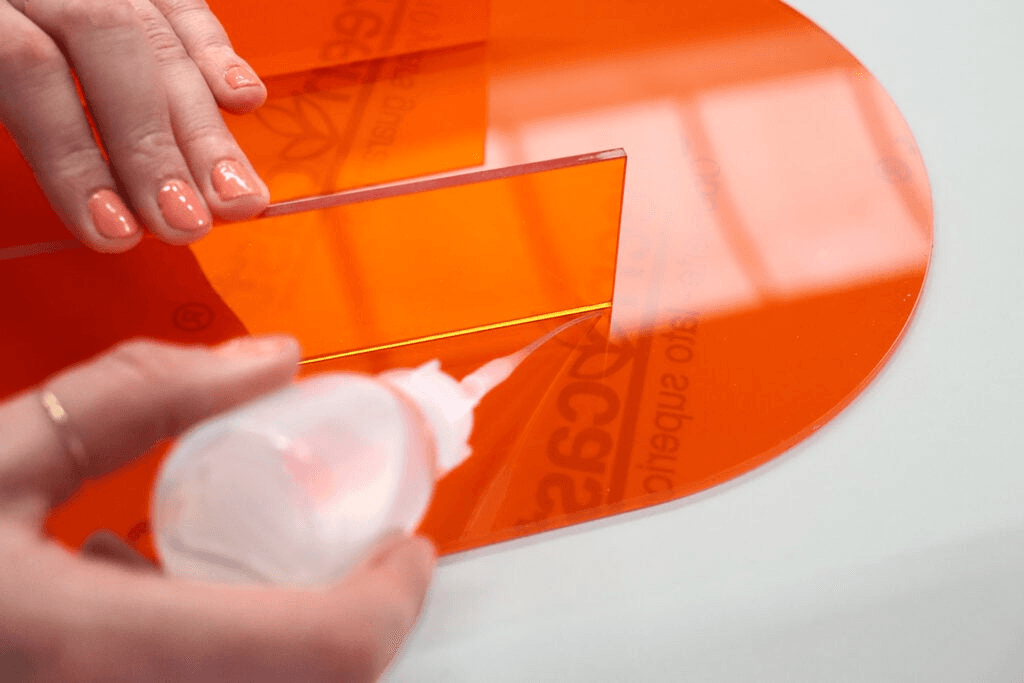
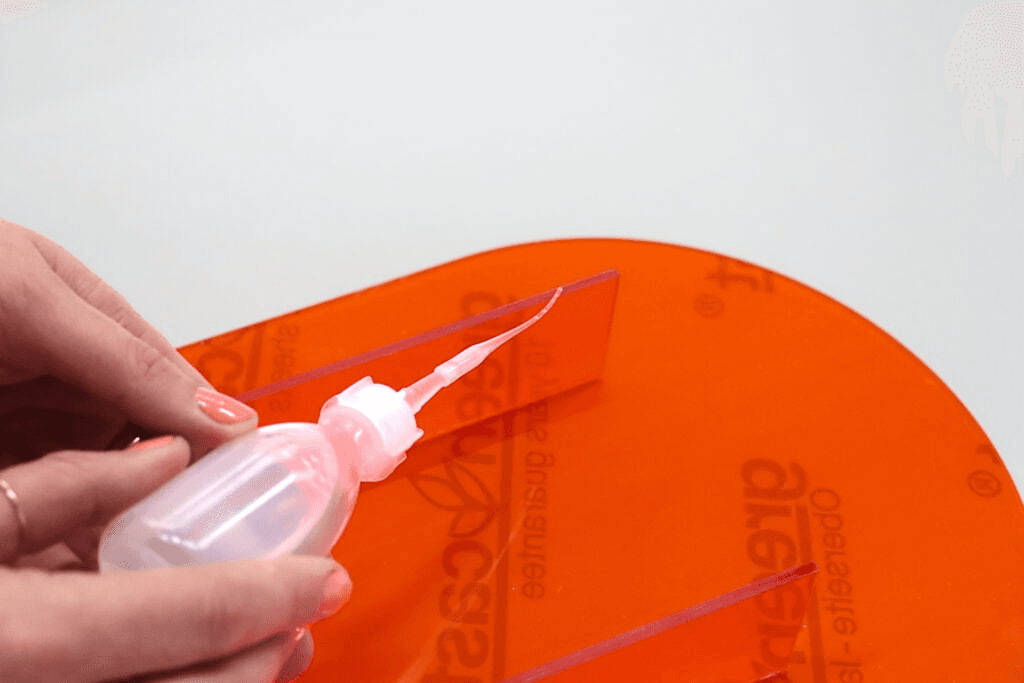
Apply small amounts of acrylic adhesive along the edges of the middle section. The glue sets quickly, so work precisely but efficiently.Allow this to dry for 10 minutes.
Apply adhesive to the top edge of the U-shape and carefully place the second arch piece in position.
Once everything is glued, weigh down the vase by placing a flat object, such as a book, on top. This ensures everything stays firmly in place as it dries.Allow the adhesive to cure for at least 24 hours at room temperature to ensure the joints are secure and watertight.
4) Finishing and cleaning
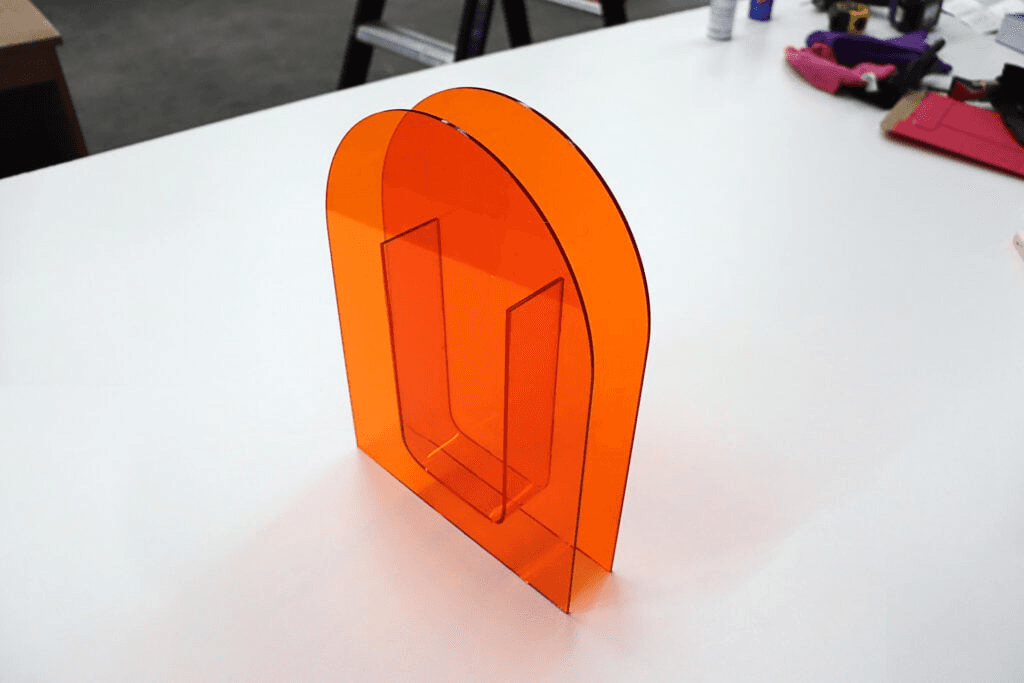
Your vase is now assembled, but there are a few final steps to get it completely ready:
Fill the vase with a small amount of water and check for any leaks. If you notice a leak, apply a little more acrylic adhesive to the seams. Allow this to cure for 24 hours and check again. Peel off the remaining protective film. Now you can fully admire the finished result.
Use Vuplex acrylic cleaner and a microfibre cloth to clean the acrylic without scratches. This removes dust, fingerprints, and any adhesive residue. It also gives your vase a crystal-clear, polished finish. Add fresh water and your favourite flowers to bring your handmade acrylic vase to life.
Frequently Asked Questions
Get started with acrylic projects from Plasticsheetsshop
Want to create your own acrylic vase? At PlasticSheetsShop, you can easily order panel material cut to size. With our precision cutting – accurate to the half millimetre – you can be confident that everything will fit perfectly. Whether you’re envisioning a modern vase, decorative pieces, or another creative acrylic project, we provide top-quality materials for the job. Start your project today and enjoy the process of making something unique with acrylic!