DIY: acrylic lamp

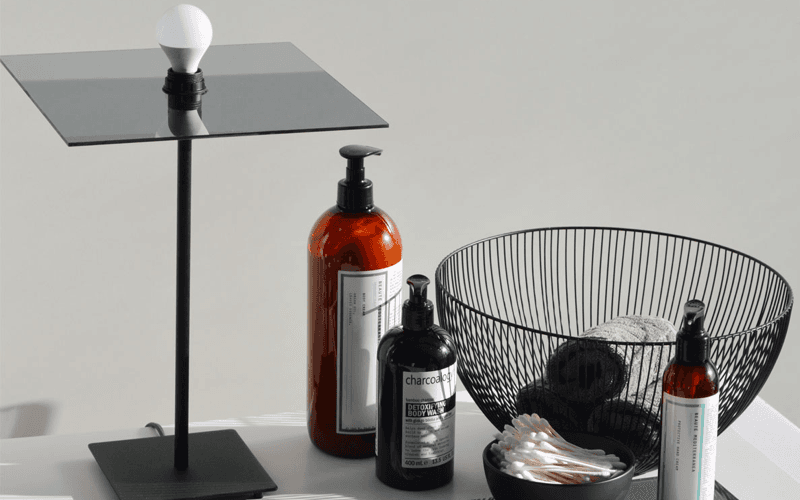
Who would have thought that making an acrylic lamp could be so simple? The statement ‘Less is more’ certainly applies to this project. With our tips, you can create an elegant and original table lamp in a few simple steps.
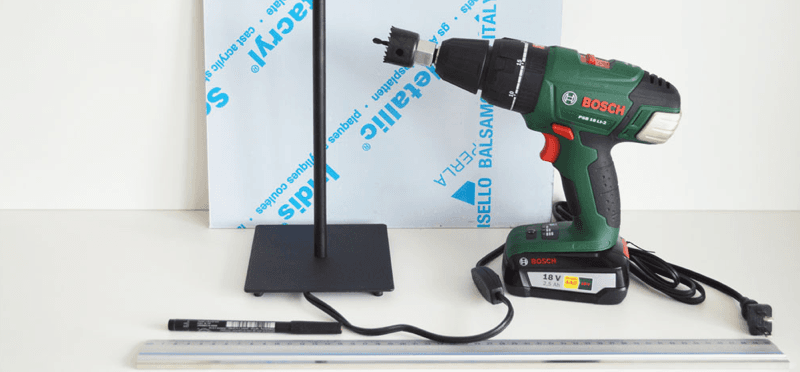
What do you need?
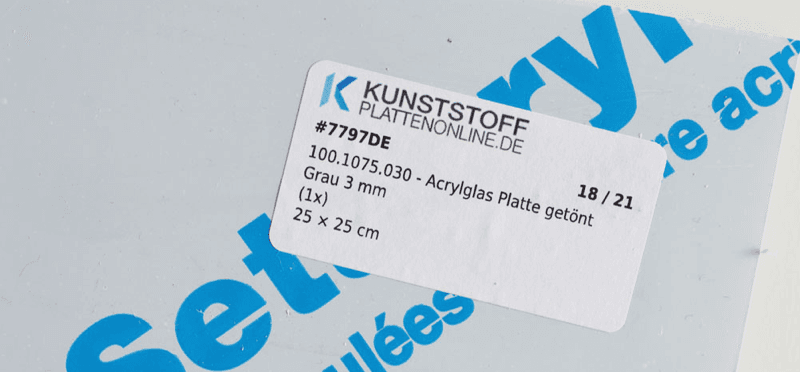
- grey-tinted acrylic sheet 3 mm
- A black table lamp fitting of +/- 35 cm high
- A drill with a hole saw attachment (diameter 30 cm)
- A marker
- A ruler
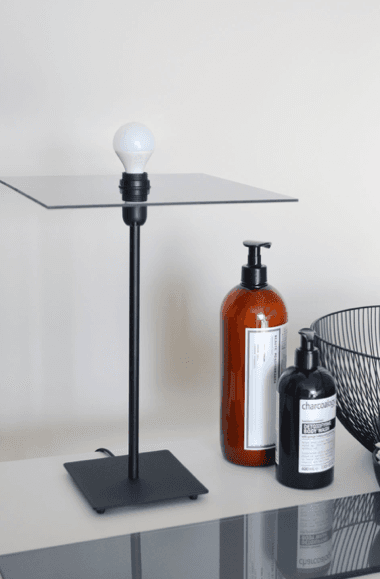
We have opted for a square, black table lamp fitting and a grey-tinted acrylic sheet. Of course, you can choose the colour of the acrylic and the shape of the lamp that best suits your interior decor. To ensure that the hole in the acrylic sheet is the right size, measure the diameter of the lamp fitting before drilling.
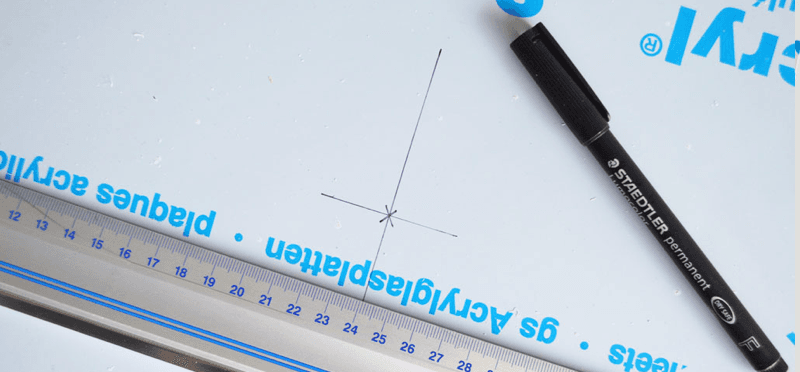
Step 1: Measure
Leave the protective film on the sheet until you have finished drilling. Use the ruler to determine the centre of the plate accurately and mark this point with the stylus.
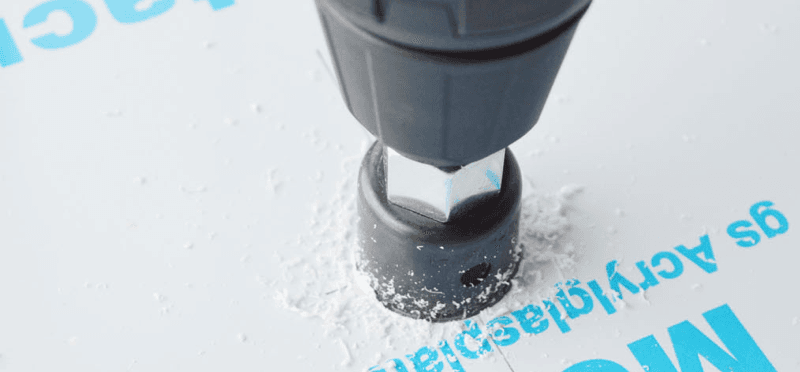
Step 2: Drill the acrylic
Now drill a hole so that the acrylic sheet fits over the lamp fitting. Make sure the sheet is well supported. For example, place it on a wooden plank where the drill can run out. For extra reinforcement during drilling, fix the sheet to the wooden plank. Carefully drill a hole in the middle of the sheet using medium speed. You can read tips about drilling this material in our blog about drilling acrylic sheet.
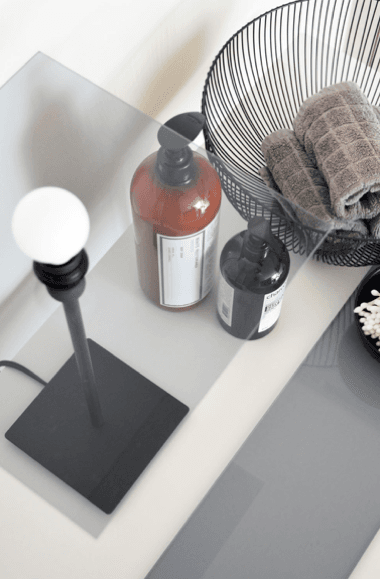
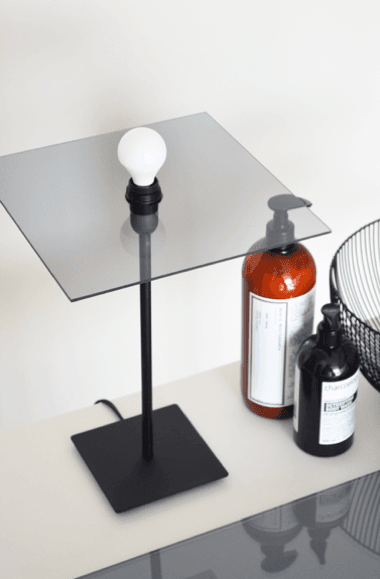
Step 3: Attach the acrylic
The acrylic sheet is now ready for fixing. Place it over the lamp fitting and tighten the screw ring so that it is secure. Screw in the lamp and your do-it-yourself plexiglass lamp is ready!
Are you looking for more acrylic decoration ideas? Take a look at our blog ‘Make your own office accessories‘. Acrylic sheet is available in many variants. If grey-tinted acrylic does not suit your interior decor, you can opt for transparent, coloured, matt or mirrored acrylic sheet.