Make your own XXL LEGO base plate from acrylic

DIY time
+/- 20 minutes
Level
Beginner
What you’ll need
Acrylic sheet 3 mm
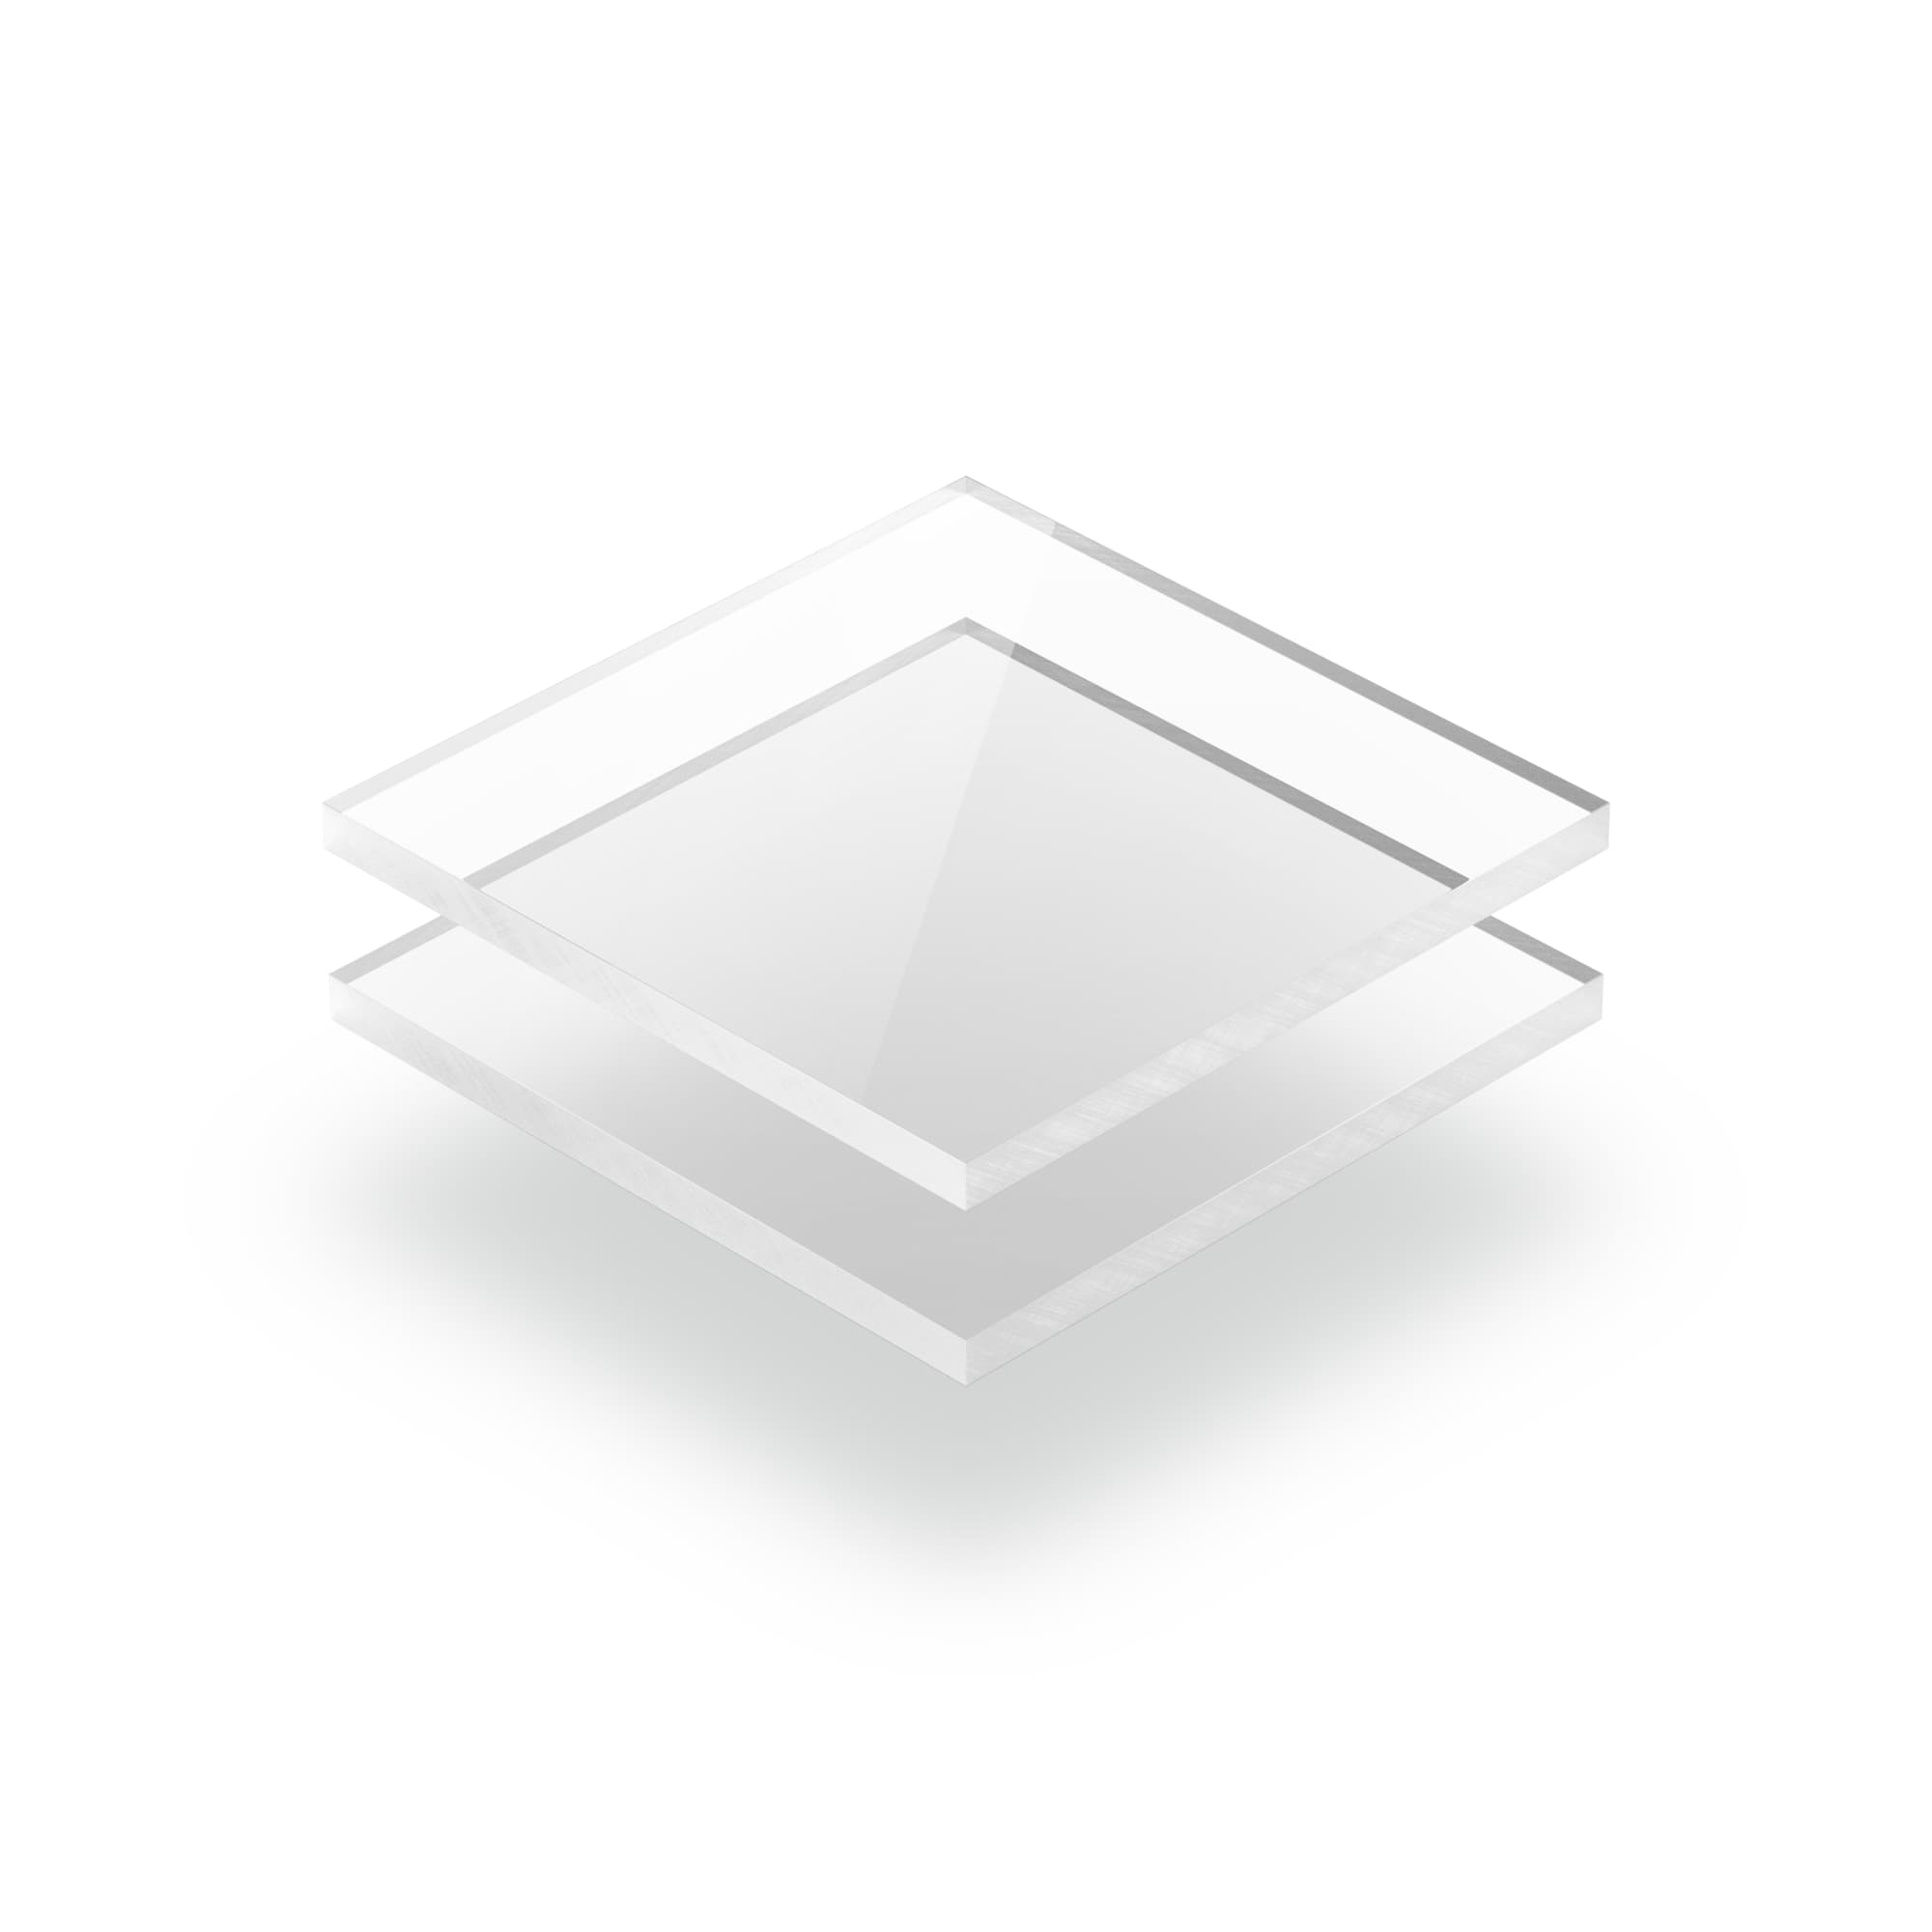
Acrylic sheet 3 mm
Bostik H780 adhesive
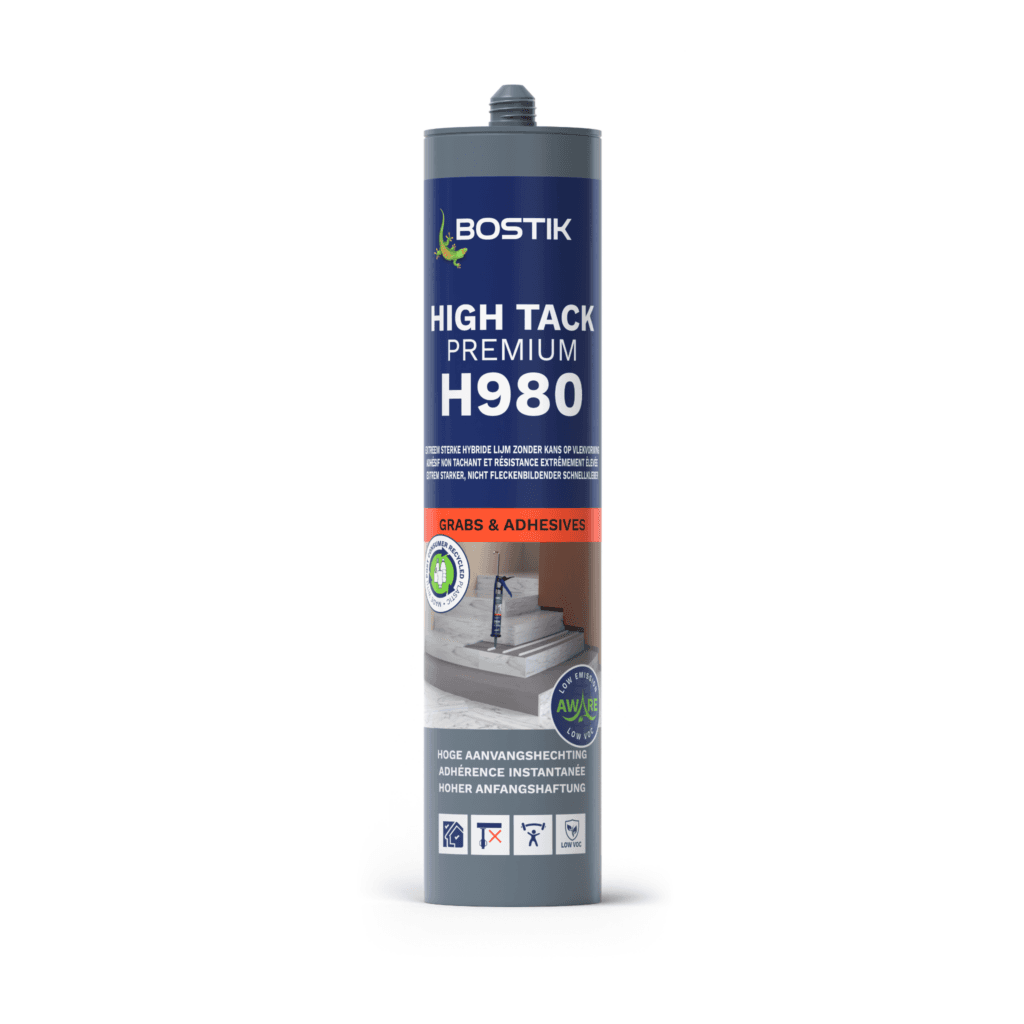
Bostik H780 adhesive
Tools
- Caulking gun
Materials
- LEGO base plates
- LEGO or Duplo bricks
Tip
Popular sizes are 100 x 100 cm and 50 x 100 cm. These dimensions are ideal for larger LEGO designs and complete landscapes. At PlasticSheetsShop, you can order a sheet to your exact measurements, accurate to a millimetre. This way, you’ll always have the perfect sheet size for your project.
Tip
Popular sizes are 100 x 100 cm and 50 x 100 cm. These dimensions are ideal for larger LEGO designs and complete landscapes. At PlasticSheetsShop, you can order a sheet to your exact measurements, accurate to a millimetre. This way, you’ll always have the perfect sheet size for your project.
Tip
Want to hang the base plate on a wall? Carefully drill holes into the acrylic or let us do this for you in advance. With the right wall brackets, you can create an eye-catching wall display for your LEGO sets while also saving space.
Tip
Want to hang the base plate on a wall? Carefully drill holes into the acrylic or let us do this for you in advance. With the right wall brackets, you can create an eye-catching wall display for your LEGO sets while also saving space.
Frequently Asked Questions

Arjen de VosArjen de Vos, a product expert and seasoned DIY specialist, brings a wealth of experience in interior construction to his role at Plasticsheetsshop. With over a decade of expertise in interior design and furniture making, he stands out as a versatile and knowledgeable professional in his field.
Share this article
Updated:
Published: