DIY: Make an acrylic table

When you go to IKEA, you rarely come home empty-handed. The well-known, budget-friendly LACK table by the Swedish furniture giant can be found in many homes. To give this table an original twist, you can cover it yourself with acrylic sheet. Below, we explain how you can turn this table into a stylish side table in a few simple steps. Making an acrylic table requires no tools and the job is done in no time. You can easily order the acrylic sheets you require in our webshop.
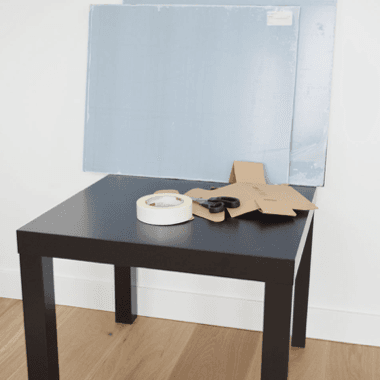
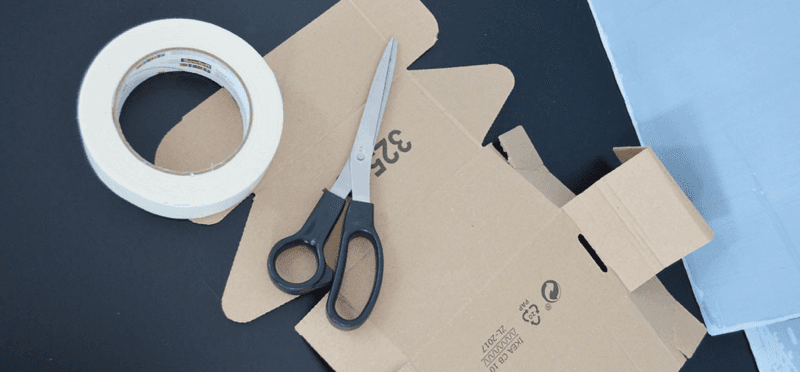
What do you need?
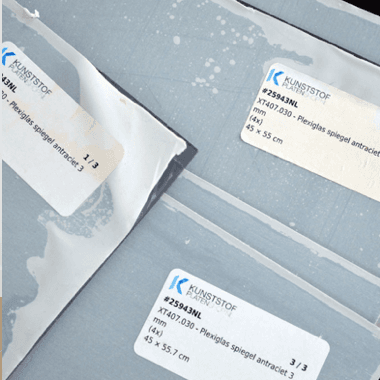
- mirrored acrylic sheets 3 mm thick
- 2 x 45 cm x 55.7 cm
- 1 x 55.7 cm x 55.7 cm
- 2 x 45 cm x 55 cm
- The LACK table from IKEA
- Cardboard of +/- 1 mm thick
- Scissors
- A knife/Stanley knife
- A cutting mat
- A roll of double-sided tape (as thin as possible)
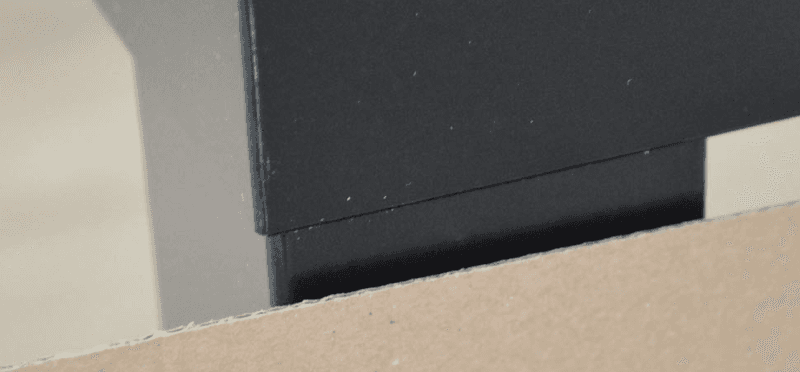
Why do you need cardboard?
The table top protrudes about 1 mm on all sides. To be able to stick the acrylic sheets straight, fill this space with pieces of cardboard.
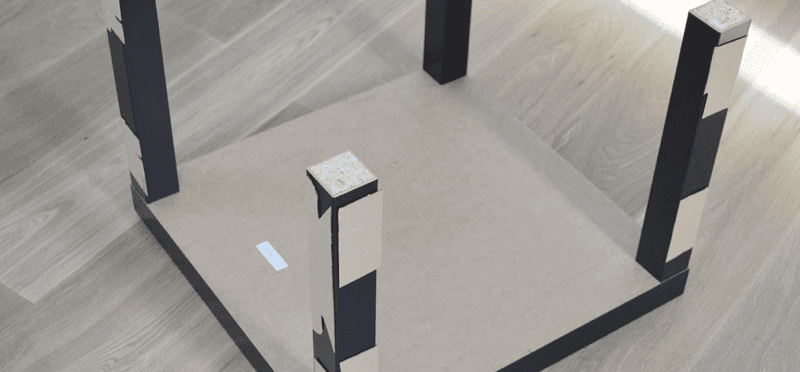
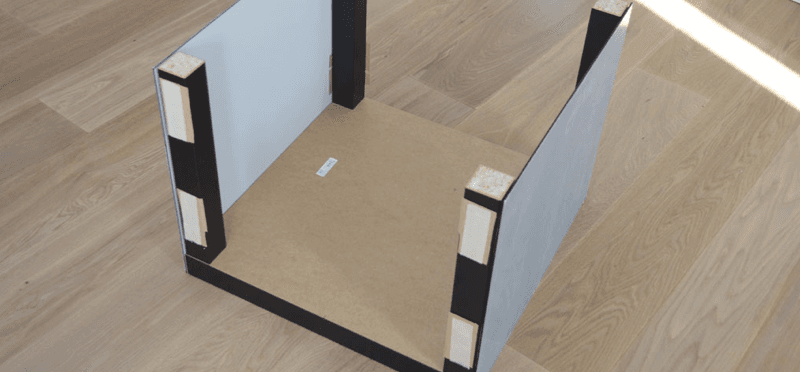
Step 1: Stick the cardboard
Start by cutting the cardboard strips and then stick double-sided tape on them. It is important that this tape is as thin as possible. If the tape is too thick, it protrudes and it is not possible to stick the acrylic neatly. Place the cardboard on the outside of the table legs and stick double-sided tape on all pieces of cardboard. You will attach the acrylic sheets to this later.

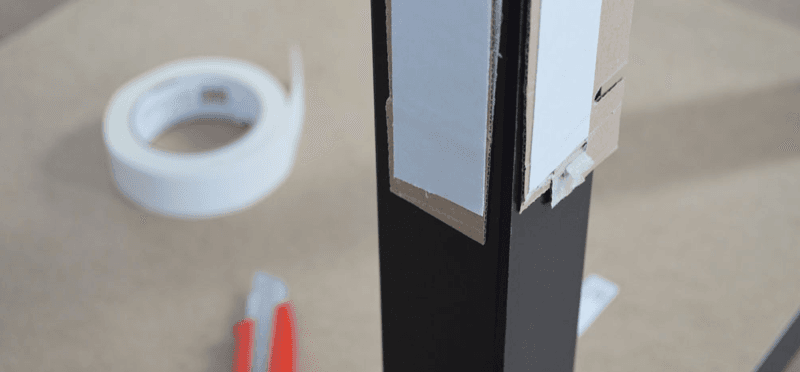
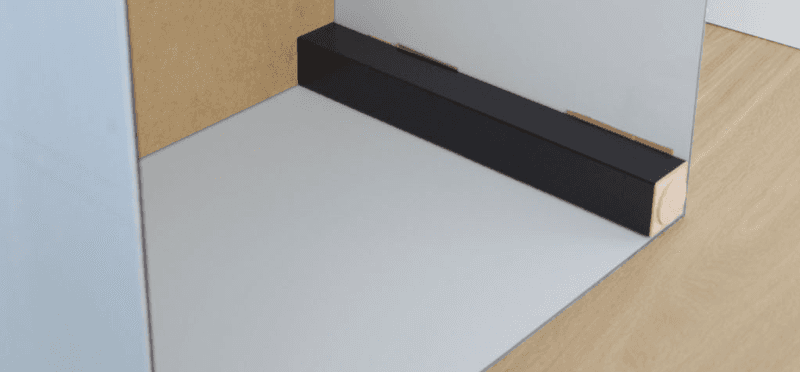
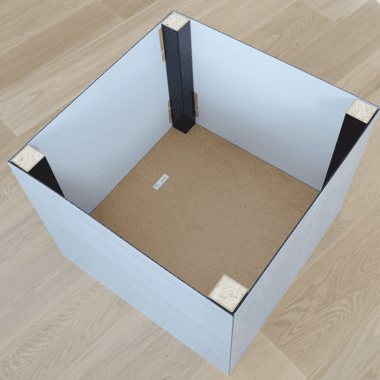
Step 2: Stick the sheets together
Turn the table upside down so you can be sure that the acrylic sheets will be flush with the table top. First, attach the two smallest sheets. Leave the protective film on one side and place the other side against the double-sided tape, as in the photo below. Hold the sheet in the lower left and right corners so that you can feel whether it is flush with the table legs. Press the sheet against the floor and against the tape. Then attach the two larger sheets in the same way.
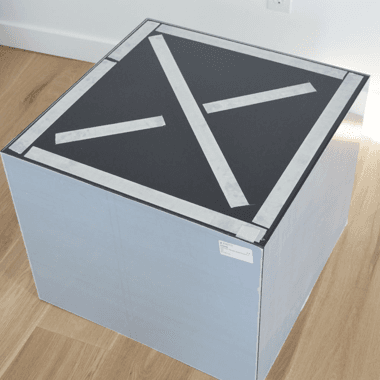
Step 3: Attach the top
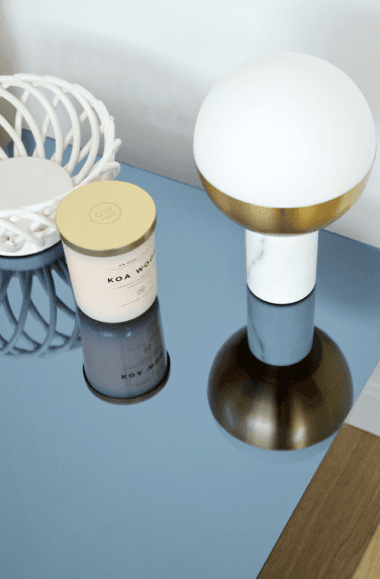
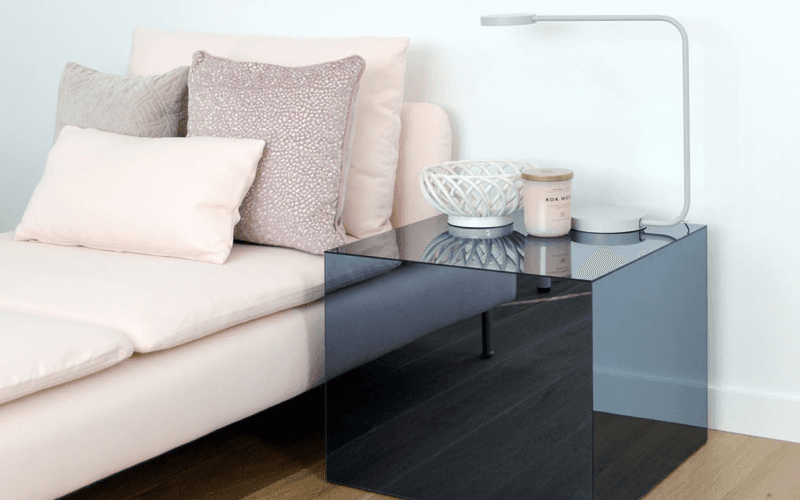
Turn the table over and stick a few strips of double-sided tape on the surface of the table top. Place the largest acrylic sheet on it. If you have followed all the steps correctly, the sheet will fit precisely and connect neatly to the sides at all edges. Now remove the protective film and your new and original acrylic table is ready!
Acrylic sheet is available in a wide range of colours. If mirrored acrylic does not suit your interior decor, you can choose from various coloured and matte versions. Do you want to make a different size table? No problem, we always cut acrylic sheets tailored for your requirements. Take a look at our blog section for more tips and DIY ideas.