
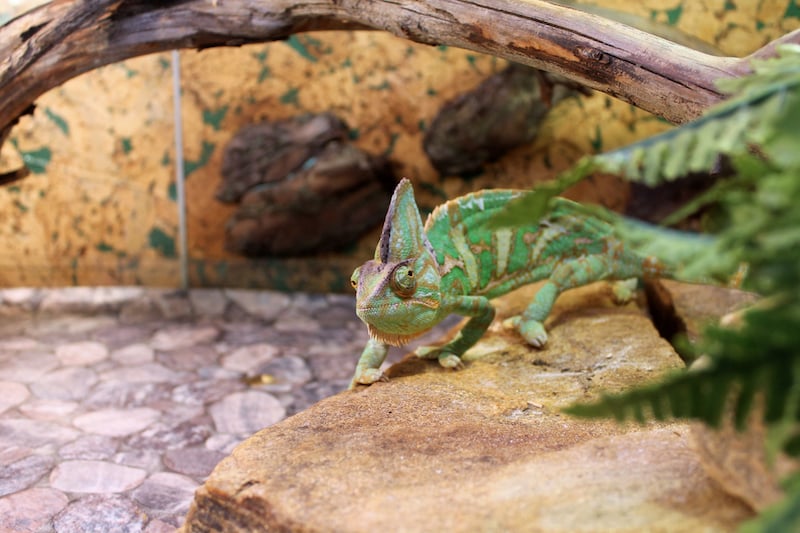
There are numerous options for making a terrarium, but acrylic sheet is the perfect material for this project. It has several advantages over standard glass: it is 30 x as strong and weighs only half as much. It also lets through more light than traditional glass. In our DIY blog, we’re going to demonstrate how to make a simple, open terrarium using acrylic sheet (PERSPEX®). This container is ideal for keeping gerbils, insects and reptiles and may also be used for keeping turtles.
Before you begin building your acrylic terrarium…
Unlike with an acrylic aquarium, when constructing a terrarium, you don’t need to worry whether the tank is watertight. The construction method is very similar. If you’re opting to make a paludarium, we recommend using a transparent sealant to seal the joints. A plastic terrarium offers optimal conditions for keeping reptiles, insects or plants. Usually, terrariums are closed and provide the correct ventilation and humidity needed by your pet. Before you start, we advise you to do a little research to find out the conditions required by your pets. We’re now going to explain how to make the base of your terrarium.
Supplies for building the terrarium:

The basics of making a terrarium for animals
In our example, we’re going to show you how to make the base for a 63-litre, open terrarium, using clear acrylic sheet (cast) with a thickness of 8 mm. The dimensions of our terrarium are as follows: 60 cm wide x 35 cm high x 30 cm deep. Naturally, you can make your terrarium larger or smaller than this, as the size will depend on the type of animal and how many of them you want to keep in it.
The measurements of the acrylic panels:
- Long sides: 2 x 8mm acrylic sheet, clear, 60 x 35 cm
- Short sides: 2 x 8mm acrylic sheet, clear, 28.4 x 35 cm
- Base: 1 x 8mm acrylic sheet, clear, 60 x 30 cm
Step 1: Decide on the size of your terrarium
Before starting to construct your terrarium, it’s essential to consider the volume and dimensions of the container. Always remember this rule: the larger the container, the thicker the PERSPEX®. Always use cast acrylic sheet, rather than the cheaper extruded type. It’s also helpful to decide in advance whether you want to make an open terrarium to which you can later add a lid or if you wish to make a closed terrarium with sliding doors at the front. You will also need sliding profiles for the last option.
| Volume of terrarium | Thickness of acrylic sheet |
| Container up to 100 litres | Sheet thickness 8 mm |
| Container up to 200 litres | Sheet thickness 10 mm |
| Container over 200 litres | Sheet thickness 12 mm |
Step 2: Order the acrylic sheet for your open terrarium
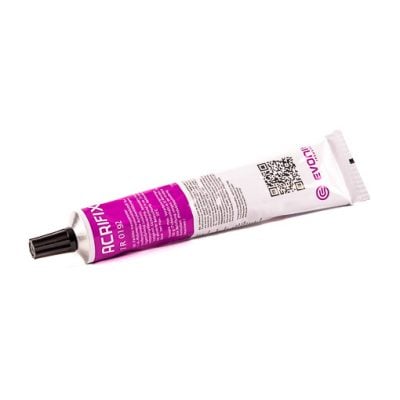
Once you’ve decided on the measurements of your plastic terrarium, order the acrylic sheets directly from our webshop. We cut them to size free of charge, using special machines that cut cleanly. This makes it very easy to join the panels using Acrifix acrylic adhesive, which fuses the panels together. Glueing PERSPEX® with Acrifix is therefore also referred to as “cold welding”. Read more about it in our blog: Glueing acrylic.

Once your acrylic sheets have been delivered, you can start building your terrarium. For a professional-looking finish, we recommend polishing the visible edges of the front and back walls. View our blog how to polish acrylic glass for a clear explanation.
Step 3: Assemble your terrarium in a clean, dust-free environment
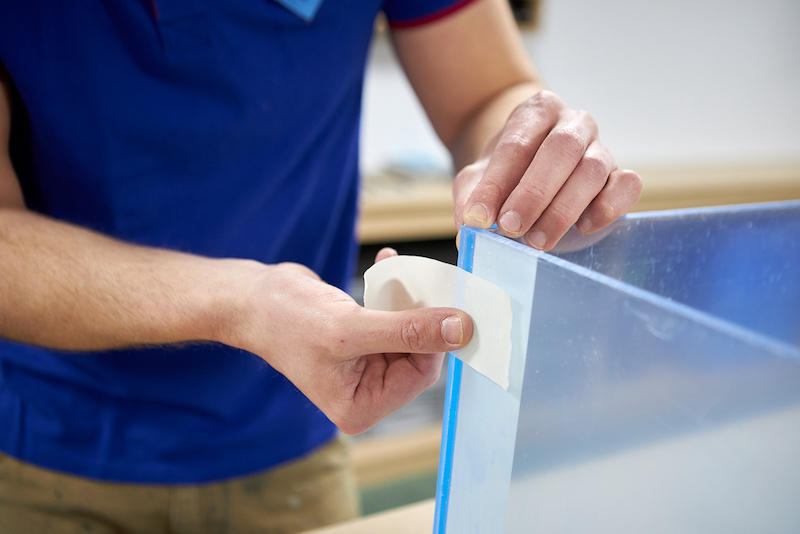
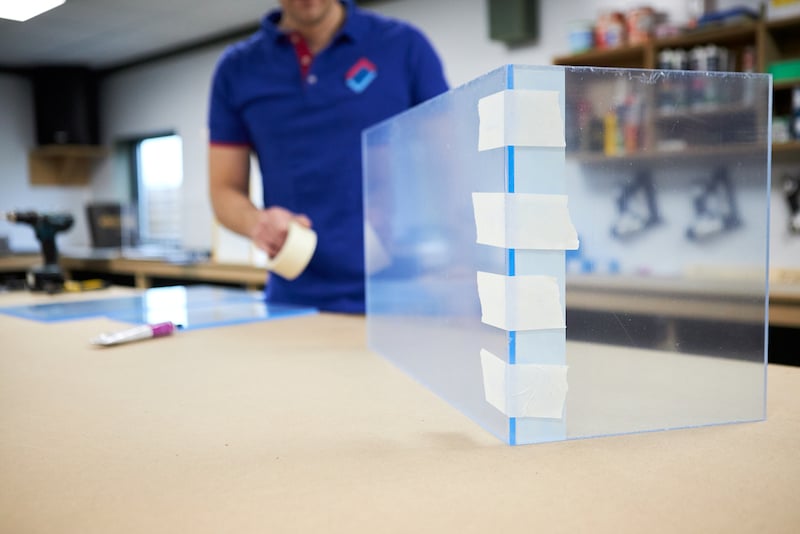
Place the acrylic sheets on a flat, grease-free surface. To prevent any damage, place a thin, soft cloth underneath them. Then remove the protective film from the inside of the bottom panel and one of the sides. Stick masking tape 8 mm (the thickness of the acrylic) away from the edges that you’re going to bond. Do this on all the panels. Masking tape prevents staining with excess adhesive.
Good to know: When using Acrifix, you simply let the adhesive air-dry. Never rub! If you do this, you will create a permanent haze on the PERSPEX®. In the video below, you can see step by step how acrylic glass bonding works.
Step 4: Glueing your terrarium
Assemble your terrarium on a flat, stable surface. Prepare the masking tape with which you will fix the panels, as you can see in the pictures below. Place a support block on the bottom panel and put on your vinyl gloves and safety glasses.
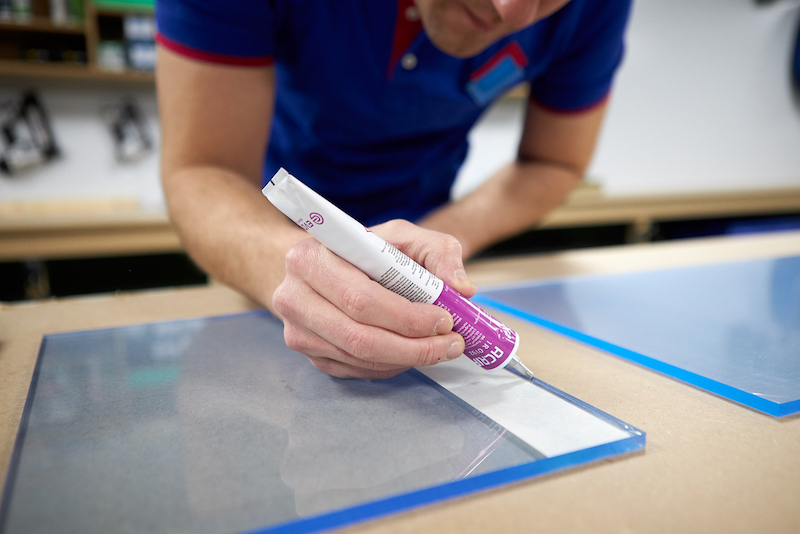
Now apply the Acrifix adhesive to the short side of the bottom panel. Then place the side panel against the bottom panel. With the help of the masking tape, fix the sidewall to the base plate, so that it is perfectly perpendicular to it. Then let the adhesive react for at least 20 minutes. Acrifix is a reaction adhesive that allows the panels to fuse together.
Wait 20 minutes…
After 20 minutes, carefully proceed to place the front or back wall. Apply the Acrifix on the short side of the side panel you just fixed, and along the short side of the bottom. Place the back wall against the side panel and base. Fix the wall with the support blocks and check that it’s square. Fix the back wall with tape and align it against the side panel.
Wait another 20 minutes…
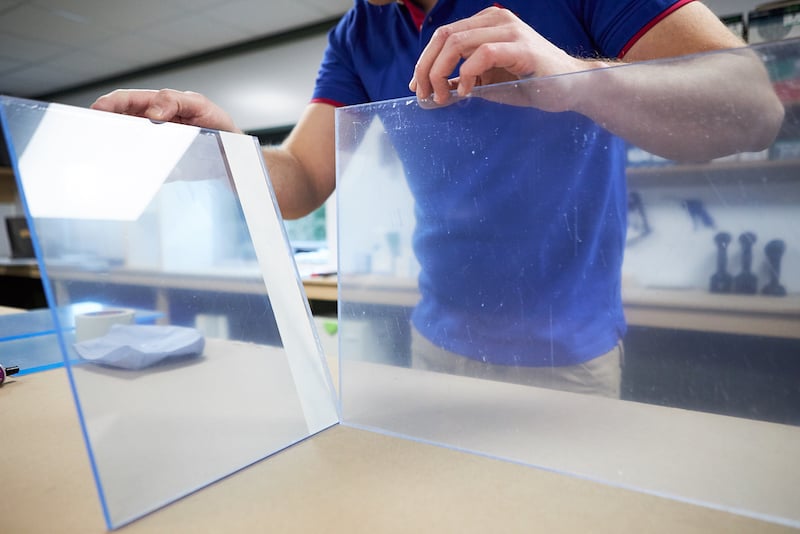
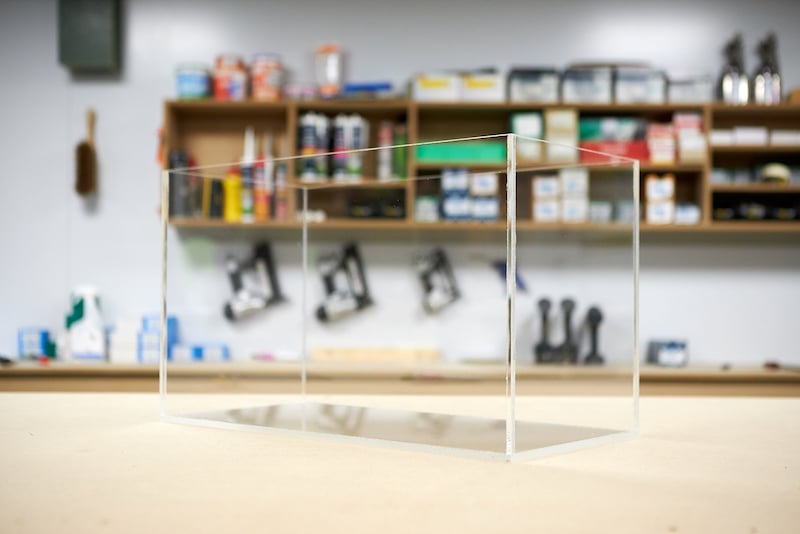
Wait another 20 minutes before attaching the remaining walls in the same way. You can place the last side and front wall in one go. If you have correctly aligned and levelled the first two walls, it will be easy to position and attach the final two. Now, wait 3 hours for the Acrifix to harden completely. The base of your open terrarium is now ready to use.
Step 5: Make a lid for your terrarium
You can construct a lid for your terrarium in endless ways. The simplest version is a lid consisting of a wooden frame and mesh. Cut it neatly to size and make sure the cover fits your terrarium properly. If you prefer something weightier, use custom HPL panels and mesh for your DIY terrarium.
Setting up your terrarium
Before you can start using your terrarium, you must ensure that the temperature, ventilation and lighting are correctly set up. What exactly is required will depend on the animal. It is therefore advisable to do your research carefully before your beloved pets take up residence in your homemade terrarium.
More terrarium ideas: adding a terrarium background
A background gives your terrarium more depth and makes it look even more beautiful. There are endless possibilities for creating a terrarium background. Get creative with resin, plaster or styrofoam. Prefer to keep things simple? Go for a background poster.
Keeping your DIY terrarium clean
Clean the outside of your terrarium clean with an anti-static cleaner and a microfibre cloth. This prevents dirt from adhering to it, which in turn causes scratches. The inside of your PERSPEX® terrarium can be cleaned in the same way as a traditional glass terrarium. Avoid the use of metal or plastic razor blades, because acrylic sheet is sensitive to scratches. When your terrarium is empty, you can also treat the inside with an anti-static cleaner. Only do this when your terrarium is empty and rinse the container with water before you use it again.
Would you like to make a terrarium for keeping animals yourself?
Has our blog inspired you to make your own terrarium? In our webshop, you will find transparent acrylic sheet in all types and thicknesses. We saw the panels to size for you free of charge and ensure that you receive your order as soon as possible. If you have questions about this project or our product range, please don’t hesitate to contact us.