An ant farm is fascinating, educational and great fun for children. It’s a straightforward job to make an ant farm, also known as a formicarium or ant hotel, using clear acrylic sheet. You’ll be able to observe how these hardworking little creatures live and dig their tunnels. In this blog, you’ll find step by step instructions on how to make a simple DIY ant farm yourself.
Requirements for your acrylic formicarium:
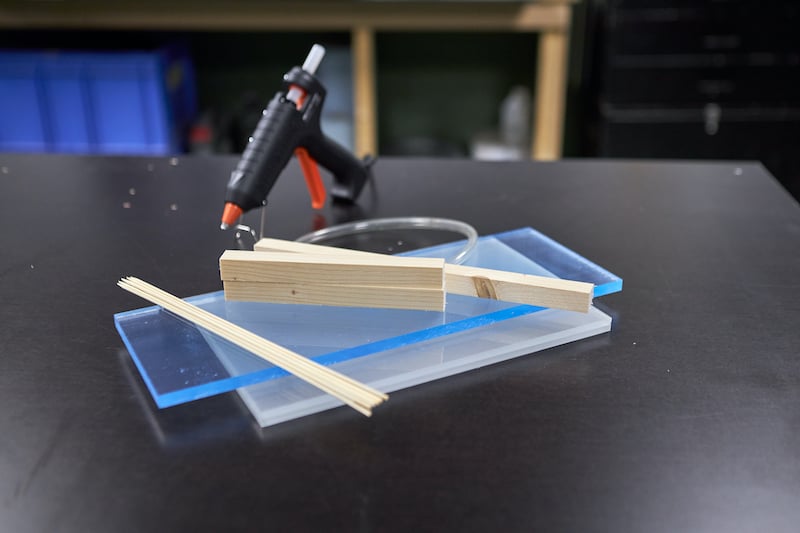
Making the basis for an ant farm
In our example, we’re using cast acrylic sheet to make a simple ant farm that almost anyone can tackle. You can adjust the measurements as you wish. It’s important not to make a formicarium too deep because otherwise, you won’t be able to see the tunnels created by the ants.
Dimensions of the acrylic formicarium
Sides: 2 x 6mm clear acrylic sheets, 20 cm high x 10 cm wide.
Base: 1 x 10mm clear acrylic sheet, 20 cm high x 40 cm wide.
For the lid and crosscut sides we’ll be using wooden slats.
Step 1: order the acrylic for your ant farm
Because you will be processing the acrylic sheet, we recommend using cast acrylic. Cast perspex, unlike the extruded variant, is easier to process because the sheets are rolled. This method creates less tension in the plates than in extruded acrylic. Order the acrylic sheets for your ant farm directly in our webshop, and we will cut them to size for you free of charge.
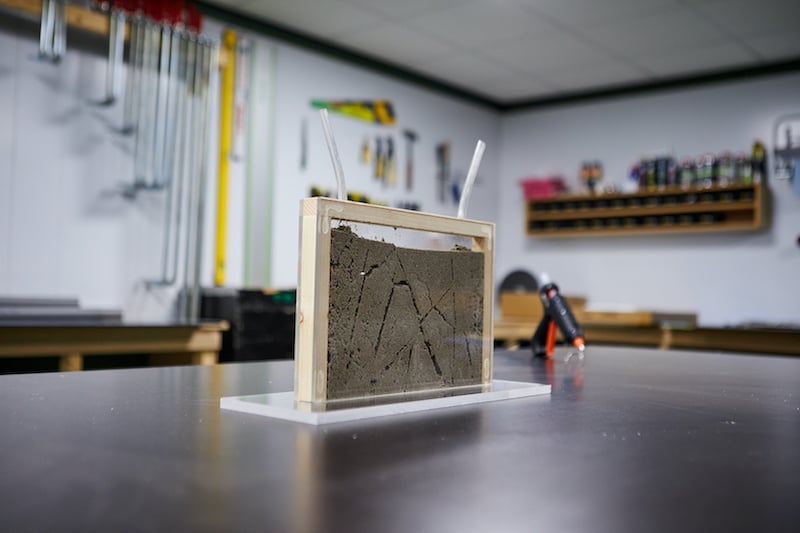
Step 2: Drill holes in the lid of your acrylic ant farm
Drill two holes in the lid of your ant farm so that two tubes fit through. You will use them later on to transfer your ant colony to their new home.
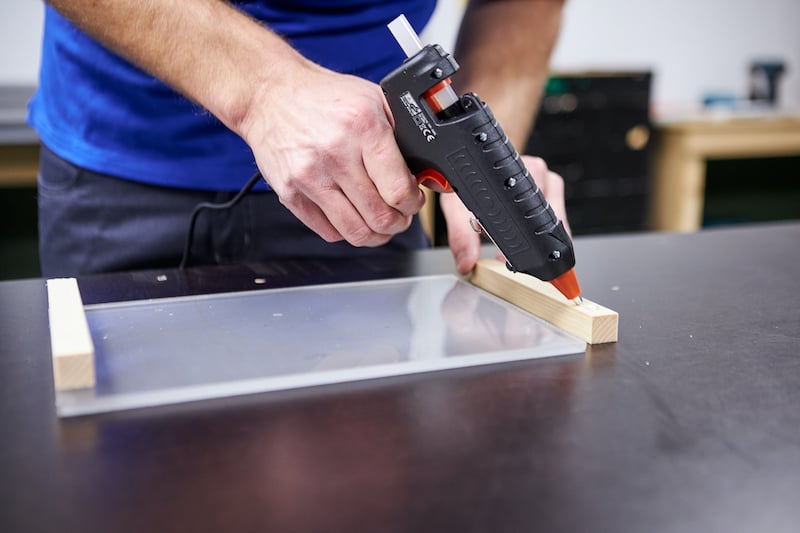
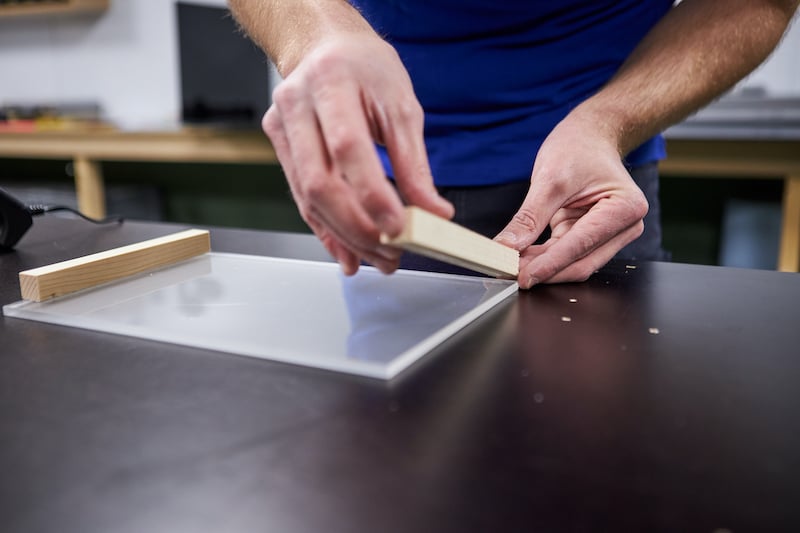
Step 3: Glue the acrylic for your ant farm
When you’re going to bond acrylic, you must work on a flat, grease-free surface. Putting a thin, soft cloth underneath will help to prevent scratches on the acrylic. Make sure you remove the protective film from the acrylic before you being. Stick masking tape 6 mm away from the edges you are going to glue and repeat this with all the sheets. This will stop the excess adhesive from spoiling the appearance of the ant enclosure. Glue the sides to the ends and allow 20 minutes to dry before glueing the other panels.
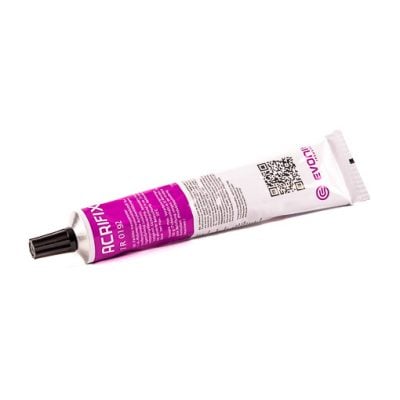
Good to know: if you’re using Acrifix acrylic adhesive and it ends up in places you don’t want, let the adhesive air-dry. Don’t rub, as this will cause marks on the panel that you won’t be able to remove. Just let the glue air dry.
Step 4: Fill your ant farm with sand
In our example, we’re assuming that you’re going to fill your ant farm with sand, but you could also opt to fill it with a special gel. It’s worth doing a little research about the pros and cons of each material before you decide. A coffee filter is a useful tool for filling your ant hotel with sand. Cut the bottom tip off and pour the sand pour through the filter into the ant enclosure. Spray a little bit of water into the sand and then take a skewer or knitting needle to create a few tunnels.
Step 5: Release an ant colony into your DIY formicarium
After following all the steps carefully, it’s time to release your ant colony into their new home. Learn about the most suitable ant species and the best places to get them. Because ants prefer to make their corridors in the dark, we recommend placing a dark cloth over your ant farm when you are not observing them.
Are you planning to construct your own acrylic ant farm?
Has our blog inspired you to have a go at building a DIY ant farm?
In our webshop, you’ll find a range of clear acrylic sheet in every type and thickness. If you have a question about this blog or our products, please don’t hesitate to get in touch.