Do you want to attach your Trespa® panels invisibly? Glueing is the best option. Glueing Trespa® is also the preferred method for creating a completely smooth surface. Ideal for rooms that get dirty and that you need to clean often. If you attach Trespa® with screws, dirt can get stuck behind the panel. This blog gives you tips about Trespa® adhesives and explains which products are the best to use.
Requirements:
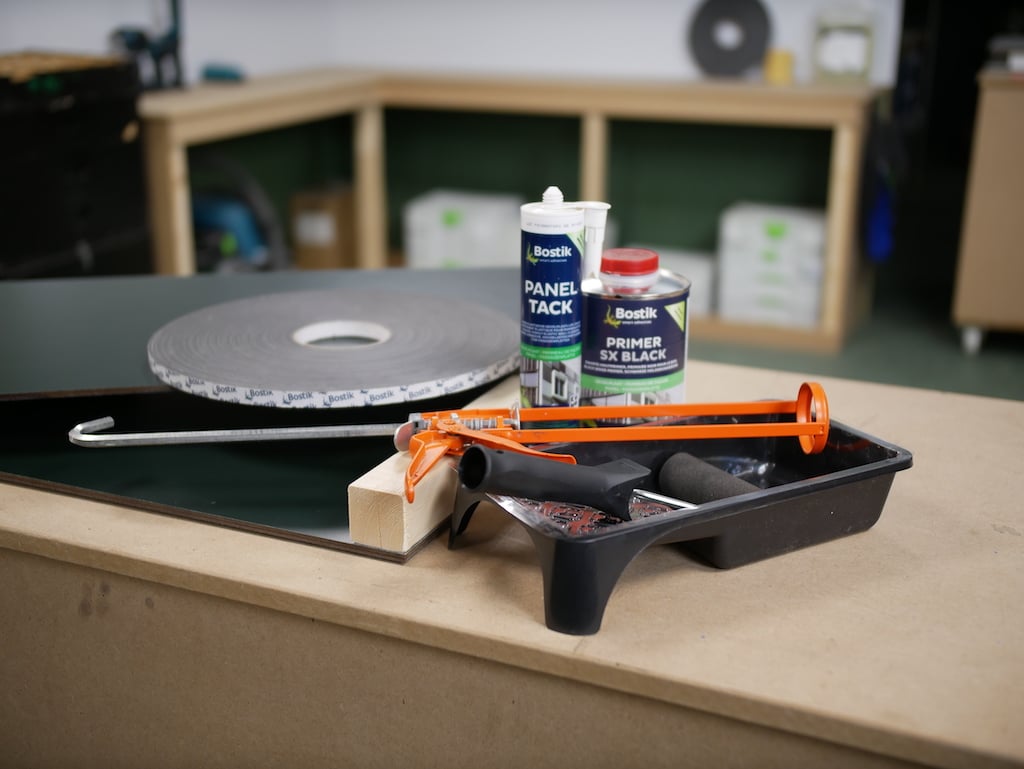
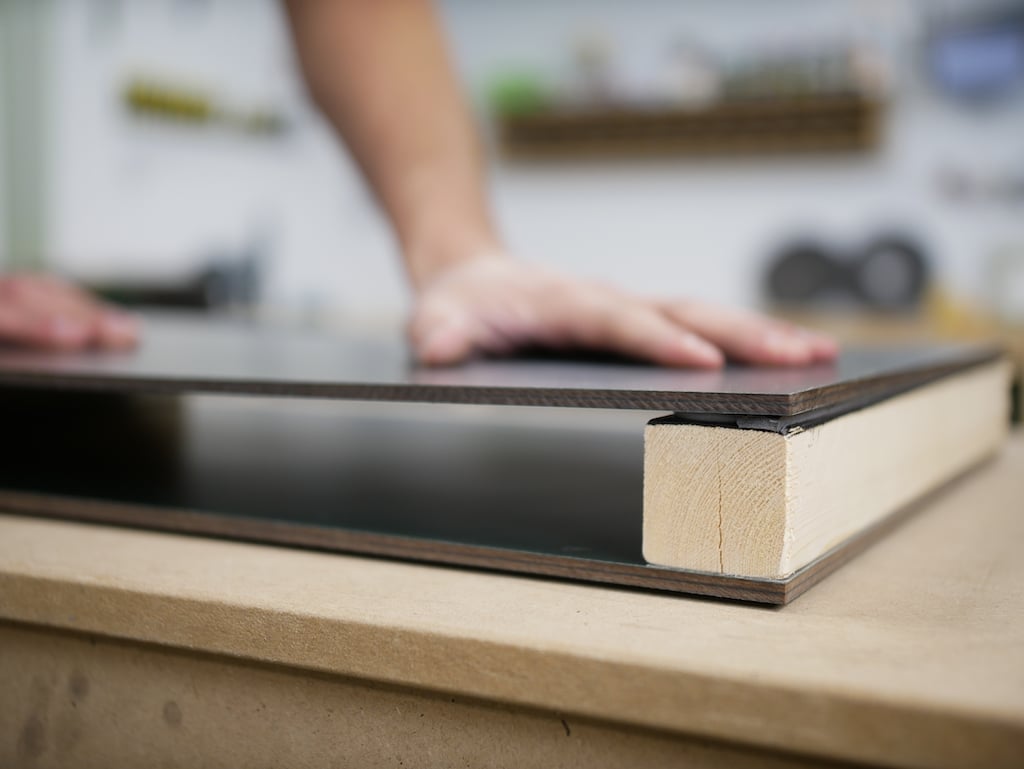
Trespa® mounting adhesives
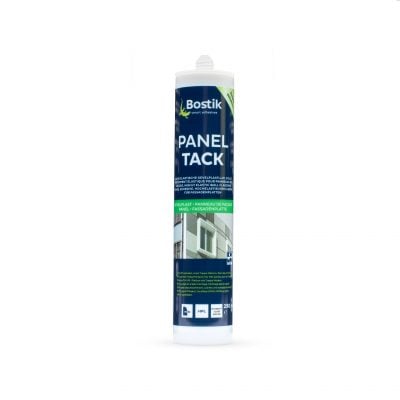
If you want to glue Trespa®, we recommend using Bostik PanelTack mounting adhesive. Trespa® HPL sheets can expand or contract slightly as the temperature changes, and this glue is flexible enough to accommodate small fluctuations in size. This mounting adhesive is suitable for glueing Trespa® to facade cladding, fascia boards, ceilings, canopies, walls and more.
Step 1: Pre-treat your substrate with a primer
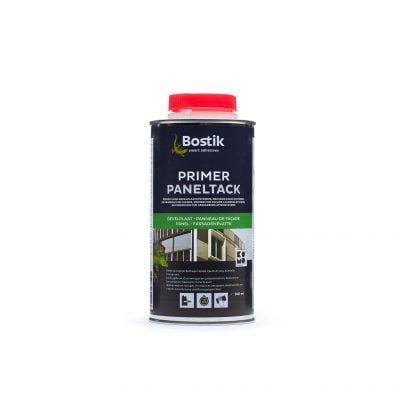
Before you can glue Trespa®, you must pre-treat the substrate for the panels. First, ensure that the surface (wood or metal) is clean and grease-free. We advise using Primer PanelTack or Easy Clean Wipes for cleaning and pre-treatment. Shake the primer well before use; apply one coat of primer and let it dry for an hour.
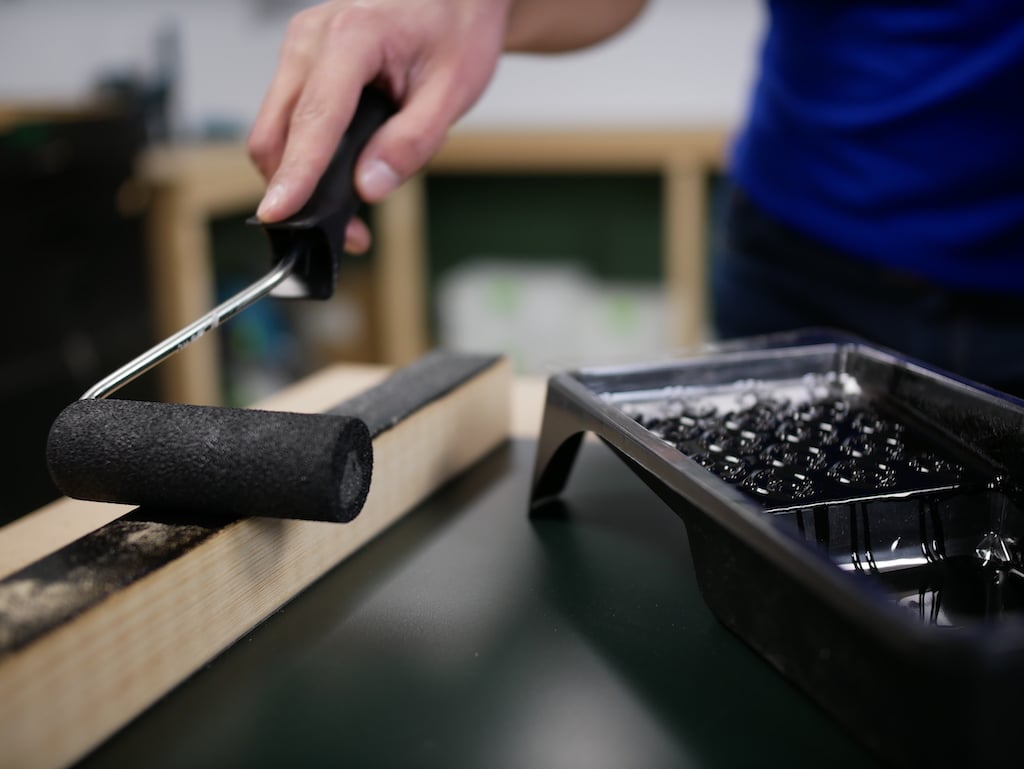
Glueing Trespa® to wood
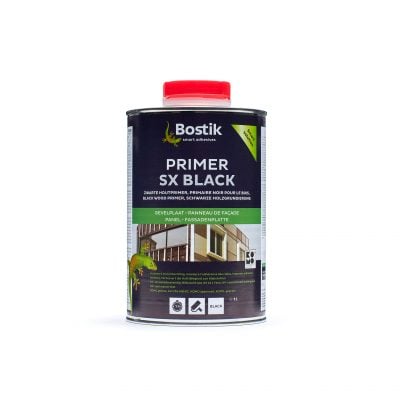
Do you want to glue Trespa® to wood? Then we recommend using Bostik Primer SX Black as a primer. This is a black primer for wooden substrates that improves glue adhesion and is suitable for both interior and exterior use. It’s best applied with a special roller.
Glueing Trespa® to metal
If you want to attach Trespa® to a metal substrate, we advise using Bostik PanelTack plastic primer.
Step 2: Degrease the back of your Trespa® panel
Clean the back of the Trespa® panel, degrease it with Primer PanelTack or Easy Clean Wipes and leave it to dry.
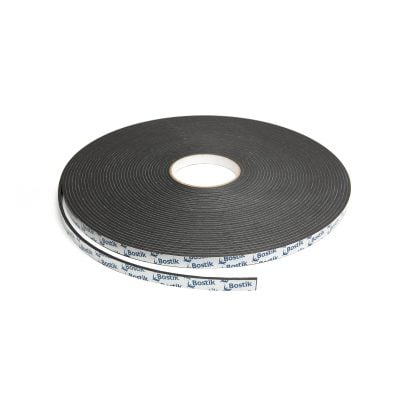
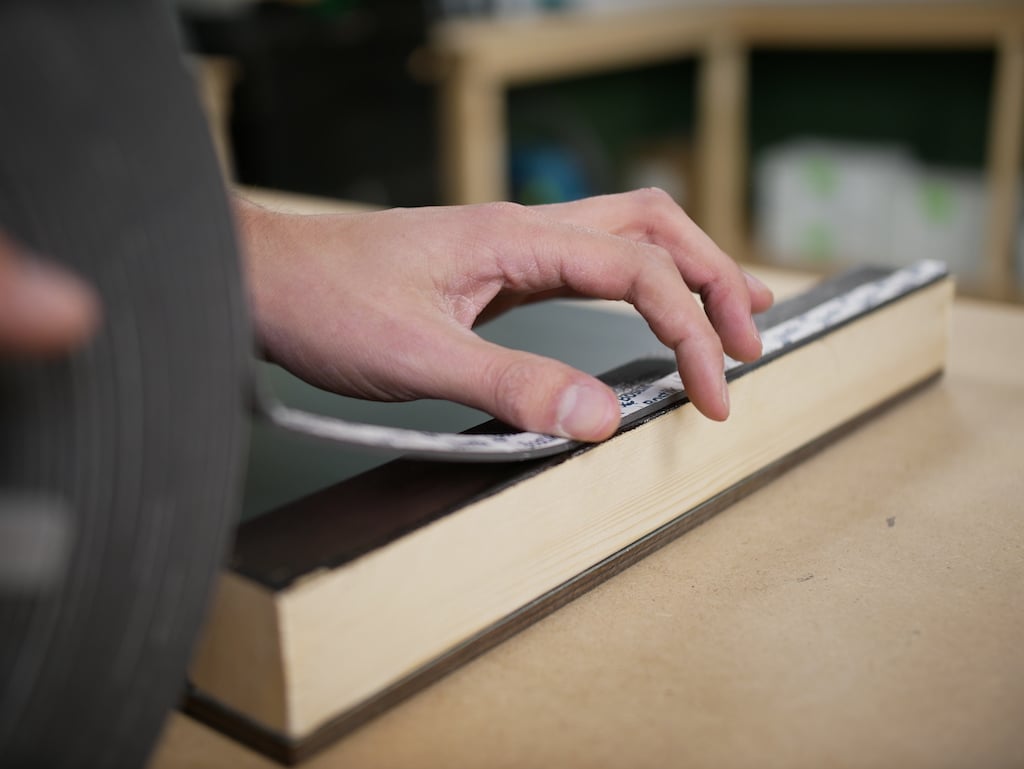
Step 3: Apply foam tape
When the primed surface is dry, you can apply the foam tape. Do this only vertically and in a continuous line. Press the foam tape firmly and cut it with a sharp knife. Be sure to leave room for the glue and leave the backing paper on the front of the tape!
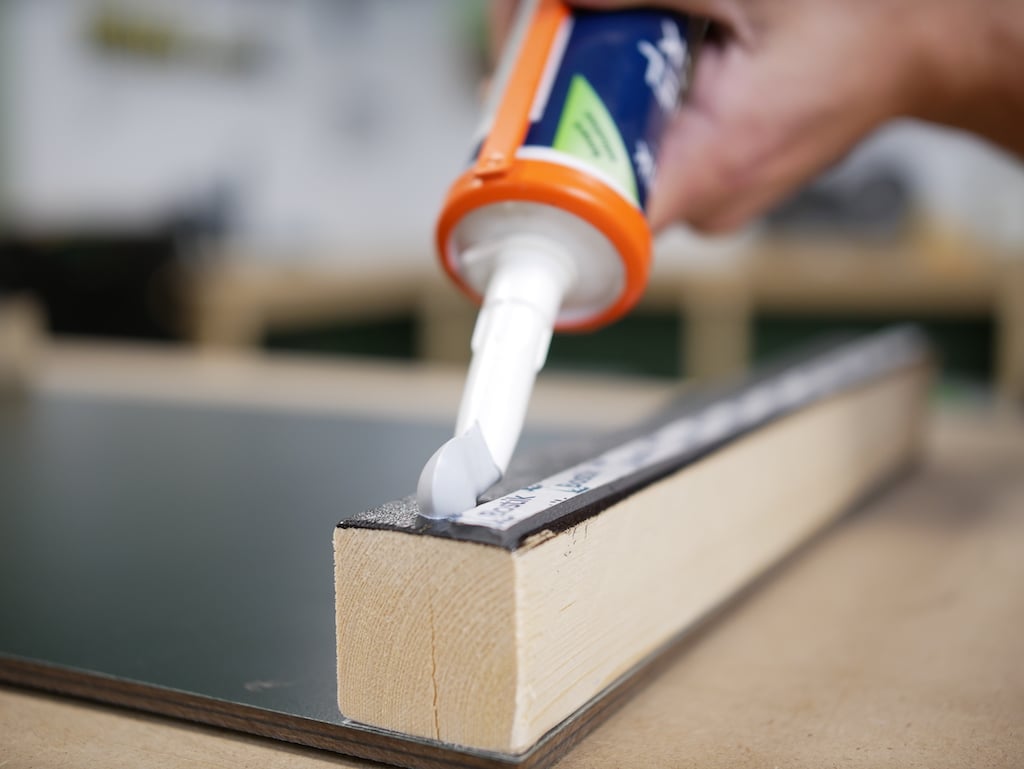
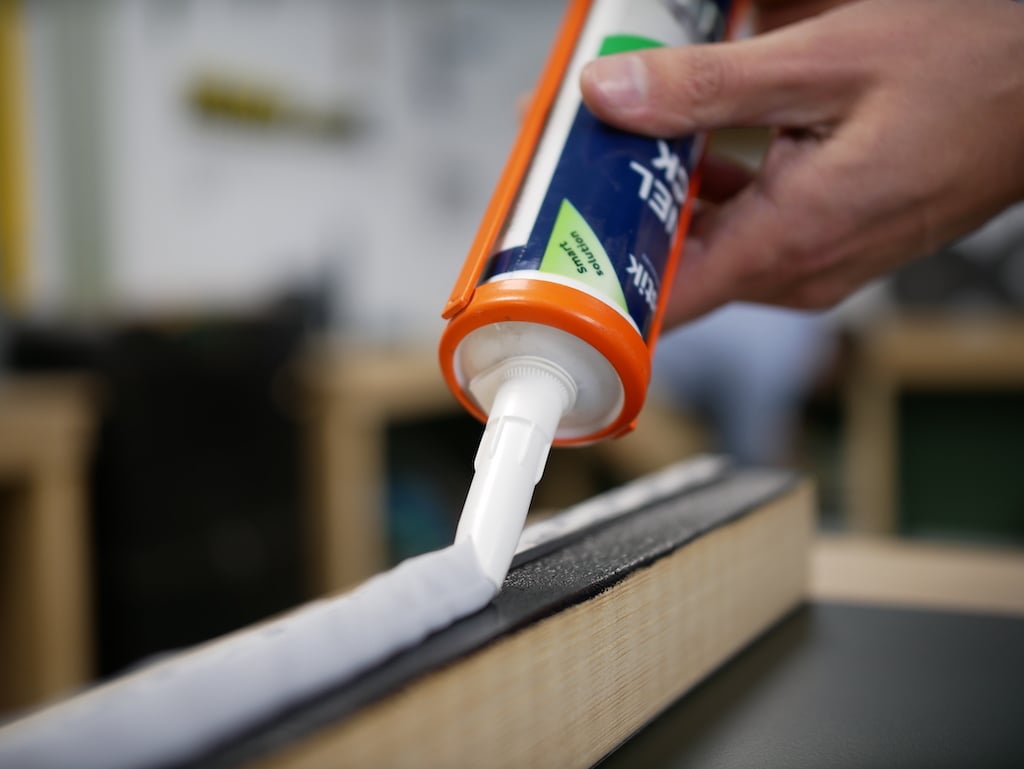
Step 4: Apply the Trespa® adhesive
When you have completed these steps, you can apply the Trespa® glue to the substrate. We use Bostik Paneltack mounting adhesive for this. This adhesive is suitable for bonding Trespa® and HPL panels. Apply a V-shaped strip of sealant with the special nozzle that is supplied with it. Make continuous vertical lines of adhesive inside the foam tape so that the foam tape is located along the outer edge of the sealant line.
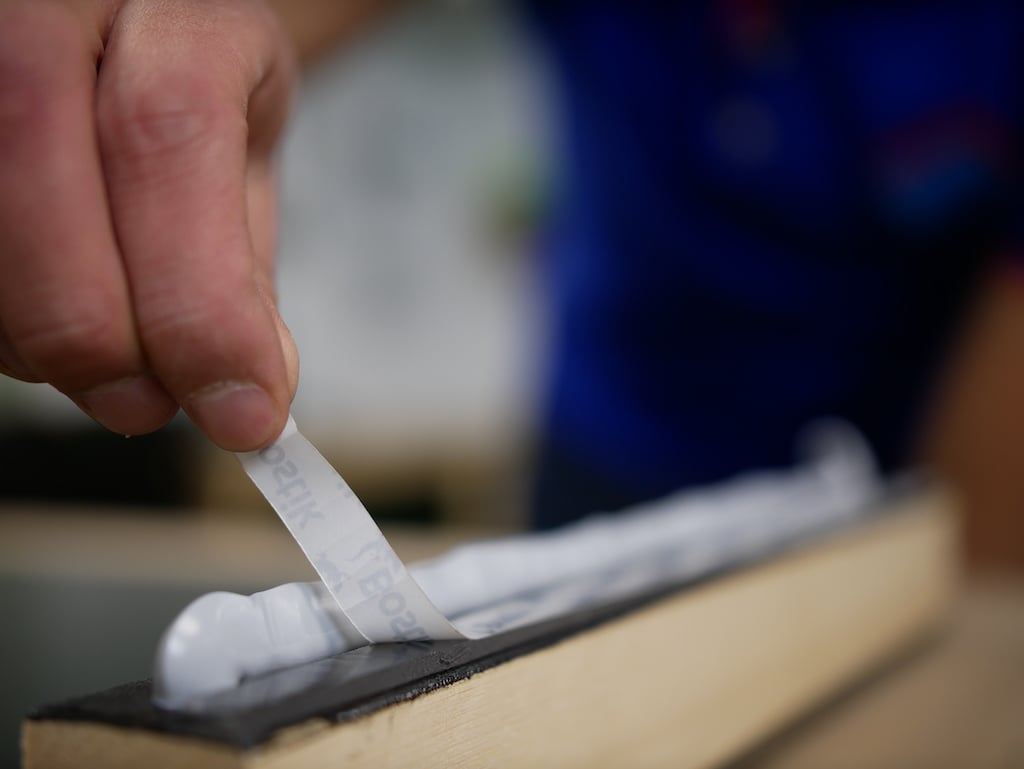
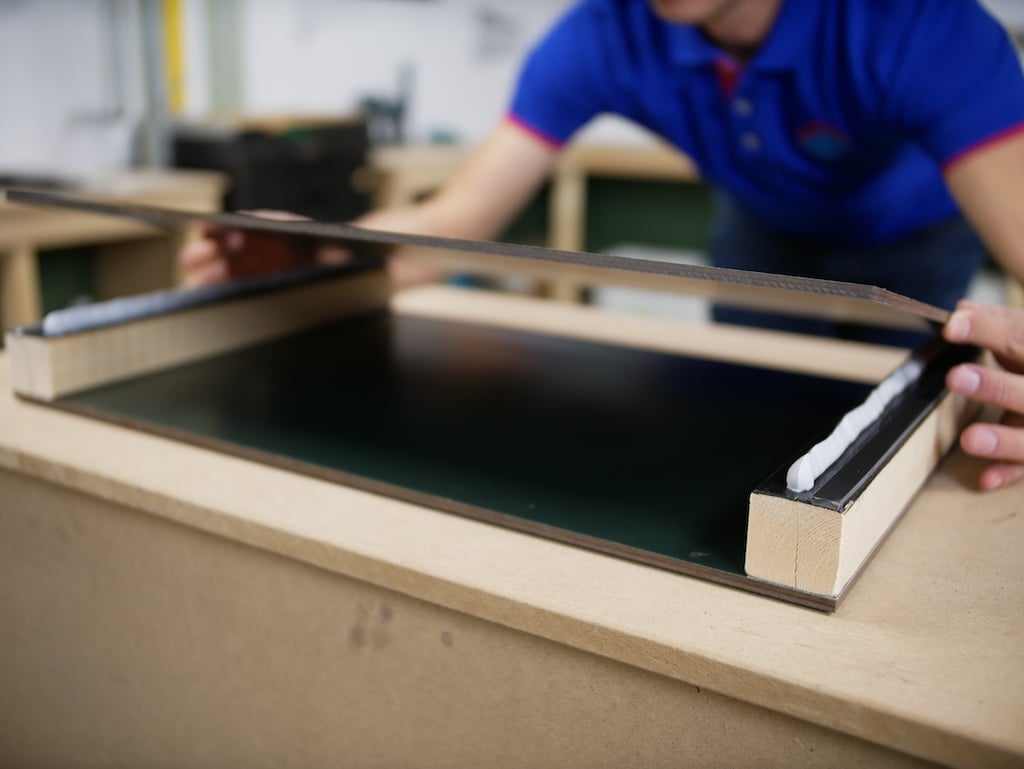
Step 5: Attach your Trespa® panel
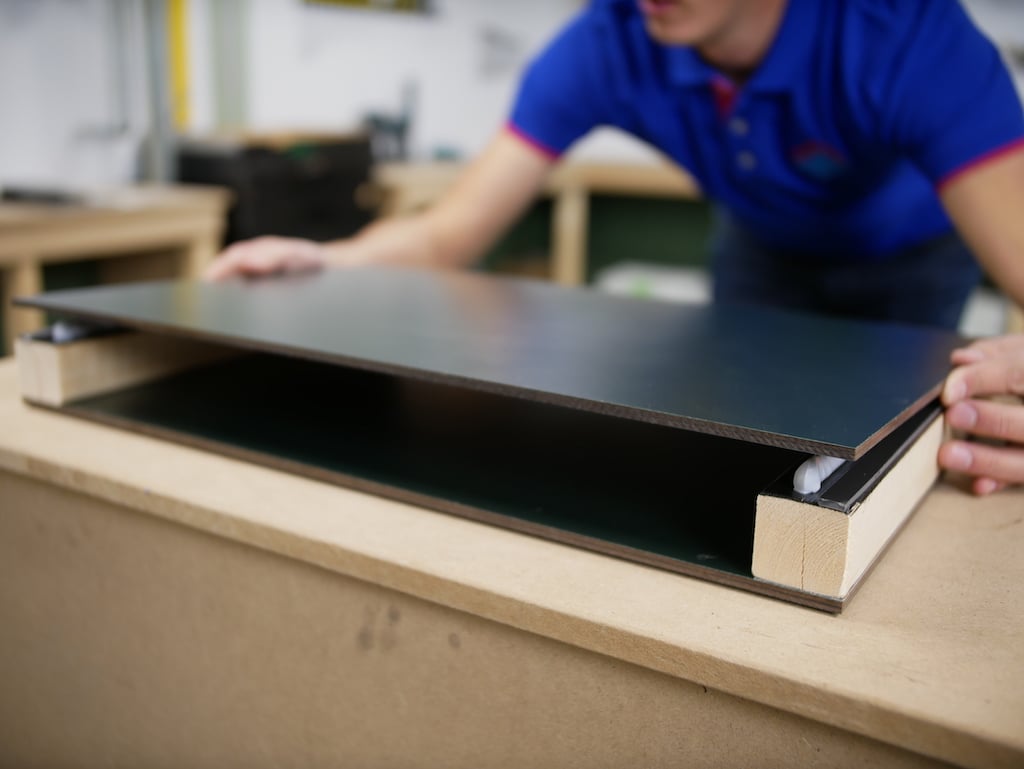
Remove the backing paper from the foam tape. Now, you can attach the Trespa® panel to your substrate. Make sure you stick the panel no more than 10 minutes after applying the Paneltack. Bear in mind that as soon as the panel comes into contact with the Paneltack adhesive, you can no longer move it. Use a horizontal lath secured with glue clamps, spacers and bobbins to position your panel correctly. Glass clamps also come in useful when handling it. Position the panel in front of the substrate and apply it in one movement. Press the panel on without pressing on the foam tape. Once your panel is attached, you can remove the protective film.
Attaching Trespa® panels to old fascias
Are you going to replace wood fascias yourself? In the blog, “Replacing fascias with plastic sheets”, we explain how to glue Trespa® to old fascia boards.
Trespa® – glue or screw?
If you want to fix Trespa® panels with a surface larger than 2.5 ㎡, we advise using special Trespa® screws. These are available in the full range of Trespa® colours.
Tip: Have you placed the Trespa® panels vertically? Always add some screws, even with glue connections.
Ordering Trespa® adhesive
You’ll find all the materials required for mounting and glueing Trespa® in our webshop. We stock Trespa® panels in a wide range of colours and thicknesses. And you’ll also discover our own brand HPL panels. We’ll saw all the sheets to size for you in any shape. If you have any questions, please feel free to contact us.