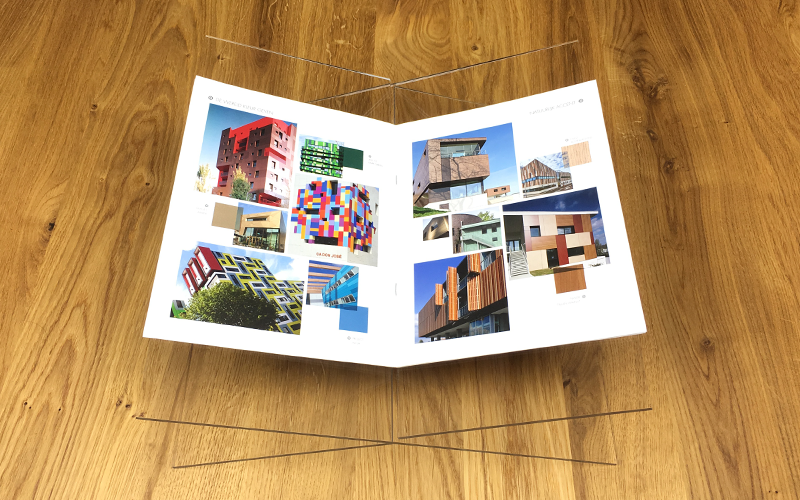
The true beauty of a book is in the content. Do you also think it’s such a shame that your books are shut away in the cupboard? Then this plexiglass book stand is a great way to show off your favourite books. In order not to divert attention too much from the book, we are going to make the display of crystal clear plexiglass. This is a beautiful material that is easy to process, even for the less experienced.
Requirements:
Requirements: good material is half the work
You do not need a lot of tools for this job. A jigsaw with an HSS saw (a fine-toothed saw for metal), a drill with a 4 mm drill bit, a roll of masking tape, a file and a ballpoint pen are the most important tools. Because you are going to saw the material, it is important to choose cast acrylic sheet. Plasticsheetshop.uk delivers cast acrylic sheet cut to size for free. As our basic material, we will choose two plexiglass sheets of 40 by 40 centimetres and 4 millimetres thick. Order a corresponding acrylic adhesive at the same time for bonding the sheets.


Step 1: Cut the mounting slots
The book stand consists of two identical halves that are pushed together. To do this, make a 4 mm wide mounting slot exactly in the middle of each acrylic sheet that reaches exactly halfway the sheet:
Stick a strip of masking tape over the centre of both sheets. Draw a straight line on this, exactly in the middle of the sheet. At 19.8 centimetres you mark a point, this is the centre of the drill hole. On both sides of this axis, draw two parallel lines, 2 millimetres from the centre line.
Let’s get going!
First, drill the holes at the end of the mounting slot. Because you are drilling through the acrylic, it is useful to lay the acrylic sheet on a surface in which the drill can run, for example, a workbench or a wooden board. Do not press too hard on the drill during drilling and do not keep the speed too high.
After this, you will saw the mounting slots with the jigsaw. Place the plexiglass sheet on a flat, solid surface, and keep the cutting line at about 2 centimetres from the edge. By keeping the cutting line close to the edge, you prevent the sheet from vibrating and tearing during cutting. The outside of the saw must cut away the marked cutting line. Saw with a medium to high cutting speed and gently move the saw over the cutting line. As the saying goes: easy does it. Saw until the blade comes out into the borehole. In the same way, saw the other cutting lines.
Then the drill hole, which is now half-round, should be filed with a narrow file. This makes the end of the mounting slot nicely rectangular. Then file the rough edges of the saw cut edges nice and smooth.
Step 2: Constructing and gluing your book stand
Putting your book stand together is a piece of cake: you just slide in both halves. There is always some play in the mounting slots, so you can adjust the angle between the two halves. With the help of a few pieces of masking tape, you can fix the corner.
Satisfied with the way it looks? Then you can glue your book stand. The glue you use for this is a reaction glue, always wear rubber gloves and ensure adequate ventilation. Acrifix is quite thin, so practice first by spreading the glue on a piece of cardboard. Then apply a small amount of glue in the corner between both pieces. The glue hardens after half an hour. Then turn the display case upside down and glue the bottom. The double glue connection ensures that your book holder is stable and you can place heavy books on it without worry.